

Welcome to the world of paint by numbers! If you're ready to turn that numbered canvas into a piece of art, your most important tool is sitting right in front of you: the humble paintbrush.
Most kits come with a standard set of three precision brushes, which are a fantastic starting point for any beginner. But really understanding how to use them is what makes all the difference. This guide will cover everything you need to know about getting the most out of your brushes.
Your Guide to Choosing the Right Brushes
The canvas and paints might seem like the stars of the show, but your brushes are the true unsung heroes of your painting adventure. Think of them as the bridge between your vision and the canvas. The right brush doesn't just make the process easier; it makes it more enjoyable and the final result so much better. It's the key to turning frustrating smudges into crisp, clean lines that truly make your picture pop.
This guide is designed to walk you through the essentials. We'll start with the basic brushes included in your kit and move on to simple techniques that will give your work a polished, professional look.
We'll explore:
- What the different brush shapes and sizes are actually for.
- Why the brushes that come with your kit are a great place to start.
- Simple tricks to help you paint with greater precision.
- How to clean and care for your brushes so they last.
What started as a simple hobby has exploded into a global phenomenon. It’s an incredible feeling to pick up a paintbrush and unlock hours of creativity, all without the pressure of staring at a blank canvas. This popularity is driving the paint-by-numbers market toward an estimated USD 2.87 billion by 2033. If you're curious, you can explore more data on the industry's growth and see just how many people have fallen in love with this pastime.
The goal isn't just to fill in the spaces—it's to enjoy the process. Mastering your paintbrushes is the first step toward turning a relaxing hobby into a rewarding skill, creating a beautiful masterpiece you'll be proud to display.
By the time you finish reading, you'll see your brushes not just as tools, but as your creative partners. Let’s dive in and start transforming that numbered canvas into something you'll be excited to hang on your wall.
Meet the Essential Brushes in Your Kit
When you open your paint-by-numbers kit for the first time, you'll find a small but mighty team of tools waiting for you. Most kits come with a standard set of three essential paint brushes, and each one has a very specific job.
Think of them as your core painting crew. This trio is all you really need to get started, giving you the right tool to tackle every single numbered section on your canvas, from the tiniest, most detailed spots to the broadest areas of color.
Your Core Painting Trio
So, what are these three brushes for? It helps to think of them in terms of tools you already know.
- The Fine Detail Brush: This is your precision instrument. Like a fine-tipped pen, it’s designed for the most intricate work—think crisp outlines and filling in those really tiny, complex areas.
- The All-Purpose Brush: This medium-sized brush will be your go-to for most of the painting. It’s like a trusty marker, perfect for filling in the majority of the colored shapes that aren't huge but aren't minuscule either.
- The Broad Flat Brush: Think of this one as your mini paint roller. Its job is to cover large sections of background quickly and evenly, saving you time and helping you lay down a smooth, streak-free coat of paint.
Here's a quick-reference table to help you remember which brush does what.
Your Standard Paint by Numbers Brush Kit
| Brush Type | Primary Use | Best For |
|---|---|---|
| Fine Detail Brush | Precision Work | Outlining, tiny numbered areas, intricate details |
| All-Purpose Brush | General Painting | Medium-sized sections, most of the canvas |
| Broad Flat Brush | Covering Large Areas | Backgrounds, skies, large blocks of single color |
With these three, you have a specialized tool for every part of your canvas, ensuring you can bring your artwork to life with a clean, polished look.
This simple diagram shows how these core elements—the canvas, the paint, and your brushes—all work together to make the whole process a fun and rewarding experience.
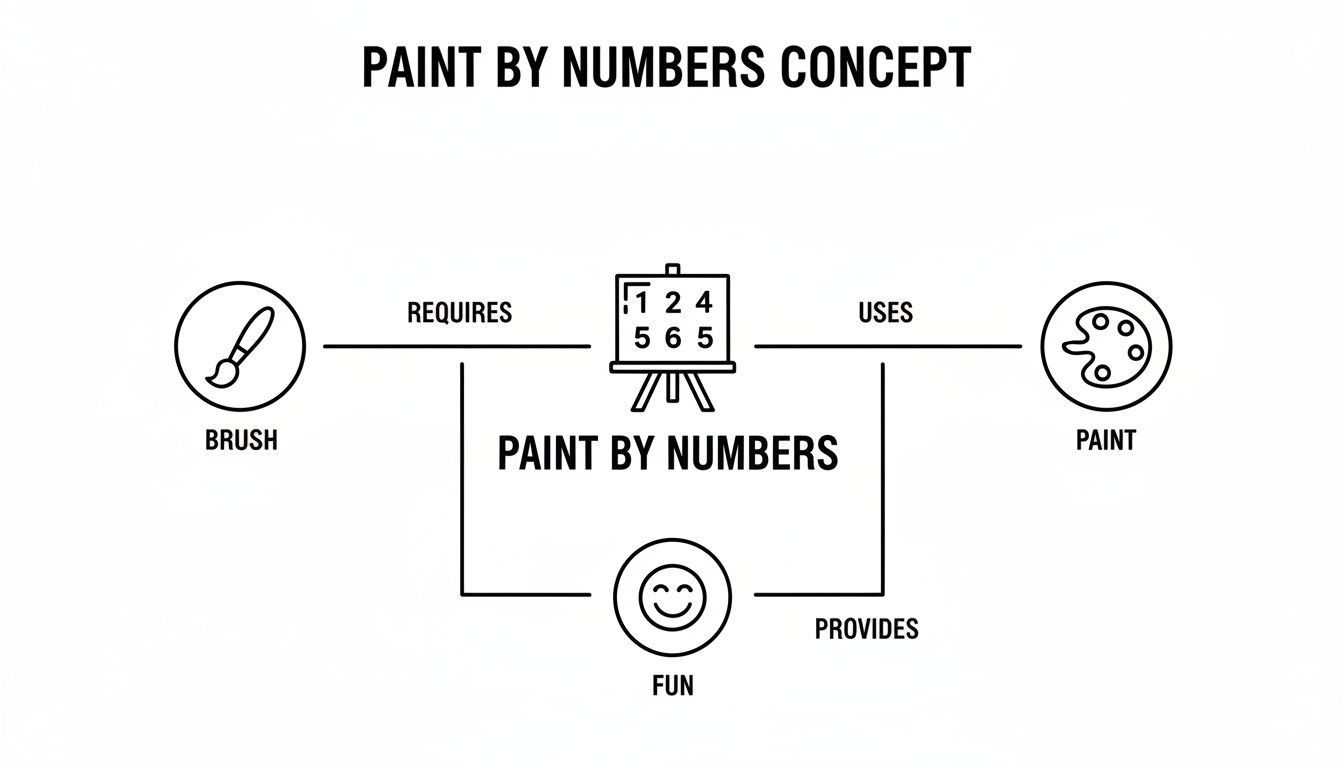
As you can see, the brush is what connects the paint to the canvas, turning a numbered guide into a creative escape.
The Best Bristles for the Job
You’ll probably notice the bristles on your brushes are smooth, with a nice spring to them. That's because they're almost always made from synthetic nylon. This isn't a random choice; nylon is the perfect partner for the acrylic paints that come in your kit.
Unlike natural hair brushes, which can get stiff or damaged by acrylics, nylon bristles are tough, a breeze to clean, and hold their shape beautifully. They’re a fantastic, low-maintenance option for both beginners and experienced painters.
A huge plus for synthetic bristles is that they don't soak up water like natural fibers do. This means the paint goes on the canvas more smoothly and consistently, helping you get that vibrant, even coverage you're looking for right from the start.
Just by understanding the roles of your fine, medium, and broad brushes, you're already set up for success. Knowing which tool to grab for which section is the first big step toward creating a masterpiece you'll be proud of.
Getting to Know Your Tools
To really get into the groove of painting, it helps to understand the tools you're working with. A paintbrush isn't just one thing; it's a simple machine with three parts that have to work together perfectly. Getting a feel for this will make a world of difference as you tackle your canvas.
Every brush you hold has three core components:
- The Bristles: This is the part that does all the work, picking up the paint and laying it down.
- The Ferrule: That little metal band that cinches the bristles tightly to the handle.
- The Handle: What you hold onto, giving you balance and control over every stroke.
When all three are working in sync, the paint flows smoothly from the pot to the canvas, making the whole experience feel effortless.
Brush Shapes and What They Do
Just like a chef has a specific knife for every job, a painter has a specific brush. In the world of paint-by-numbers, you'll mostly be dealing with two key shapes that will handle almost everything you need.
Round brushes come to a nice sharp point, making them your best friend for fine lines, tiny details, and outlining complex shapes. Think of it like a fine-tipped pen. When you need to get into those really small, numbered spots that demand a steady hand, this is the brush you'll reach for.
Flat brushes, as the name suggests, have a squared-off tip. Picture this one as a mini paint roller. It’s fantastic for filling in those bigger blocks of color with smooth, even strokes. It's also great for creating crisp, clean edges where two colors meet.
Knowing when to use a round brush versus a flat one is the first real secret to leveling up your technique. One is for drawing and detail work; the other is for filling in and creating structure. Using the right tool for the right job makes everything so much easier and way more fun.
Why Synthetic Bristles Are the Way to Go
The brushes that come with your kit are made with synthetic bristles, usually nylon, and there’s a very practical reason for that. The acrylic paint in your kit is a water-based polymer. It's brilliant and dries fast, but it can be really tough on natural animal-hair brushes, making them dry, brittle, and prone to breaking over time.
Synthetic bristles, on the other hand, are built to handle it. They’re much more durable and don't absorb water, which means they keep their shape and springy feel for much longer. This gives you way more consistent and predictable results every time you paint. Plus, they are a breeze to clean, which is a massive win for everyone. If you want the full rundown on what to look for, check out our guide on beginner acrylic painting supplies. This built-in resilience is why your paint-by-numbers brushes will be with you for many projects to come.
Painting Techniques for a Flawless Finish
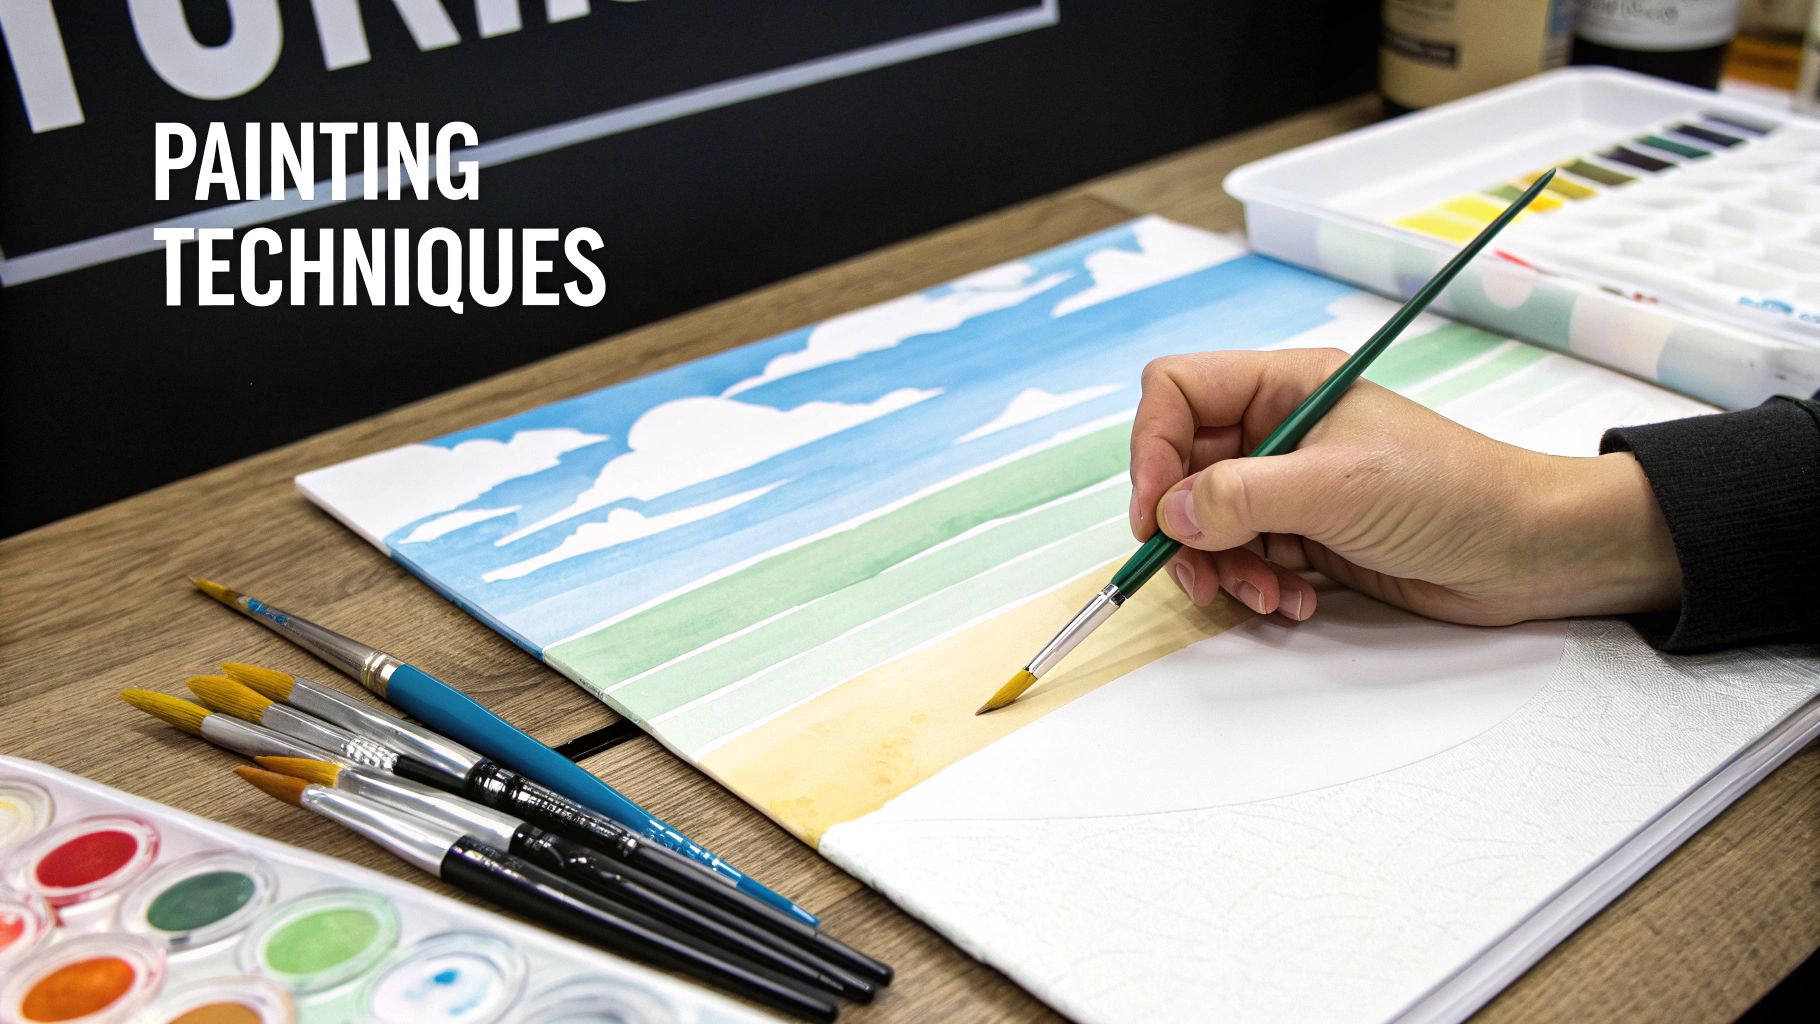
Okay, you’ve got your brushes and you know what they’re for. Now for the fun part—putting them to work. The real magic in paint-by-numbers isn't just about staying in the lines; it's about making the finished piece look like art.
With just a few simple techniques, you can take your painting from a fun craft project to something you'll be proud to hang on your wall. It’s all about control, intention, and adding your own artistic flair.
Achieving Razor-Sharp Edges
Fuzzy, messy lines between colors are often the dead giveaway of a paint-by-numbers kit. But getting those clean, crisp edges is one of the simplest ways to make your work look polished and professional. It all comes down to a steady hand and the right brush.
First things first, steady yourself. Rest the side of your palm or your wrist on a dry section of the canvas. This one little trick makes a huge difference in cutting down on shaky lines.
Then, grab your finest detail brush and trace the outline of the numbered area before you fill in the middle. Think of it like you're building a little fence to keep the paint exactly where it belongs. This creates a sharp border and stops the colors from bleeding into each other.
Pro Tip: When you're outlining, use a light touch. Let just the very tip of the brush glide along the line instead of pressing down hard. The brush will do the work, giving you a much finer, more controlled result.
Mastering Paint Loading
How much paint you have on your brush, or paint loading, is a bigger deal than you might think. If you glob on too much, you'll get thick, bumpy patches that take forever to dry and can even cover up the details. Too little, and you’ll see streaky, see-through spots where the numbers and lines poke through.
The sweet spot? Dip just the tip of your brush into the paint pot—aim for about one-third of the bristle length. This picks up enough paint for a smooth, even stroke without overloading it. Just give the brush a gentle wipe on the rim of the pot to remove any excess before you start painting.
Introduction to Blending Colors
This is where you can really start to elevate your painting. Blending is how you create those soft, gradual transitions between colors. It’s the secret to making skies, water, and sunsets look smooth and realistic instead of blocky.
The easiest way to get started is with the wet-on-wet technique:
- Start by applying your first color to its numbered section.
- While the paint is still wet, add the neighboring color right up against it.
- Take a clean, slightly damp brush and gently sweep it back and forth where the two colors touch.
This simple motion will soften that hard edge and create a beautiful, smooth gradient. If you really want to take your work to the next level, you can even master color mixing techniques for truly custom shades.
Ready to dive deeper into this skill? We have a complete guide that walks you through more advanced tips on https://paint-by-number.com/blogs/learn-about-paint-by-numbers/how-to-blend-paint-colors. With a bit of practice, you’ll be adding incredible depth and dimension to your paintings.
How to Properly Clean and Store Your Brushes
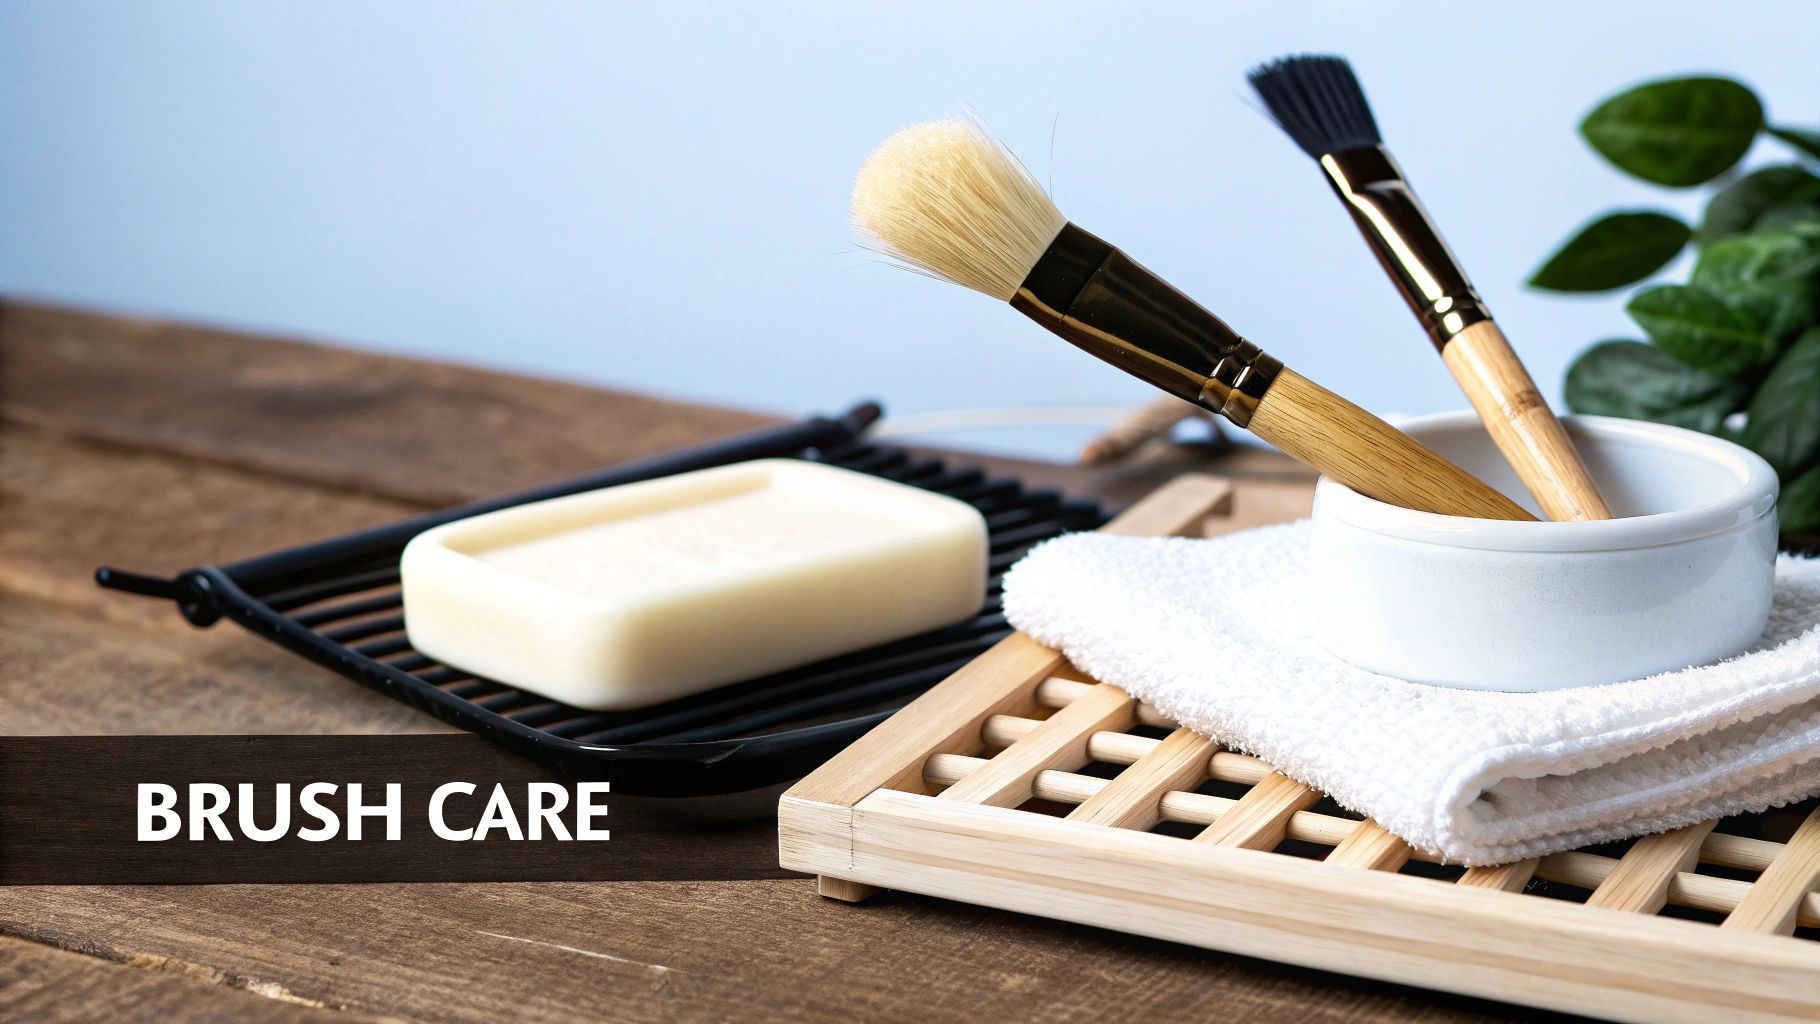
Taking a few minutes to care for your brushes after each painting session can make a world of difference. If there's one golden rule to remember, it's this: never let acrylic paint dry on the bristles. Once that paint hardens, it's game over. You'll have a tough time getting it out without wrecking your brush for good.
Think of cleaning your brushes as a relaxing cooldown after your creative work. Making it a habit means your tools will always be in prime condition for your next masterpiece, saving you from the frustration of discovering stiff, unusable brushes when inspiration strikes. A little care keeps the bristles soft and the tips sharp, which is the secret to clean, precise lines.
The Simple Cleaning Process
This four-step method is all you need to keep your synthetic brushes happy. You don't need any fancy cleaners, either—just some water and a bit of mild soap will get the job done. Having a handy list of essential cleaning supplies for proper maintenance can also help you keep your entire creative space in order.
-
Wipe Off Excess Paint: First, gently press the bristles on a paper towel or an old rag to get rid of any leftover paint. The key here is to be gentle; no pulling or tugging!
-
Rinse Thoroughly: Swirl the brush around in a cup of lukewarm water. I like to press it gently against the bottom and sides to work the paint out from deep within the bristles, especially near the metal ferrule where paint loves to hide.
-
Wash with Mild Soap: Add a small drop of gentle hand soap or dish soap to the palm of your hand. Swirl the damp brush in the soap until you get a nice lather, then rinse it under cool running water. Keep rinsing until the water runs completely clear.
-
Reshape and Dry: Carefully squeeze out any extra water. Use your fingers to gently coax the bristles back into their original shape—whether it’s a fine point or a flat edge. Then, lay the brushes flat on a towel and let them air dry completely.
Heads up: Never leave your brushes standing upright in a jar to dry when they're wet. Water will trickle down into the metal ferrule, weakening the glue and causing the bristles to eventually fall out. It’s a brush’s worst enemy!
Smart Storage for Long-Lasting Brushes
Once your brushes are clean and bone-dry, storing them the right way is the final step. Your main goal is to protect the shape of the bristles. The best way to do this is to either lay them flat or stand them upright in a jar with the bristles pointing up.
Whatever you do, don't rest a brush on its tip. It will bend the bristles out of shape, and once that happens, there’s no going back. A well-cared-for brush is a painter's best friend, and with these simple habits, yours will be with you for countless paintings to come.
For an even deeper dive, check out our complete guide on how to clean your paint brushes.
Expanding Your Toolkit with Specialty Brushes
The three brushes that come in your kit are fantastic workhorses, and they'll get you through most projects just fine. But after you've got a few paintings under your belt, you might start wishing for a tool that's just right for a specific task. It's a lot like cooking—you can do most things with a single chef's knife, but having a small paring knife for delicate work makes a world of difference.
Adding a few extra paint brushes to your collection isn't about buying a whole new set. It's about being strategic. Think about the tricky spots you've run into before. Maybe you wanted a perfectly crisp line for a window frame, or you struggled with the tiny, intricate details in a pet's fur. The right brush can solve those exact problems.
Brushes Worth Adding to Your Collection
Think of these as little upgrades that make the painting process smoother and give you more control. Each one is designed for a specific job, helping you achieve a more polished, professional look.
Here are three excellent brushes to consider adding to your arsenal:
-
The Liner Brush: This is your go-to for the tiniest, most delicate details. It has extra-long, super-fine bristles that are perfect for painting things like a cat's whiskers, individual strands of hair, or the thin, spidery branches of a distant tree. Because it’s longer, it can hold more paint than a standard small brush, letting you create long, fluid lines without stopping to reload.
-
The Angle Brush: Ever tried to get a perfectly straight edge in a tight corner? It’s tough. This is where the angle brush, with its slanted bristles, becomes your secret weapon. The angled tip gives you amazing precision, making it so much easier to paint the clean lines of buildings, geometric shapes, or any spot where two colors meet sharply.
-
The Wash Brush: If you find yourself working on bigger canvases or tackling large areas of a single color—like a big blue sky or a calm lake—a wash brush will be a lifesaver. It’s a wide, flat brush made specifically for covering a lot of ground quickly and evenly. You'll get a beautiful, streak-free finish without spending ages on it.
By thoughtfully adding a few specialty brushes, you're not just buying more stuff—you're investing in your own skill and enjoyment. A single $5 liner brush can be the difference between frustration and a finished piece you're truly proud of.
Got Questions? We’ve Got Answers
Even the best brushes can throw you a curveball now and then. If you run into a little trouble, don't worry—it's usually a quick fix. Here are a few common questions that pop up and how to solve them so you can get right back to painting.
Why Do My New Brushes Feel So Stiff?
Ever unwrap a new brush and find the bristles are hard as a rock? That's completely normal. Brushes are often shipped with a water-soluble sizing (a type of glue) that protects their shape and keeps the bristles from getting damaged in transit.
Getting them ready for paint is simple. Just swirl the brush tip in a cup of warm water for about a minute. Gently work the bristles with your fingers until the sizing dissolves, and they'll become soft and pliable, perfect for your first brushstroke.
Can I Just Use Brushes I Already Have from Other Art Kits?
It might be tempting to grab that watercolor or oil brush you have lying around, but it's best to stick with the ones meant for acrylics. The synthetic brushes included in your paint-by-numbers kit are specifically chosen because they can handle the thicker, faster-drying nature of acrylic paint.
Watercolor brushes, for example, are typically much softer and can be ruined by heavy acrylics. Oil brushes are often too stiff and won't give you the delicate control you need for those tiny, detailed areas. Using the right tool for the job really does make all the difference.
Help! The Bristles on My Favorite Brush Are Bent!
Don't throw it out just yet! A bent brush can often be saved. For a minor bend, dip the brush head into hot water—not boiling, just hot from the tap—for a few seconds.
The heat will soften the bristles, allowing you to gently reshape them with your fingers. Then, just lay the brush flat to dry completely. If the bristles are badly frayed and won't go back into a neat point, it’s probably time to retire that one and grab a new one to keep your lines crisp and clean.
Feeling inspired to turn a cherished photo into a painting? You can create a one-of-a-kind masterpiece with a Custom Paint By Numbers kit. It comes with everything you need: a personalized canvas, all the paints, and the essential brushes to bring your vision to life.


