

Imagine holding a brush, dipping it in paint, and slowly bringing a favorite memory to life on canvas. That's exactly what this guide is all about: how to paint from a photo by turning it into a custom paint-by-numbers kit. It's a simple process that anyone can master, whether you have a background in art or not.
This isn't about being "creative enough." It's about connecting with your memories in a completely new, hands-on way.
Why Turn Your Photos into Art?
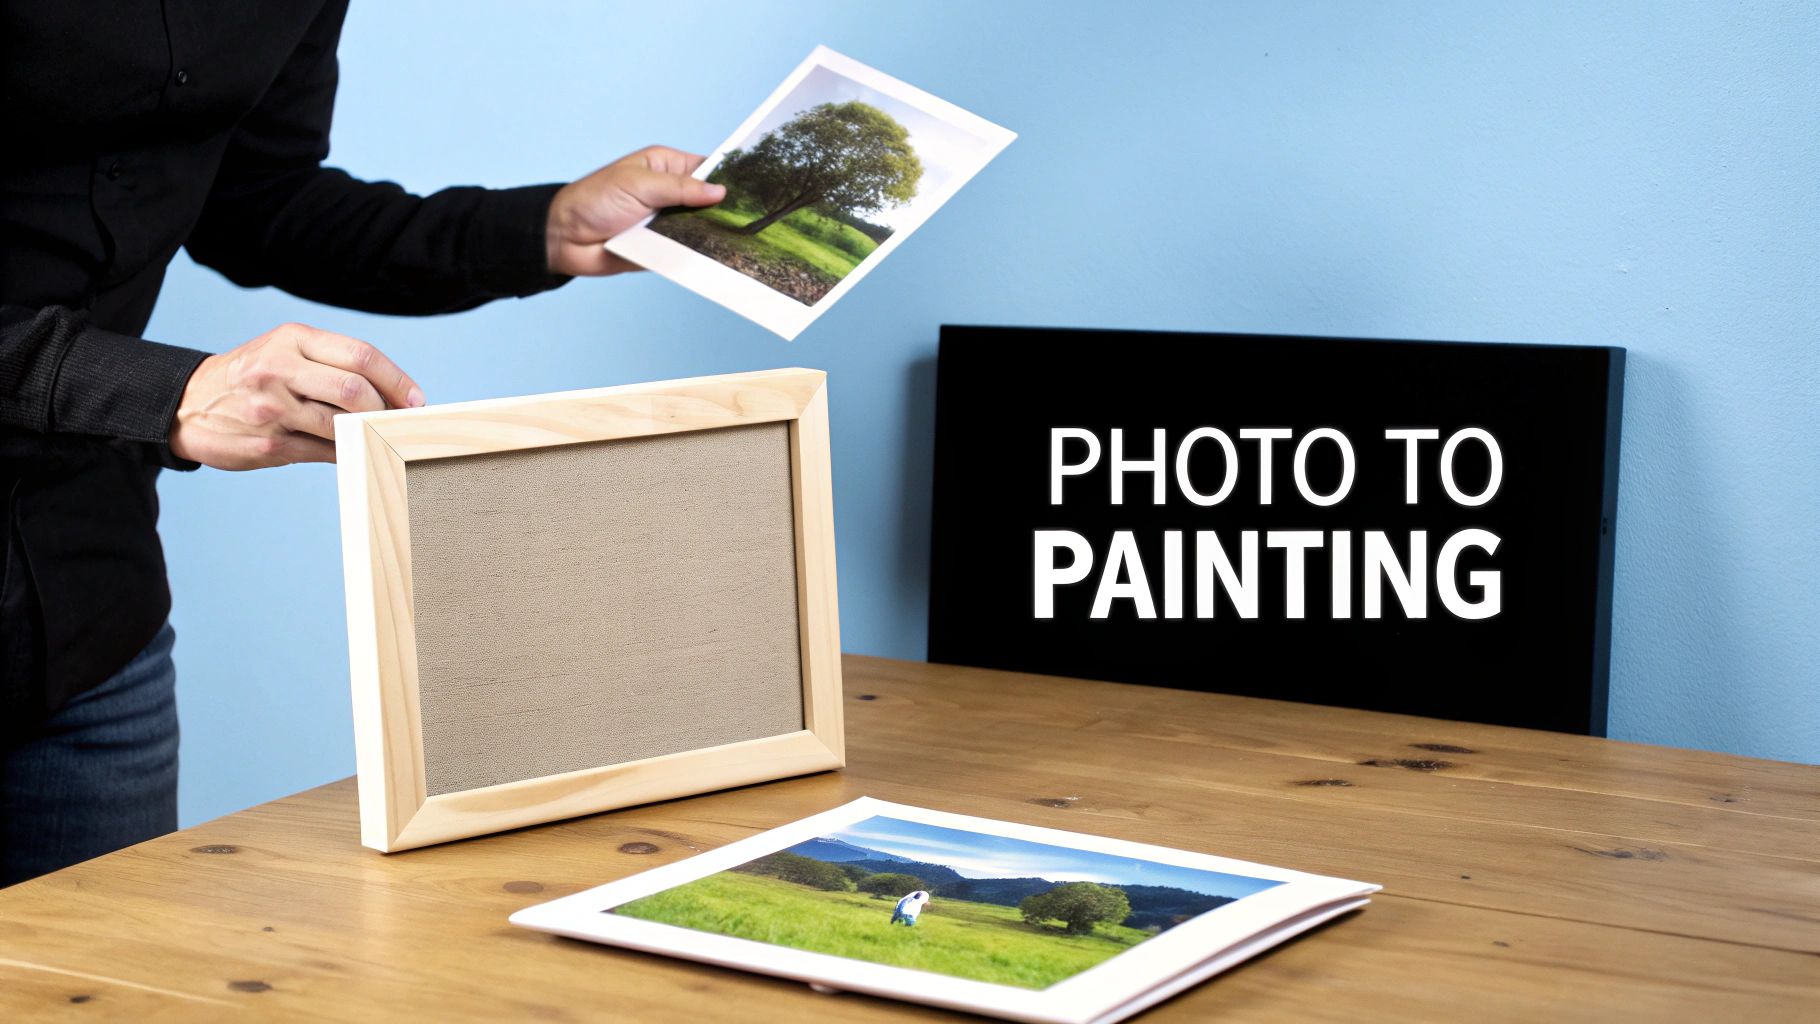
The idea of transforming a digital image into a physical painting is powerful. It makes your memories tangible. Instead of letting your best photos get lost on a hard drive, you can give them a permanent, personal home on your wall.
And you don't need to be a professional artist to do it. The beauty of a custom paint-by-number kit is that it does the heavy lifting for you, handling things like color matching and composition. All you have to do is enjoy the relaxing, mindful process of filling in the numbers and watching your image appear, one brushstroke at a time. It’s a guaranteed way to get a beautiful result.
A Growing Appreciation for Personal Art
The desire to create personalized art has never been stronger. The global art reproduction market, which includes services that let you paint from a photo, was valued at USD 48.21 billion and is expected to climb to USD 77.57 billion by 2032.
North America is actually leading this trend with a massive 42.75% market share, largely driven by our love for DIY projects and meaningful home decor. You can read the full research about the art reproduction market to see just how big this movement is.
Think of this guide as your complete roadmap. We'll walk through everything you need to know, including:
- How to choose the perfect picture for your project.
- Making sense of customization choices like canvas size and paint count.
- Simple painting techniques for a polished, professional finish.
- Creative ideas for displaying or gifting your finished masterpiece.
By the end of this guide, you won't just have a painting; you'll have a story. You'll have a piece of art infused with personal meaning that you created yourself—a unique intersection of memory, creativity, and personal accomplishment.
Choosing the Right Photo for Your Painting
The journey to paint from a photo doesn't start with a brush—it begins the moment you choose your image. It’s a common misconception that any photo will do, but the truth is, the right picture can make all the difference between a frustrating project and a masterpiece you’ll be proud of.
Success really boils down to picking a photo with the right ingredients. It’s not just about resolution, though that helps. The best photos for painting have a clear subject, great lighting, and a nice balance of contrast. Think about it: a crisp portrait of your dog in the sunny backyard is going to be a joy to paint, while a grainy group shot from a dim restaurant will be a struggle from start to finish.
Focus on a Clear Subject
The most powerful paintings almost always have a strong, obvious focal point. When you paint from a photo, you want anyone looking at it to know exactly what the star of the show is. That's why photos with one or two main subjects—a beloved pet, a smiling loved one, a single stunning flower—tend to work so well.
A chaotic background is your enemy here. It not only distracts the viewer's eye but also makes the painting process way more complicated than it needs to be. Try to find pictures where the background is simple, or even a little blurry. This naturally makes your subject pop and translates beautifully to canvas.
A great photo for painting tells a clear story. If your subject gets lost in a sea of background clutter, the painting will feel chaotic. Choose an image where the main character is obvious and unobstructed.
The Critical Role of Light and Shadow
Lighting is everything in photography, and it’s just as important when that photo becomes a painting. Pictures taken in bright, natural light without harsh, dark shadows almost always produce the most vibrant and satisfying results. Good lighting carves out the shapes and creates a sense of depth, giving you clear, distinct areas of color to fill in.
Steer clear of photos that are too dark or, on the flip side, "blown out" with super bright, washed-out spots. If the details are lost in a deep shadow or a glaring highlight, you simply can't get them back with paint. For example, a picture of a black cat in a dark room will just become a flat, featureless blob on the canvas, losing all its beautiful texture.
The sweet spot is an image with a healthy range of tones, from light to dark, that clearly defines your subject. This contrast is what gives your finished painting that pop of realism and dimension. To get a better handle on how image details translate to different canvas sizes, check out our complete canvas sizing guide for more insights.
Your Photo Selection Checklist
Before you commit to a photo, run it through this quick checklist. It’s a simple way to double-check if your image has what it takes to become a great painting.
| Attribute | What to Look For | Why It Matters for Painting |
|---|---|---|
| Focus | A sharp, clear main subject. | A blurry subject is impossible to paint with detail and will look undefined on canvas. |
| Lighting | Bright, even light without extreme shadows or highlights. | Good lighting reveals colors accurately and creates natural-looking depth. |
| Simplicity | A single subject with an uncluttered background. | This makes the painting process more enjoyable and ensures the final piece looks clean and professional. |
| Color | Distinct color areas, not muddy or overly blended tones. | Clear color separations translate well into numbered sections, making the painting easier to follow. |
Taking a few extra minutes to find the right image is probably the single best thing you can do to ensure your project turns out looking fantastic.
How to Customize Your Paint by Numbers Kit
Alright, you've picked the perfect photo! Now for the fun part: designing the actual kit. This is where you get to make a few key decisions that will shape your whole painting experience and, of course, the final look of your artwork. The choices are pretty simple, but they make a huge difference.
You’ll mainly be customizing two things: the canvas size and the number of paints. These two elements work hand-in-hand to set the detail level, color complexity, and how much time you'll spend bringing your masterpiece to life. Let's look at what each one really means for your project.
Choosing Your Canvas Size
The size of your canvas is directly tied to how much detail will be in your final painting. It’s simple, really: a larger canvas gives the software more room to break your photo into smaller, individual numbered sections. This means capturing all those tiny details that would just get lost on a smaller surface.
-
Small Canvases (e.g., 12x16 inches): These are fantastic for your first time or for photos with a single, clear subject and a simple background. They're less intimidating and you can finish them faster, which is a great way to build confidence.
-
Large Canvases (e.g., 24x32 inches or larger): If your photo is packed with detail—think of a sprawling landscape or a family portrait—go big. The extra space allows for so much more nuance, leading to a more realistic and impressive result.
This decision tree can help you visualize how the quality of your photo should guide your choices.
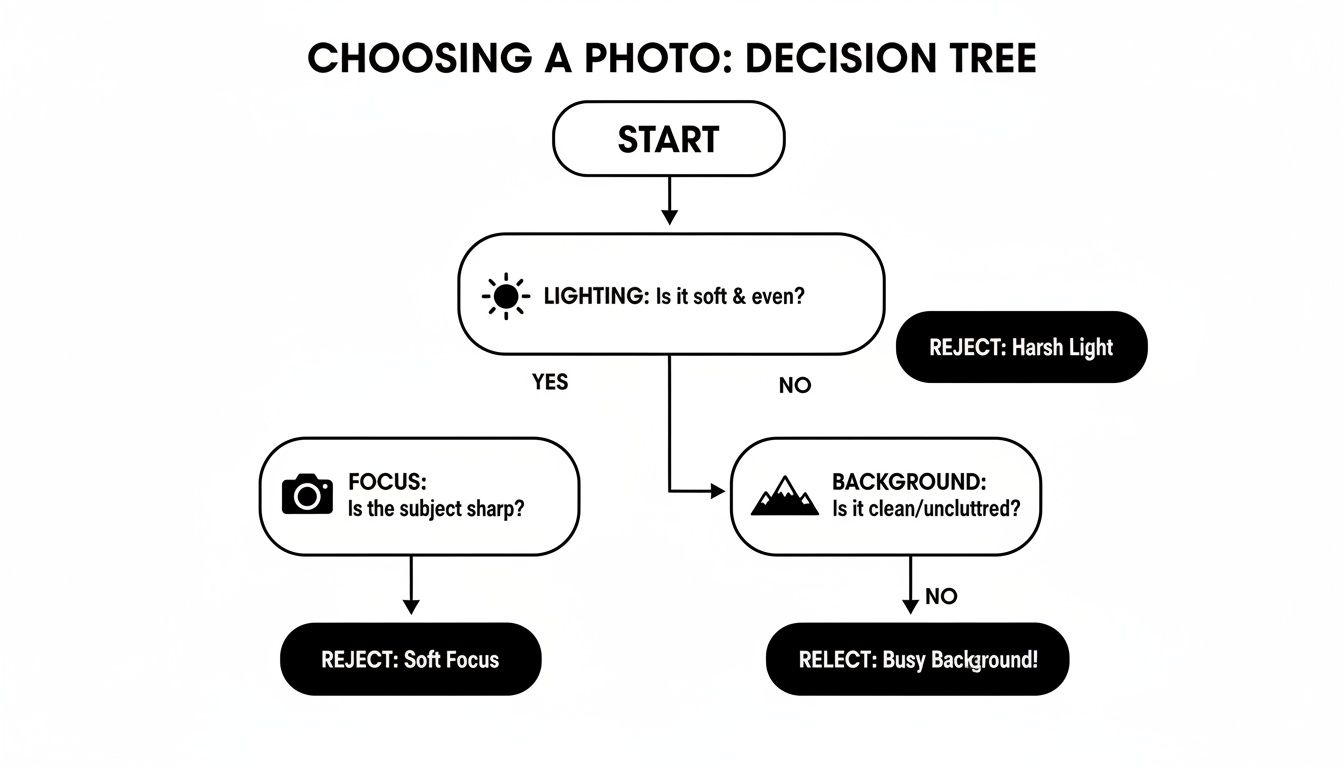
As you can see, a crisp, well-lit photo is the perfect candidate for a larger canvas where all its beautiful details can truly shine.
Selecting the Number of Paints
Next up is your color palette. Most companies offer options like 24, 36, or 48 paints. This choice is all about the color depth and realism of your final piece. More paints mean more subtle shades and gradients can be pulled from your original photo.
Think of it like a television's resolution. More paints are like more pixels—they create a richer, more lifelike image by providing smoother transitions between colors.
A photo of a sunset, for example, would look incredible with a 48-paint set to capture all those subtle oranges, pinks, and purples. On the other hand, a simple, graphic-style portrait of your dog might look just as amazing with a 24-paint set.
If you find you love this kind of guided creativity, you might also enjoy diving into beginner embroidery kits for your next project.
Ultimately, finding the right balance between canvas size and paint count is how you tailor the project perfectly to your photo and comfort level. To see all the options available, you can learn more about our custom paint by numbers kits and find the perfect match for your vision.
Setting Up Your Creative Workspace
There's a special kind of excitement when your custom paint-by-number kit finally arrives. That moment you unbox it is where your digital memory starts its journey to becoming a real piece of art. Inside that box, you'll find everything you need to get started.
Typically, you'll have a pre-numbered linen canvas, a full set of matching acrylic paints, and a few brushes. Taking a little time to get set up now will make for a much more relaxing and mess-free painting session later, letting you just focus on the fun part.
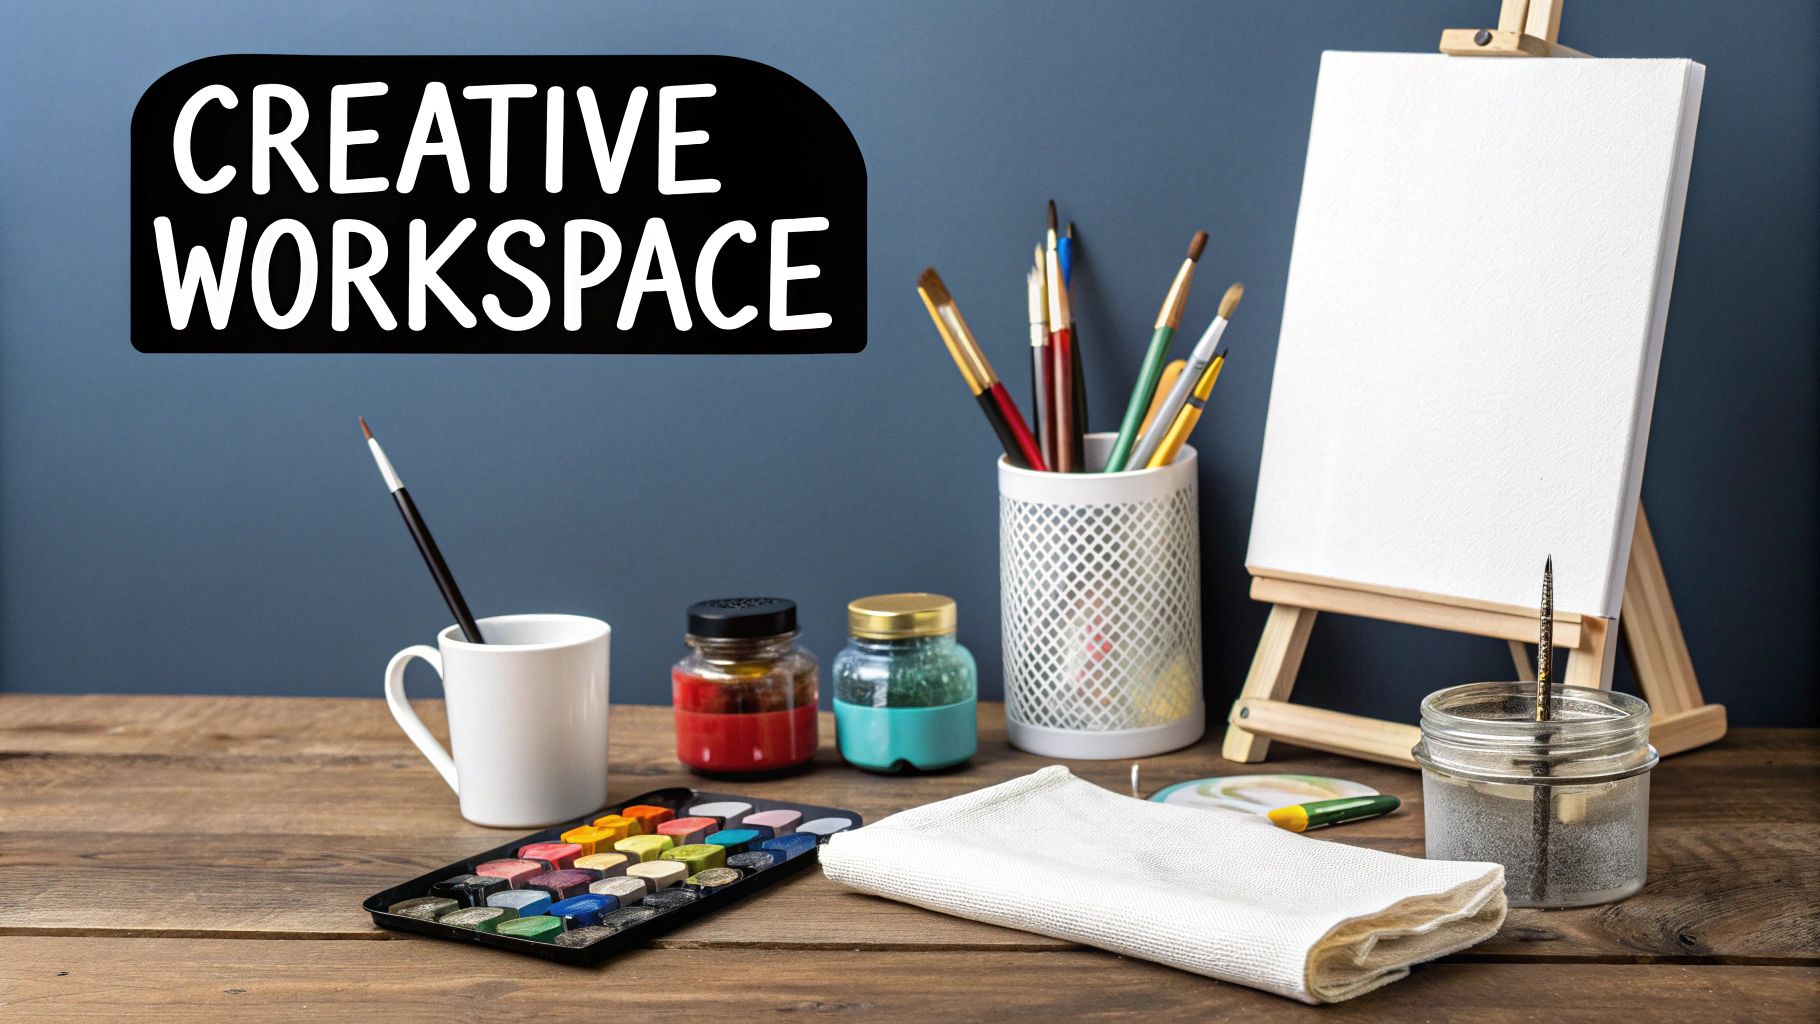
Preparing Your Painting Station
First things first, find a comfortable spot with great lighting. I can't stress this enough—good light is crucial for seeing those tiny numbers and making sure your colors are accurate. Natural daylight by a window is perfect, but a good desk lamp is a great alternative for painting at night.
Next, you’ll want to protect your table or desk. An old newspaper or a plastic tablecloth works great for catching any stray drips or splatters. Once your surface is covered, lay out all your supplies so they're within easy reach.
- Paints: I like to pop open all the little paint pots and arrange them in numerical order. This one simple step saves a ton of time hunting for the right color later.
- Water Cup: You'll need a cup of clean water for rinsing brushes. A heavy mug or a glass jar is much better than a flimsy plastic cup that can easily tip over.
- Paper Towels: Keep a few sheets on hand for dabbing excess water off your brushes or quickly blotting up a mistake.
This simple setup gets you into a nice rhythm, so you can move from one color to the next without breaking your focus. Interestingly, the tools in these kits are getting better all the time. The painting tools market is expected to grow from $14.01 billion to $15.36 billion, and hobby kits now account for 25% of those sales. The demand for precision brushes, like the ones you have, has even jumped by 18% for detailed canvas work. You can find more insights about this trend in the painting tools market.
Organizing Your Tools for Success
Before you make that first brushstroke, get familiar with your tools. Your kit likely came with a few different brush sizes, and they each have a specific job.
Pro Tip: Match the brush to the area. Use the smallest brush for the really tiny, detailed spots. The medium brush is your workhorse for most general areas, and the largest one is perfect for filling in those big blocks of a single color. It makes a huge difference in saving time and paint.
By taking just ten minutes to get organized, you create a space where you can relax and let your creativity flow. With your station ready and tools at hand, you're all set to immerse yourself in the process and bring your memory to life on the canvas.
Painting Techniques for a Professional Finish
Alright, your workspace is set up and you’re ready for the fun part—bringing your photo to life on the canvas. This is where a few simple techniques can make a huge difference, turning your project from a fun craft into a genuinely polished piece of art. A little strategy here will not only improve the final result but also make the whole experience more relaxing.
The biggest mistake I see beginners make is just diving in without a plan. Trust me, a methodical approach is your best friend. Simple habits, like working from the top of the canvas down, are game-changers for preventing smudges and keeping your work pristine.
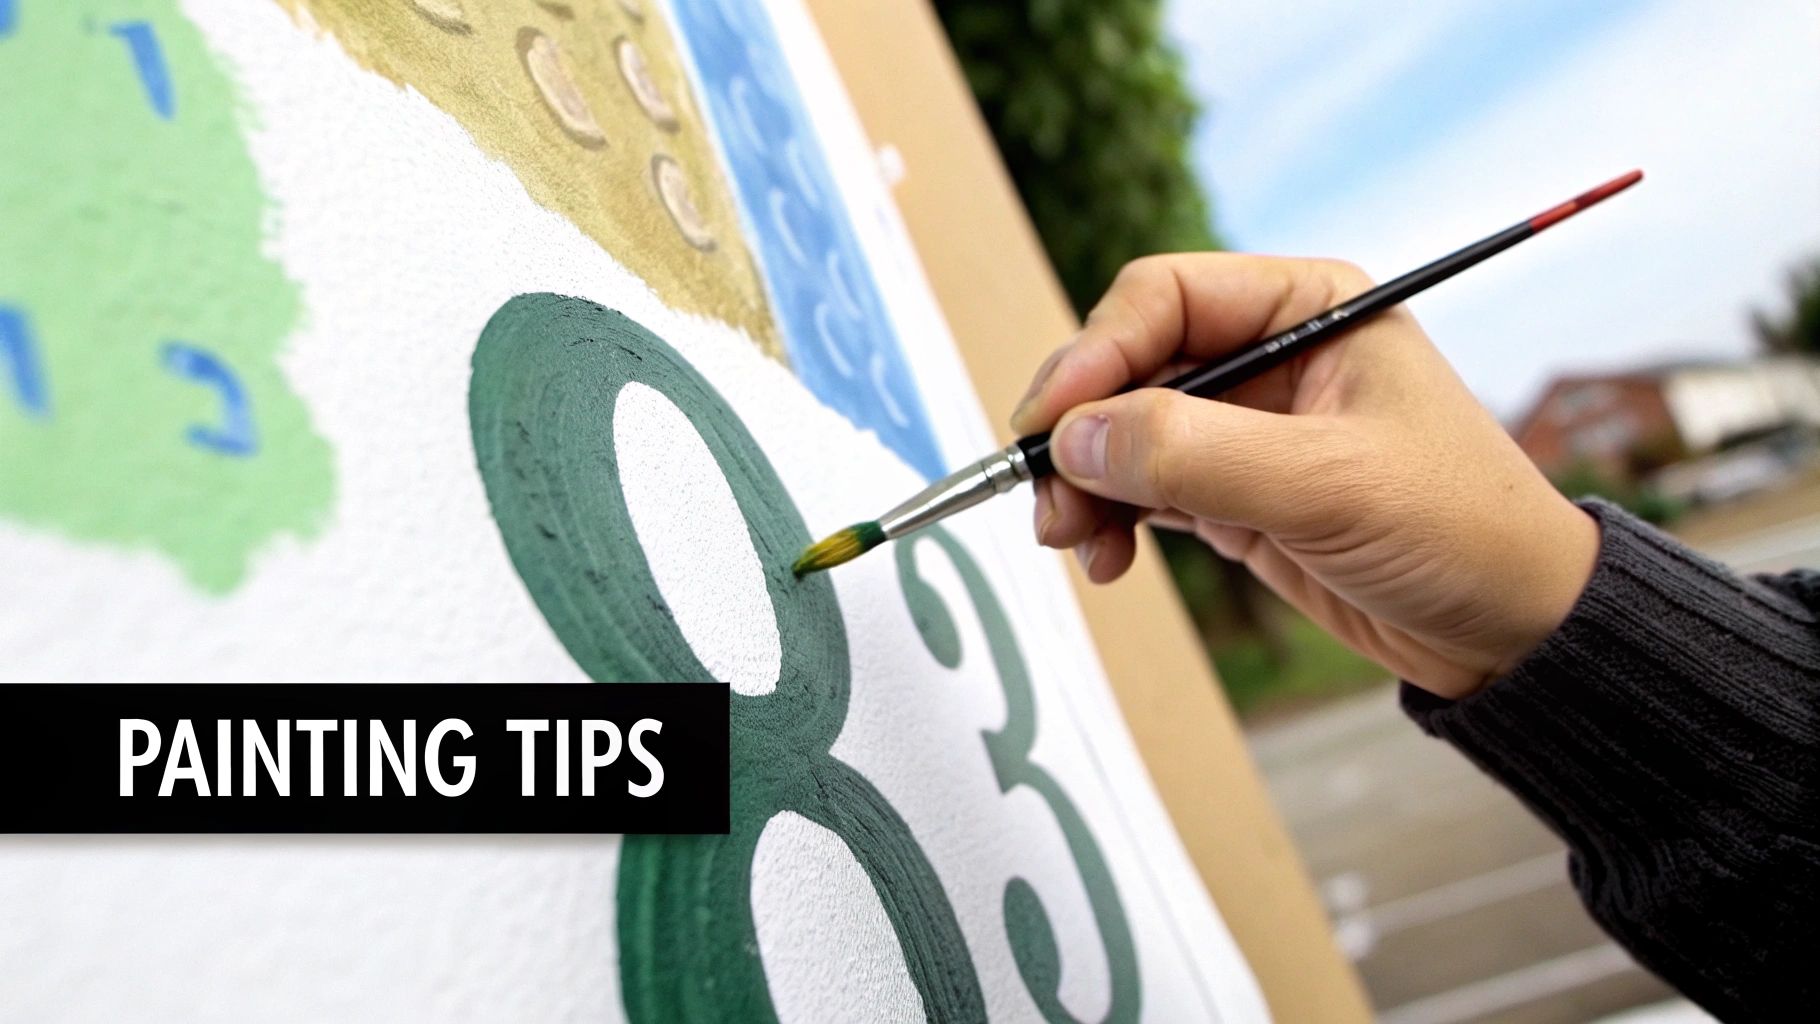
Mastering Your Brushstrokes
Here's the first rule of thumb: always work from the top down. If you're right-handed, get started in the top-left corner and move across and down. If you're a lefty, just flip that and begin in the top-right. This one small adjustment keeps you from dragging your hand through wet paint. Simple, but so effective.
Another great strategy is to tackle one color at a time. Pick a number, grab its matching paint pot, and fill in every single one of those sections on the canvas. It gets you into a nice rhythm and saves a ton of time you'd otherwise spend constantly washing your brushes.
Expert Tip: Try starting with either the darkest or the lightest colors. Knocking out the dark shades first really helps to define the image early on. On the other hand, starting with the lightest colors keeps them bright and clean, since it's much easier to paint a dark color over a light mistake than the other way around.
This kind of structured approach is a big reason why paint-by-number is so great for mindfulness. The global art paint market is on track to hit USD 5.31 billion by 2035, and 40% of that paint is used for hobbies. People are looking for creative outlets, and it's working—70% of users say they feel less stressed after completing a photo-based project like this one.
Handling Details and Coverage
You’re going to run into some seriously tiny sections on your canvas. Don’t panic! This is what the smallest brush in your kit was made for. For these little spots, you just need a tiny dab of paint on the very tip of the bristles. To keep your hand from shaking, try bracing it with your other hand for extra stability.
Getting that smooth, even coverage is all about using the right amount of paint—enough to cover the number and lines, but not so much that it gets thick and gloopy. If you can still see a number peeking through after the paint dries, just go back and add a second thin coat. This is pretty common with lighter colors like yellows and whites.
Here are a few more tips to keep in mind as you go:
- Patience is Key: Let a section dry completely before painting the one right next to it. This is the secret to getting crisp, clean lines without colors bleeding together.
- Keep Lids Closed: Acrylic paint dries out surprisingly fast. Get in the habit of snapping the lids shut as soon as you're done with a color.
- Blending for Softer Edges: Want to take it up a notch? Where two colors meet, you can gently blur the line between them while the paint is still wet. This creates a much softer, more realistic transition. To learn more, check out our guide on how to blend paint.
By keeping these simple techniques in your back pocket, you'll build confidence as you paint from a photo, making sure the process is just as rewarding as the final masterpiece.
Showing Off Your Finished Masterpiece
So, you’ve put down the brush and your painting is finally done. That feeling of accomplishment is amazing, isn't it? But before you rush to hang it up or give it away, there are a couple of quick things you can do to make it look truly professional and last a lifetime.
First up, let's talk about sealing it. A quick coat of clear varnish is a game-changer. This isn’t just some fussy step for pro artists; a simple spray or brush-on acrylic varnish protects your hard work from dust and stops sunlight from fading those beautiful colors you spent so much time on. It also gives the whole piece a consistent, polished sheen.
Making It the Star of Your Home
Once it's sealed and dried, your art is ready for its debut. A custom piece you've painted yourself has the power to completely transform a room. Don't just tuck it away in a corner—give it a prime spot! Think about hanging it over the fireplace, above your couch, or making it the anchor of a new gallery wall.
When you paint from a photo, the art tells a story. It’s personal. Seeing it on display can be a great source of pride and a wonderful conversation starter. For a little inspiration on where your new painting might fit best, check out these stunning dining room wall decor ideas. It can really help you imagine how to make your piece shine in your own space.
The Perfect Personalized Gift
Thinking beyond your own walls, these paintings make for incredibly thoughtful gifts. Seriously, just imagine the look on someone's face when they unwrap a painting of their beloved dog or a landscape from a vacation you took together. It's so much more personal than anything you could buy off a shelf.
A custom painting transforms a fleeting digital moment into a tangible, lasting keepsake. It’s a gift of time, effort, and memory, making it one of the most personal and touching gestures you can offer for any occasion.
Whether you’re looking for a one-of-a-kind wedding present, an anniversary surprise, or just a way to say "I'm thinking of you," a painting from a favorite photo is an emotional gift that will be treasured forever.
Got Questions? We've Got Answers
When you're turning a special photo into a painting for the first time, a few questions are bound to pop up. Let's walk through some of the most common things people ask, so you can feel confident and excited to get started.
"Is my photo good enough to use?"
This is probably the #1 question we get, and it's a great one to ask. Our design tool will give you a heads-up if the photo resolution is too low for the canvas size you’ve picked out.
For the best possible painting, you'll want to start with a high-quality original photo. Think crisp, clear, and taken straight from your phone or camera—not a screenshot or a picture you downloaded from social media, as those are often compressed and lose a lot of detail.
Pro Tip: Not sure if your photo will work? Don't stress. Our team is always happy to take a look at your image before you place an order. We'll give you honest feedback to make sure you'll love the final result.
"How long will it take to get my kit?"
We know you're eager to start painting! Once you place your order, our team gets to work designing your custom kit, which usually takes about 3-5 business days.
From there, shipping times can vary based on where you live, but it typically takes another 7-15 days for the package to arrive at your door. If you're painting this as a gift for a birthday or holiday, we always suggest ordering at least 3-4 weeks in advance just to be safe.
Ready to transform that favorite photo into a masterpiece? Head over to Custom Paint By Numbers and start designing your personalized kit now.


