

Ever wondered how some people create stunning paintings without any formal training? The secret might just be painting by numbers. It’s a beautifully simple concept: a canvas comes pre-printed with a design, and each little section has a number that matches a specific paint color. All you have to do is fill in the blanks.
It's a fantastic way to dip your toes into the art world, offering a relaxing and creative escape for everyone, from kids to adults. You don't need a single ounce of artistic skill to start—just the desire to bring a beautiful picture to life.
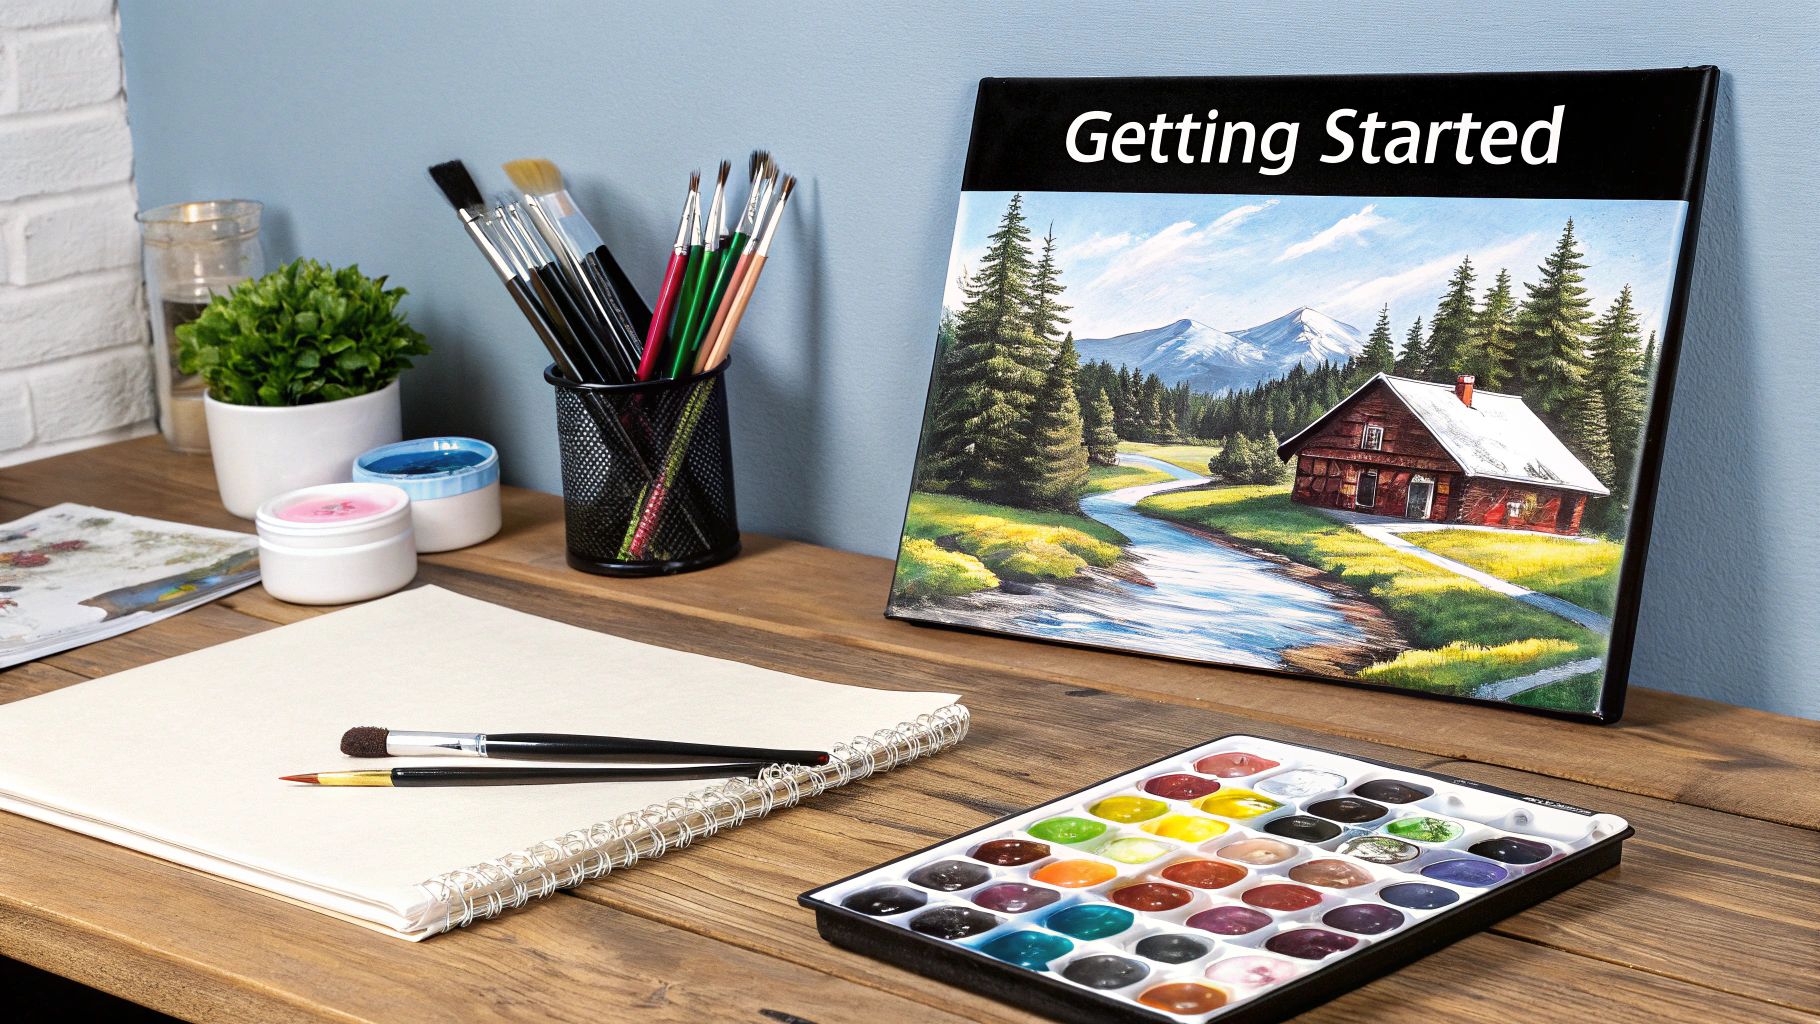
Your First Masterpiece Starts Here
Let's be honest, starting a new hobby can be intimidating. But with paint-by-numbers, the "complex" part of painting is already done for you. It's broken down into easy, bite-sized steps, turning the whole process into a calming, meditative experience.
My goal with this guide is to get you feeling confident before you even pick up a brush. We'll cover everything you need to know to make your first project a huge success.
Understanding Your Kit
When you unbox your first paint-by-number kit, you'll find everything you need to get started right away. It’s essentially a complete art project in a box.
Here’s what you can expect to find inside:
- A Numbered Canvas: This is your roadmap. The entire image is outlined and broken down into small, numbered shapes.
- A Set of Numbered Paints: You'll get a collection of small paint pots, each with a number that corresponds to a section on the canvas.
- Brushes: Most kits include a few brushes in different sizes, perfect for tackling both the big areas and those tiny, intricate details.
This hobby has exploded in popularity because it makes art accessible to everyone. While the professional art market is a massive $57.5 billion industry, paint-by-numbers offers a budget-friendly and deeply satisfying way for anyone to get creative. If you're curious, you can find more on the global rise of amateur painting over at prominentpainting.com.
Key Takeaway: Think of paint-by-numbers as a form of art therapy. The simple act of focusing on the numbers and colors helps quiet the mind, reduce stress, and improve your concentration. It’s more than just a craft; it's a mindful practice.
And it truly is an activity for all ages. If you're looking to get your kids involved in painting, check out a complete parent's guide to painting for kids for some great tips and techniques to get them started.
How To Choose Your Perfect First Kit
Picking out your very first paint-by-number kit is where the real fun begins. The sheer number of options can feel a bit dizzying, but the secret is to find a design that genuinely excites you without being too intimidating. Your choice here really sets the tone for a fun, relaxing painting session.
The single most important thing to look for in a first kit is complexity. I know how tempting it is to go for that epic, highly detailed landscape, but trust me on this one—starting simple is the best way to build your skills and confidence.
Size And Detail Matter
For your first project, a smaller canvas with bigger, more open sections is your best friend. A canvas around 16x20 inches (40x50 cm) is a great starting point. It’s big enough to feel like a real piece of art but not so massive that it feels like it will take forever to finish.
Keep an eye out for designs that don't have a ton of tiny, fiddly areas. Kits packed with minuscule, complex shapes can test the patience of even seasoned painters, let alone a first-timer. Think bold floral patterns, simple animal portraits, or even some cool, modern abstracts.
Pick A Subject That Speaks To You
You’re going to be spending a good amount of time with this image, so make sure it’s one you actually love looking at! Your motivation to see it through to the end will be so much higher if you're painting something that makes you smile.
Fortunately, you’ve got a world of themes to choose from:
- Landscapes and Nature: Who doesn't love a serene forest, a calming beach scene, or a vibrant sunset? These are classics for a reason.
- Animals: From powerful lions to adorable pets, animal portraits are a huge hit and incredibly rewarding to bring to life.
- Abstract and Modern Art: If you're drawn to bold colors and interesting shapes, an abstract design can be a fantastic and surprisingly forgiving first project.
This handy infographic is a great visual guide to help you pinpoint the right kit based on what you like and how comfortable you feel.
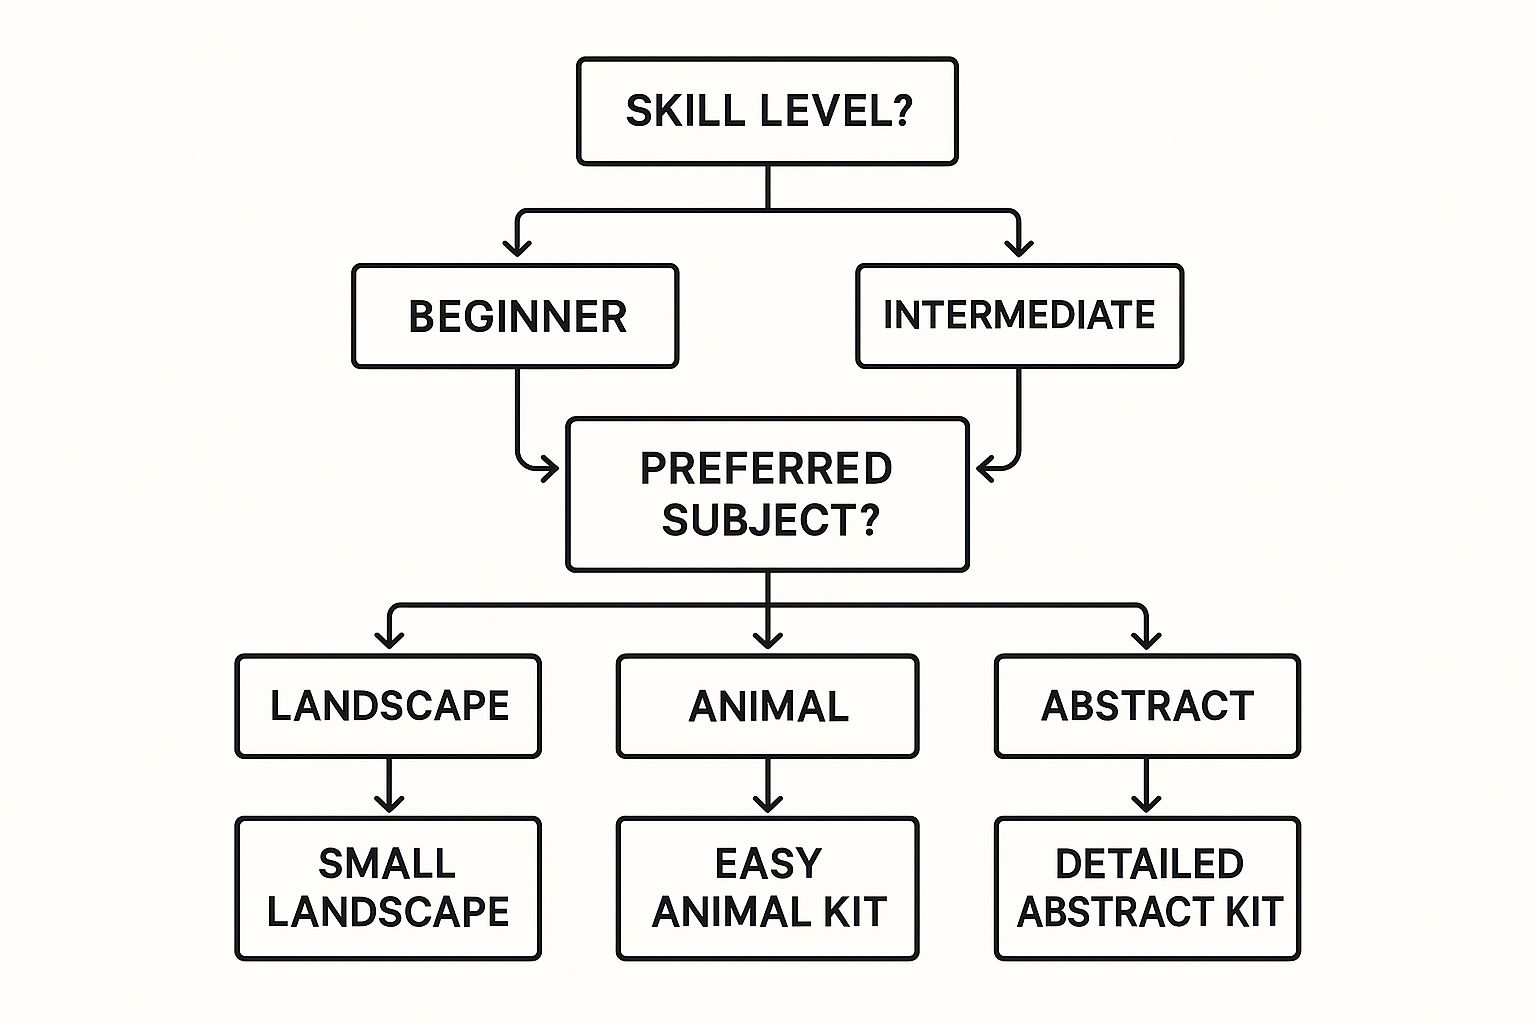
As you can see, it all comes down to finding that sweet spot between a subject you enjoy and a complexity level that feels manageable.
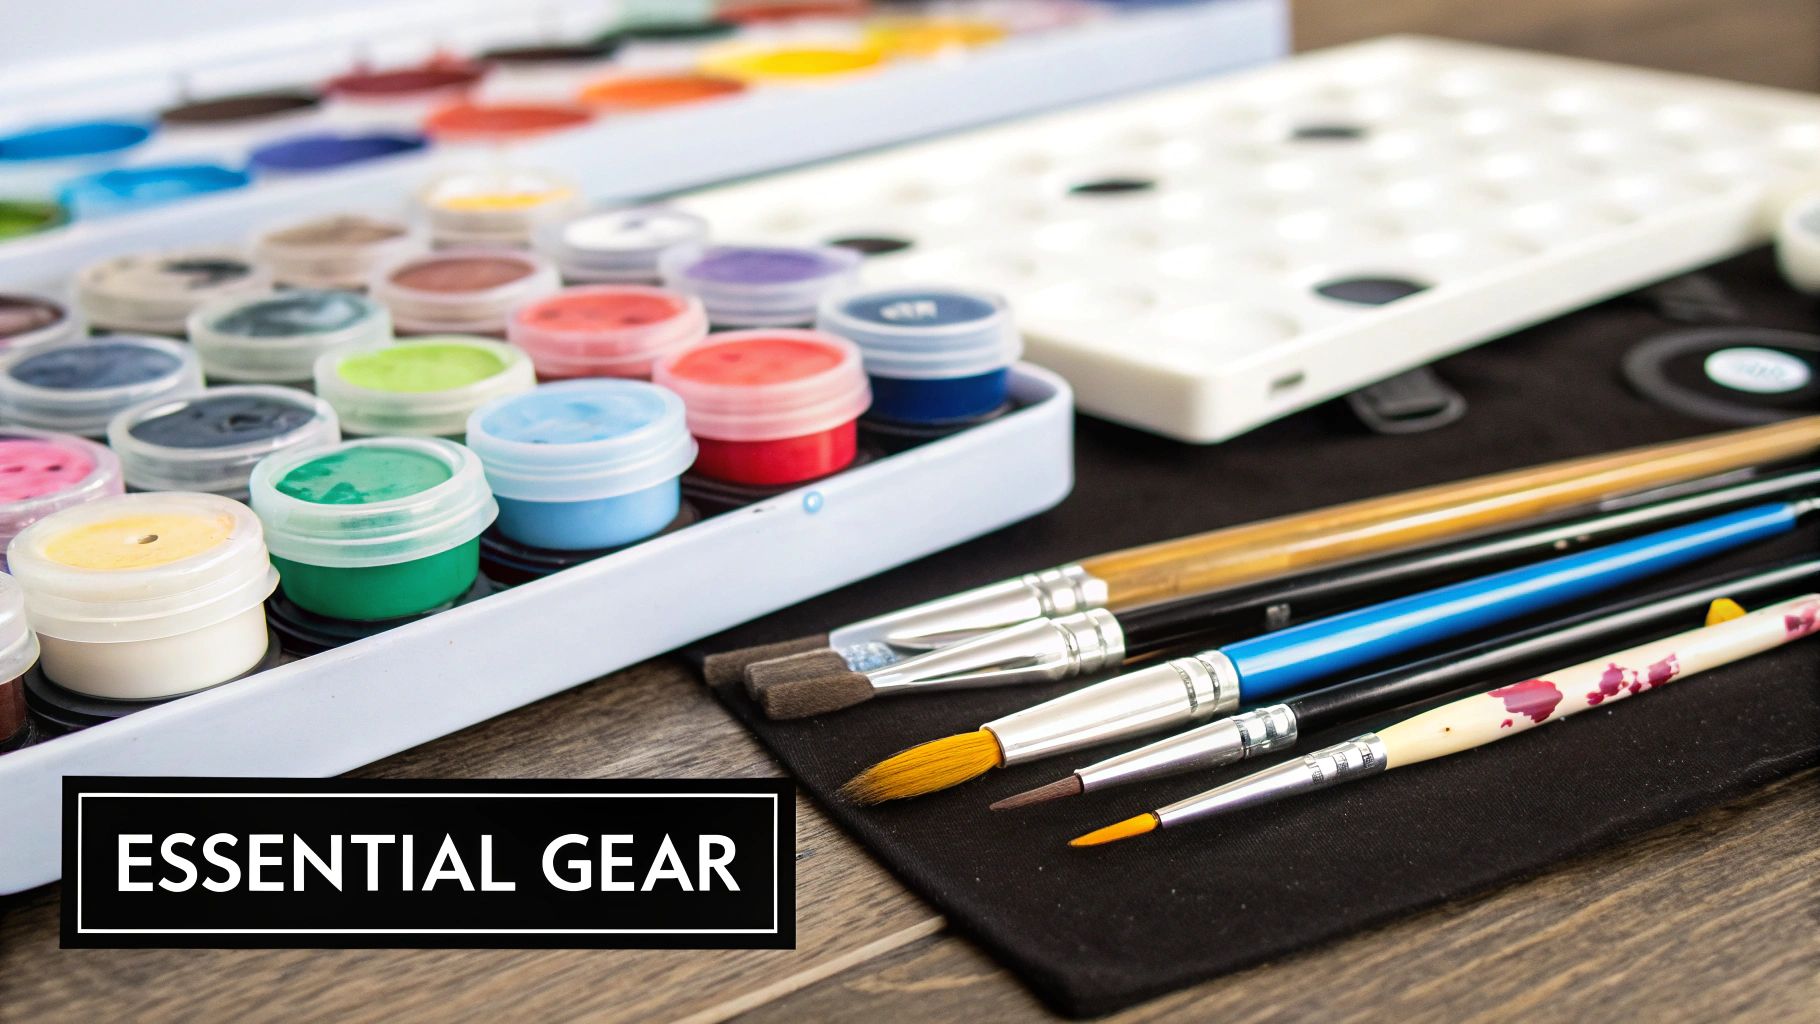
Key Kit Features To Compare
As you start browsing, you’ll notice that not all kits are built the same. A few key differences can really shape your painting experience, so it helps to know what you’re looking at.
Pro Tip: My number one piece of advice is to check what's actually in the box. A good beginner kit should be an all-in-one deal: the pre-printed canvas, all the little pots of acrylic paint you'll need, and at least three brushes in different sizes. This way, you can dive in the moment you open it.
If you want to see some great examples, you might be interested in our guide on the best paint-by-number kits for every skill level.
To make things a little easier, I've put together a quick comparison of the most common types of kits you'll find online.
Beginner Paint-By-Number Kit Comparison
| Kit Type | Best For | Average Price | Common Features |
|---|---|---|---|
| Standard Kits | First-time painters and general hobbyists. | $15 - $25 | Rolled canvas, standard acrylic paints, basic brushes. |
| Framed Kits | Those who want to display their art immediately. | $25 - $40 | Canvas is pre-stretched on a wooden DIY frame. |
| Custom Photo Kits | Creating a personalized piece of art or a unique gift. | $30 - $50+ | Transforms your own photo into a paint-by-number pattern. |
Ultimately, whether you choose a standard rolled canvas or a framed one, the goal is to find a kit that makes you excited to pick up a brush.
Setting Up Your Creative Workspace
A little prep work before you start painting makes all the difference. Seriously. Taking just a few minutes to set up a dedicated space, even if it's just a corner of your kitchen table, helps you get into a creative flow without worrying about making a mess.
Before you crack open that first pot of paint, let's get everything in order. Your kit has the main event, of course, but a few simple things from around the house will make your painting session so much smoother.
Your Workspace Essentials Checklist
Here's what I always have on hand, in addition to the kit itself:
- Something to Protect Your Surface: This is non-negotiable! Lay down some old newspaper, a cheap plastic tablecloth, or a flattened cardboard box. It's your best defense against paint splatters.
- A Cup of Water: You'll need this for rinsing your brushes when you change colors. An old mug or a sturdy jar works perfectly. Just make sure it's not something you'll accidentally drink from!
- Paper Towels or an Old Rag: Keep these close by to blot your brush after rinsing. A sopping wet brush will water down the acrylic paint, leaving you with thin, streaky colors. We don't want that.
- A Small Easel (Optional but Recommended): You don't need one, but a small tabletop easel is a game-changer for your posture. It stops you from hunching over and can save you from a sore neck after a long, happy painting session.
My Two Cents: Getting organized before you begin is the secret to a relaxing experience. When everything is within arm's reach, you can just lose yourself in the process of painting instead of constantly getting up to find something. It's about creating that therapeutic flow.
Let There Be Light
I can't stress this enough: good lighting is crucial. Squinting to see tiny numbers and faint lines in a dim room is a surefire way to get frustrated and strain your eyes.
Natural daylight is always the best option, so try setting up near a window if you can. If not, a good desk lamp that you can aim right at your canvas is the next best thing. Good light helps you see the subtle differences between similar colors and ensures you stay neatly within the lines.
As you get more into this amazing hobby, keeping your gear tidy becomes part of the ritual. For more great ideas, take a look at our guide on how to organize art supplies.
You don't need a professional art studio to create your perfect painting nook. A clear spot on a desk or table is all it takes to get started on your paint-by-number adventure.
Getting the Hang of Basic Painting Techniques
Alright, your creative space is all set up. Now for the best part—the actual painting! It might seem as simple as coloring inside the lines, but a few simple techniques can make a world of difference. Think of these as the foundational skills you'll build on.
First, let's talk about the brush. You don't need a special grip; just hold it like you would a pen. The goal is a relaxed, comfortable hold that gives you control without making your hand cramp up.
Before you load up with paint, give your brush a quick dip in water and then gently blot it on a paper towel. You want it damp, not dripping. This little step helps the acrylic paint glide smoothly right off the bristles and onto the canvas.
Finding a Smart Way to Paint
There's no single "correct" way to fill in your canvas, but having a plan can save you from a lot of headaches, especially when you're just starting out. A good strategy keeps things from getting messy and makes the whole process feel less overwhelming.
Many people swear by the top-down approach. It’s exactly what it sounds like: you start at the top of the canvas and work your way down. This is a game-changer for avoiding the dreaded hand-smudge on wet paint. Simple, but so effective.
Another popular method is tackling one color at a time. Just pick a color, hunt down all its numbered spots, and fill them all in before moving on. This helps you find a good rhythm and ensures you don't miss any tiny sections. Plus, you’re not constantly stopping to wash your brush.
My Personal Tip: I always start with the darkest colors first. Dark paints are great for covering lines and defining the image's structure right away. And honestly, if you accidentally go over the line, it’s a lot easier to cover a dark mistake with a light color than the other way around.
Nailing the Details for a Clean Finish
The secret to a paint-by-number that looks like a genuine piece of art is all in the details. A couple of clever tricks can take your project from a fun pastime to something you’d be proud to hang on your wall.
What about those impossibly small areas where even your tiniest brush feels clumsy? Grab a toothpick. Seriously! Dip the very tip in a bit of paint, and you'll have the perfect tool for dotting in color with incredible precision.
You'll probably notice that some lighter colors—like yellows, whites, and pastels—don't quite cover the number or line on the first pass. That’s totally normal. Here’s the fix:
- Let that first layer dry completely. It usually only takes a few minutes.
- Go back over it with a second thin coat of the same color.
- This second layer builds up the opacity, making the color pop and making those guides disappear for good.
Once you get comfortable with these basics, you might get curious about what else is out there in the art world. If you want to dive deeper, you can learn more about art movements like the Baumanskaja School of Painting.
The Simple Art of Blending
If you want to add a little extra flair, give blending a try. This technique softens the hard lines between two colors, creating a really nice, smooth transition. It sounds complicated, but a basic version is perfect for beginners.
The trick is to work while the paint is still wet. Fill in one numbered section, then quickly paint the one right next to it with its color. While both are still damp, take a clean, slightly wet brush and gently sweep it back and forth over the line where they meet. This will blur the edge, creating a soft gradient perfect for things like sunsets, water, or cloudy skies.
Giving Your Artwork a Polished Finish
Painting that last numbered section feels amazing, but don't hang it on the wall just yet. A couple of quick final touches are all it takes to transform your painting from a fun project into a piece of art you'll be genuinely proud of. These last steps are what give it that professional look and protect all your hard work.
First things first, let's talk about varnish. Think of it as a clear, protective shield for your masterpiece. It’s what guards the canvas against dust, sneaky moisture, and the sun's fading UV rays, keeping your colors looking as bright and vibrant as the day you painted them.
Varnish also gives you a chance to decide on the final look of your artwork. You've got two main choices:
- Gloss Varnish: This will give your painting a shiny, reflective finish. I love how it makes colors pop and feel deeper and more saturated.
- Matte Varnish: If you're going for a more modern, subtle look, a matte varnish provides a flat, non-reflective finish that looks fantastic.
Applying it couldn't be simpler. The key is patience—make sure your painting is 100% dry by waiting at least 24 to 48 hours. Once it's ready, grab a clean, wide brush and apply a thin, even coat over the whole canvas.
Finding The Perfect Frame
Honestly, framing is the single best thing you can do to elevate your finished piece. A good frame creates a clean, intentional border that draws the eye right to your art, making it look complete and ready for a gallery. And you don't need to spend a ton of money on custom framing to get that professional look.
Your local craft store is a great place to start. They have tons of affordable, ready-made frames in standard sizes, and a 16x20 inch frame often fits paint-by-number canvases perfectly. If your kit included a DIY wooden frame, now’s the time to put it together. For a more detailed walkthrough, we've put together a great guide on how to frame canvas paintings that covers everything.
A Moment of Pride: Hanging your art is the final, most rewarding part of the whole process. Whether it becomes the star of a gallery wall, a standalone focal point, or a heartfelt gift for someone special, you're sharing a piece of your creative journey.
The whole paint-by-numbers hobby has seen a huge resurgence, especially with adults looking for a way to relax and get creative. It’s become a go-to for anyone who needs a screen-free, stress-relieving activity. This growing community just goes to show that the satisfaction of creating and displaying your own art is something anyone can enjoy.
Got Questions? I've Got Answers
When you're just getting started with paint-by-numbers, a few little "what do I do now?" moments are bound to happen. It's totally normal. Think of this as your personal cheat sheet for those common little bumps in the road. With a few simple tricks up your sleeve, you'll be painting like a pro in no time.
One of the most frequent panics I hear about? Dried-up paint. You get caught up in the flow, forget to close a pot, and come back to a tiny brick of color. Don't throw it out just yet!
What If My Paint Dries Out?
So, you've found a pot of paint that's more like a lump of clay. It's a classic problem, but usually an easy fix.
If the paint is just thick and pasty, all you need is a drop or two of warm water. Add it in, give it a gentle stir with a toothpick, and you'll see it loosen right up into that smooth, creamy consistency you need.
For paint that's gone completely hard, you might need to bring in a secret weapon: an acrylic flow improver. A tiny amount can often work miracles. You can grab a bottle at any art supply store. Of course, the best fix is prevention—make a habit of snapping those lids shut the second you switch colors.
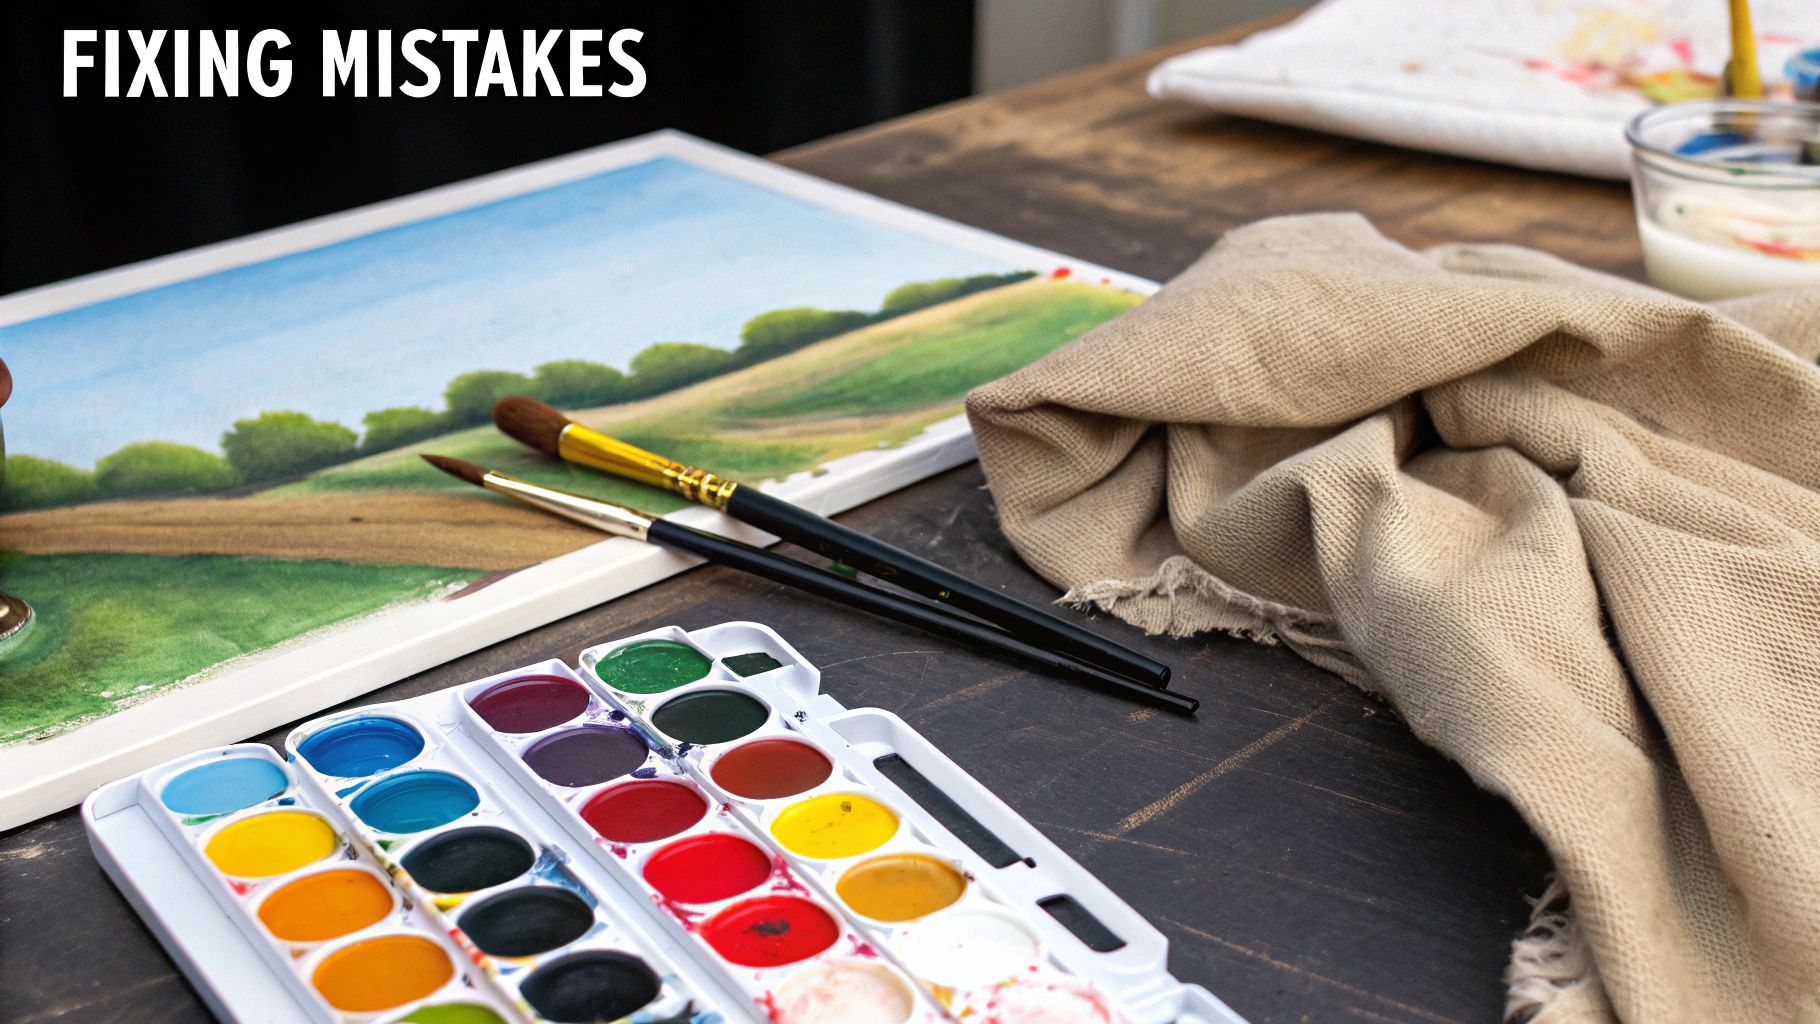
Help! I Painted Outside The Lines!
We've all been there. A little wobble of the hand, and suddenly your blue has wandered into a yellow zone. No big deal.
The absolute easiest fix is to just let it dry. Seriously, walk away, make a cup of tea, and come back when it's no longer wet. Then, you can simply paint over the mistake with the correct color. Easy as that.
If you're trying to cover a dark color with a very light one, you might need a second coat to hide it completely. But if you spot the error while the paint is still wet, you can often just lift it right off with a clean, slightly damp Q-tip or a spare brush.
My Two Cents: Don't stress about mistakes. They are just part of the process. The best thing about acrylic paint is how forgiving it is—a little patience and another layer of paint can fix almost anything.
Another question that comes up all the time for anyone new to painting by numbers for beginners is about those pesky little numbers and lines showing through the paint. It’s a great question, because hiding them is key to getting that polished, "I painted this myself" look.
How Can I Hide The Numbers And Lines?
You've laid down a beautiful coat of pale yellow, only to see the black number and lines peeking through. It’s a common thing with lighter colors, but there are a few clever ways to make them vanish.
The most straightforward approach is to just apply another coat. Let the first layer dry completely, then go over it with a second, thin layer. Sometimes a third is needed for really light pastels, but this usually does the trick.
Want a couple of insider tips?
- White Gel Pen: Before you even start painting, go over the numbers in light-colored areas with a white gel pen or a bit of correction fluid. Let it dry, and your paint will cover it flawlessly.
- A Dot of White: You can also dab a tiny spot of white paint from your kit over the number first. Once that's dry, paint over it with the correct color. It acts like a primer.
Using these simple techniques will give your finished piece a much cleaner, more professional look, with no distracting guides showing through.
Ready to transform a cherished photo into a stunning painting? At Custom Paint By Numbers, we can turn any picture into a unique, personalized kit. Start creating your custom masterpiece now!


