

Turning a favorite photo into a true piece of art is surprisingly straightforward. All it takes is picking a meaningful, high-quality picture, deciding on an artistic style that fits its vibe, and then using a service to bring your masterpiece to life. It's a fantastic way to get those cherished digital memories off your phone and onto your wall.
Your Creative Roadmap to Personalized Art
Ever find yourself scrolling through your camera roll and stopping on a photo that just feels special? Maybe it’s a candid laugh from a loved one, a jaw-dropping sunset from that one vacation, or a silly portrait of your pet. You know it deserves better than to just live on a screen.
This guide is your friendly walkthrough for turning those moments into real, tangible art that tells a story. And the best part? You don't need to be a professional artist or have a lick of experience. Modern tools and services have opened up this creative journey for everyone. By the end of this, you’ll be inspired and ready to start your first project.
From Digital File to Physical Masterpiece
The whole idea here is to go beyond a simple 8x10 print and create something with unique artistic flair. While traditional photo printing is still a go-to, more and more people are looking for personalized options.
It's an interesting trend: even as photo print volumes in the U.S. are expected to dip by about 2.7% annually, the market's revenue is actually projected to grow. It’s set to climb from over $1.4 billion in 2026 to more than $1.6 billion by 2029. This shift, mostly driven by rising material costs, shows that people are still willing to invest in high-quality physical memories.
This simple visual breaks down the creative workflow from start to finish.
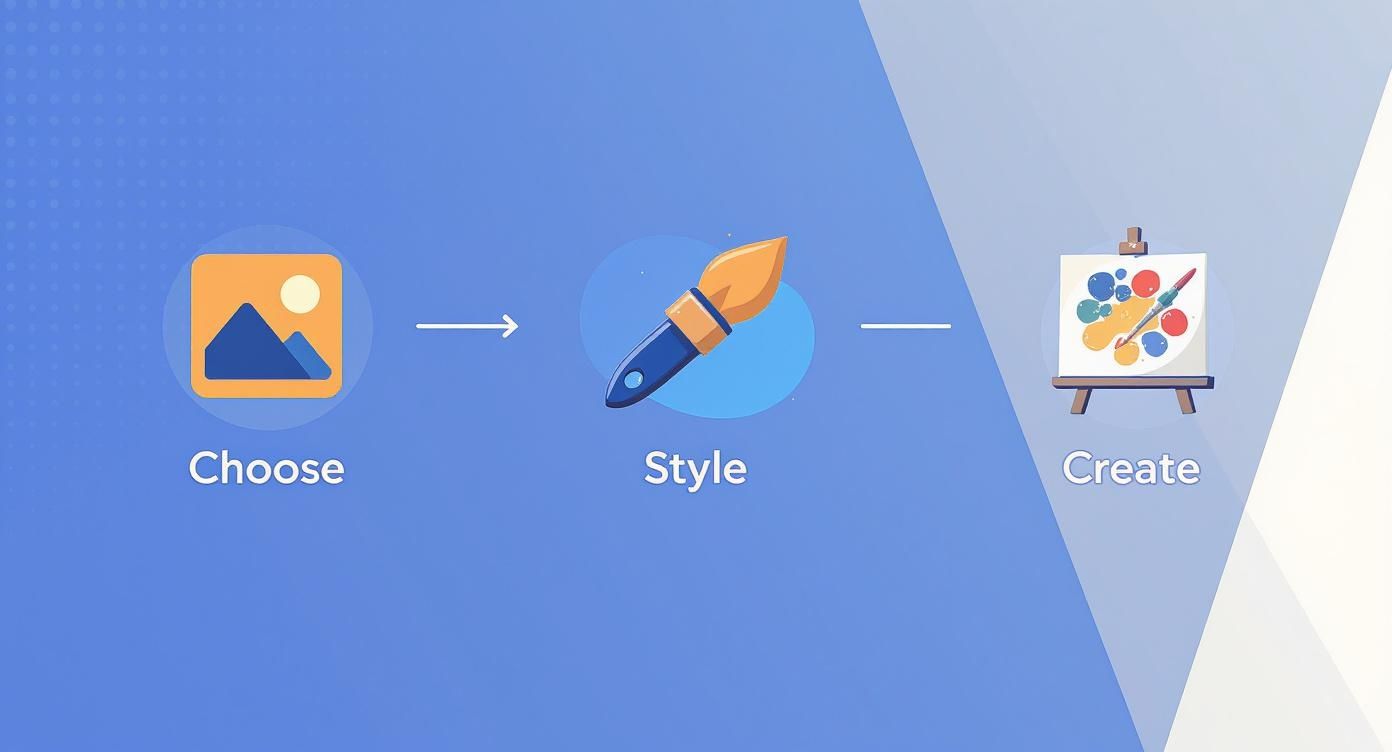
As you can see, the process really comes down to three key decisions: picking the right image, choosing a style, and then creating your final piece.
Methods For Creating Your Artwork
There are a ton of ways to transform a photo, and each one offers a completely different experience and result. From digital tools to hands-on kits, the possibilities are pretty vast.
Here's a quick look at common ways to transform your photos into art, comparing the skill needed, typical cost, and what kind of final piece you can expect.
Popular Methods for Turning Photos into Art
| Method | Skill Level | Typical Cost | Best For |
|---|---|---|---|
| Custom Paint-By-Numbers | Beginner | $30 - $80 | A relaxing, hands-on project with a guaranteed beautiful result. |
| Digital Painting Software | Intermediate to Advanced | $10 - $50+ (software) | Total creative freedom for those comfortable with digital tools like Procreate or Photoshop. |
| AI Art Generators | Beginner | Free to $20/month | Quickly generating a wide variety of unique artistic styles with minimal effort. |
| Commissioned Artwork | None | $100 - $1,000+ | A completely unique, professional piece created by an artist. |
This table just scratches the surface, but it gives you a good idea of the main paths you can take.
Some of the most popular options include:
- Custom Paint-By-Numbers Kits: This is a perfect choice for beginners. You get a guided, hands-on painting experience where you submit your photo, and a company creates a numbered canvas and matching paints. It lets you recreate the image yourself, brushstroke by brushstroke.
- Digital Painting Software: If you're more tech-savvy, you can use apps like Procreate or Adobe Photoshop to manually trace or paint over your photo, creating a digital illustration. This takes more skill, but you have complete creative control over the final look.
- AI Art Generators: These tools use algorithms to instantly reimagine your photo in countless styles, from a classic oil painting to something out of a sci-fi movie. For anyone looking to push the boundaries, modern AI even makes it possible to convert 2D images to 3D models.
The goal isn't just to copy a photo—it's to elevate it. By choosing a method that resonates with you, you’re not just making a decoration; you're creating a personal artifact that captures a memory in a completely new way.
Throughout this guide, we're going to focus mainly on the paint-by-numbers approach, since it so beautifully merges the personal touch of your own photos with the satisfying, hands-on process of painting.
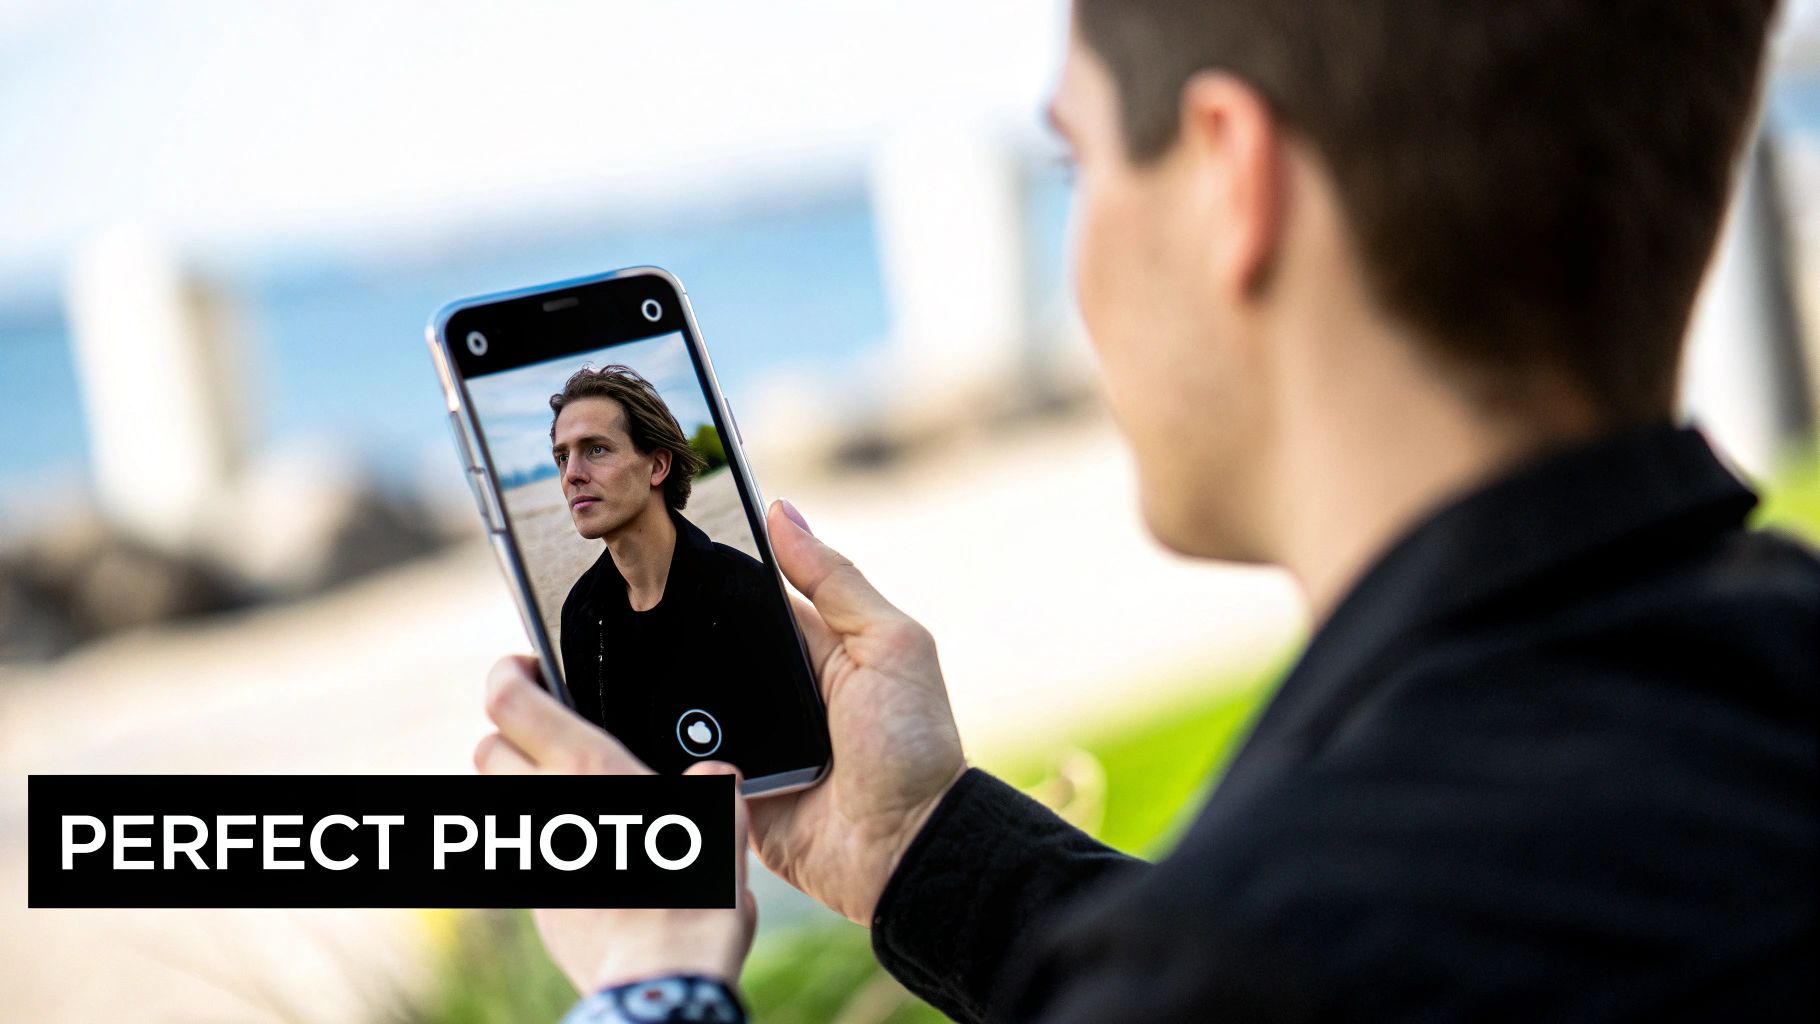
Finding the Perfect Photo for Your Project
Let's be honest, not every photo on your phone is destined to become a masterpiece. The real skill is learning to see the artistic potential hiding in your camera roll. I can't stress this enough: finding the right image is probably the single most important step in turning a photo into a piece of art you'll actually want to hang on your wall.
Think of it this way: you wouldn't try to cook a gourmet meal with bad ingredients. A great photo gives you a solid foundation, making the entire creative journey smoother and the final result something you can be truly proud of.
What Makes a Photo Great for Art
Some photos just feel right for painting. As you scroll through your pictures, start training your eye to spot a few key qualities that translate beautifully from a digital image to a physical canvas.
Look for photos that have:
- A Clear Subject: Your main focus, whether it's a person, a beloved pet, or a stunning landscape, needs to stand out. Steer clear of busy, chaotic images where it's hard to tell what you're supposed to be looking at.
- Good Lighting: Soft, natural light is your best friend. It creates gentle shadows and highlights that give your subject depth and dimension. Photos taken with a harsh flash or in a dark, underexposed room tend to look flat and lose all those wonderful details.
- An Emotional Connection: The art that resonates most deeply is the art that makes you feel something. A photo that captures a genuine laugh, a quiet moment of peace, or a pet's goofy personality will carry that same energy into your finished painting.
For example, if you're planning a custom pet portrait, a shot of your dog in sharp focus with soft morning light glinting off his fur is an ideal starting point. A blurry, dark photo from a party where he's just a small part of the background? That’s going to be a struggle. The necessary details just aren't there to work with.
Technical Checks Before You Commit
Okay, so you've picked out a few photos that you love. Now it's time for a quick technical inspection. This is a crucial step that can save you from a lot of frustration down the road, because a photo that looks great on your phone might not look so hot when blown up on a canvas.
Here's what to check:
- High Resolution: Pinch and zoom in on the important details of your photo. Do they stay crisp, or do they immediately dissolve into a blurry, pixelated mess? A high-resolution image is non-negotiable for ensuring your final artwork is sharp and clear.
- Simple Backgrounds: A cluttered background is distracting. It pulls the eye away from what really matters. Look for photos with clean, simple backgrounds—a solid-colored wall, an open sky, or a softly blurred field of grass. This helps your subject pop and creates a much more elegant piece.
The goal is to choose a photo that already feels like a work of art. Strong composition, beautiful lighting, and sharp focus are the building blocks you need for a masterpiece.
These guidelines become even more critical if you're creating a custom paint-by-numbers kit. The software that generates your canvas relies on having clear, well-defined information to map out the colors and lines correctly. For some great visual examples of what works, this guide on creating a custom photo painting is a fantastic resource. Trust me, spending a few extra minutes to choose the perfect image will pay off in a big way once you have a brush in your hand.
Finding the Right Artistic Style for Your Photo
You’ve got the perfect photo picked out—now for the fun part. This is where you get to decide on its new artistic identity, turning a simple picture into a real statement piece. It’s all about matching the vibe of your image with a style that truly makes it sing.
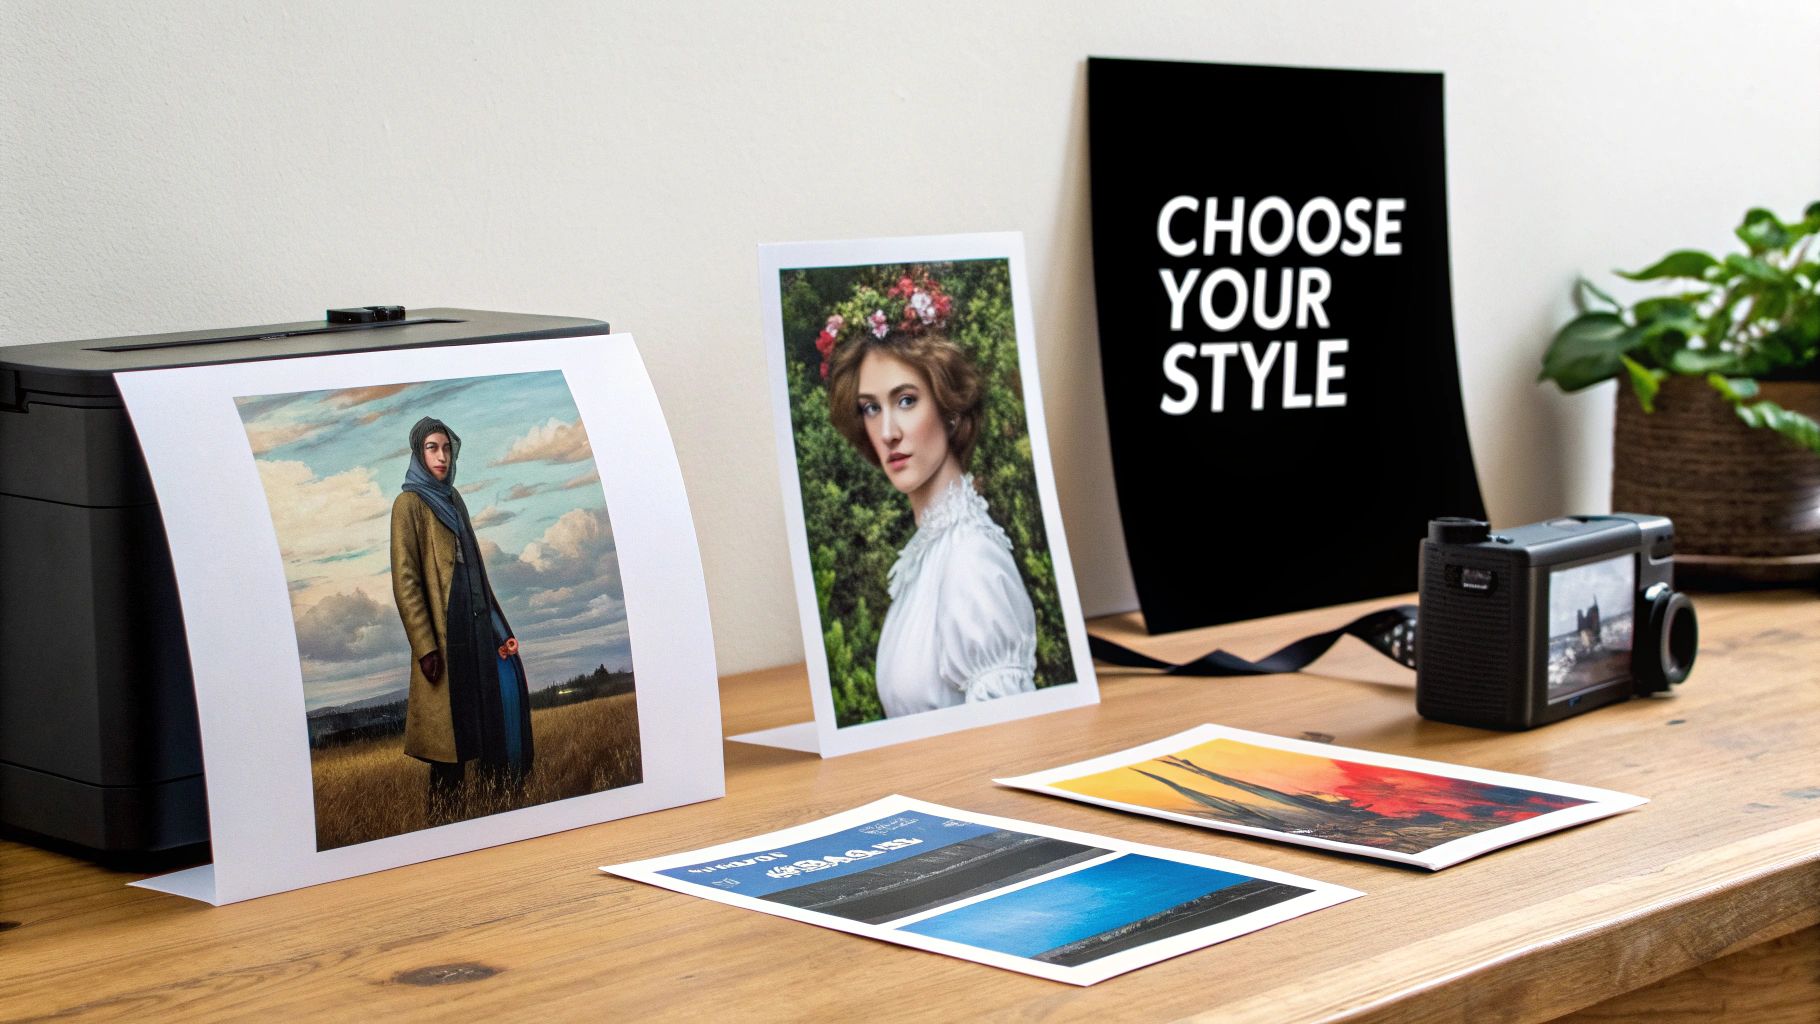
Think of yourself as the creative director here. The style you land on will completely shape the story your final artwork tells. A soft, romantic portrait might look incredible as a watercolor, while a bold, gritty city shot could be a perfect match for a pop art look.
This is the kind of creative control that’s driving the huge growth in the digital art market. What was a $5.8 billion market in 2023 is on track to hit $11.81 billion by 2030. People love being able to turn their own photos into art, and it's easier than ever. You can dig into the numbers yourself in this market report.
Matching the Style to Your Subject
The real trick is creating harmony between your photo’s subject and the art style. Think about how different styles can change the entire emotional feel of the same image.
- Classic Oil Painting: This style lends a timeless, almost dramatic weight to an image. It's fantastic for formal portraits, epic landscapes, or that one treasured family photo you want to feel historic and full of depth.
- Soft Watercolor: If you're going for something light, airy, and a bit dreamy, watercolor is your best bet. It’s perfect for wedding photos, pictures of kids, or peaceful nature scenes where the gentle washes of color add a delicate, personal touch.
- Bold Pop Art: Inspired by the likes of Andy Warhol, this style uses vibrant, high-contrast colors to grab attention. It works incredibly well for fun pet portraits or modern cityscapes, turning them into instant conversation starters.
- Modern Line Drawing: For a minimalist and elegant vibe, a line drawing strips your photo down to its essential forms. This is a great option for architectural shots or portraits where the focus is on shape and contour, not color.
A huge part of this is understanding color. Getting a feel for what is color grading in photography can be a game-changer. Even a basic knowledge of how colors interact will help you pick a style that enhances your photo’s natural palette.
Getting the Practical Details Right
Once you’ve got a style in mind, it’s time to think about the canvas itself. A few practical decisions here will make sure your final piece looks professional and fits right into your space.
Canvas Size and Orientation
First, where is this going to hang? A huge, dramatic landscape might deserve a massive canvas over the sofa, while a sweet, intimate portrait might be better suited for a smaller spot on a gallery wall.
Pay close attention to the aspect ratio of your original photo. A square Instagram picture isn’t going to fit a long, rectangular canvas without some serious cropping. To avoid cutting off someone’s head, make sure you choose a canvas size that matches your image’s dimensions.
Pro Tip: Use painter's tape to mark out different canvas sizes on your wall. It’s a dead-simple trick that helps you actually see how the art will fill the space before you click "buy."
Coordinating with Your Decor
Finally, take a quick look at the room’s color scheme. If your living room is full of cool blues and grays, a painting with fiery orange and red tones might feel a bit jarring. You can either pick an artistic style that naturally fits your decor or, even better, choose a photo that already has colors that will feel right at home. It’s that final touch that makes your new artwork look like it was always meant to be there.
Turning Your Photo into a Paint By Numbers Kit
Okay, you’ve picked out the perfect photo and polished it up. Now for the fun part: turning that digital memory into a real-life painting project. This is where a custom paint-by-numbers service comes in, acting as the bridge between your picture and a canvas ready for your brush.
Let's break down how this actually works, from upload to unboxing.
It all starts with uploading your image to the service's website. Simple, right? But don’t rush this step. The quality of the final kit hinges entirely on the quality of the photo you provide. A sharp, high-resolution image is going to give you a much clearer and more detailed canvas to work with.
From Your File to Their Mockup
Once your photo is uploaded, you’ll usually get to make a few choices, primarily the canvas size and the number of paint colors. Most companies offer palettes ranging from 24 to 48 colors.
More colors mean more detail, which can be great for complex images like portraits. But from my experience, a 36-color palette is the perfect middle ground. It gives you enough nuance to capture the image beautifully without becoming overwhelming.
Here’s a typical upload interface you might see. It's designed to be super straightforward.
See how simple that is? Just a clear button to get your file and you're on your way. The goal here is to make it easy for anyone to get started.
After you submit your order, the company’s designers get to work. Within a day or two, they'll take your photo and digitally map it out, simplifying all its shades and tones into the color palette you selected. The result is a numbered digital proof of what your painting will look like, which they’ll email to you for approval. This is your first look at how your photo translates into a paint-by-numbers design.
Giving the Green Light (And What Happens Next)
When that digital proof arrives in your inbox, take a good look. Don't just glance at it! Zoom in. Check the details.
- Is the cropping what you expected?
- Do the colors still capture the feel of the original photo?
- Are any important small details lost?
If something feels off, speak up. Good companies are happy to make small tweaks because they want you to love the final product.
This digital preview is your last chance to make changes before it’s set in stone. Think of it as the blueprint for your project. A common pitfall is approving it too quickly, only to wish you'd asked for an adjustment later.
Once you give your final approval, the magic happens behind the scenes. The team prints your numbered guide onto a quality linen canvas, mixes each acrylic paint to match the design, and puts it all together in a kit with brushes. Everything you need is then packed up and shipped right to you.
For more pro tips on elevating your final piece, check out our guide to creating amazing custom paint by numbers for adults. Now, the rest of the creative journey is up to you
Painting and Finishing Your Custom Artwork
This is it—the moment you've been waiting for. Your custom kit has arrived, and that blank, numbered canvas is calling your name. Opening up those little pots of paint and holding the brushes feels like the start of something special. It's your chance to slow down, get lost in the process, and bring your photograph to life, one brushstroke at a time.
Sure, you can just follow the numbers. There's nothing wrong with that. But if you want to elevate your painting from a simple craft to a piece of art you're truly proud of, a few pro-level techniques can make all the difference.
Adding Depth and Texture
The acrylic paints in your kit are more versatile than you might think. You can thin them out with a little water for a soft, almost watercolor effect. Or, you can do the opposite and really layer the paint on thick. This technique, called impasto, creates a tangible texture that makes parts of your painting literally pop off the canvas. It's a fantastic way to add a bit of drama.
Another great trick is to blend the edges where two colors meet. While the paint is still wet, just use a clean, dry brush to gently feather the colors into each other. This creates a much softer, more natural transition—perfect for skies, water, or the background of a portrait.
Remember, the numbered guide is just that—a guide. The real artistry comes from the small, personal choices you make along the way. Your goal is to create a piece that reflects both the original photo and your own creative touch.
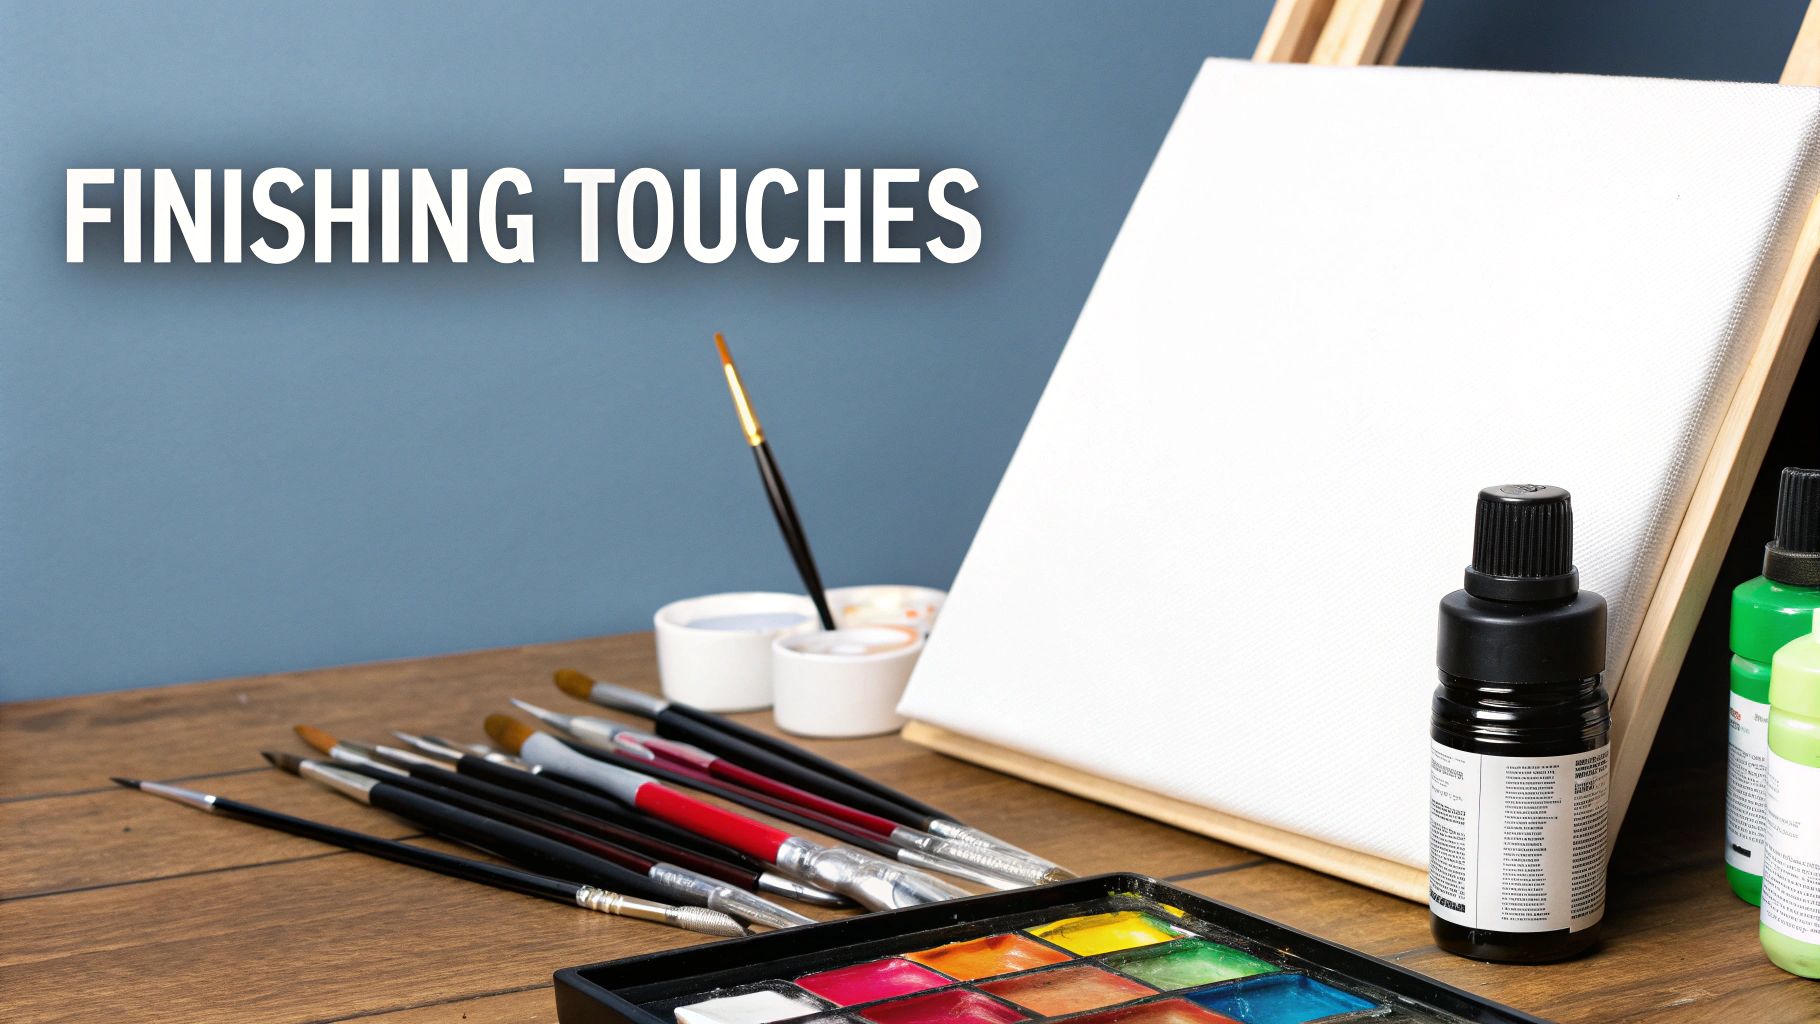
Protecting Your Finished Artwork
You’ve painted the last section, and everything is completely dry. Don't stop now! The final step is to seal your work, and it's a crucial one that too many people skip. A good sealant protects your painting from dust, grime, and the fading effects of UV light.
Applying a coat of varnish will not only preserve your artwork but also give it a professional finish. You have a few options to choose from:
- Gloss Varnish: This gives your painting a shiny, vibrant look that really makes the colors pop.
- Matte Varnish: If you want a non-reflective, modern finish that cuts down on glare, matte is the way to go.
- Satin Varnish: This is the perfect middle ground, offering a subtle sheen that’s not overly glossy.
For a complete walkthrough on how to do this properly, check out our guide on how to preserve acrylic paintings. It’s a simple step that ensures the memory you’ve captured will stay vivid for years.
The whole idea of transforming photos into art has exploded, partly thanks to new digital tools. The global AI image generation market is on track to hit $1.3 billion in 2025, growing at a massive rate of about 35.7%. This trend just goes to show how much people want to turn their personal photos into something unique. You can read more about how AI is shaping digital art over at Superagi.com.
Finally, don't forget the frame. The right frame can completely change the feel of your artwork. A sleek, modern frame might be perfect for a bold, graphic piece, while a more ornate, traditional frame can add a touch of class to a portrait. It's the final touch that officially turns your project into a masterpiece ready for the wall.
Got Questions About Turning Your Photos Into Art? We've Got Answers
So, you're thinking about turning a favorite photo into a piece of art. That's a fantastic idea! But it's also totally normal to have a few questions before you jump in. People often wonder which of their photos will work, how much time it'll take, or if they even need to be "artistic."
Let's walk through some of the most common questions I hear. Getting these details ironed out now will make the whole experience smoother and a lot more fun.
What Kind of Photos Make the Best Paintings?
This is probably the most important question. The best photos are usually the ones that are already pretty strong on their own. Look for images with good, clear lighting and a distinct main subject. A simple background is your best friend here—it helps the subject pop.
Think about that great portrait you took of your dog in the backyard, where he's in sharp focus, or a landscape shot from your last vacation with a clear horizon. Those are perfect.
On the flip side, you'll want to steer clear of photos that are blurry, too dark, or have a really chaotic background. When the original image is fuzzy or cluttered, the important details tend to get lost in translation, and the final painting can end up looking a bit muddled.
Do I Actually Need Any Artistic Skill for a Paint-By-Numbers Kit?
Absolutely not. That’s the whole point, and it’s why these kits are so popular! They are designed from the ground up for everyone, whether you've never picked up a paintbrush or you're a seasoned artist looking for a relaxing project.
The canvas comes with the design already outlined and broken down into numbered sections. Each number corresponds to a specific pot of paint. All you have to do is match the number and fill it in. It’s less about artistic genius and more about a mindful, step-by-step process that guarantees a great result.
How Long Will It Take Me to Finish My Painting?
The honest answer? It depends. The two biggest factors are the size of the canvas you choose and how complex your original photo is.
- A smaller painting with a simple design might take you somewhere between 8-12 hours. You could knock that out over a weekend or a few evenings.
- A larger, more intricate piece, like a detailed family portrait or a busy cityscape, could easily take 20 hours or more to complete.
Most people don't do it all at once. They treat it as a relaxing, meditative hobby they can come back to whenever they have a spare hour, watching the image slowly come to life over a few weeks.
What if I Don't Like the Design Preview? Can I Ask for Changes?
Yes, you can and you should! Any good company will send you a digital mock-up of what your paint-by-numbers canvas will look like before they start producing it. This is your moment to make sure everything looks right.
Take a close look. Does the cropping capture what you wanted? Do the colors look good? If anything seems off, don't hesitate to ask for an adjustment. It's always smart to check the company's revision policy before you order, but most are happy to make tweaks to ensure you love the final product.
Ready to see one of your own memories transformed into a unique art project? Custom Paint By Numbers makes the whole process simple and fun.


