

In a world of one-click shopping and next-day delivery, a handmade gift feels like a breath of fresh air. It shows you put real thought and time into something, and that personal touch is hard to beat. One of my favorite ways to do this is with a custom paint-by-number kit. You're literally turning a cherished photo into a fun, artistic project for someone you care about. It's not just a gift; it's an experience.
Why a Personal Touch Matters So Much
Let's be honest, anyone can buy a generic gift card. But a handmade present? That’s a statement. It says you paid attention, you know what they love, and you invested your own creativity. It's a powerful way to connect.
This isn't just a hunch, either. The trend toward meaningful, one-of-a-kind gifts is growing fast. The global personalized gifts market is expected to jump from USD 29.89 billion in 2024 to an incredible USD 54.15 billion by 2033. People are tired of the impersonal and are actively looking for presents with real heart behind them.
A custom paint-by-number is brilliant because it’s really two gifts in one:
- For the DIY-er: The kit itself is the present. You're giving them a relaxing, creative escape—a chance to unwind and make something beautiful with their own hands.
- For the Sentimentalist: Or, you can paint it yourself before giving it. Then, the gift becomes a finished piece of art, a hand-painted memory they can hang on their wall and cherish forever.
Of course, a custom painting is just one path. If you're brainstorming for that perfect present, you can find inspiration for other unique gift ideas that cater to specific interests. At the end of the day, it's all about celebrating the people you love in a way that feels truly personal.
Choosing a Photo That Becomes Art

The real secret to creating a truly unforgettable handmade gift starts with the right photograph. It's a common misconception that any picture will do, but the truth is, not every photo is destined to become a masterpiece on canvas. The best ones already have the bones of a great painting.
Think about it this way: a close-up portrait of your dog lounging in a sunbeam works beautifully. Why? The light creates clear, defined shadows and bright highlights, which translates perfectly to numbered paint sections. Now, imagine a wide shot of a dozen people at a backyard BBQ. It’s a great memory, sure, but on a canvas, it can easily turn into a confusing jumble of shapes without a clear focal point.
Simple, uncluttered backgrounds are your best friend here. They ensure the star of the show—whether it’s a person, a pet, or a beloved landscape—really stands out.
Key Elements for a Perfect Photo
Great lighting is the one thing you absolutely can't compromise on. I always tell people to sift through their camera roll for photos taken in natural light. That soft, morning glow or the warm light of a late afternoon creates shadows that give a subject form and depth without being overly harsh.
High contrast is another huge win. A good mix of bright spots and deep shadows is what gives a painting that "wow" factor and stops it from looking flat.
The difference between a compelling painting and a flat one often comes down to contrast and composition. A photo with a clear light source and a well-defined subject gives the paint-by-number process a massive head start.
If you really want to get this right, our detailed guide on how to turn a photo into a paint-by-number is the perfect next step.
A Quick Photo Selection Checklist
To help you sift through your options, I've put together a simple checklist. Think of it as a quick "this-or-that" guide to finding the perfect image.
| Characteristic | What to Look For (Ideal) | What to Avoid (Problematic) |
|---|---|---|
| Focus & Clarity | The main subject is sharp and clear. | Blurry, out-of-focus, or pixelated images. |
| Lighting | Natural light with distinct highlights and shadows. | Dark, grainy photos or harsh, direct flash. |
| Background | Simple, clean, or gently blurred. | Busy patterns, clutter, or multiple distracting objects. |
| Composition | Subject is front and center or well-framed. | Subject is too far away or cut off at the edges. |
| Color | Rich, vibrant colors that are true to life. | Overly filtered or washed-out colors. |
Basically, the better the photo you start with, the more stunning the final painting will be. A little extra time spent choosing the right image makes all the difference.
If you're looking to dive deeper into visual arts and find more inspiration, checking out resources like books about illustration can really expand your creative horizons. Taking a moment to choose wisely is what transforms your kit from a fun craft into a breathtaking piece of art and a truly memorable gift.
Ordering Your Custom Paint by Number Kit
So, you’ve picked the perfect photo. Now comes the exciting part: turning that memory into a real paint-by-number kit. This is also where you need to be a little picky, because not all custom kit companies are created equal. The quality of the materials they use will make a huge difference in the final product.
The best services use a high-quality linen canvas. It just feels better and holds the paint beautifully without any bleeding, which is a common problem with cheaper paper or thin cotton canvases. You'll also want to look for kits that include good acrylic paints—you know, the creamy, vibrant kind that covers the numbers in one go, not the thin, watery stuff.
Decoding Customization Options
When you start customizing, you'll see options for the number of colors. Think of this as the "detail level" for your painting.
- A kit with 24 or 36 colors is fantastic for a beginner or for a more stylized, artistic look. It's less overwhelming but still produces a beautiful result.
- A 48-color kit is for those who love getting lost in the details. This option creates a much more photorealistic painting, capturing all the subtle shades and highlights.
It's all about balancing detail with complexity. For a first-timer, starting with fewer colors is probably the way to go.
This is a great little visual for thinking about how to make a handmade gift truly one-of-a-kind.
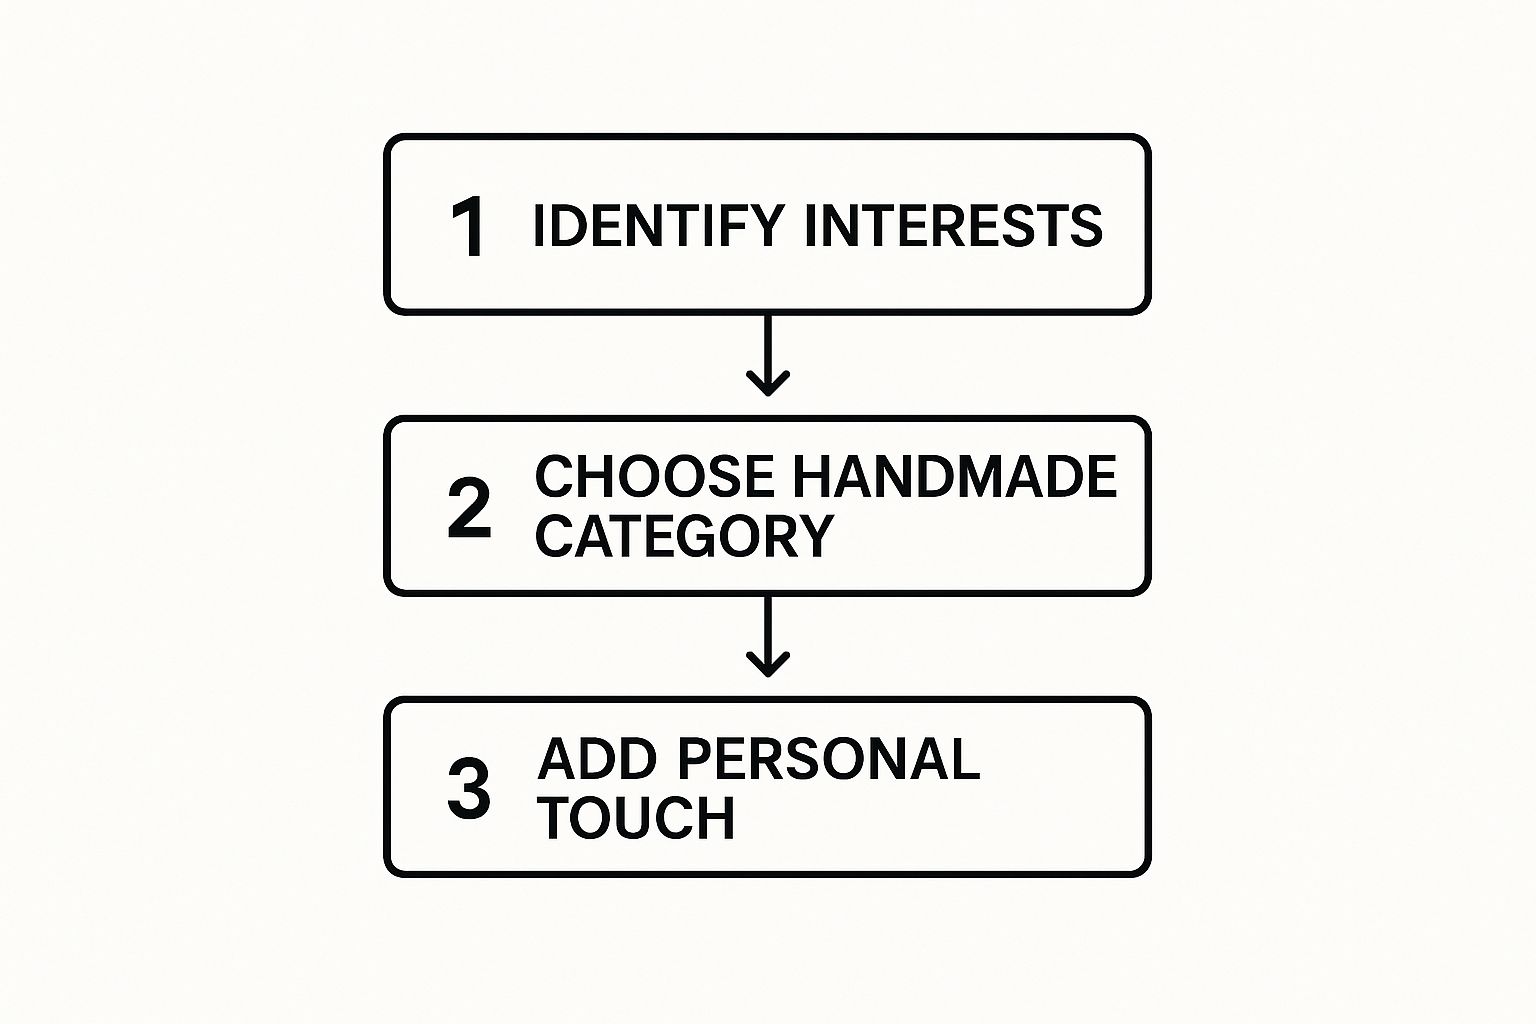
As it shows, that personal touch at the end is what really makes it special.
Before you hit that "buy" button, spend a minute looking closely at the digital proof or preview of your canvas. This is a computer-generated mock-up of how your photo will be broken down into numbered sections.
This preview is your final chance to catch any issues. Do the faces look right? Are important details in the background still there? If something seems muddy or simplified too much, ask the company for a revision. Most good ones will happily tweak it for you.
Taking the time to double-check the proof ensures the kit that arrives on your doorstep is exactly what you envisioned. It’s the difference between a fun, rewarding project and a box of frustration.
Bringing Your Painting to Life
Now that you’ve got your custom kit, the real fun starts. This is your chance to turn that blank, numbered canvas into something truly special. Let’s move beyond just filling in the lines and use a few simple tricks to make your project feel less like a craft and more like a handmade work of art.
Most people instinctively start with color number one and go in order, but I’ve found there’s a better way. Try beginning with the darkest colors first. It’s a simple but effective strategy to prevent smudges. Think about it—if you accidentally drag your hand through wet paint, it's much easier to cover a dark smudge with a light color than it is to fix a light smudge on a dark background.
Feeling a bit overwhelmed by all those tiny, detailed spots? Tackle them first. Knocking out the most intricate sections gives you a quick win and builds momentum. The larger, easier areas will feel like a reward, keeping you motivated and engaged all the way to the finish line.
Mastering Your Tools and Techniques
Your brushes and paints are the only tools you need, so treating them right makes all the difference. The key to clean lines is getting your acrylic paint to the right consistency. If a color feels a little thick or goopy, just add a single drop of water and stir it in. This tiny tweak helps the paint glide smoothly off the brush.
Good brush habits will also seriously upgrade the final look of your painting.
- Rinse, don't rest: Clean your brushes with water right after you finish with a color. This stops the paint from drying out and ruining the bristles.
- Reshape the tip: After rinsing, gently use your fingers to pull the bristles back into a neat point before letting it dry.
- Keep them out of the water: Never leave your brushes sitting in the rinse cup! It can bend the bristles permanently and make them useless for detail work.
Here's my favorite pro-tip for making your painting look less "paint-by-number": soften the edges. After you've painted two colors next to each other, take a clean, slightly damp brush and gently blur the line where they meet. This simple blending trick creates a much more natural, painterly effect.
There’s nothing quite like the feeling of creating something beautiful from scratch. If you love the hands-on process of bringing a vision to life on canvas, you might also get a kick out of decorating a DIY Undecorated Blank Canvas Cake for a different kind of creative outlet.
Adding the Final Polish with Varnish and Framing
That moment you fill in the last numbered section is incredible, but don't stop there. You're just a couple of small steps away from turning your hard work into a truly polished, professional-looking gift. It's the finishing touches—a bit of varnish and the right frame—that really make all the difference.
First up is the varnish. Think of it as a protective shield for your masterpiece. It’ll guard against dust and fading from UV light, keeping the colors true for years to come. Beyond just protection, though, a good varnish makes the colors look richer and deeper, giving the whole piece a vibrant pop that really brings it to life.
Choosing Your Finish
When it comes to varnish, you've basically got two main options, and your choice will really shape the final look of the painting.
-
Gloss Varnish: Want the colors to look super saturated and almost wet? Gloss is your go-to. It creates a shiny, reflective surface that makes bold, bright palettes feel incredibly dynamic.
-
Matte Varnish: If you're aiming for a more modern, subtle feel, matte is the perfect choice. It gives a soft, non-reflective finish that cuts down on glare, which is a huge plus if the painting will hang in a sunny room.
Whichever you pick, use a wide, soft brush and apply it in long, even strokes. The key is to let it dry completely, so find a clean, dust-free spot and give it at least 24 hours.
Selecting the Perfect Frame
Now for the grand finale: the frame. This is what truly elevates your gift. A great frame doesn’t just complement the painting; it connects it to the room and the person you're giving it to.
You could go for a simple black frame for a clean, modern vibe, or maybe something more ornate and vintage for a classic feel. A great pro tip is to add a mat between the painting and the frame—it gives the art some breathing room and just looks so much more sophisticated.
For a deep dive, we've got a full guide with our best tips on how to frame canvas paintings to get that flawless, gallery-ready look.
Making the Big Reveal: Presenting Your Paint-by-Number Gift
The way you present your gift is the final flourish, the part that makes their eyes light up. It’s the difference between just handing something over and creating a truly memorable moment. The thought you put into the packaging should match the thought you put into the painting itself.
If you’ve completed the painting, here’s a wonderful little touch: frame a small print of the original photo and include it with the gift. This creates a beautiful "before and after" effect that really shows off the transformation. It’s a small detail, but it makes the whole package feel complete and deeply personal.
Turn a Kit Into an Experience
Giving the unpainted kit? Don't just hand over the box. You have a chance to bundle it into a full-blown "creative experience." Think of it as a gift basket for an artist-in-the-making.
- Pop in a small tabletop easel so they can get started right away.
- Add a nice set of fine-tipped brushes for getting into those tiny, detailed spots.
- Tuck in a handwritten note with some words of encouragement.
This simple shift in thinking turns a product into a thoughtful experience. It elevates unique handmade gifts into a cherished activity that shows just how much you care.
The desire for these kinds of presents is definitely growing. In fact, the handmade gift market is projected to hit USD 10.3 billion by 2033, according to a market intelligence report on handmade gift ideas. People want gifts with a personal, authentic feel, and these finishing touches deliver exactly that. It's what makes them such great personalized home decor gifts.
Common Questions About Custom Paint by Numbers
When you’re diving into your first custom paint-by-number kit, a few questions are bound to pop up. It happens to everyone! Let’s walk through some of the most common ones I hear.
What If My Paint Is Too Thick?
You might open a pot and find the acrylic paint is a bit goopy. No worries, that’s an easy fix. Just add a single drop of water to the pot and give it a good stir. That little bit is usually all you need to get it to a perfect, smooth consistency for clean lines.
How Do I Fix a Mistake?
So, you painted outside the lines. It's not a big deal! The best thing to do is simply let the mistake dry completely. Once it's dry, you can go right over it with the correct color. Most of the time, one or two coats will cover it up like it never even happened.
Pro Tip: What if you run out of a certain color before you're finished? It's rare, but it can happen. Your best bet is to contact the company you bought the kit from. Good suppliers have great customer service and can usually ship you a replacement pot of paint so you can finish your masterpiece.
Ready to turn one of your favorite photos into a work of art? You can create your own personalized kit with Custom Paint By Numbers and get started. https://paint-by-number.com


