

DIY photo gifts can be as simple as crafting some photo coasters or as involved as tackling a custom paint-by-numbers kit from your favorite picture. Either way, these projects turn digital memories into tangible keepsakes, making them perfect for just about any occasion.
Why Handmade Photo Gifts Mean More
We all have phones packed with thousands of photos that rarely see the light of day. Pulling one of those moments out of the digital ether and turning it into a physical gift is a powerful gesture. It shows you put in real thought and effort, which means so much more than grabbing something off a store shelf.
This isn't just a hunch; it's a huge shift in how people shop. The global personalized gifts market was valued at an incredible USD 30.84 billion in 2024. It’s expected to more than double to about USD 63.28 billion by 2032, which just shows how much we all crave unique, meaningful presents.
A handmade photo gift is more than just an object—it's a story you can hold. It freezes a specific moment, a shared laugh, or a quiet memory and gives it a permanent home.
That’s exactly what this guide is all about: helping you create those connections. We'll walk through a bunch of different DIY photo gift ideas that work for any skill level or occasion.
What Makes a Gift Unforgettable?
Think about the best gift you've ever received. Chances are, it wasn't the most expensive one, but the one that felt personal. That's the magic of a handmade photo gift—it’s one-of-a-kind because it holds a piece of your shared history. If you want to dive deeper, it's interesting to explore the qualities that make a gift truly special and turn an ordinary item into a cherished keepsake.
From quick crafts you can finish on a Saturday afternoon to more immersive projects, the goal is always the same: making something that says, "I care." For even more ideas, check out our guide on the https://paint-by-number.com/blogs/learn-about-paint-by-numbers/best-custom-photo-gifts.
Turn a Photo Into a Paint By Numbers Masterpiece
Want a truly unforgettable DIY photo gift? Imagine handing someone a painting of a cherished memory that you made. That’s exactly what a custom paint-by-numbers kit lets you do. It turns any digital photo into a real, tangible work of art, transforming you into the artist. It's an incredibly thoughtful way to celebrate a special moment, and the finished product becomes a beautiful piece of home decor.
This project is more than just making a gift; it’s a genuinely relaxing and meditative experience. Unlike staring at a blank canvas, you get a clear, numbered guide, which lets you just sink into the simple joy of painting. The end result is a deeply personal piece of art that looks impressive and really captures the heart of the original photo.
This idea of turning digital memories into physical objects, whether it's a painting or a photo book, is what creates such a lasting and meaningful connection.
Selecting the Right Photo for Painting
Okay, this is the most important part: choosing a photo that will actually look good as a painting. Not every picture is a great candidate, and a little forethought here will save you a ton of frustration later. The trick is to find an image with strong contrast and clear, defined subjects.
Think about a picture from a sunny day at the beach where the shadows are sharp, or a portrait where the person pops against the background. Photos that are too busy, have cluttered backgrounds, or suffer from flat, low lighting tend to turn into a muddy mess when converted. You want to pick an image that has natural "lines" for the paint-by-numbers software to follow.
Here's a great rule of thumb I've learned: squint your eyes while looking at the photo. If you can still easily make out the main shapes and subjects, it probably has enough contrast to make a fantastic painting.
Once you have a few contenders, it's time to find a service to create your kit. There are tons of online providers, but choosing one that uses high-quality materials is crucial for a good outcome. To get a handle on what's out there, I’d recommend checking out a guide to the best custom paint by number kits. It’ll help you compare important things like canvas quality, the type of paint they provide, and even the brushes that come in the box.
Setting Up Your Painting Space
Once your kit arrives, the real fun starts. But before you dip that first brush, take a few minutes to create a comfortable and organized painting nook. This doesn't need to be a fancy art studio—a corner of your desk or the kitchen table works perfectly.
Here’s what you’ll want to have ready:
- Good Lighting: This is non-negotiable. Natural daylight is your best friend, but a bright desk lamp is the next best thing. Good light prevents eye strain and helps you actually see those tiny numbered sections.
- A Cup of Water: You'll need this to clean your brushes between colors. I suggest using a sturdy cup that won’t tip over easily—trust me on this one.
- Paper Towels: Keep a roll handy for dabbing excess water from your brushes and cleaning up the inevitable small spill.
- Comfortable Seating: You might find yourself painting for an hour or more at a time, so make sure your chair is comfortable and supports your back.
Having everything you need within arm's reach makes the whole process feel less like a chore and more like a relaxing escape. This simple prep work lets you get lost in the creative flow without having to stop and start.
Mastering Painting Techniques
The best part is, you don't need any prior experience to make a beautiful painting. The numbered system does most of the heavy lifting, but a few simple techniques can take your artwork from good to great.
A common approach that works really well is to paint one color at a time. Just open one paint pot and fill in every corresponding numbered area on the canvas. This method is super efficient and also helps keep your paints from drying out. Many people find it helpful to start with the darkest colors first, as this helps define the main shapes and structure of the image right from the beginning.
And don't stress about the lines! While the goal is to cover them, a tiny bit showing through can add to the charming, stylistic look of a paint-by-numbers piece. If you want a smoother, more blended appearance, try gently feathering the edges where two colors meet while the paint is still a bit wet. This technique works especially well for backgrounds, like skies or fields, creating a much softer transition between shades.
Above all, just be patient with yourself and enjoy the process. There's something magical about watching your favorite memory come to life, one color at a time.
Choosing the Perfect Photo for Your Project
Honestly, any DIY photo gift lives or dies by one thing: the photo you choose. It’s the single most important decision you'll make. The right image creates a gift that looks stunning and professional, while the wrong one can feel blurry and, well, a bit of an afterthought.
Before you jump into the fun part of crafting, let's make sure your foundation is solid.
Technical Stuff First: Resolution is King
The first hurdle is always image resolution. A photo might look perfectly fine on your phone screen, but when you blow it up for a canvas or a custom paint-by-numbers kit, things can get ugly fast. Suddenly, it’s pixelated and fuzzy. Think of it like stretching a small piece of fabric—the more you pull, the more you see the gaps.
Here's a tip I always give people: use the original, full-size image file directly from your camera or phone. Stay far away from photos you've saved from social media. Those sites compress images like crazy to save space, and that compression absolutely kills the quality you need for printing.
The Art of a Great Photo
Once you've cleared the technical checks, it’s time to think about the feel of the photo. A truly special gift captures a feeling, not just a moment. I always look for images with genuine emotion—a real smile, a shared laugh, or a quiet, candid glance. Those are the moments that translate beautifully into a gift.
Lighting makes a world of difference, too. Have you ever noticed that magical glow in photos taken just after sunrise or before sunset? That’s the "golden hour," and it provides a soft, warm light that indoor lighting just can't replicate. Try to steer clear of pictures with harsh shadows, that dreaded red-eye from a flash, or super dark settings. Those little flaws become much more noticeable on a physical print.
Here are a few pointers I've picked up over the years for matching the photo to the gift:
- For Small Items (Mugs, Coasters, Ornaments): Detailed close-ups are your best friend. A tight shot of a smiling face or a beloved pet will pop much more than a wide, busy scene.
- For Large Items (Canvas, Puzzles, Wall Hangings): This is where you can use those beautiful, sweeping landscapes or group shots. Just make sure the main subjects are clear and the background isn't too cluttered.
Lastly, think about composition. A simple background makes your subject the star of the show, giving the final gift a polished, intentional feel. Before you commit to an image, play around with cropping out any distracting elements. Sometimes, a little editing is all it takes to turn a good photo into the perfect one for your project.
Classic Photo Crafts with a Modern Touch
Beyond a custom paint-by-numbers kit, there’s a whole universe of classic DIY photo gifts that feel both nostalgic and fresh. These are the kinds of projects perfect for a weekend afternoon, using simple materials you might already have to create something truly special.
Let's explore a few timeless crafts that put a modern, heartfelt spin on your favorite memories. Each one transforms a simple photograph into something your loved one can see, touch, and use every single day.
Durable and Stylish Photo Coasters
One of the most popular—and practical—DIY photo gifts is a set of custom coasters. But forget flimsy cardboard; we’re talking about sturdy ceramic tiles that give your photos a high-end, permanent home. They’re surprisingly easy to make and look fantastic on any coffee table.
To get started, you’ll just need a few key supplies:
- Ceramic Tiles: Simple 4x4 inch tiles from a hardware store work perfectly.
- Mod Podge: This is your all-in-one glue and sealant. I find a matte finish usually looks best.
- Photos: Print your favorite shots on regular printer paper, sized just a bit smaller than your tiles.
- Cork Backing: Self-adhesive cork sheets are a must for protecting furniture from scratches.
The process itself is pretty simple. Brush a thin layer of Mod Podge onto the tile, place your photo on top, and gently smooth out any air bubbles. Once it's dry, apply several more thin coats of Mod Podge over the top of the photo, letting each layer dry completely. This builds a tough, water-resistant barrier that will protect the image for years. The final touch is sticking the cork on the bottom.
I’ve learned from experience that using a small foam brush gives the smoothest finish. Also, applying at least three top coats is the real secret to making them last. It’s a little extra time that pays off big time in durability.
The Heartfelt Memory Jar
If you're looking for a gift that’s less about crafting skill and more about pure sentiment, a Memory Jar is a beautiful choice. This project is incredibly simple but carries a huge emotional punch, making it one of the most touching DIY photo gifts you can create.
The idea is to fill a glass jar with small, rolled-up photos. Each photo is tied to a handwritten note recalling the memory behind the picture. It becomes a container of shared experiences that the recipient can open and explore, one story at a time.
All you need is a decorative glass jar, some small photo prints, twine or ribbon, and slips of paper for your notes. Think about specific moments—the story behind a silly face, the feeling of watching a particular sunset, or an inside joke that only the photo can capture. It's the combination of the image and your words that makes this gift so powerful.
Interactive Photo Block Puzzles
For a playful and charming gift, a photo block puzzle is a fantastic option. This craft turns a single cherished photo into an interactive puzzle that can be displayed on a desk, shelf, or bedside table. It’s perfect for kids and adults alike, offering a bit of fun alongside a sweet memory.
You’ll need some small wooden blocks (1-inch or 2-inch cubes work well), your chosen photo printed to the final size of the assembled blocks, and Mod Podge. Just arrange the blocks into a square or rectangle, apply Mod Podge to the tops, and carefully place your photo over them.
Once the photo is fully dry and stuck to the blocks, use a sharp craft knife to carefully slice the photo along the grid lines between each block. This separates them into individual puzzle pieces. A final coat of sealant over each block protects the image. This gift isn't just a photo; it's an experience.
And if you're feeling really ambitious and want to create unique settings for taking your photos, exploring some DIY photo booth backdrop ideas can give you even more inspiration for presenting your memories in a creative way.
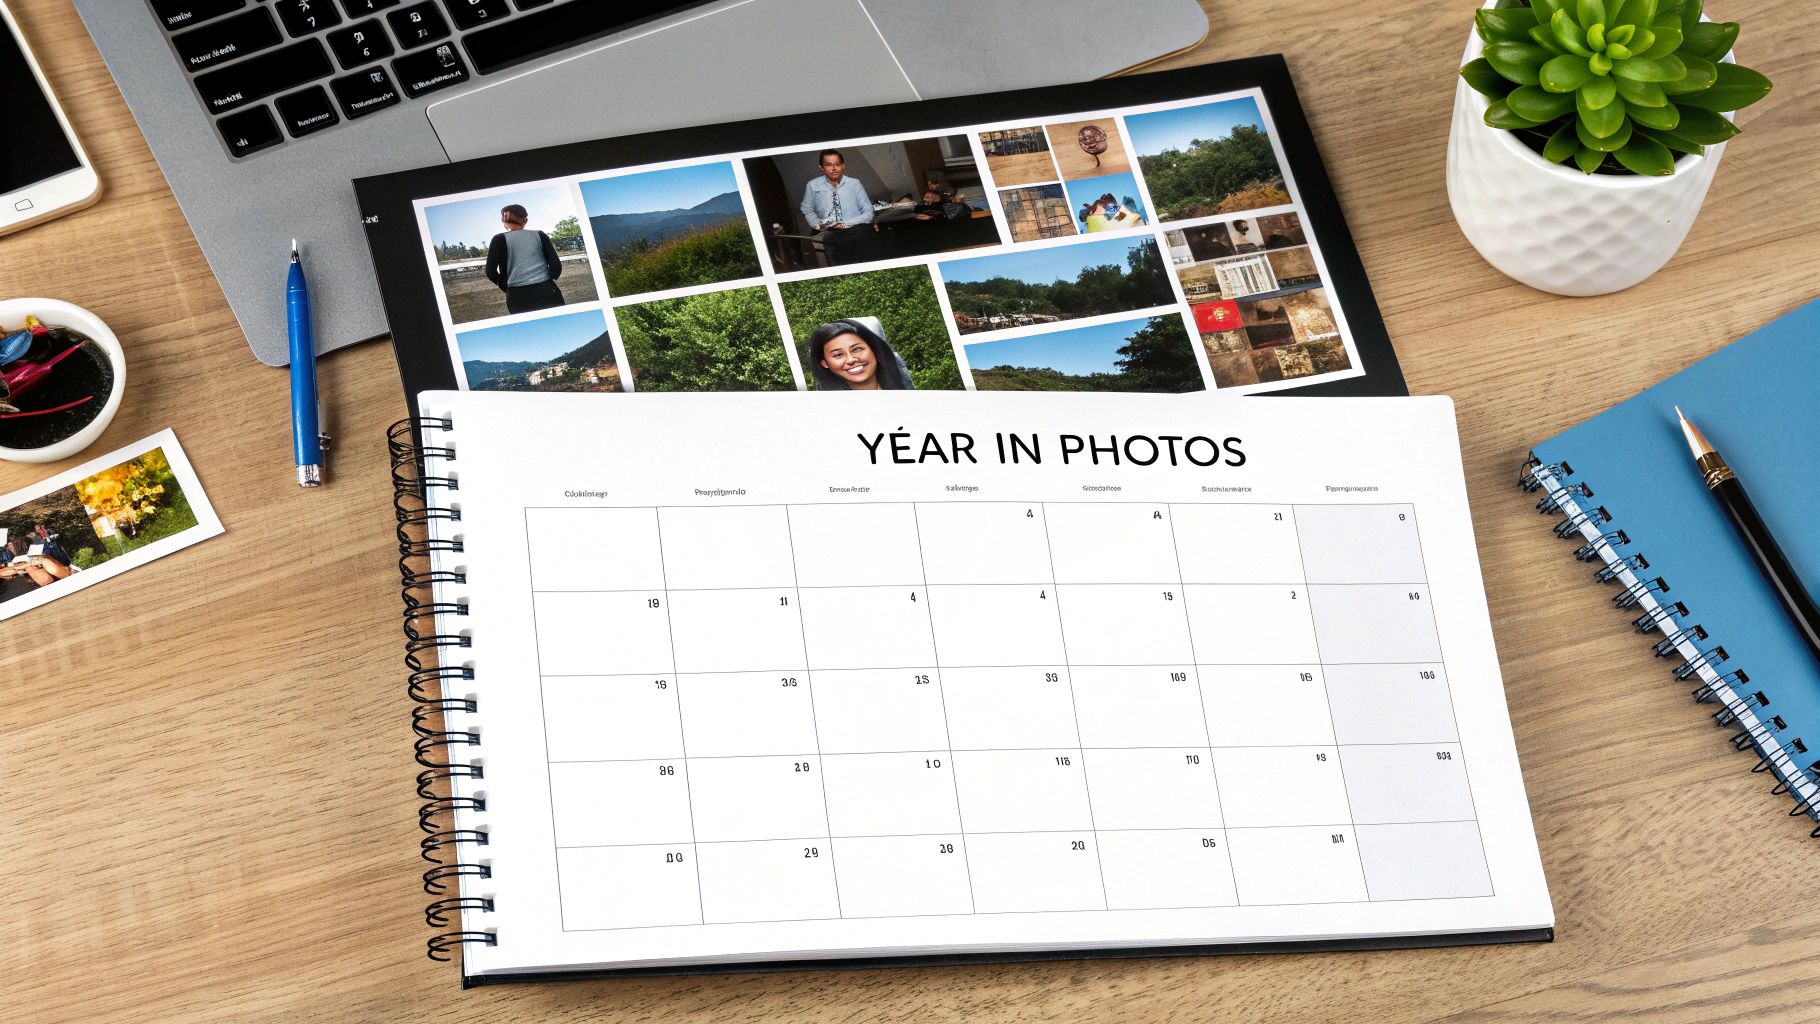
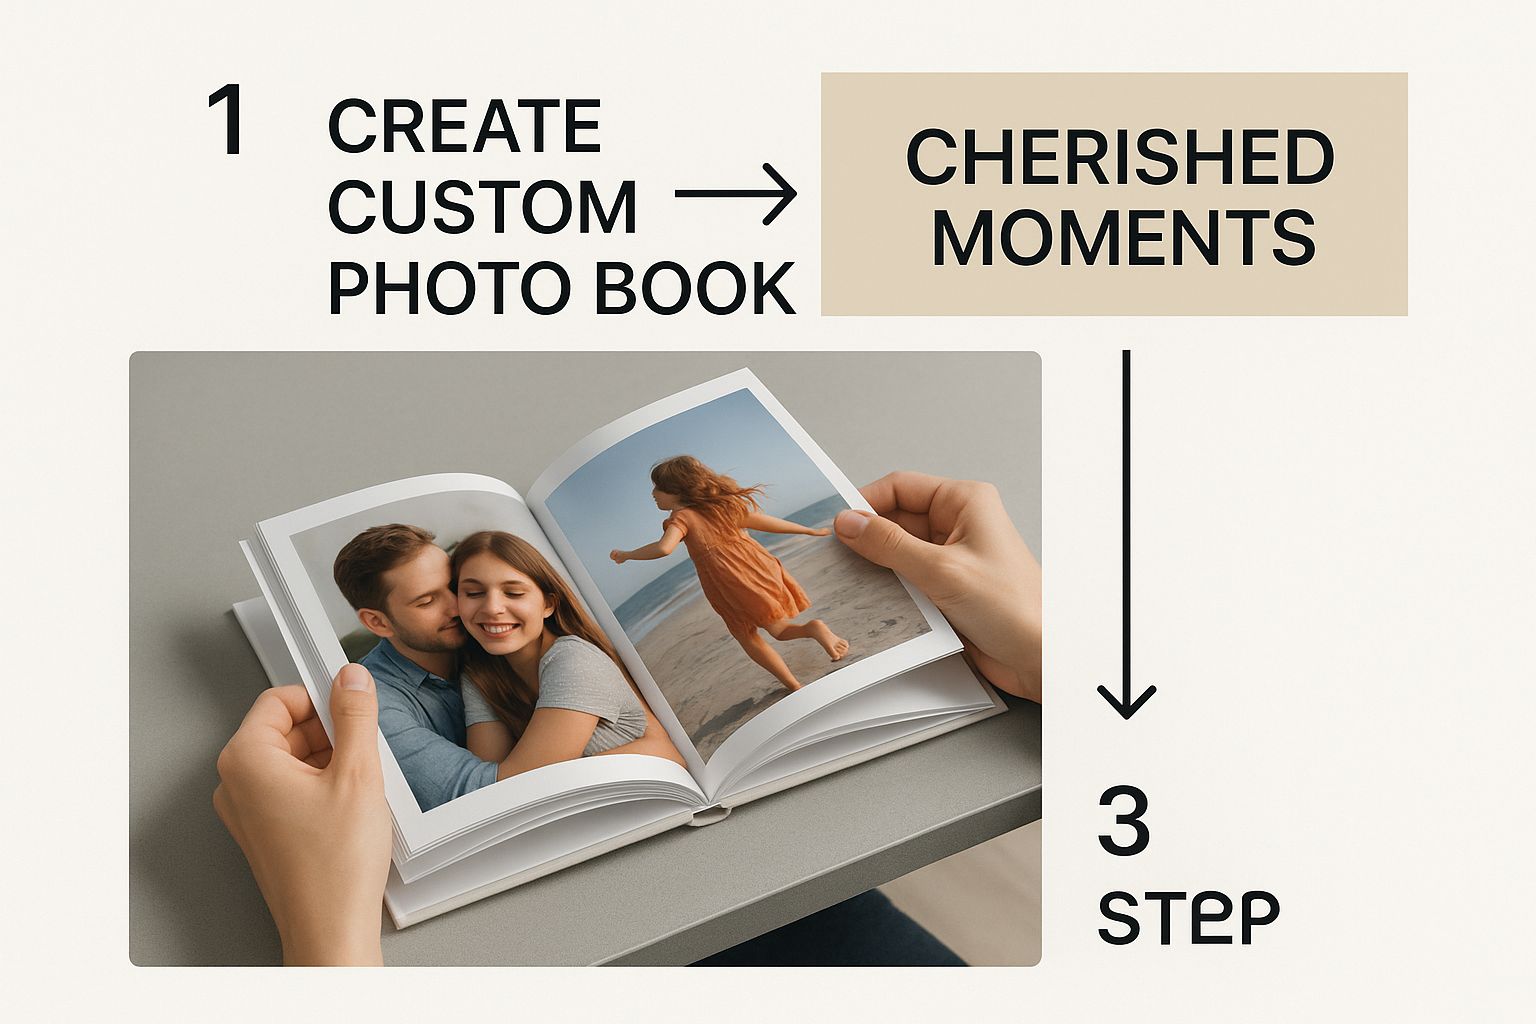
Bringing Your Photos to Life: Printing and Display
A DIY photo gift is only as good as the print you start with. Seriously. How you translate that digital memory into a physical object is what separates a simple craft from a truly stunning keepsake. It sets the whole tone for your project.
Your first decision is where to get the photos printed. Online services are super convenient and easy on the wallet, which is great. But don't overlook your local print shop—they can offer some fantastic hands-on advice and you'll get your prints much faster.
Picking the Perfect Photo Finish
This is where the magic really starts to happen. The paper you choose can completely change the vibe of your gift, so it’s worth spending a minute to get it right.
- Glossy: This is the classic choice for a reason. It makes colors pop and details look super sharp. I love it for photo albums or a simple framed print, but it’s a total fingerprint magnet, so I tend to avoid it for anything that will be handled a lot, like a coaster.
- Matte: If you’re going for a rustic or vintage look, matte is your best friend. It has a soft, non-reflective surface that hides smudges and eliminates glare. It's my absolute go-to for projects like photo transfers onto wood.
- Lustre: Think of lustre as the perfect middle ground. You get the rich color of a glossy print combined with the fingerprint resistance of matte. When in doubt, it’s a versatile and reliable choice for almost any DIY gift you can dream up.
It’s amazing how far the technology has come. Not too long ago, this kind of thing was a huge hassle. Now, with over 1.4 trillion digital photos taken every year, the tools to bring them to life are everywhere. If you're curious, you can read more about the growth of the personalized gifts market and see just how much this industry has exploded.
Quick Edits That Make a Huge Difference
You don't need to be a Photoshop pro to get your pictures looking fantastic. A few simple tweaks can elevate a good photo to a great one. The editing tools built right into your phone or computer are more than powerful enough for the job.
Before hitting "print," try playing with the brightness and contrast. This can make the colors feel so much more alive. Cropping is another game-changer. It helps you get rid of any distracting clutter in the background and really zero in on the main subject.
A little pro-tip I've learned over the years: a tiny boost in saturation can often rescue a photo that looks a bit dull. Just be gentle—a little goes a long way. If you push it too far, the colors will start to look fake.
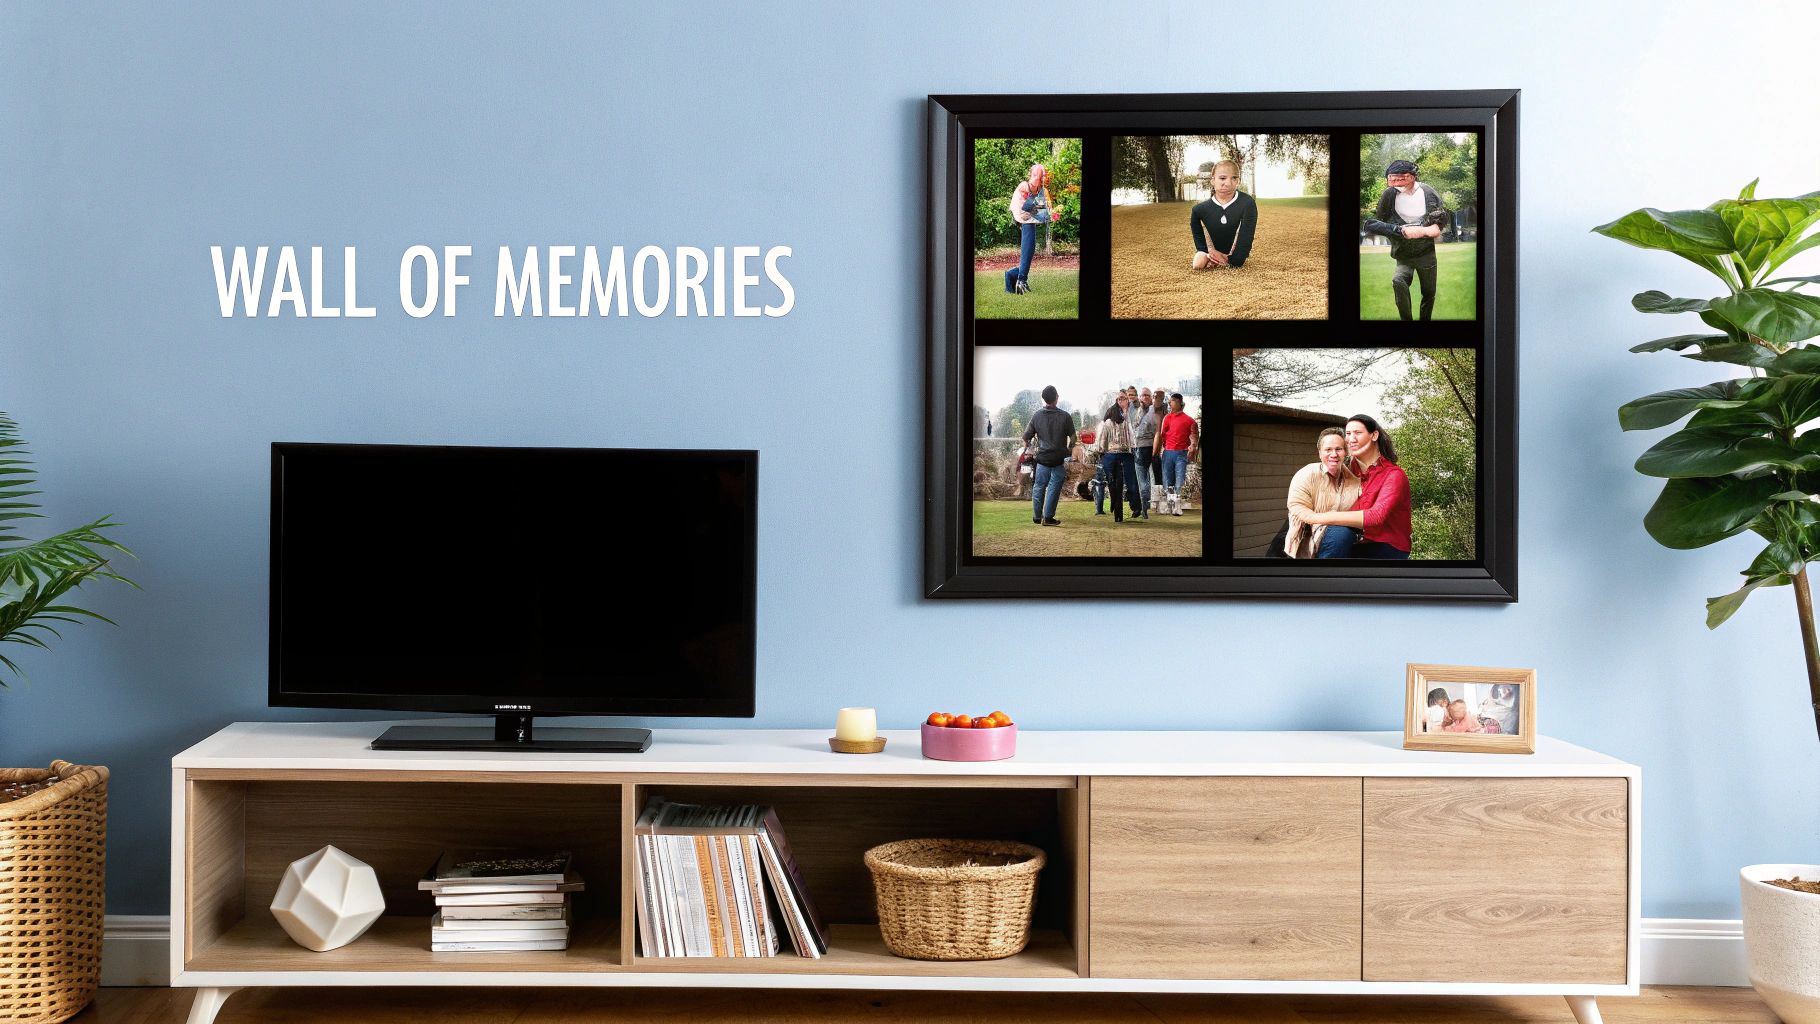
Think Beyond the Traditional Frame
Okay, you’ve got your perfect print in hand. Now what? A standard frame is always nice, but thinking outside the box is what makes a DIY gift feel truly special and personal.
A rustic photo garland is one of my all-time favorites. Just grab some mini clothespins and clip your prints to a string of fairy lights. It creates such a warm, cozy glow and looks amazing in a bedroom or living room.
Another cool idea is to mount your photo directly onto a piece of finished wood for a clean, modern look. If you're looking for more inspiration, we have a whole guide on creative ways to display photos that will get your ideas flowing.
Got Questions About Making Photo Gifts? We've Got Answers
Whenever you start a new creative project, a few questions are bound to pop up. It’s completely normal, especially when you’re aiming for a gift that looks polished and professional. Let's tackle some of the things people often ask when making their own photo gifts.
How Do I Protect My Photo on the Final Project?
One of the biggest worries is how to seal a photo onto a surface like wood or a ceramic tile so it lasts. For most projects, your best bet is a reliable water-based sealant. Mod Podge is a classic for a reason. Just remember to apply it in several thin coats, and let each layer dry completely before adding the next.
But what if your gift needs to be extra tough? For things that will see a lot of use or moisture, like drink coasters, you’ll want to step it up. A polycrylic protective finish or even a clear epoxy resin will give you that truly waterproof, durable seal. It’s an extra step, but it guarantees your hard work won’t get ruined.
Will My Photo Look Blurry When I Print It?
Ah, the dreaded pixelation. It’s a valid concern—nothing is more disappointing than a blurry final print. To avoid this, you need to pay attention to your photo’s resolution.
The magic number you're looking for is 300 DPI (dots per inch). This is the standard for high-quality printing.
Here’s what that looks like in practice:
- For a simple 4x6 inch print, your image should be at least 1200x1800 pixels.
- Going bigger for an 8x10 inch photo or canvas? You'll want a file that's closer to 2400x3000 pixels.
Thankfully, most online printing services have a built-in safety net. They’ll usually flag your image with a warning if the resolution is too low for the size you want.
Can I Just Use a Picture from Facebook or Instagram?
This is probably the most common pitfall I see. It’s tempting to just grab a photo from social media, but please don’t! Platforms like Facebook and Instagram compress images heavily to save space, which kills the quality.
They look perfectly fine on your phone screen, but when you go to print them, all that compression shows up as a blocky, pixelated mess. Always, always track down the original, high-resolution file from your phone or camera. It makes all the difference.
Ready to turn one of your favorite photos into a true work of art? With a Custom Paint By Numbers kit, you can create a stunning, hand-painted version of any memory you cherish.


