

Have you ever wanted to paint but felt a little lost staring at a blank canvas? A good paint by numbers kit is the perfect way to dive in. It gives you a structured path to follow, taking all the guesswork out of the process. Honestly, it's the best way I know to build some artistic confidence and make something you're proud of, even if you’ve never picked up a brush before.
Why Paint by Numbers Is Your Perfect Creative Start
If you're looking for a creative hobby without the usual pressure, this is it. Think of it as a guided tour into the world of painting. The canvas comes pre-printed with a map of numbers, and each number matches a specific paint color. All that stress about composition and what colors go together? Gone. This lets you just relax and focus on the simple, meditative act of putting paint on the canvas.
This is so much more than just coloring inside the lines. It’s a fantastic exercise in mindfulness that genuinely melts away stress and sharpens your focus. The simple, repetitive motion of filling in each little section is incredibly calming—a perfect way to decompress after a long day. And as you watch the image slowly emerge from the canvas, you get this amazing sense of accomplishment that really boosts your creative spirit.
The Evolution of a Classic Hobby
Modern paint by numbers kits are a world away from the simple ones you might remember from childhood. Today, you can find incredibly detailed and sophisticated designs made for adult tastes, from stunning landscapes to complex portraits.
Personalization has also become a huge deal. Many companies now offer to turn your favorite photos into custom kits, letting you create a piece of art that’s deeply personal and meaningful.
This isn't just a niche hobby anymore. The market has grown significantly, pushed by these new trends. In fact, the demand for personalized and eco-friendly art products is projected to grow by 20–30% through 2026. It’s a clear sign that people are looking for unique and sustainable ways to get creative.
The real beauty of paint by numbers is how it makes art accessible to everyone. It breaks down a complex image into simple, manageable steps, proving that anyone can create a masterpiece.
If you enjoy the satisfaction of building something beautiful with your hands, you might also love a project like this DIY 3D wooden flower bouquet puzzle set. It gives you that same wonderful feeling of accomplishment through guided creation, making it another fantastic choice for beginners.
How to Choose the Right Beginner Paint by Numbers Kit
Picking your very first paint by numbers kit is probably the most crucial step you'll take. A good choice can lead to a super relaxing and fun experience, but picking one that's way too complicated can just lead to frustration. Let's walk through how to find that perfect first kit so you can dive right into the fun part.

The secret to a great beginner kit really boils down to three things: the complexity of the design, how many colors are included, and the size of the canvas. You'll want to look for a simple design with big, easy-to-fill areas. Think of it this way: painting a simple, graphic-style flower is going to be much more approachable than trying to tackle a highly detailed, realistic portrait of a lion with hundreds of tiny whisker lines.
What to Look for in a Design
When you're scrolling through different options, keep an eye out for images with bold, clear shapes and not a lot of tiny, fiddly sections. A kit with 24 colors or less is a fantastic starting point for any beginner. The more colors a kit has, the more tiny, numbered sections you'll have to paint, which demands a lot more patience and a very steady hand.
Here's a quick tip I always share: if you have to zoom in or squint to make out the numbered areas on the website's product photo, it's a sign that it’s probably too detailed for your first go. Start with something clear and bold to build up your confidence.
This is all about making your first time a great time, which is why the quality of the materials matters so much. You want to make sure your kit comes with vibrant paints that cover well and brushes that don't immediately lose their shape. If you want to dive deeper into what makes for good supplies, check out our guide on the essential beginner acrylic painting supplies.
Beginner Kit Feature Comparison
Here’s a quick comparison to help you identify the best type of paint by numbers kit for your first project.
| Feature | Ideal for Beginners | More Advanced (Avoid for First Kit) | Why It Matters |
|---|---|---|---|
| Color Count | 24 colors or less | 36+ colors | Fewer colors mean larger, simpler sections, which is less overwhelming and easier to paint. |
| Detail Level | Large, open areas | Tiny, intricate sections | Big, bold shapes are forgiving and help you get comfortable with the process and your brushes. |
| Canvas Type | Pre-framed canvas | Rolled canvas | A framed canvas is ready to go and provides a taut surface, making it much easier to handle. |
| Subject Matter | Simple landscapes, cartoons, or abstracts | Complex portraits or photorealistic scenes | Simple subjects help you focus on the painting technique itself, rather than getting lost in details. |
Ultimately, starting with a kit that has these beginner-friendly features will set you up for a much more enjoyable and rewarding painting session.
Framed or Rolled: What’s the Difference?
You'll see kits sold with either a rolled canvas or one that's already stretched over a wooden frame. A rolled canvas is usually a bit cheaper, but you’ll have to spend some time flattening it out before you can get started. On the other hand, a framed canvas is ready to paint the moment you open the box.
- Rolled Canvas: A budget-friendly option, but it requires some prep work to get the creases out.
- Framed Canvas: The best choice for beginners. It’s ready to go and gives you a firm, stable surface to work on.
Lately, we’ve also seen a huge trend toward custom kits where you can turn one of your own photos into a paint by numbers canvas. People are really loving this personal touch and are willing to pay a bit more for a unique DIY project. It’s a wonderful way to paint something that truly means a lot to you, even for your very first piece.
Getting Your Workspace Ready for Painting
Before you even think about dipping a brush into that first pot of paint, setting up your space is the key to a stress-free, enjoyable session. This isn’t about needing a dedicated art studio—far from it. A quiet corner of your dining table or a small desk works perfectly.
First things first: protect your surface. Dried acrylic paint doesn't like to come off, so save yourself the cleanup headache. Grab some old newspaper, a cheap plastic tablecloth, or even just break down a cardboard box and lay it flat. Doing this means you can paint freely without worrying about a single misplaced drip.
Next up is lighting. You'd be surprised how much eye strain you can get from squinting in a dim room. If you can, set up near a window for some nice, natural daylight. If you're a night owl painter like me, a good desk lamp aimed right at your canvas is your best friend. It makes telling the difference between shade #3 and shade #4 so much easier.
Laying Out Your Supplies
With your area prepped and lit, it's time to get your materials in order. A few minutes of organization now will save you from fumbling around later.
- Organize Your Paints: I always line up my little paint pots by number. It makes grabbing the next color second nature, so you don't break your concentration.
- Get Your Water Ready: A small cup or an old jar half-filled with water is all you need for rinsing brushes. Keeping it half-full is a pro-tip to prevent a major spill if you accidentally knock it over.
- Grab Some Paper Towels: Keep a stack of paper towels or an old rag within arm's reach. You'll need them to gently dab your brush dry after rinsing it. This is crucial for keeping your paint colors clean and bright.
Don't forget about your own comfort! You might be sitting for a while, and a sore back can ruin the fun. A good chair and a table at the right height are important. Thinking about your setup, even including things like ergonomic desk accessories, can really improve your experience.
Prepping the Canvas
Did your canvas arrive rolled up in a tube? If so, it probably has a few creases and wants to curl back up. No problem at all.
Just unroll it on your protected table and weigh it down with a few heavy books on the corners and in the middle. Let it sit for a few hours (or even overnight), and it will flatten out beautifully.
Now, you might read about some painters using a clear coat called "gesso" to prime their canvas. While it can help paint go on a little smoother, it's completely optional for an easy paint by numbers for beginners kit. The canvases included are already treated and ready to go.
Honestly, for your first painting, just skip the gesso. The whole point is to jump in and have a good time, not get caught up in extra steps. Your final piece will look amazing either way.
Your First Brushstrokes and Painting Techniques
Alright, your workspace is set up and now for the fun part—putting paint on canvas! This is where that black-and-white outline starts to come alive. Don't get hung up on perfection right out of the gate. The real goal here is to relax, enjoy the flow, and pick things up as you go.
So, where do you actually start? While there's no single "right" way to paint, a few common-sense strategies can save you from a lot of headaches, especially smudging. A little forethought now pays off big time later.
A classic approach is to work from the top of the canvas down to the bottom. If you're right-handed, you might also find it helpful to paint from left to right (and the reverse if you're a lefty). This simple habit keeps your hand or sleeve from dragging through wet paint. Trust me, it’s a lifesaver for keeping your work clean.
Mastering Your Technique
Another great strategy is to tackle one color at a time. Just pick a number, find its corresponding paint pot, and fill in all of those sections across the canvas. This helps you get into a nice rhythm and makes it less likely you'll miss a spot.
When deciding which color to start with, I've found this order works best:
- Start with Darker Colors: I always begin with the darkest shades. Dark paints are fantastic at covering up the printed lines and numbers, often in a single coat, which gives you a clean slate to work around.
- Move to Lighter Colors: Save your whites, yellows, and other light pastels for last. This helps you avoid accidentally muddying them with a stray brushstroke from a darker area, keeping them bright and vibrant.
This methodical process is one of the best ways to approach an easy paint by numbers for beginners kit. It breaks the whole project down into satisfying little chunks, making even a really detailed design feel totally manageable.
Quick tip: Always pop the lid back on any paint pot you aren't actively using. Acrylic paint dries out shockingly fast, and keeping them sealed will make sure your colors stay creamy and usable for your whole project.
Setting up your space with a good workflow is half the battle. This visual gives you a great idea of how to lay everything out for a smooth painting session.
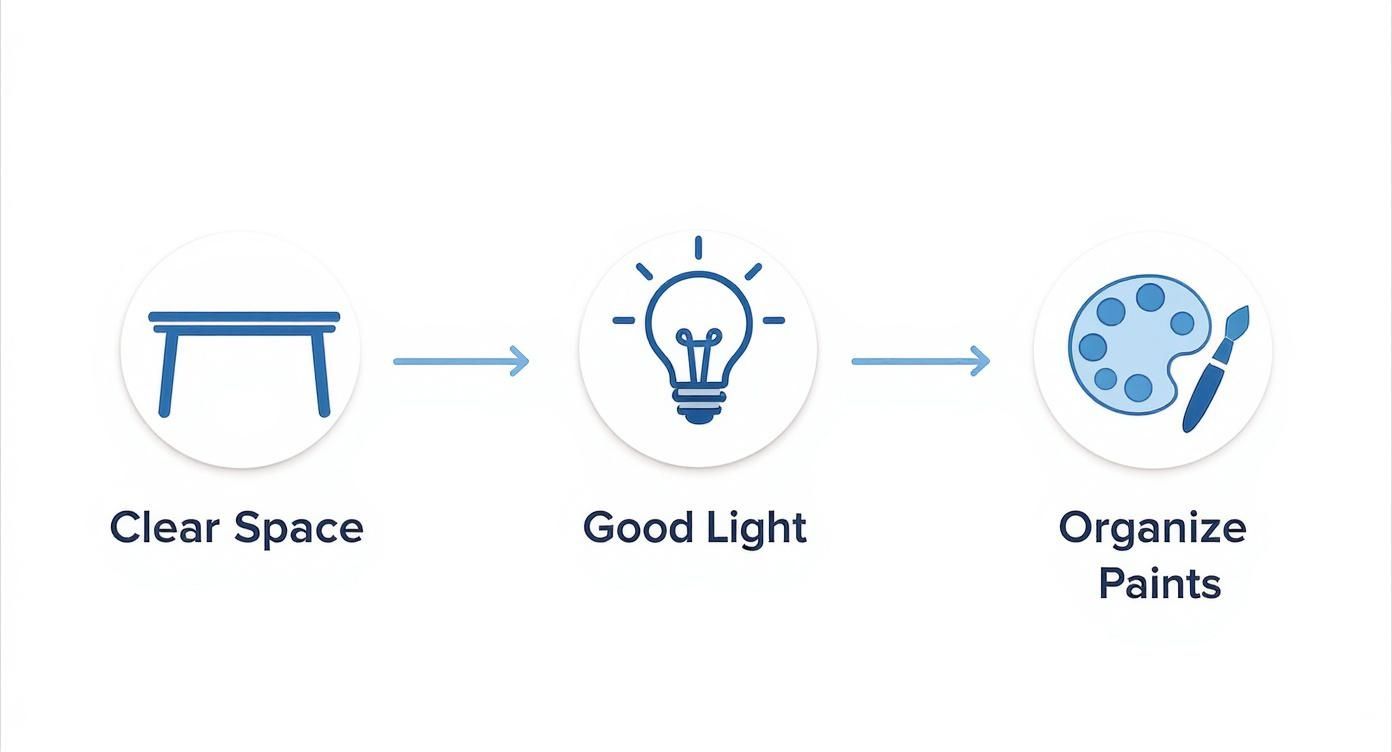
As you can see, having a clear space, good light, and your paints ready to go just lets you tune out the world and focus on your art.
Handling Your Brushes and Paint
Your kit probably came with a few different brushes. The rule of thumb is simple: use the bigger brushes for the large, open areas and switch to the smallest, finest brush for those tiny, intricate spots. Getting a feel for controlling the brush just comes with a little practice.
When you dip your brush, you don't need to load it up with a ton of paint. Just touch the tip into the pot—enough to coat it evenly without a big glob on the end. Too much paint leads to a thick, clumpy texture that takes forever to dry. You're aiming for a smooth, consistent layer that just covers the number and lines.
Don't forget to clean your brush thoroughly between colors! Swish it around in your water cup, then gently blot it on a paper towel until it's clean and just damp. This is key to keeping your colors from getting muddy and looking exactly as they should. If you want to learn more, we have a complete guide covering the best brushes for paint by numbers.
Fixing Common Mistakes
Look, everyone paints outside the lines sometimes. The great news is that with acrylics, mistakes are incredibly easy to fix.
If you painted outside the lines or used the wrong color, the solution is the same. Don't panic! Just let the mistake dry completely. Once it's dry, you can simply paint right over it with the correct color. It might take a second coat to fully hide the error, but it's a simple, foolproof fix.
Don't let a small slip-up throw you off. These little corrections are just part of the learning process. The whole point of paint by numbers is to provide a stress-free, rewarding escape where every step is straightforward and, most importantly, enjoyable.
Finishing and Displaying Your New Artwork
You’ve laid down the last brushstroke and your painting is finally done—that incredible feeling of accomplishment is what this is all about! But don't stop there. A few final touches can take your project from a finished canvas to a professional-looking piece of art you'll be proud to hang on your wall.
First things first, let's protect your hard work. Applying a clear varnish or sealant is the single best thing you can do to make your painting last. It creates a barrier against dust, sunlight, and grime, keeping your colors just as vibrant as the day you painted them. This is especially true for the acrylic paints that come in most easy paint by numbers for beginners kits.
Choosing the Right Varnish
You'll have two main options for a finish, and the one you choose really just depends on the look you're going for.
- Gloss Varnish: Want your colors to look deeper and more saturated? A gloss finish gives your painting a shiny, reflective surface that makes everything pop.
- Matte Varnish: If you prefer a more subtle, modern look, a matte varnish is the way to go. It provides a flat, non-reflective finish that cuts down on glare, which is great for brightly lit rooms.
Applying the varnish is easy. Just make sure your painting is completely dry—I always give it at least 24 hours to be safe. Then, grab a wide, soft brush and apply a thin, even layer across the whole canvas. Let that dry, and then you can decide if it needs a second coat.
Showcasing Your Masterpiece
Now that your artwork is sealed and protected, it’s time to find it a home on your wall. You don't have to break the bank with expensive custom framing to make your painting look incredible.
A floating frame is a fantastic option that gives your canvas a clean, gallery-worthy look by creating a small gap that makes it seem like the art is suspended inside. For a more budget-friendly and rustic vibe, you could try wooden hanger frames that just clip to the top and bottom of the canvas.
If you want a more detailed walkthrough, our guide on how to frame canvas paintings has some excellent tips.
Don't just tuck your finished painting away in a closet. Displaying your art is a celebration of your creativity and a wonderful reminder of the time you invested in making something beautiful.
It's no surprise that creative hobbies are booming. The U.S. art supplies market was valued at USD 3.7 billion in 2024 and is projected to hit USD 4.9 billion by 2030. That growth reflects a real desire for activities that offer relaxation and a sense of personal accomplishment. People are discovering the unique joy that comes from creating something with their own two hands.
Got Questions? We’ve Got Answers
Even with a hobby as chill as paint by numbers, you're bound to have a few questions pop up as you go. Think of this as your go-to guide for sorting out those little hitches that can happen with your first project. A few quick answers can keep your painting session fun and frustration-free.
"My Paint Seems a Little Thick..."
This is probably the most common question we get. You open a new kit, and one of the little paint pots is a bit goopy. It happens, especially if the kit has been on a shelf for a bit. Don't worry, the fix is incredibly simple.
Just add a single drop of clean water to the pot and give it a gentle stir with a toothpick. The key is to go slow—you can always add another drop, but you can't take water out. You're aiming for a smooth, creamy consistency, not a watery one. This little trick will get the paint flowing perfectly from your brush.
"Oops! I Painted Outside the Lines."
Ah, the classic beginner's fear. But here's the good news: with acrylic paint, there's no such thing as a permanent mistake. This is one of the most forgiving problems you can have.
All you need is a little patience. Let the "oops" spot dry completely. Once it's dry, you can simply paint right over it with the correct color. Since acrylics are opaque, the old color will vanish. If you're covering a dark color with a light one (like black with yellow), you might need two thin coats, but it works like a charm.
The most important thing to remember is that you can't truly mess up. Almost any mistake can be painted over, so relax and enjoy the process without fear.
What about seeing the printed numbers through light-colored paints? This is totally normal, especially with whites, yellows, and pastels. Just let that first layer dry and then go back over it with a second thin coat. That's all it takes to make the number disappear, leaving you with a solid, vibrant patch of color.
Taking Breaks and Managing Your Kit
Do you have to finish your masterpiece in one sitting? Absolutely not! The fast-drying nature of acrylic paint is a huge advantage here, letting you easily step away and come back whenever you have time.
Here are a few tips for when you need to pause your project:
- Keep Your Paints Fresh: Always, always make sure you snap the lids on your paint pots until you hear them click. This is the #1 way to prevent them from drying out.
- Care for Your Brushes: A quick rinse with water is all it takes. Gently reshape the bristles with your fingers and let them dry. Good brushes make for good painting.
- Cover Your Canvas: If you're leaving your painting out for a day or two, you can toss a light cloth over it to keep any dust from settling on tacky paint.
And the big one: what if you run out of a color? Kits usually come with plenty of paint, but if you're applying it really thickly, you might run low. The easiest solution is to take the little pot to a local craft store. They can help you find the closest possible match from their selection of individual acrylic paints.
Ready to turn your favorite memories into a work of art? At Custom Paint By Numbers, we make it simple to create a personalized kit from any photo. Start your custom painting journey today!


