

Before you even think about dipping a brush into that first pot of paint, let's talk about setup. A little bit of prep work goes a long way and is genuinely the secret sauce to a great paint-by-number session. The goal here is to create a calm, organized space so you can just relax and enjoy the process.
Setting Up for a Flawless Painting Session
That feeling of opening a brand-new kit is fantastic, right? But hold that excitement for just a few minutes. Taking the time to properly set up your painting area is the difference between a frustrating mess and a peaceful, creative escape.
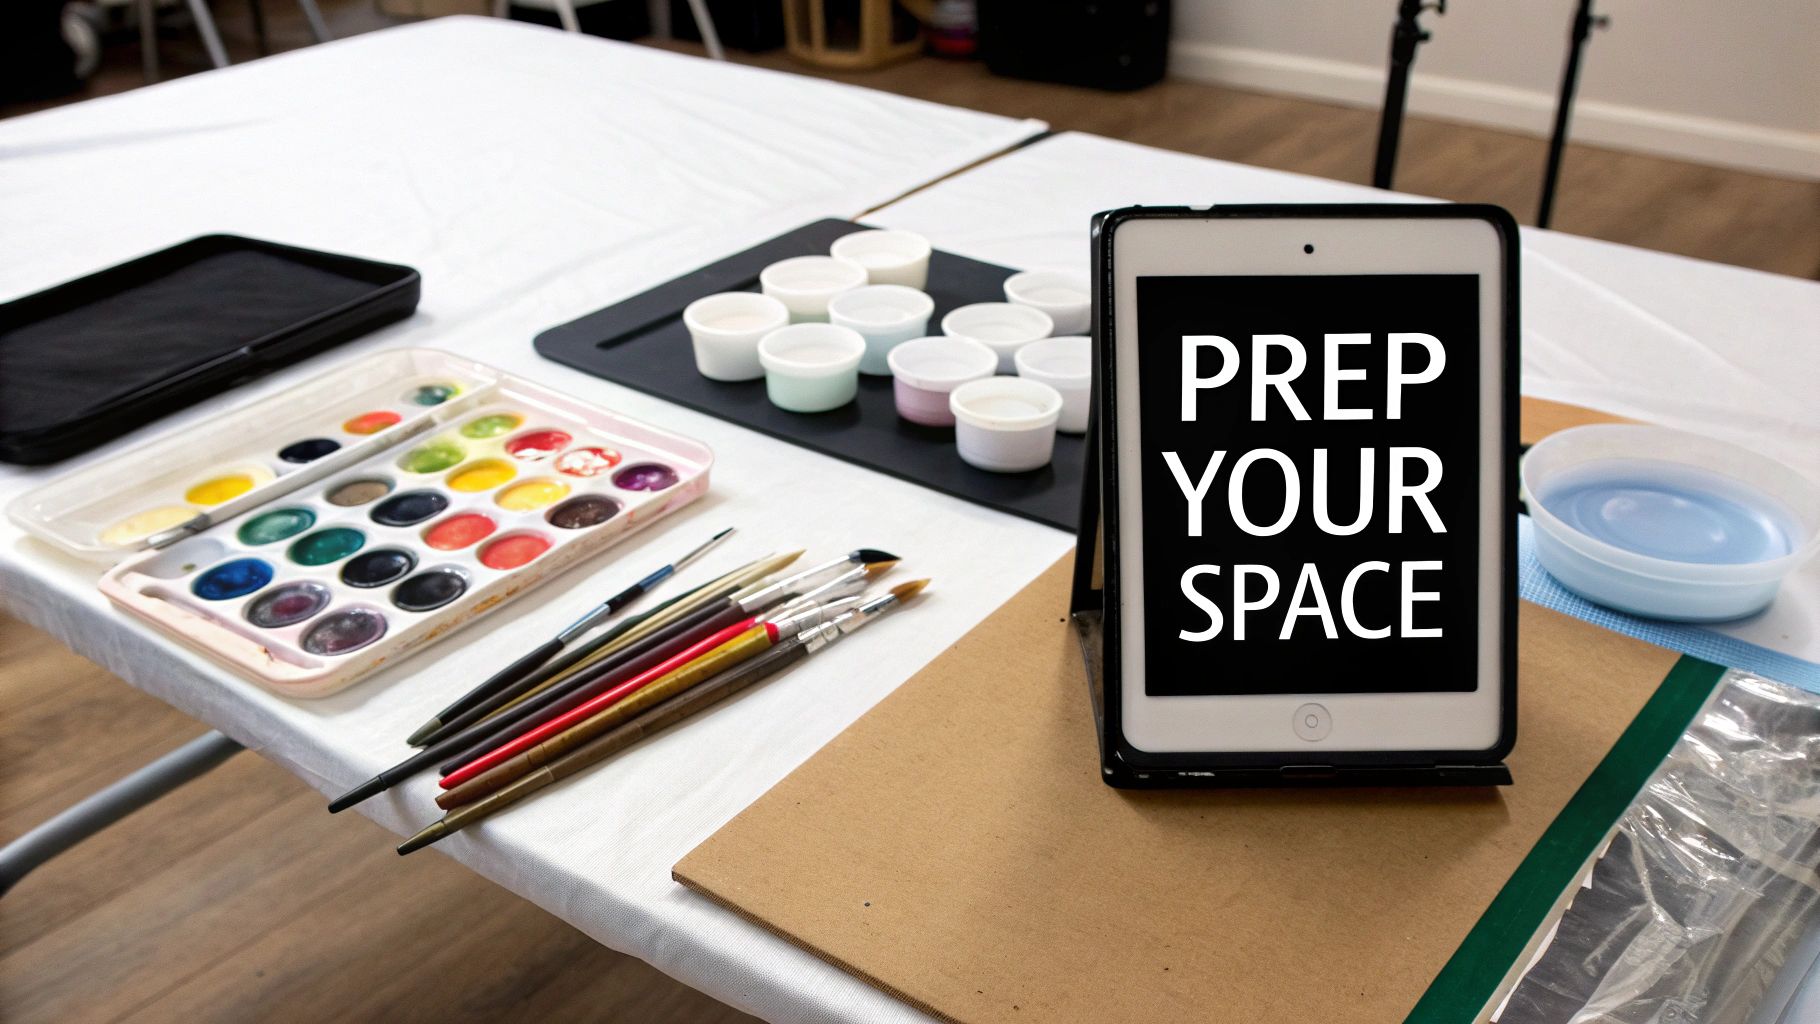
First things first, find a good spot. You'll want a flat surface with plenty of light. Natural daylight is always best for seeing the true paint colors, but a decent lamp will do the trick. Protect your table with some newspaper or an old cloth—spills happen!
Then, get your supplies in order. Have a cup of water ready for rinsing brushes and a paper towel or rag handy for dabbing them dry. I like to arrange my paint pots numerically. It sounds simple, but it saves so much time hunting for the right color when you're in the zone.
The Most Important Prep Step
Okay, here’s a tip that has saved me more times than I can count: take a clear photo of the blank, numbered canvas and the paint pot reference sheet with your phone. Seriously, do this. If you accidentally paint over a number later, you'll have a perfect digital backup to consult. It’s a simple trick that eliminates a ton of potential frustration.
"A well-prepared space is like a blank canvas with a clear mind. It removes the friction between you and your creativity, allowing you to simply flow with the process."
Finally, take a look at your canvas. If it came rolled up, you might see a few creases. You can easily smooth these out by gently ironing the canvas on a low setting, with the numbered side facing down. Many top-rated kits avoid this issue altogether by using pre-stretched canvases, which cuts down on warping by about 95% and gives you a great surface right out of the box. It’s no surprise that beginner-friendly acrylic kits like these make up over 60% of the market.
To help you get everything ready, here's a quick checklist of the essentials.
Your Essential Prep Checklist for a Perfect Start
Gather these items before you begin to ensure your painting process is smooth, organized, and enjoyable from the very first stroke.
| Item | Why It's a Game-Changer |
|---|---|
| Flat, Well-Lit Surface | Prevents paint from running and helps you see the numbers clearly. |
| Protective Covering | Newspaper or an old tablecloth keeps your furniture safe from spills. |
| Cup of Water | Essential for cleaning your brushes between colors to keep them pure. |
| Paper Towels or Rag | For dabbing excess water and paint off your brushes. |
| Organized Paint Pots | Arranging them by number saves time and prevents confusion. |
| Your Phone | To take that all-important "before" photo of your numbered canvas. |
Once you have these items laid out, you're truly ready to begin. Having everything you need within arm's reach makes the entire experience much more meditative and fun.
For a deeper dive into all the tools you might want, you can check out this fantastic guide to beginner acrylic painting supplies.
Working With Your Paints and Brushes
Now that your workspace is all set up, let's talk about the fun part—the tools of the trade. Getting a feel for the acrylic paints and brushes in your kit is the key to making your artwork really shine. This is probably one of the most important things to get right when you're just starting out.
Your kit will have a set of small, sealed pots of acrylic paint. The absolute number one rule? Always keep the lids tightly closed when you're not actively using a color. Acrylic paint dries out surprisingly fast when it hits the air, and a rock-hard pot of paint will stop your creative session in its tracks.
Getting the Paint Consistency Just Right
Every once in a while, you might pop open a pot and find the paint is a little thick or clumpy. Don't panic! This is a super common and easy thing to fix. Since these are water-based paints, a little bit of water is all you need.
Here’s my go-to method:
- Just dip the very tip of your tiniest brush into your water cup.
- Add a single drop—and I mean just one drop—of water into the paint pot.
- Grab a toothpick and stir it all together. You're aiming for a smooth, creamy texture, kind of like yogurt.
Be really careful not to overdo it with the water. Too much will make the paint thin and watery, and it won't be able to cover up the numbers and lines on the canvas. It's much easier to add another drop than it is to fix a soupy mess.
Mastering Your Brush Strokes
You probably got a few different brushes in your kit, each a different size. They all have a job to do, and using the right one will make your painting experience so much better and give you much cleaner results.
- The Smallest Brush: Think of this as your detail specialist. It’s perfect for all those tiny, intricate spots where you need ultimate control. For the steadiest hand, hold it close to the bristles, just like you would a pencil.
- The Medium Brush: This is your all-rounder. It strikes a great balance between covering ground and staying precise, making it ideal for most of the numbered areas on your canvas.
- The Largest Brush: Keep this one for the big, open spaces, like backgrounds. Holding it further up the handle gives you looser, broader strokes, letting you fill in those large sections much more quickly.
A classic rookie mistake is loading way too much paint onto the brush. You only need to dip the very tip of the bristles in the paint. This simple trick prevents clumpy blobs, gives you crisp, clean lines, and helps your paint last a lot longer.
Taking care of your brushes is just as important. The moment you're done with a color, give that brush a good rinse in your water cup. I like to swirl it gently against the bottom to get all the paint out, then dab it dry on a paper towel before dipping into a new color. This keeps your colors pure and your bristles in great shape.
If you want to dive deeper, you can learn more about the different types of paint by number brushes and how to care for them properly.
Taking just a little time to manage your paint and use the right brush will make a world of difference. It’s these small habits that elevate your project from a simple craft kit to a piece of art you’ll be truly proud to display.
Finding Your Painting Groove
Ask five different painters their method, and you'll likely get five different answers. There’s no single “right” way to complete a paint-by-number kit, but finding a consistent approach that works for you is a game-changer. Think of it less like a set of rules and more like a personal strategy to keep things relaxing and fun.
A good workflow is all about preventing those little frustrations, like accidentally smudging wet paint or feeling swamped by a busy canvas. It helps you work smarter, not harder, so you can just sink into the joy of watching your picture come together, one color at a time.
Start from the Top Down
Here’s a simple but incredibly effective habit to get into: always work from the top of the canvas and move down. Why? It’s the easiest way to keep your hand, wrist, and sleeve out of the wet paint you’ve just applied. Trust me, it saves you from a world of messy smudges.
If you’re right-handed, I suggest starting in the top-left corner and working your way across and down. For all the lefties out there, just flip that and begin in the top-right. This simple directional painting gives the completed sections a chance to dry before you have to rest your hand near them.
Work from Dark to Light Colors
Another great strategy I recommend to beginners is to tackle the colors in a specific order: start with the darkest shades first, then move to the mid-tones, and finish up with the lightest colors. This method has a few really practical benefits.
Darker paints are generally more opaque, which means they do a much better job of covering up the printed lines and numbers on the canvas. It's also way easier to correct mistakes this way. If you accidentally paint outside the lines with a dark color, a lighter one can usually cover it up with an extra coat or two.
Pro Tip: Try painting one color at a time across the whole canvas. Find every section labeled "#1" and paint all of them before you even think about opening pot #2. This helps keep your colors consistent and means you aren't constantly stopping to wash your brushes.
This kind of simple, organized approach is a big reason why paint-by-numbers has exploded in popularity. The global market is seeing a 25-30% year-over-year increase as more people discover this wonderfully accessible hobby. You can find more details about this in an analysis of the paint by numbers market.
This diagram breaks down the core skills you'll be using constantly.
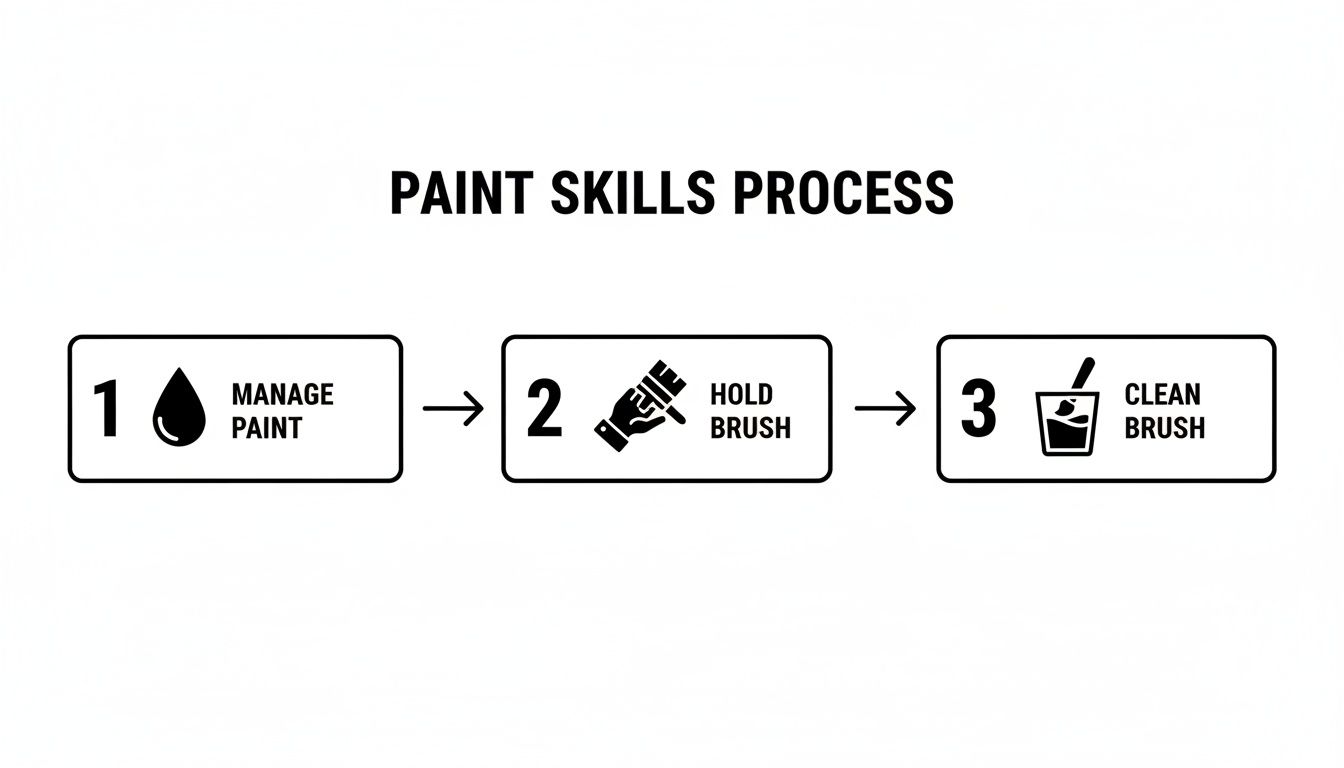
Getting comfortable with your paint, your brush, and your cleaning routine is what makes the whole process feel smooth and effortless.
Maintain a Wet Edge for Large Areas
Ever tried to paint a big blue sky and ended up with a streaky, patchy mess? The trick to getting a smooth, solid finish on those large sections is to maintain a "wet edge."
This just means you need to blend your new brushstroke into the edge of the previous one before it starts to dry. You have to work a little quickly, but carefully, always applying fresh paint right next to the still-wet paint. This simple technique prevents those ugly lines from forming and gives you that seamless, professional look.
Simple Techniques to Elevate Your Artwork
So, you've gotten the hang of filling in the numbered sections, and you're probably wondering what's next. This is where the real fun begins. You can start to think beyond the lines and inject your own artistic style into the painting. A few simple techniques can be the difference between a fun craft project and a piece of art with real depth and personality.
Don't worry, these aren't complicated methods that take years to learn. They're just a couple of easy tricks that anyone can use to make their art look more dynamic and impressive. Let's get into it.
Mastering the Art of Blending
Ever look at a painting of a sunset and marvel at how the colors just melt into each other? That’s blending, and it's way easier than it looks. It's the perfect technique for skies, water, or any spot where you want to erase the hard lines between colors.
The secret is to work while the paint is still wet. Here’s a simple way to approach it:
- Paint two adjacent sections. Let's say you have a light blue next to a slightly darker blue in the sky. Paint them both.
- Blur the line. Before the paint has a chance to dry, grab a clean, dry brush. Use light, feathery strokes to gently sweep back and forth right where the two colors meet.
- Keep your brush clean. Wipe your blending brush on a paper towel after every few strokes. This is crucial for stopping the colors from turning into a muddy mess.
Using this method gives you a beautiful, soft gradient instead of a sharp edge, adding an instant touch of realism to your work.
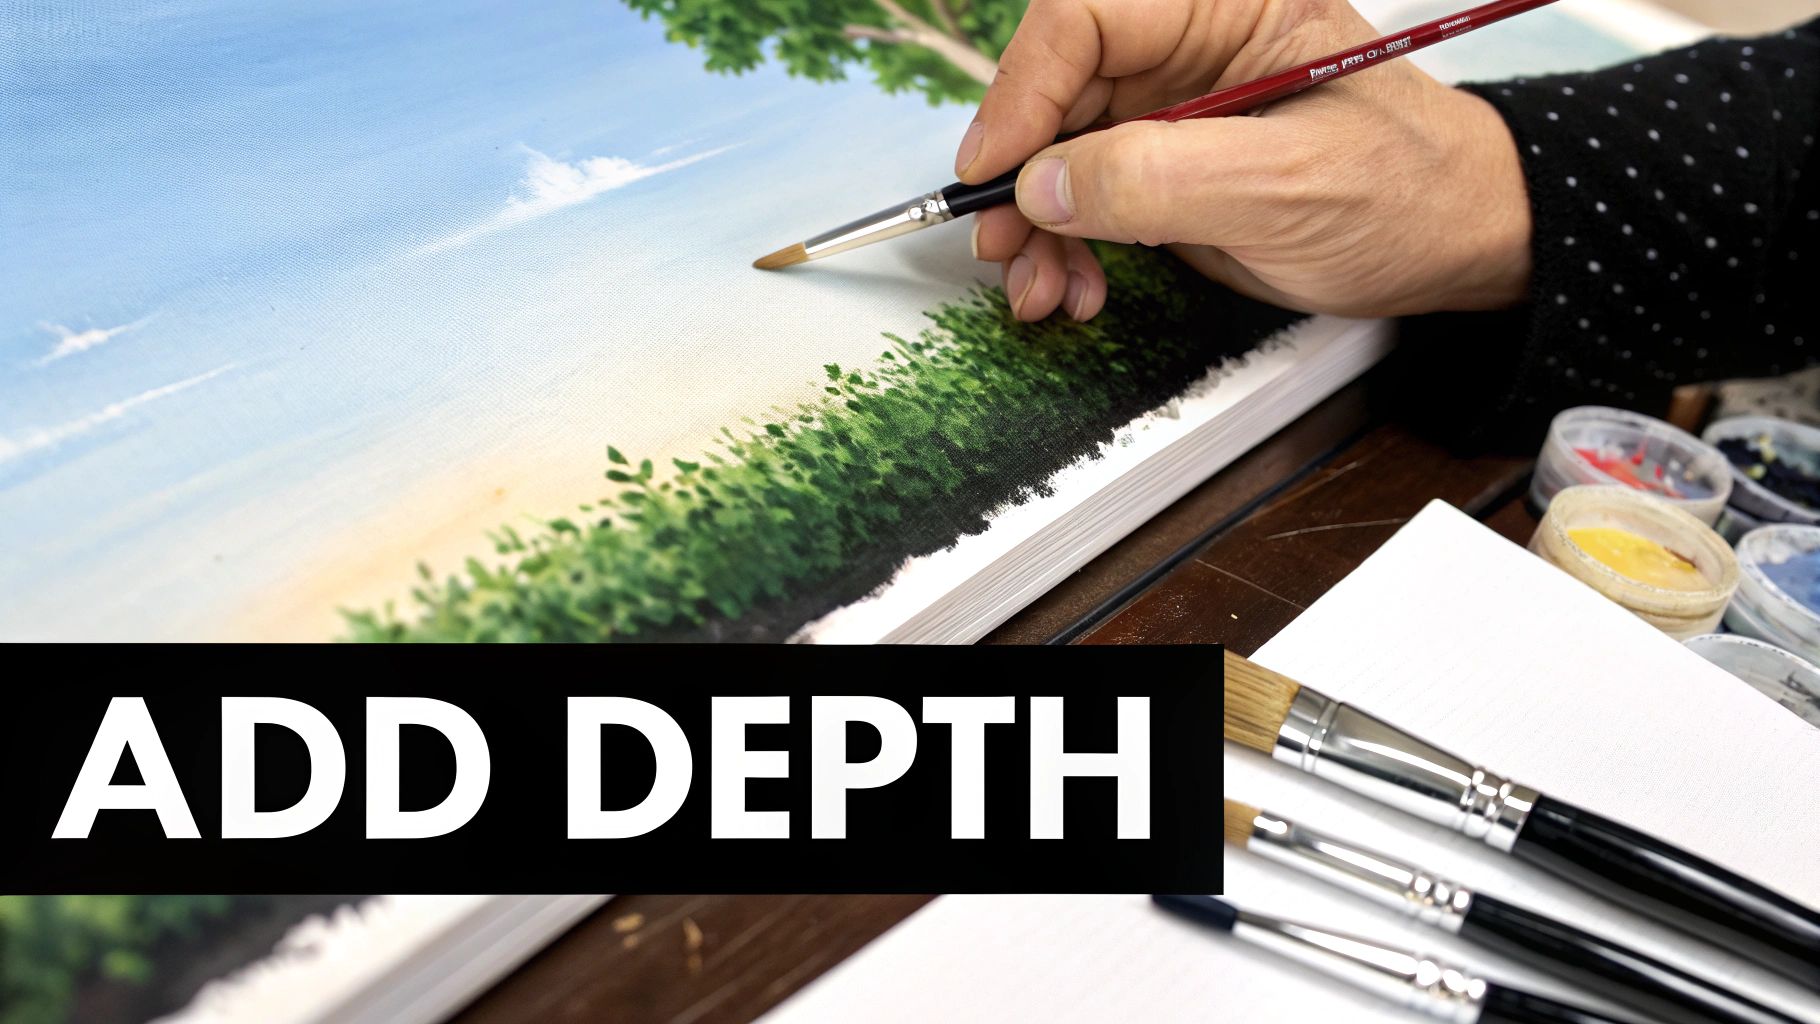
Creating Texture with Dotting
Another great trick for adding some life to your painting is dotting, which you might also hear called pointillism. Instead of filling an area with smooth, solid strokes, you fill it with tons of tiny dots of paint. It's an incredibly simple way to create texture for things like leaves on a tree, wildflowers in a meadow, or sand on a beach.
Just dip the very tip of a small brush in your paint and gently dab it onto the canvas. You can even use a Q-tip for this. Try layering dots of different shades in the same numbered area to create highlights and shadows. For a green bush, for example, you could add a few dots of a lighter green and a few of a darker one to really make it pop with dimension.
These techniques are your first real step toward making the artwork truly yours. Don’t be afraid to experiment a little. The numbers are a fantastic guide, but adding your own touch is what makes creating art so rewarding.
By using blending for softness and dotting for texture, you’ll be shocked at how much more sophisticated your finished painting will look. These are fundamental tips for any beginner ready to take their paint-by-number skills up a notch.
Finishing Touches and Fixing Common Mistakes
You’ve painted the last section, and your masterpiece is finally complete... well, almost! These last few steps are what really elevate your artwork from a fun project to a stunning piece you'll be proud to display. This is where you protect all your hard work and learn how to patch up any little hiccups that might have happened along the way.
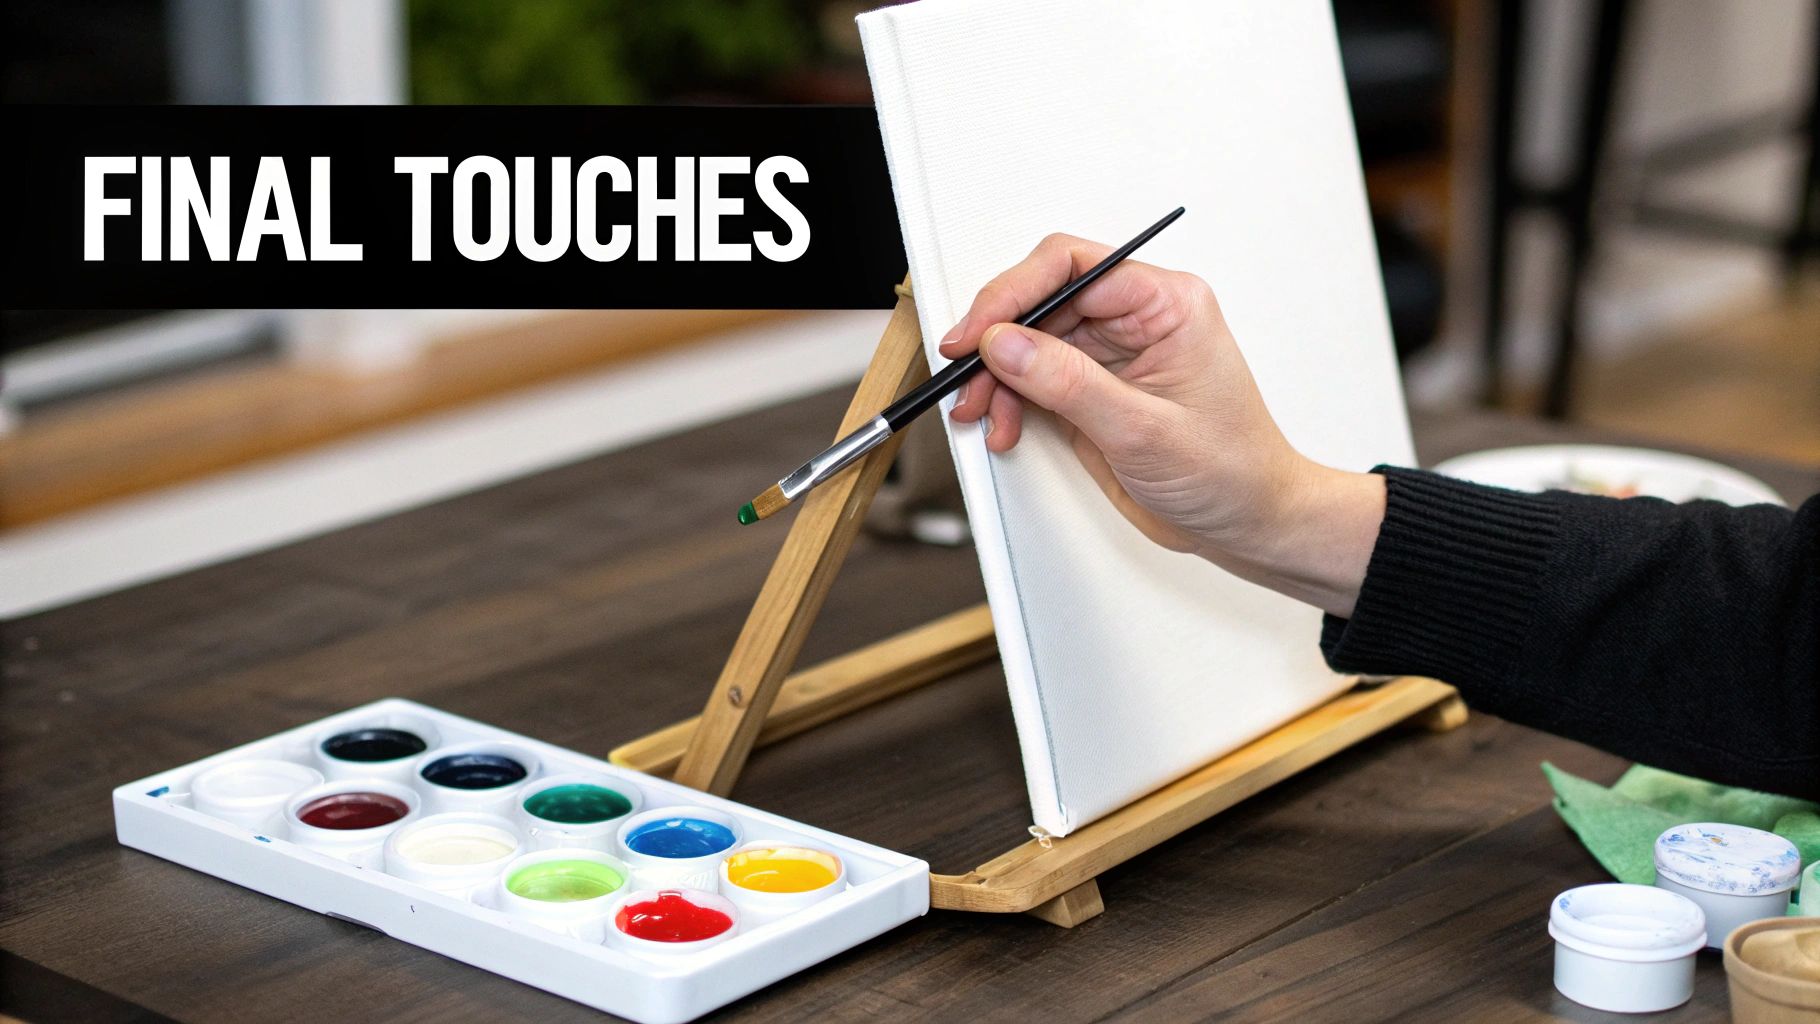
One of the best things you can do for your finished piece is to seal it with a varnish. This protective topcoat does more than just shield the surface from dust and fading from UV light; it actually makes the colors pop. You generally have two choices here: a gloss varnish will give your painting a vibrant, shiny finish, while a matte varnish provides a more subtle, non-reflective look.
Honestly, the choice is all about personal preference, so go with what you think looks best for your painting. If you want a detailed guide on the process, this is a great resource on how to seal acrylic paint on canvas to get a flawless finish.
Troubleshooting Common Painting Mishaps
Let's be real—no creative process is perfect. The great news is that almost every common paint-by-number mistake is surprisingly easy to fix. Knowing how to fix common issues in crafts in general can build a lot of confidence, and the same principles apply here.
Here are a few of the most frequent issues I see beginners run into, and how to solve them:
- Numbers Peeking Through Light Paint: You'll notice this with lighter colors like yellow, white, or pastels. The printed numbers can sometimes show through the first coat. The fix is simple: let that first layer dry completely, then go back and apply a second thin coat. Sometimes, a third is needed for full coverage.
- Painting Outside the Lines: It happens to the best of us! If you accidentally color outside a line, don't panic. Just let the mistake dry completely. Then, take the correct color for the area and carefully paint right over the smudge. It’ll be our little secret.
- Dried or Goopy Paint: Found a paint pot that’s gotten a bit too thick or started to dry out? Don't toss it. Just add a single drop of water and give it a good stir with a toothpick. Keep adding one drop at a time until it's back to a smooth, creamy consistency.
Remember, there are no unfixable errors in paint-by-numbers. Patience and a willingness to make small corrections are all you need. Every artist, from beginner to expert, has to make adjustments along the way.
These simple fixes are game-changers for beginners, ensuring that small blunders don't derail your creative flow. Once you have these little tricks up your sleeve, you can tackle any project with the confidence that you can handle whatever comes up.
Your Top Paint by Number Questions, Answered
Every new painter has questions. That's a good thing! It means you're really getting into it and thinking through the process. Getting a handle on these common little hurdles is the best way to move past uncertainty and start painting with confidence.
Let's clear up a few of the things that pop up most often.
What If I Run Out of a Specific Color?
This is probably the number one worry for beginners, but honestly, it rarely happens. The people who make these kits are usually pretty generous with the paint. The real enemy isn't running out, it's letting the paint dry up.
Always keep those little pots sealed tight when you're not using them. And when you do dip your brush, just use the very tip—a little goes a long way.
If you do find yourself scraping the bottom of a pot, don't panic. You have options:
- Borrow a little. Find the next closest shade in your kit. Mix a tiny drop of it into the color you're running low on to stretch it out.
- Mix a match. This takes a bit more finesse, but you can try to recreate the color yourself by mixing other paints. Just start with tiny dabs until you get it right.
Think of it as part of the creative process. If you're interested in building skills like this beyond just paint-by-numbers, you can explore other learning resources to broaden your artistic horizons.
How Long Should I Let the Paint Dry?
One of the best things about the acrylic paints in these kits is how fast they dry. A thin layer of paint will usually be touch-dry in about 10-20 minutes. This is great because it means you can hop around the canvas, working on different sections without a ton of downtime.
Now, "touch-dry" isn't the same as "fully cured." If you need to paint a second coat (especially with lighter colors) or work right up against a freshly painted edge, I'd give it at least an hour to be safe. If you're packing up for the day, your painting will be more than ready for you tomorrow.
Here's the most important habit to build: never rest your hand on a painted area unless you are 100% sure it's dry. This one simple rule will save you from so many smudges and keep your lines looking sharp.
Can I Mix My Own Custom Colors?
Absolutely! The whole point of paint-by-numbers is that you don't have to, but that doesn't mean you can't. Mixing your own shades is a fantastic way to make the artwork truly your own, maybe by blending the transition between two colors for a softer gradient.
If you're going to mix, follow this one golden rule: always mix more than you think you need. Trust me on this. Trying to perfectly match a custom color you made yesterday is next to impossible. Keep a few small, airtight containers handy to save any leftovers so your custom blend doesn't dry out before you're finished with it. It’s a great way to take your painting to the next level.
Ready to turn your favorite photo into a masterpiece? At Custom Paint By Numbers, we make it easy to create a personalized kit from any image. Transform a memory into a work of art you can create yourself. Design your Custom Paint By Numbers kit today


