

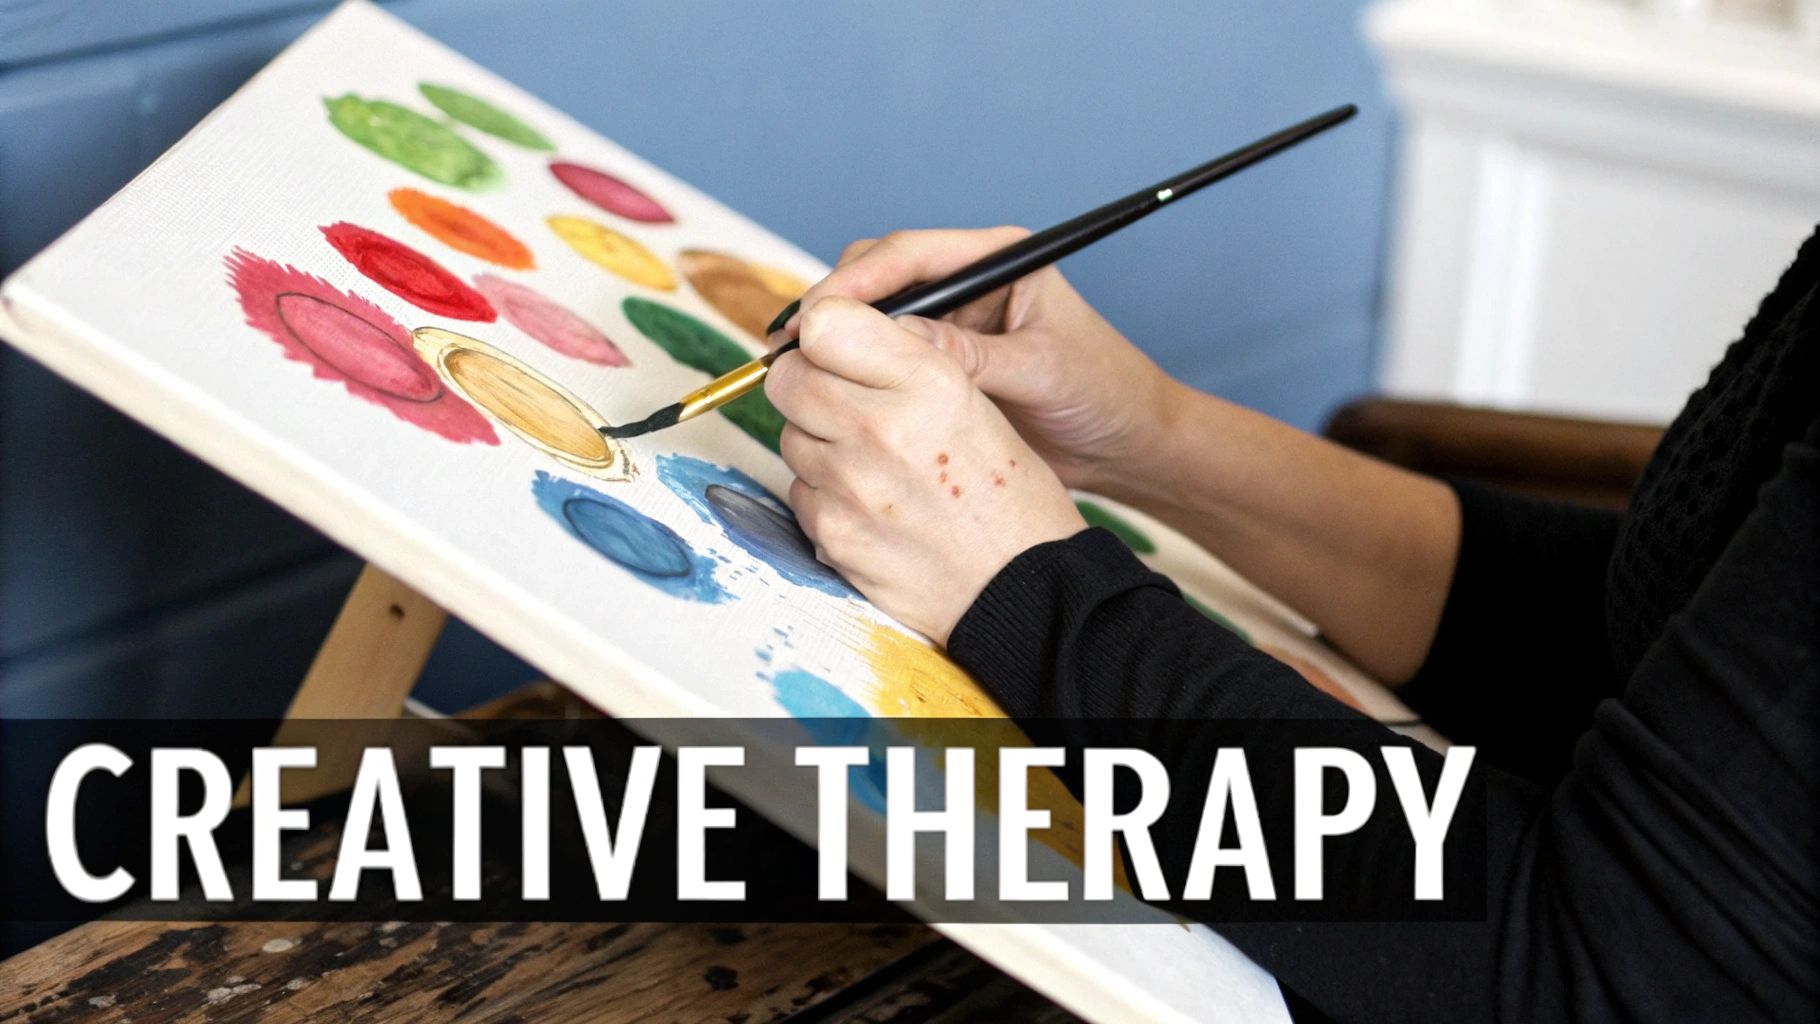
Ever dreamed of turning a favorite photo into a painting you made yourself? Maybe it's a goofy picture of your dog, a beautiful wedding portrait, or that one perfect sunset from your last vacation. That’s exactly what custom paint-by-number kits let you do. They take the classic, zen-like hobby we all know and make it incredibly personal.
What Are Custom Paint by Numbers Kits
Forget the generic landscapes or still-life scenes you find in standard kits. With a custom kit, your photo is the masterpiece. It arrives as a canvas pre-printed with the outlines of your image, all broken down into easy-to-follow numbered sections.
Each number on the canvas corresponds to a small pot of paint included in the kit. It’s like a personalized roadmap for your painting, guiding you step-by-step as you bring a meaningful memory to life. You don't need any artistic skill—the hard part of figuring out colors and shapes is already done for you. Just match the number, fill in the space, and watch your photo emerge.
How Your Photo Becomes a Painting
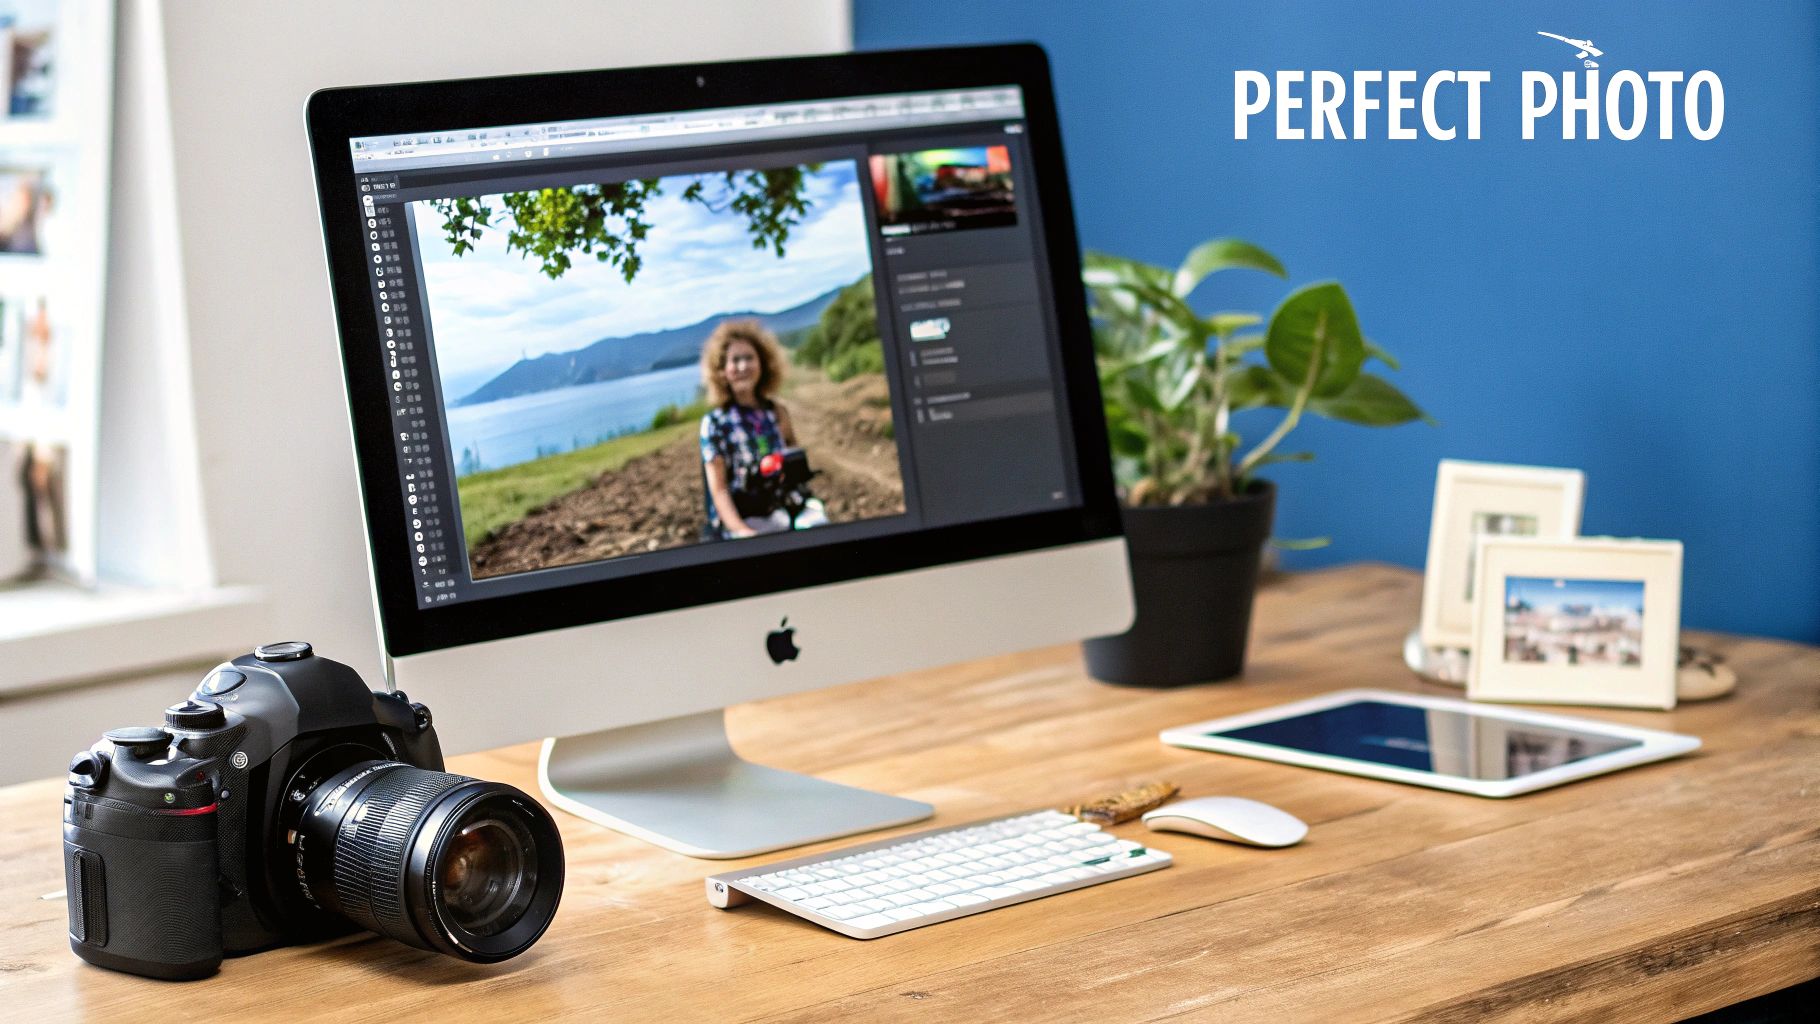
So, what happens behind the scenes? When you upload your picture, special software gets to work analyzing every detail—the colors, the light, the shadows. It then creates a unique, numbered line drawing and a custom paint palette designed specifically for your image. This ensures your final piece truly captures the feel of the original photo.
A custom paint-by-number kit does more than just create a painting. It turns a fleeting digital memory into a real, tangible piece of art that you had a hand in making.
You can often choose the level of detail you want by selecting the number of paint colors. More colors mean a more realistic, detailed painting with subtle shading. Fewer colors will give you a bolder, more graphic style. It’s a great way to control how complex you want the project to be.
What’s Inside the Box
Every kit is designed to give you everything you need to get started right away. While the exact contents can differ a little between brands, here are the essentials you'll almost always find:
- A Pre-Printed Linen Canvas: A high-quality canvas with your photo's outline clearly printed and numbered, all ready for you to start painting.
- A Set of Numbered Acrylic Paints: All the custom-mixed, non-toxic acrylic paints required for your project. Each pot is numbered to match the canvas, so you never have to guess.
- Multiple Paintbrushes: You'll typically get a set of three different-sized brushes, perfect for tackling everything from the big background areas to the tiniest, most intricate details.
- A Reference Guide: A paper printout of the numbered design. This little map is a lifesaver if you accidentally paint over a number on the canvas and need to double-check what goes where.
The Evolution from Classic Hobby to Personal Art
The idea of turning your own photos into art feels incredibly modern, but its roots go way back. To really understand custom paint by numbers kits, you have to look at the journey from a simple hobby to a deeply personal form of expression. Long before we could immortalize our memories on canvas, the original concept took the world by storm with a powerful promise: anyone can be an artist.
This whole movement kicked off in the 1950s, a time when people had more leisure time and were looking for new ways to spend it. The idea of guided art just clicked, offering a clear path to a beautiful result without any of the usual artistic intimidation.
The real breakthrough came in 1951. A Detroit-based company called Palmer Paint Company launched the first kits, branded as Craft Master. The response was unbelievable. By 1954, they had sold a staggering 20 million kits in the U.S. alone. At its peak, the factory was churning out 50,000 kits every day, cementing paint by numbers as a true cultural phenomenon. You can dive deeper into the history of this creative hobby and its creators to see just how big it was.
From Mass Production to Personal Meaning
Those early kits worked because they made art feel approachable. You didn't need to know a thing about color theory or composition—just match the paint to the number. The subjects were things everyone could appreciate: peaceful landscapes, famous landmarks, and cute animals.
They were fantastic for democratizing creativity, but they were also completely impersonal. Everyone was painting the exact same Parisian street or the same bouquet of flowers. The joy was in the process, not in any real connection to the final picture.
The shift from generic scenes to personal photographs marks the single biggest evolution in the history of paint by numbers. It transformed a nostalgic pastime into a powerful tool for storytelling and memory-keeping.
This change was huge. It moved the focus from a shared, mass-produced activity to something entirely unique and individual. It's no longer just about the relaxing act of painting; it’s about the emotional reward of bringing a moment that matters to you to life.
The Digital Bridge to Your Canvas
So, how did we go from painting pre-packaged scenes to our own pets and family photos? Technology, of course. The same digital magic that put a great camera in your phone also gave us the software to translate a photo into a paintable map.
It’s a pretty clever process that happens behind the scenes:
- Image Analysis: First, smart algorithms scan your photo. They map out all the different color areas, shadows, and highlights.
- Color Palette Generation: The software then creates a custom, limited palette of acrylic paints needed to reproduce the tones in your specific image.
- Numbered Outline Creation: Finally, it generates a precise line drawing on the canvas, assigning a number to every little section that corresponds to one of your paint pots.
This digital translation is what makes it all possible. It’s the bridge between your favorite photo and a physical canvas, putting true personalization right at your fingertips. What started as a one-size-fits-all hobby has become a one-of-a-kind journey, letting you paint the story of your own life.
How to Choose the Perfect Photo for Your Kit
The secret to a stunning final painting starts long before you ever dip a brush in paint—it all comes down to the photograph you choose. Think of your photo as the blueprint for your masterpiece. A great blueprint makes for a beautiful result, but a flawed one can lead to frustration and a painting that just doesn't hit the mark.
Honestly, picking the right image is the single most important part of creating a custom paint by numbers kit you'll be proud of. The software that turns your photo into a numbered canvas is pretty clever, but it can only work with the visual information you give it. A crisp, clear photo provides a rich map of colors and details for the software to follow, setting you up for success.
The Anatomy of a Perfect Source Photo
Not all photos are cut out for the paint-by-number treatment. An image that looks fantastic on your phone might not translate well onto a canvas, where every detail gets magnified. You're looking for a photo with clear, paintable information that the system can easily interpret.
So, what are the key ingredients for a photo that's ideal for customization?
- High Resolution: This is an absolute must. A high-resolution image is sharp and packed with data, which allows our software to create a detailed and accurate outline. If you start with a blurry, pixelated photo, you’ll end up with a muddy painting where colors and shapes just bleed into each other.
- Good Lighting and Strong Contrast: Look for photos taken in bright, even light. Good lighting creates distinct highlights and shadows, which are essential for defining the shapes in your picture. It's this contrast that will give your finished painting depth and that wonderful three-dimensional feel. Try to steer clear of photos that are too dark or have harsh, distracting shadows.
- A Clear, Focused Subject: The best photos have one main focal point that grabs your attention. Whether it’s a smiling face, a beloved pet, or a beautiful landscape, your subject should be the star. That’s why close-ups and portraits usually work much better than busy scenes shot from far away.
Photo Selection Checklist for Best Results
Choosing the right photo can feel a bit daunting, but it doesn't have to be. We've put together this quick checklist to help you evaluate your options and pick a winner every time.
| Photo Characteristic | Why It Matters | Quick Tip |
|---|---|---|
| High Resolution | A clear photo creates a detailed, accurate canvas. Low-res images result in a blurry, "blocky" painting. | Zoom in on the photo. If it looks crisp and not pixelated, you're good to go. |
| Good Lighting | Bright, even light defines shapes with clear highlights and shadows, adding depth to your painting. | Avoid photos with dark shadows on faces or key details. Outdoor shots on overcast days are often perfect. |
| Strong Contrast | The difference between light and dark areas helps the software separate colors and objects effectively. | If colors look washed out or blend together, the final painting might look flat. Choose photos with vibrant, distinct colors. |
| Focused Subject | A single, clear subject is easier to paint and creates a more powerful final piece. | Close-ups and portraits are fantastic choices. Avoid group shots with many small faces. |
| Simple Background | A busy background can distract from your subject and create tiny, frustrating-to-paint sections. | A plain wall or a soft, blurry background is ideal. It keeps the focus right where it should be. |
Taking a moment to run your photo through this checklist is the best way to ensure your painting experience is relaxing and rewarding from the very first brushstroke.
Simplicity Is Your Best Friend
One of the most common hiccups we see is choosing a photo that’s just too complex. Think of a picture of a large group of people standing in front of a cluttered background. It’s incredibly tough to translate that into a paintable design. All those tiny details get crunched together, turning a relaxing hobby into a tedious chore.
The best custom paintings come from the simplest photos. A clean background puts all the focus on your subject, resulting in a more powerful and artistic composition.
Instead, look for images with simple, uncluttered backgrounds. A portrait against a plain wall or a dog sitting in a grassy field will almost always produce a cleaner and more professional-looking painting. If you absolutely love a photo but the background is too busy, try using a simple photo editing app to crop in tighter on your subject before you upload it. For more great advice, you can learn more about how to successfully turn a photo into a beautiful painting in our detailed guide.
Here's a great little trick: squint your eyes while looking at your photo. Can you still clearly make out the main subject and its key features? If so, you've probably got a winner. If everything just dissolves into a confusing mess, it's best to find another shot. Spending a few extra minutes to choose the right image makes all the difference.
Understanding the Custom Order Process
Ever wondered how your favorite photo becomes a paint-by-number canvas? It might feel like a bit of magic, but it’s actually a really cool and straightforward process. Once you’ve picked out that perfect picture, you’re only a few steps away from having a personalized art kit delivered right to your home.
Let's pull back the curtain and see exactly what happens after you hit that "order" button. Knowing the journey helps you make the best choices for your future masterpiece.
This handy visual breaks down the simple, three-stage journey from photo upload to delivery.
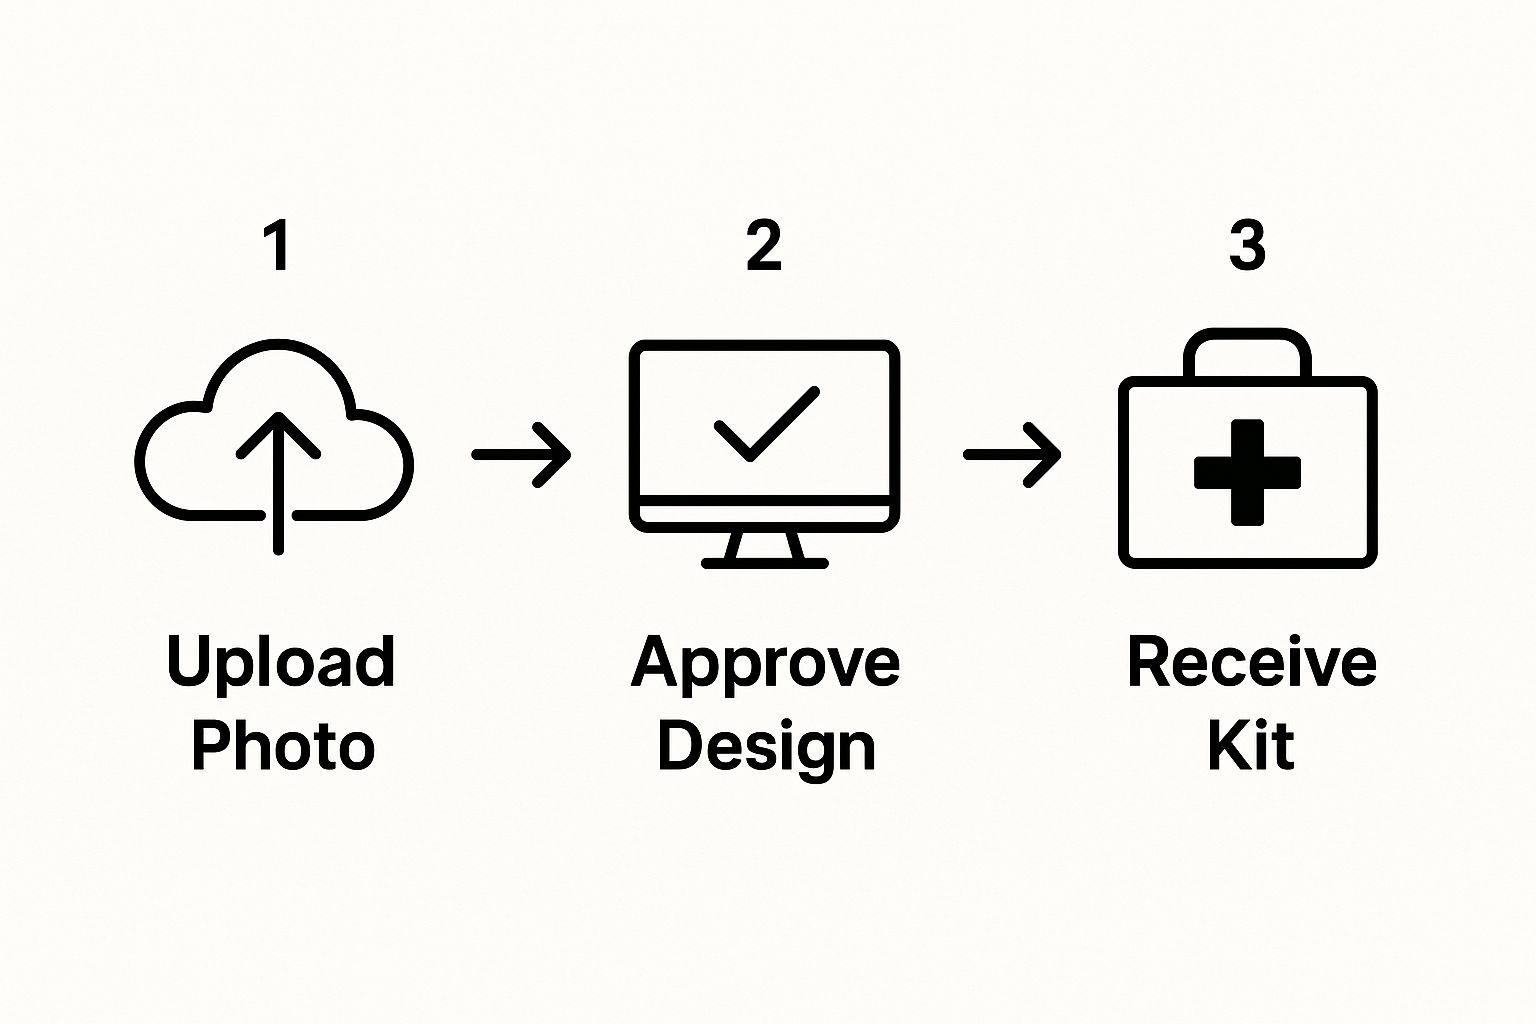
Each step is built to be simple and clear, making it a breeze to get your project started.
Step 1: Making Key Customization Choices
Once your photo is uploaded, you get to play creative director. You’ll be asked to make a couple of key decisions that really shape the final look and feel of your painting. This is where you can match the kit to your skill level and what you envision for the finished piece.
First up is the canvas size. A bigger canvas allows for more intricate details and creates a stunning statement piece for your wall, but it will naturally take more time and patience. If you're new to this or looking for a quicker project, a smaller canvas is a fantastic starting point.
Next, you'll choose the number of paint colors. This is probably the most important choice, as it directly controls how detailed your painting will be.
- 24 Colors: This option gives your painting a more stylized, almost poster-like look. It's great for photos with strong, simple shapes and a lot of contrast.
- 36 Colors: This is the sweet spot for many people. It offers a wonderful balance, capturing plenty of detail from your photo without feeling overwhelming.
- 48 Colors: Want to create something incredibly lifelike? This is the option for you. It’s perfect for detailed portraits and lush landscapes where every subtle shade and highlight matters.
Step 2: Behind the Scenes: The Digital Design Phase
After you've made your choices and submitted your order, our tech wizards (and their clever software) get to work. A specialized program analyzes every pixel of your photo, mapping out all the different colors, shadows, and highlights. It then translates all that visual information into the numbered outline that will be printed on your canvas.
At the same time, the software creates a custom paint palette just for your image. Each number on the canvas gets assigned a specific paint color, giving you a perfect, easy-to-follow guide. Most companies, including us, will send you a digital preview at this point.
This digital proof is your opportunity to see exactly how your photo will look as a paint-by-number design. It’s a crucial step to make sure you love the composition before we even think about printing it.
Step 3: From Our Workshop to Your Doorstep
Once you give the final thumbs-up on the design, our production team jumps into action. Your custom outline is professionally printed onto a high-quality artist’s canvas. We then prepare and label all the corresponding acrylic paints and gather the right set of brushes for your project.
Everything—the canvas, paints, brushes, and a handy reference guide—is carefully packaged together and shipped right to your door. When that box arrives, you'll have everything you need to unplug, relax, and turn a treasured memory into a true work of art.
Tips for Painting Your Custom Masterpiece
The moment your custom paint by numbers kit arrives is always exciting. Unboxing that fresh canvas, seeing your photo transformed into a paintable map, and lining up all those little pots of color—this is where the real fun begins.
To get the most out of your painting experience and end up with a piece you’re proud of, a little bit of prep work goes a long way. These tips will help you sidestep common frustrations and find your creative flow.
Setting Up Your Creative Space
First things first: carve out a comfortable spot to paint. You don't need a dedicated art studio! A clear kitchen table or a quiet corner of your desk will work just fine. The idea is to create a space where you can focus without interruption.
Here’s a quick checklist for your painting nook:
- Good Lighting: This is a must. Natural light is best, as it helps you see the numbers clearly and keeps the colors true. For night sessions, a good desk lamp is your best friend.
- A Cup of Water: Grab a sturdy cup for cleaning your brushes. A wide, heavy-bottomed one is less likely to tip over when you're in the zone.
- Paper Towels: Keep a roll or an old cloth nearby. You'll need it for dabbing excess water off your brushes and cleaning up any little spills.
- An Easel (Optional): While you don't need one, a small tabletop easel can make a huge difference in your comfort, helping you avoid a sore neck during longer painting sessions.
Developing Your Painting Rhythm
With your space ready, it's time for the main event. There's no single "right" way to tackle a paint-by-number canvas, but having a strategy can make the process smoother and prevent smudging.
A super effective approach is to work from top to bottom. This simple habit keeps your hand from dragging across wet paint. If you’re right-handed, painting from left to right achieves the same thing.
A great rule of thumb is to paint one numbered section completely before moving to the next. This creates a more efficient workflow, as you won't have to keep cleaning your brush and opening the same paint pot over and over.
Another popular technique is to start with either the lightest or darkest colors first. If you begin with light shades, it's easier to paint over any mistakes with darker colors later. On the other hand, starting with the darkest colors can help establish the key shadows and structure of your picture from the get-go. Give both a try and see what feels right for you.
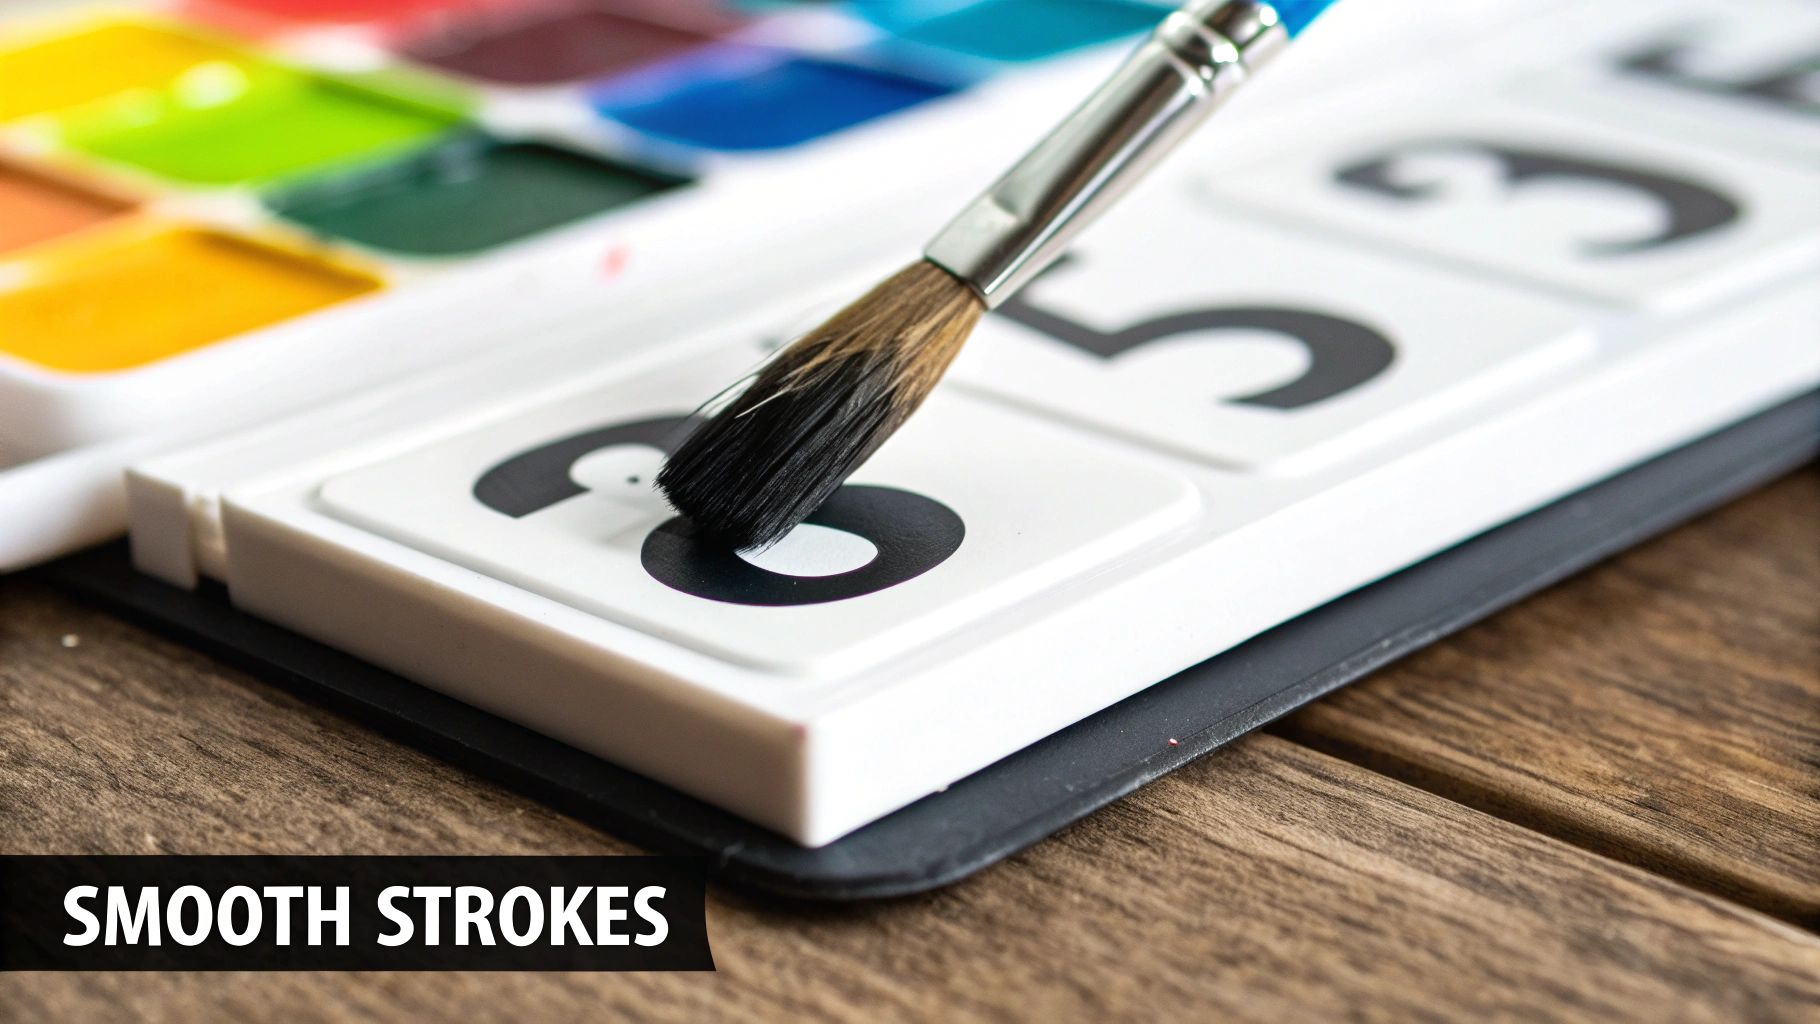
Mastering Brushwork and Details
Your kit includes brushes of different sizes for a reason! Use the bigger brushes to fill in the large, open areas and switch to the tiny, fine-tipped ones for all those intricate spots. It’s a simple trick that saves a ton of time and makes your work look much neater.
Here’s how to handle your paint and brushes like a pro:
- Use Just Enough Paint: You only need to dip the very tip of your brush in the paint. A little goes a long way—just enough to cover the number and fill the lines. Too much paint can create a bumpy texture.
- Keep Lids Closed: Acrylic paint dries out fast. To keep your colors fresh, always snap the lids shut on any pots you aren't actively using.
- Clean Brushes Thoroughly: When switching colors, give your brush a good swish in the water and then dab it dry on a paper towel. This prevents colors from mixing and getting muddy.
- Tackle Tiny Areas with Confidence: For those impossibly small spots, a toothpick can be your secret weapon. Just dip the tip in a bit of paint and gently dot it into place for perfect precision.
Finishing and Displaying Your Artwork
https://www.youtube.com/embed/6vqCB2Q5zjY
There’s a special kind of pride that comes with painting that very last numbered section. You’ve taken a blank canvas and, one brushstroke at a time, turned it into something deeply personal. But you're not quite done yet! Now it's time for the final touches that will protect your work and get it ready to show off.
This last part of the process is what elevates your project from a fun activity to a lasting piece of art for your home. A few simple steps will not only make your painting look even better but will also preserve all the hard work and memories you put into it.
Protecting Your Painting with Varnish
Before you even think about hanging it, applying a clear varnish is a step you don't want to skip. Varnish acts like a protective shield, safeguarding the acrylic paint from dust, dirt, and the fading effects of UV light. Over time, sunlight can dull even the most brilliant colors, and a coat of varnish keeps them looking fresh.
Varnish also does a great job of making the colors really pop. It creates a consistent, even finish across the entire canvas, whether you choose a glossy, satin, or matte look. It’s this simple step that can take a piece from looking "finished" to looking truly professional.
Applying it is easy:
- Make Sure It's Dry: Give your painting at least 24-48 hours to dry completely after your final brushstroke.
- Apply a Thin Coat: Grab a wide, flat brush and sweep a thin, even layer of clear acrylic varnish over the entire surface.
- Let it Cure: Set it aside to dry in a place free from dust. This can take a few hours.
Framing and Display Ideas
Once your painting is protected, the fun part begins: deciding how to display it. Framing is easily the most popular choice because it gives your artwork that polished, gallery-ready feel. A good frame isn’t just for looks, either—it provides important structural support for the canvas.
A well-chosen frame complements your artwork without overpowering it. It’s the final step in turning your personal photo into a piece of art that seamlessly integrates with your home's style.
But don't feel limited to a traditional frame! You could create an amazing gallery wall, mixing your custom painting with other family photos. It could also become a unique conversation starter sitting on a mantelpiece or a bookshelf. For more great ideas and a step-by-step guide, check out our helpful article on how to frame canvas paintings.
Common Questions About Custom Paint Kits
Jumping into custom paint-by-numbers is exciting, but it’s totally normal to have a few questions before you get started. Getting the answers sorted out first helps make sure your painting experience is fun, relaxing, and leaves you with a piece of art you’ll be proud of.
We've put together some of the most common questions we hear from artists who are just starting out. Here are some simple, straightforward answers to help you feel confident from the moment you order your kit.
Can I Use an Old or Low-Resolution Photo?
This is probably the number one question we get. While a crystal-clear, high-resolution photo will always produce the most detailed painting, don’t give up on that treasured old picture just yet. Many companies have talented design teams who know exactly how to work with less-than-perfect images.
Using special software, they can often clean up the photo, bring key features into focus, and simplify busy backgrounds to create a canvas that's a joy to paint. The final piece might lean more towards a soft, artistic style rather than being perfectly photorealistic—which honestly, can be a beautiful look all its own.
The best thing you can do is ask for a free digital preview before you buy. This mock-up will show you exactly how your photo translates into a paint-by-number design, so you know what you’re getting with no surprises.
How Long Does a Custom Kit Take to Complete?
Honestly, the time it takes is as personal as the photo you pick. It really boils down to three things: the canvas size, how detailed your image is, and your own painting style. The most important thing to remember is that there’s no rush—this is all about enjoying the process.
A smaller, simpler kit might take you around 5 to 8 hours from start to finish. On the other hand, a big, intricate portrait with 48 different colors could easily be a 20-hour project, or even more.
Most people find it relaxing to chip away at their painting in small bursts, maybe for an hour or two each evening over a few weeks. It's a fantastic way to unwind and watch your masterpiece gradually emerge.
What Comes Inside a Typical Kit?
One of the greatest things about custom paint by numbers kits is that they show up with everything you need to get painting right away. You can literally open the box and dive in—no last-minute trips to the art supply store needed.
Your standard kit will almost always have these four essentials:
- A Pre-Printed Numbered Canvas: Your photo is converted into a line drawing on a quality linen canvas, with every little shape clearly numbered.
- A Custom Set of Acrylic Paints: You’ll get a full set of numbered paint pots. The colors are mixed just for your image, so you don't have to worry about blending anything.
- A Set of Paintbrushes: Kits usually include three brushes of different sizes, perfect for covering the big areas and getting into those tiny, detailed spots.
- A Reference Sheet: This is just a paper map of your numbered canvas. It’s a real lifesaver if you accidentally paint over a number and need to double-check which color belongs there.
Some of the fancier kits might also include optional extras, like a wooden frame kit to stretch your canvas or hardware to make hanging your finished art super easy.
Ready to turn a favorite memory into a real work of art? At Custom Paint By Numbers, we make it easy to create a personalized kit that's just for you. Start your creative journey and transform your best photos into timeless masterpieces.


