

So you've mastered the basics of paint-by-number and now you're hungry for more. You love the mindful process, but you're ready to create something that doesn't just look like a kit—you want it to look like art. That's where advanced techniques come in.
This is all about moving beyond simply filling in the lines. We're talking about using your paint-by-number canvas as a launchpad for real artistic expression, incorporating techniques like blending, layering, and adding texture to create pieces with genuine depth and a professional, hand-painted feel.
Going Beyond the Basics of Color By Number
Welcome to the next stage of your painting adventure. If you're ready to take the satisfying structure of a paint-by-number kit and inject your own personality and skill into it, you've come to the right place.
Think of this guide as your roadmap to transforming a pre-printed canvas into a piece you’ll be genuinely proud to hang on your wall. It's time to learn the methods that separate a simple craft from a stunning work of art.
What Defines an Advanced Approach
Taking your paint-by-number skills to an advanced level isn't just about picking a more complicated design. It's about a fundamental shift in how you see the canvas—from a set of instructions to a creative guide.
Here's what that really means:
- Making It Your Own: We'll dig into how to turn your favorite photos into detailed, custom canvases. Every project becomes a personal story.
- Expanding Your Palette: You'll see how using a higher paint count—often 36 or even 48 colors—gives you the nuanced shades you need for photorealistic detail and buttery-smooth gradients.
- Learning Real Painting Skills: This is where the true transformation begins. You'll learn to blend colors, feather edges to hide lines, and layer paints to build up rich, complex tones.
- Finishing Like an Artist: All that hard work deserves a grand finale. We'll cover how to properly varnish and frame your work to protect it and give it that gallery-ready look.
This isn't just a niche hobby anymore. The demand for creative, mindful activities is booming. For perspective, the global adult coloring book market—a close cousin to paint-by-number—was valued at a massive USD 500 million in 2023 and is expected to more than double by 2032.
The goal here is simple: to bridge the gap between being a hobbyist and feeling like an artist. We want you to have the confidence to not just finish a kit, but to elevate it into something that is uniquely yours.
Ready to see what you're capable of? The next sections are packed with practical advice and tips I've picked up over the years. Before we dive deep, it's a good idea to refresh your memory with some foundational knowledge from these essential paint by number tips and tricks. They'll set you up perfectly for the advanced methods we're about to explore.
How to Prep Your Photo for a Custom Kit
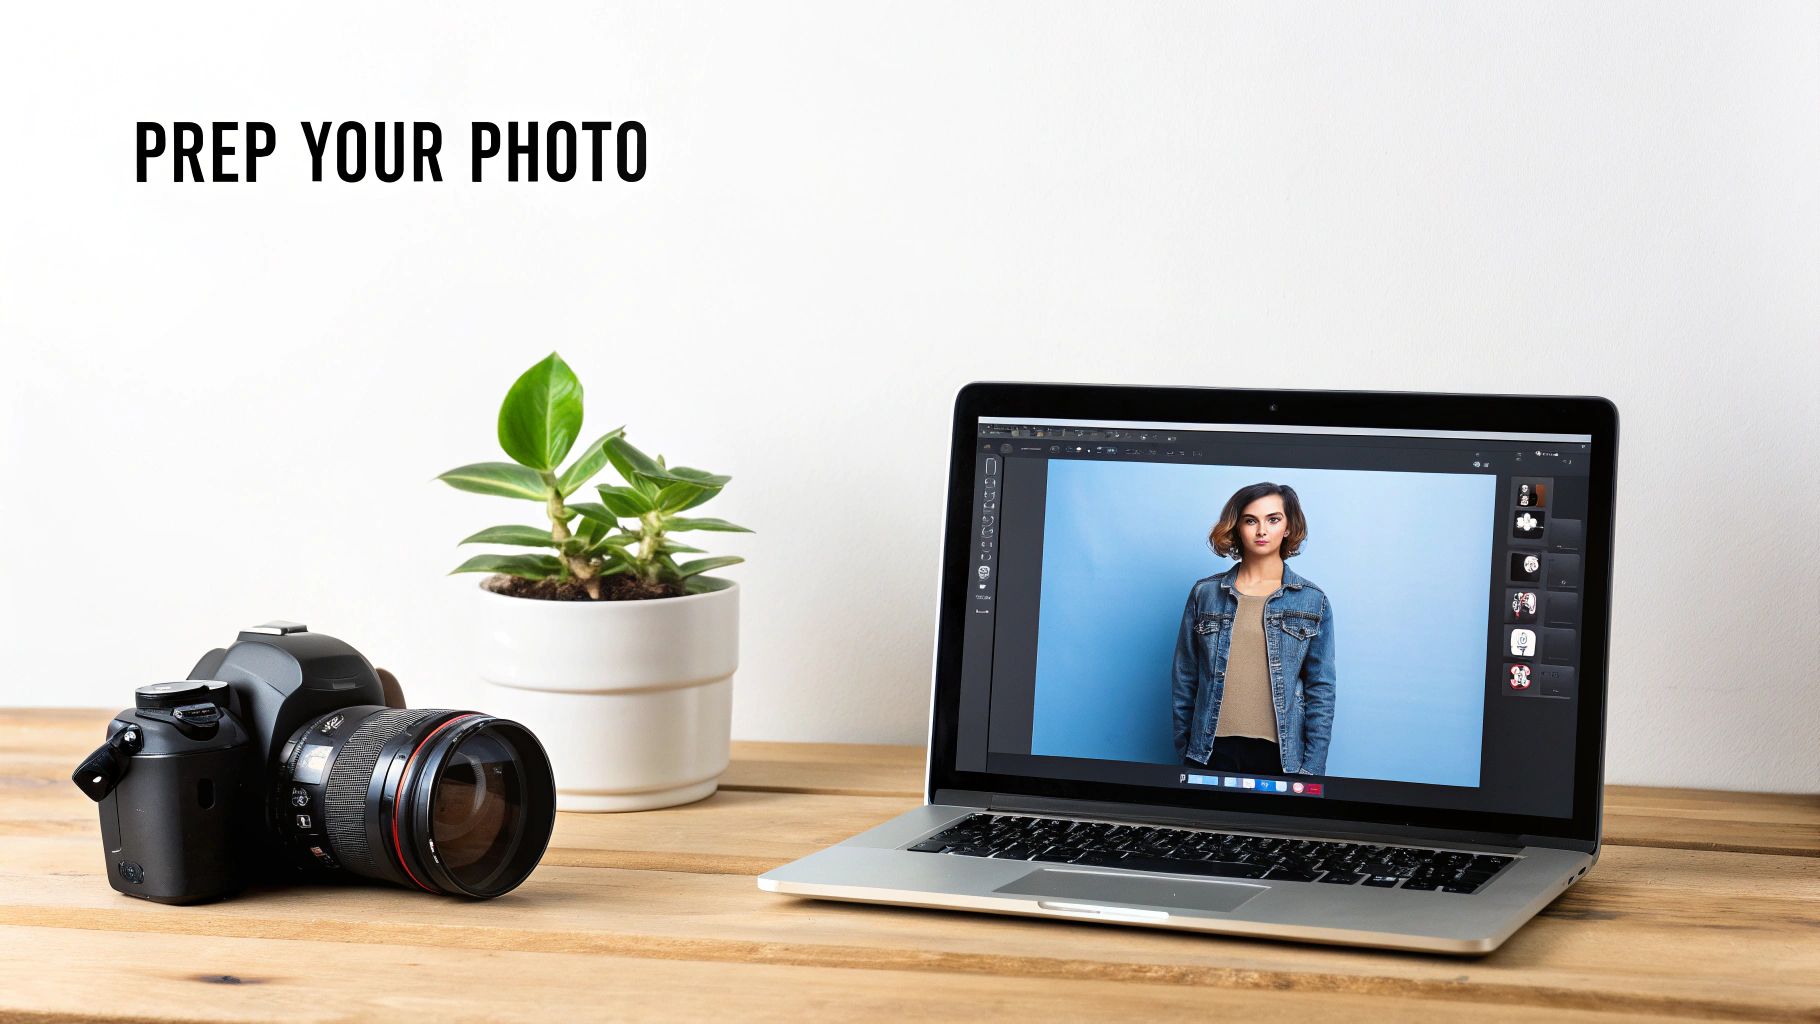
The secret to a stunning custom paint-by-number doesn't actually start with your paintbrush. It all begins with the photo you choose. A fantastic, well-prepped image is what sets you up for a great painting experience and a final piece you'll be proud to display.
On the flip side, starting with a poor-quality photo almost guarantees frustration. You end up with a muddy, confusing canvas that's just no fun to paint. Think of this prep stage as creating the blueprint for your project—the time you put in now pays off big time later.
Finding the Perfect Source Image
First things first, you have to pick a photo with the right bones. Not every picture, no matter how much you love it, will translate well into a paintable design.
You're looking for images with a single, clear focal point that grabs your attention right away. A portrait where the person fills most of the frame, or a landscape with one standout feature like a big tree, works much better than a busy group shot. You want to avoid visual clutter that will turn into a confusing mess of tiny, numbered shapes.
Here are a few things your photo absolutely needs:
- High Resolution: This is non-negotiable. A blurry, pixelated image will only create a vague and muddy template. As a rule of thumb, aim for a photo that's at least 1500 pixels on its longest side.
- Good Light and Contrast: Look for photos with a clear difference between the light and dark areas. If a picture is too dark, you'll lose all the detail in the shadows. If it's too bright and washed out, it will lack the depth needed for a good painting.
- A Clear Subject: Whatever your main subject is, it needs to be in sharp focus. If you're painting your dog, you should be able to see the texture of their fur. If it's a building, the architectural lines should be crisp and clean.
A great source photo tells a story. It has a natural balance between the main subject and the background, which is really the secret to a painting that looks like a professional piece of art.
Simple Edits for a Stronger Painting
Once you’ve got your photo, a few quick tweaks in an editing app can make a massive difference. You don’t need anything fancy like Photoshop; the basic editor on your phone or computer has everything you need.
Your most powerful tool is the crop function. Use it to cut out any distracting stuff in the background and pull the focus right onto your subject. Got a great shot of your dog at the park but there's a random trash can in the corner? Crop it out. This simple move instantly creates a more powerful and intimate portrait.
Next, play with the lighting and colors. Bumping up the contrast just a little bit can make details pop and create clearer lines between the numbered areas. You can also gently lift the shadows to bring out details that might get lost in the dark spots. Just be careful not to overdo it—a subtle boost to the colors is all it takes.
If you want to get even deeper into this, our guide on how to convert photos to paint by numbers has tons of extra tips.
Common Photo Traps to Avoid
Knowing what not to use is just as important. I always tell people to steer clear of images with super complex backgrounds, like dense forests or intricate wallpaper patterns. These turn into a chaotic jumble of colors that’s more of a headache than a hobby.
Also, be really careful with photos that have extreme lighting conditions. A subject standing in front of a bright sunset might look cool, but it often creates a silhouette. All the important facial details get lost in shadow, leaving you with a big, flat blob of dark paint on your canvas. The goal is a photo that’s balanced, clear, and ready to become your next masterpiece.
Choosing the Right Canvas and Paint Palette
Once you’ve got your photo prepped and ready to go, the next big decision is picking your canvas and paint count. This is where your project really starts to take shape. These choices are the foundation of your custom paint-by-number, and they'll have a huge impact on the final look, the level of detail, and frankly, how much time you'll spend painting.
It's a common trap to think that a bigger canvas and more colors are always the best option. The truth is a little more complicated. The real skill is in matching these elements to your specific image. A sweeping landscape with soft, shifting colors needs a totally different setup than a sharp, high-contrast portrait of your dog. Getting this balance right from the start is the key to avoiding frustration and making sure your vision comes to life.
Decoding Canvas Size for Maximum Impact
The size of your canvas isn't just about how much wall space it will fill. It directly controls how much detail the software can pull from your photo. Think of it this way: a larger canvas gives you more real estate for individual numbered sections, which means finer details and smoother color changes.
For example, imagine painting a detailed portrait. On a small 12x16 inch (30x40 cm) canvas, those tiny little glints in the eyes or the fine wisps of hair might get lost or blended into a single block of color. But if you put that same image on a bigger 24x30 inch (60x75 cm) canvas, there's suddenly enough room for all those tiny, crucial details to have their own dedicated, paintable areas.
Choosing the right canvas size is about giving your image the physical space it needs to breathe. A complex photo squeezed onto a small canvas will feel cramped and lose its definition, while a simple design on a huge canvas might feel sparse.
This decision also ties directly to your time commitment. A bigger canvas with more sections is, naturally, a bigger project. Be honest with yourself about how much time you want to put into this piece. The goal is to keep it fun and relaxing, not turn it into a monumental task you never finish.
The Art of Selecting Your Paint Count
The number of paints in your kit is probably the single most important factor in achieving that photorealistic look you’re after. A standard kit usually comes with 24 colors, which is perfectly fine for simpler images with bold, clear areas of color. For the advanced stuff we're talking about, though, you’ll want to be looking at palettes with 36, 48, or even more.
More colors mean more subtlety. It’s the difference between having one shade of blue for the sky and having five or six different blues to create a gorgeous, smooth gradient. That’s what gets rid of that blocky, pixelated look and separates a decent painting from a truly impressive one.
Here’s a practical way to break it down:
- 24 Colors: Ideal for graphic-style images, pop art, or simple landscapes where you want that stylized, high-contrast look.
- 36 Colors: This is a fantastic all-rounder. It works great for most portraits and detailed scenes where you need solid shading without going into hyper-realism.
- 48+ Colors: This is your go-to for photorealism. It's essential for capturing the complex skin tones in a portrait, the intricate texture of animal fur, or the delicate shifts in a sunset.
This desire for deeper customization isn't unique to our hobby. Just look at the U.S. color cosmetics market, which was valued at USD 21.52 billion in 2024. A big reason for its growth is technology that offers personalized experiences, like AI that matches foundation shades. It's the same principle: using a more complex palette to create a highly tailored and realistic result. You can see more about these trends on Grand View Research.
Ultimately, your source image is your guide. A black-and-white photo would look amazing with a 36-color grayscale palette, but a vibrant photo of a flower garden would absolutely need the nuance of a 48-color set. Don't be afraid to try different options. And if you ever feel like your kit's colors just aren't hitting the mark, you can always learn to mix your own custom shades with this comprehensive acrylic paint mixing guide.
Paint Count vs. Canvas Size: A Practical Guide
Finding the sweet spot between your paint count and canvas size is crucial. This table breaks down some common scenarios I've encountered to help you match your project's needs with the right materials.
| Project Type | Recommended Canvas Size | Recommended Paint Count | Expected Outcome & Effort |
|---|---|---|---|
| Simple Pet Portrait (High-contrast, simple background) | 16x20 inches | 36 Colors | Clear details on the pet without getting bogged down in background noise. A focused, manageable project. |
| Detailed Human Portrait (Focus on realistic skin tones) | 20x24 inches | 48 Colors | Enough space and color variety for subtle shading on the face. A more challenging but rewarding piece. |
| Sweeping Landscape (Sunset or complex scenery) | 24x30 inches or larger | 48+ Colors | Captures smooth gradients in the sky and fine details in the scenery. A long-term, highly detailed project. |
| Architectural Scene (Buildings, cityscapes) | 20x24 inches | 36 Colors | Good for sharp lines and defined shadows, providing realism without overwhelming color complexity. |
| Stylized or Pop Art Image (Bold, graphic design) | 12x16 inches | 24 Colors | Keeps the design punchy and clean. Smaller size and fewer colors work to its advantage here. A quick, fun paint. |
Choosing wisely here sets you up for success. You want to give your artwork the best possible start, and that begins with a canvas and palette that are perfectly suited for the job.
Mastering Advanced Blending and Brush Techniques
This is where you stop filling in shapes and start painting. The real artistry in an advanced color-by-number project isn't just about accuracy; it's about seeing those printed lines as a guide, not a boundary. The magic truly begins when you learn how to soften the hard edges and build genuine depth.
Once you move past the basic "stay in the lines" mindset, a whole world of painterly techniques opens up. You'll start creating smooth gradients, compelling textures, and a sense of realism that elevates your finished piece from a simple craft to something you’ll be proud to display.
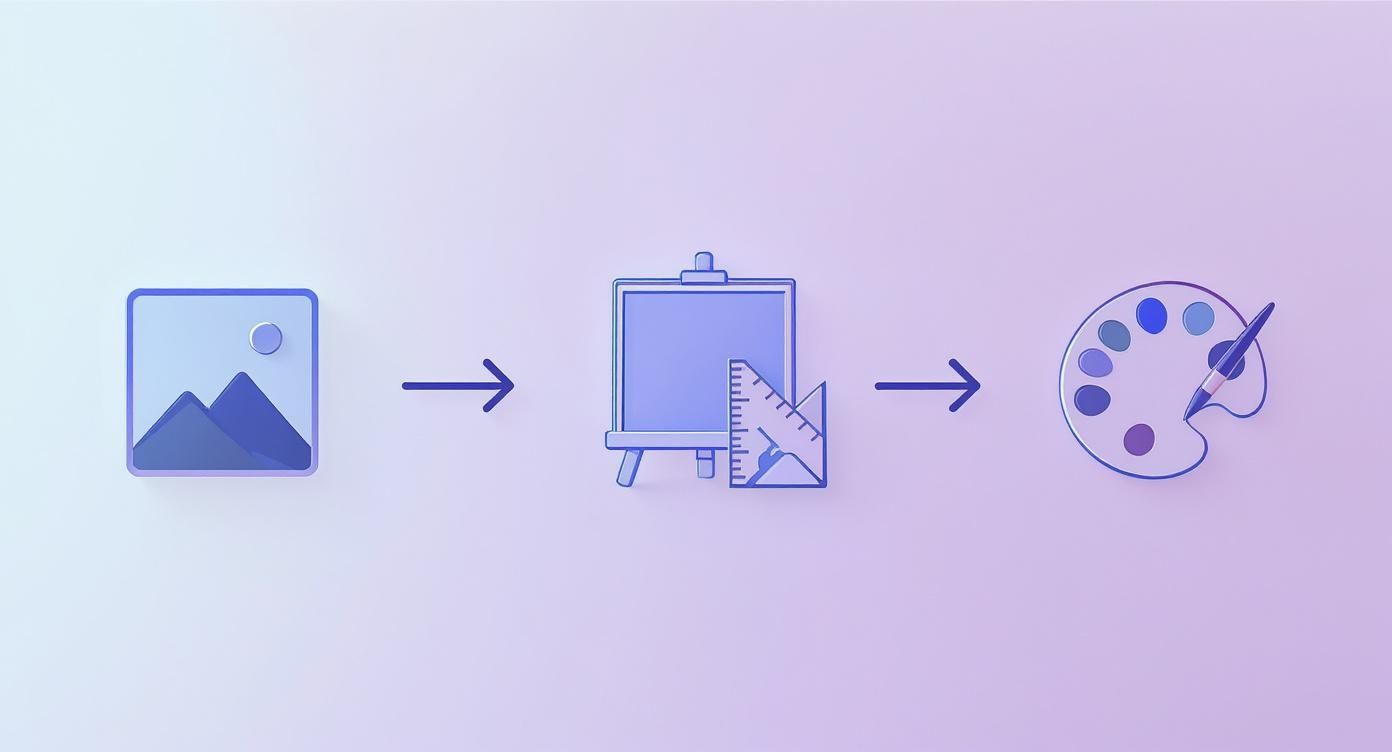
This workflow shows how each decision—from the image you choose to the paints you use—builds upon the last, directly shaping the complexity and detail of your final artwork.
Erasing the Lines with Feathering and Blending
The most obvious giveaway of a standard paint-by-number kit is that hard line between two colors. The very first advanced skill to master is making those lines disappear. This is where feathering comes into play.
Feathering is a game-changer. As you paint one section, use a light touch and a slightly drier brush to gently "feather" the paint just over the line into the next numbered area. Then, while that first color is still a bit damp, paint the adjacent color to meet it, softly blurring the two edges together.
The goal isn't to mix a whole new color on the canvas, but to create a soft, almost imperceptible transition. This is absolutely critical for organic shapes like clouds, skin tones, or flower petals where harsh lines just look wrong.
For bigger areas, like a sunset sky or a body of water, you can try wet-on-wet blending. This requires you to work quickly while both colors are still fully wet. Lay down one color, immediately apply the neighboring one, and then use a clean, slightly damp brush to gently pull the colors together where they meet. The result is a beautifully smooth, natural gradient.
Building Texture and Depth with Scumbling
Look around—not every surface is perfectly smooth. Real-world objects have texture, and you can mimic this with a fantastic technique called scumbling. It’s perfect for adding character and realism to things like tree bark, old stone walls, or weathered wood.
Scumbling is all about using a very dry brush with just a tiny bit of thick paint. Instead of a smooth stroke, you'll lightly dab, scrub, or drag the brush over a dry base layer of color. This leaves behind a broken, irregular layer of paint that lets some of the underlying color peek through, creating a rich, textured effect.
To give scumbling a shot:
- Make sure your base color is completely dry.
- Dip just the very tip of a stiff, dry brush into your paint.
- Wipe almost all the paint off on a paper towel. It should look nearly empty.
- Use a light, circular or scrubbing motion to apply the little remaining paint to the canvas.
This method gives you an impression of detail and roughness that you could never get with a simple flat coat of paint.
Gaining Control with Painting Mediums
Let's be honest: the acrylic paint that comes in a kit isn't always the perfect consistency for these advanced techniques. This is where painting mediums become your secret weapon.
- Flow Improver: A couple of drops will thin your paint and help it glide smoothly off the brush. It's ideal for painting fine lines or for delicate feathering without making the color watery.
- Retarder: We all know acrylic paint can dry in the blink of an eye. A retarder slows that process way down, giving you a much bigger window to work on your wet-on-wet blending without the stress.
Using these additives gives you the control you need for color by numbers advanced projects. They help the paint work for you, not against you. For artists looking to expand their skills, exploring the art of hand painting on different surfaces like ceramics can offer fresh insights into technique.
Creating Nuance with Glazing and Layering
Now for one of the most sophisticated techniques: glazing. This involves applying a very thin, transparent layer of one color over a dry layer of another. A glaze isn't meant to cover what's underneath, but to subtly tint it, creating incredible depth and complexity.
Imagine you've painted a blue sky, but you want to add the warm glow of a sunset. You could create a glaze by mixing a tiny bit of orange or yellow with a lot of water or a glazing medium. Brush this thin, see-through layer over the dry blue, and you'll subtly shift the underlying color, creating a luminous effect that’s impossible to get by just mixing paint in a pot.
This approach is at the heart of what makes advanced art so captivating. It’s all about the strategic application of color—a principle that even shows up in the business world. One report found that by 2025, a staggering 85% of marketers believed AI-driven color strategies would be critical for branding. Artists, just like marketers, can layer colors to influence perception and create a far more impactful final piece.
How to Varnish and Frame Your Finished Artwork
https://www.youtube.com/embed/8Mf1O-yxcHI
That feeling when you paint the very last numbered section? It's pure satisfaction. But your work isn't quite done yet. Taking a little extra time to properly protect and present your painting is what turns a fun project into a beautiful piece of art that lasts.
These final steps are what truly elevate your color by numbers advanced piece. A good varnish will shield your work from dust and fading from UV light, while the right frame gives it that polished, gallery-ready look.
Choosing the Right Varnish for Your Painting
Varnish is more than just a protective topcoat—it’s an artistic choice. The finish you pick directly affects how light plays across your painting, so think about what best suits the mood of your piece.
You'll generally find three main types:
- Gloss Varnish: This gives you a shiny, reflective surface that makes colors look deeper and more saturated. It's a fantastic option for high-contrast images or paintings with rich, vibrant colors you really want to make pop.
- Matte Varnish: For a flat, non-reflective look, go with matte. This is perfect for portraits or softer, more atmospheric scenes where you want to eliminate any glare and achieve a subtle, modern feel.
- Satin Varnish: This is the happy medium. Satin offers a gentle, low-sheen luster that isn't as shiny as gloss but gives colors a bit more depth than matte. It's an incredibly versatile choice that works for almost anything.
Before you commit to covering your entire painting, I always suggest testing your varnish on a small, out-of-the-way corner. This little spot check lets you see exactly how it will affect the colors and finish without any big surprises.
Applying Varnish for a Flawless Finish
A smooth, even application is the secret to a professional-looking varnish coat. The golden rule? Make sure your painting is completely, totally dry. I can't stress this enough. Give it at least 24 to 72 hours to cure before you even think about varnishing.
When you're ready, lay your canvas flat in a clean, dust-free space. Grab a wide, soft-bristled brush that you use only for varnishing to avoid any stray pigment. Instead of dipping your brush straight into the bottle, pour a small amount of varnish into a separate dish.
Apply the varnish in long, even strokes, all going in the same direction (horizontally, for example). Once that first coat is on, resist the urge to go back and touch up spots that are already starting to dry—that's how you get streaks. Let it cure completely, then apply a second coat in the opposite direction (vertically) for perfect coverage. Two thin coats will always look better than one thick, goopy one.
Selecting the Perfect Frame
Framing is what gets your artwork ready for its debut on the wall. A great frame should complement the painting, not distract from it. For canvas art, a simple black or white "floater frame" is often a fantastic choice. It creates a small, sophisticated gap between the canvas edge and the frame, which makes your artwork appear to float inside it.
Think about the style of both your painting and your room. A rustic, reclaimed wood frame might be the perfect match for a landscape, while a sleek metal frame could be just right for a more modern piece.
Once your artwork is varnished and ready, you can find some great photo frames and wall design tips for displaying your finished artwork to give your creation the presentation it deserves. This final effort is what shows you're proud of the beautiful art you've made.
Here's a rewrite of the section, crafted to sound like it's coming from an experienced painter.
Troubleshooting Your Advanced Kit
The jump to a more detailed, complex paint-by-number kit is exciting, but let’s be honest—it can throw a few curveballs your way. When you're juggling more colors and tinier sections, you're bound to run into a hiccup or two. Don't sweat it. I've seen them all, and there's usually a simple fix.
Think of these as painter’s puzzles. Getting a handle on them now means you can stay in that relaxed, creative zone instead of getting bogged down by a minor issue.
My Paint Dried Out or I'm Running Low—What Now?
There's nothing worse than popping open a paint pot you desperately need, only to find a dry, clumpy mess. This happens a lot with advanced kits because some colors might sit on the sidelines for a while.
If the paint is just a bit too thick, you can usually save it. A few drops of an acrylic flow improver or even some distilled water can work wonders. Add a very small amount and stir it in with a toothpick until it’s smooth and creamy again.
But what if a key color is almost gone? Your first move should be to contact the company that made the kit. Many of them sell replacement paint pots for this very reason. If that's a dead end, don't panic. Just take a painted swatch of the color to your local art supply store. The staff there are usually pros at color matching and can help you find a nearly identical acrylic paint off the shelf.
A little prevention goes a long way:
- Get a good seal. Always push the lids down until they give a satisfying click.
- Store them right. Keep your paints out of direct sunlight in a cool, dark spot.
I Painted in the Wrong Spot. How Do I Fix It?
It happens to all of us. You're in the zone, painting away, and then realize you've filled a #17 area with #18 paint. The good news is that acrylic paint is incredibly forgiving.
If you spot the mistake while the paint is still wet, you can often just lift it right off. Gently dab it with a clean, damp cotton swab, being careful not to smear it onto the surrounding canvas.
If it's already dry, the fix is even easier: just paint right over it. Since acrylics are opaque, the correct color will usually hide the mistake with no problem. For the best result, use two or three thin coats of the right color, letting each one dry completely. This builds up coverage without creating a lumpy texture.
Here's a pro tip I swear by: If you've accidentally put a dark color in a light area (like black in a sky-blue section), cover the mistake with a thin layer of white gesso or plain white acrylic paint first. Once that's dry, the correct light color will cover it perfectly, with no dark shade peeking through.
Should I Still See the Lines and Numbers When I'm Done?
Absolutely not. The whole point of an advanced kit is to end up with a piece that looks like you painted it freehand. The lines and numbers are just your guide, and they should completely disappear in the final piece.
Most high-quality kits use light gray ink for the guides, which is easy to cover. But sometimes, very light paints—think pale yellows, whites, or soft pinks—can be a bit sheer. You might need a second or even a third thin coat in these areas to make the numbers vanish completely.
For a truly professional finish, try this technique: paint just slightly over the line and into the next section. When you go to fill in the neighboring color, you’ll bring its edge right up to meet the first one. This effectively "sandwiches" the printed line between two layers of paint, hiding it for good. It also creates a much more natural, seamless look between colors, which is really what separates a good painting from a great one.
Ready to transform your favorite memories into stunning art? At Custom Paint By Numbers, we make it easy to create a personalized, high-detail kit from any photo. Start your masterpiece today at https://paint-by-number.com.


