

Detailing paint brushes are the secret weapon for taking a paint-by-number piece from good to truly impressive. These aren't your standard, all-purpose brushes; they're specialized tools with ultra-fine, precise tips designed for those tiny, intricate sections that demand a steady hand. Think crisp lines, minute details, and perfectly filled-in micro-areas.
Most of the best detailing brushes you'll find use synthetic bristles, like nylon or taklon. They're tough, hold their shape beautifully with acrylic paints, and give you the control you need to make your painting pop.
Choosing the Right Detailing Paint Brushes
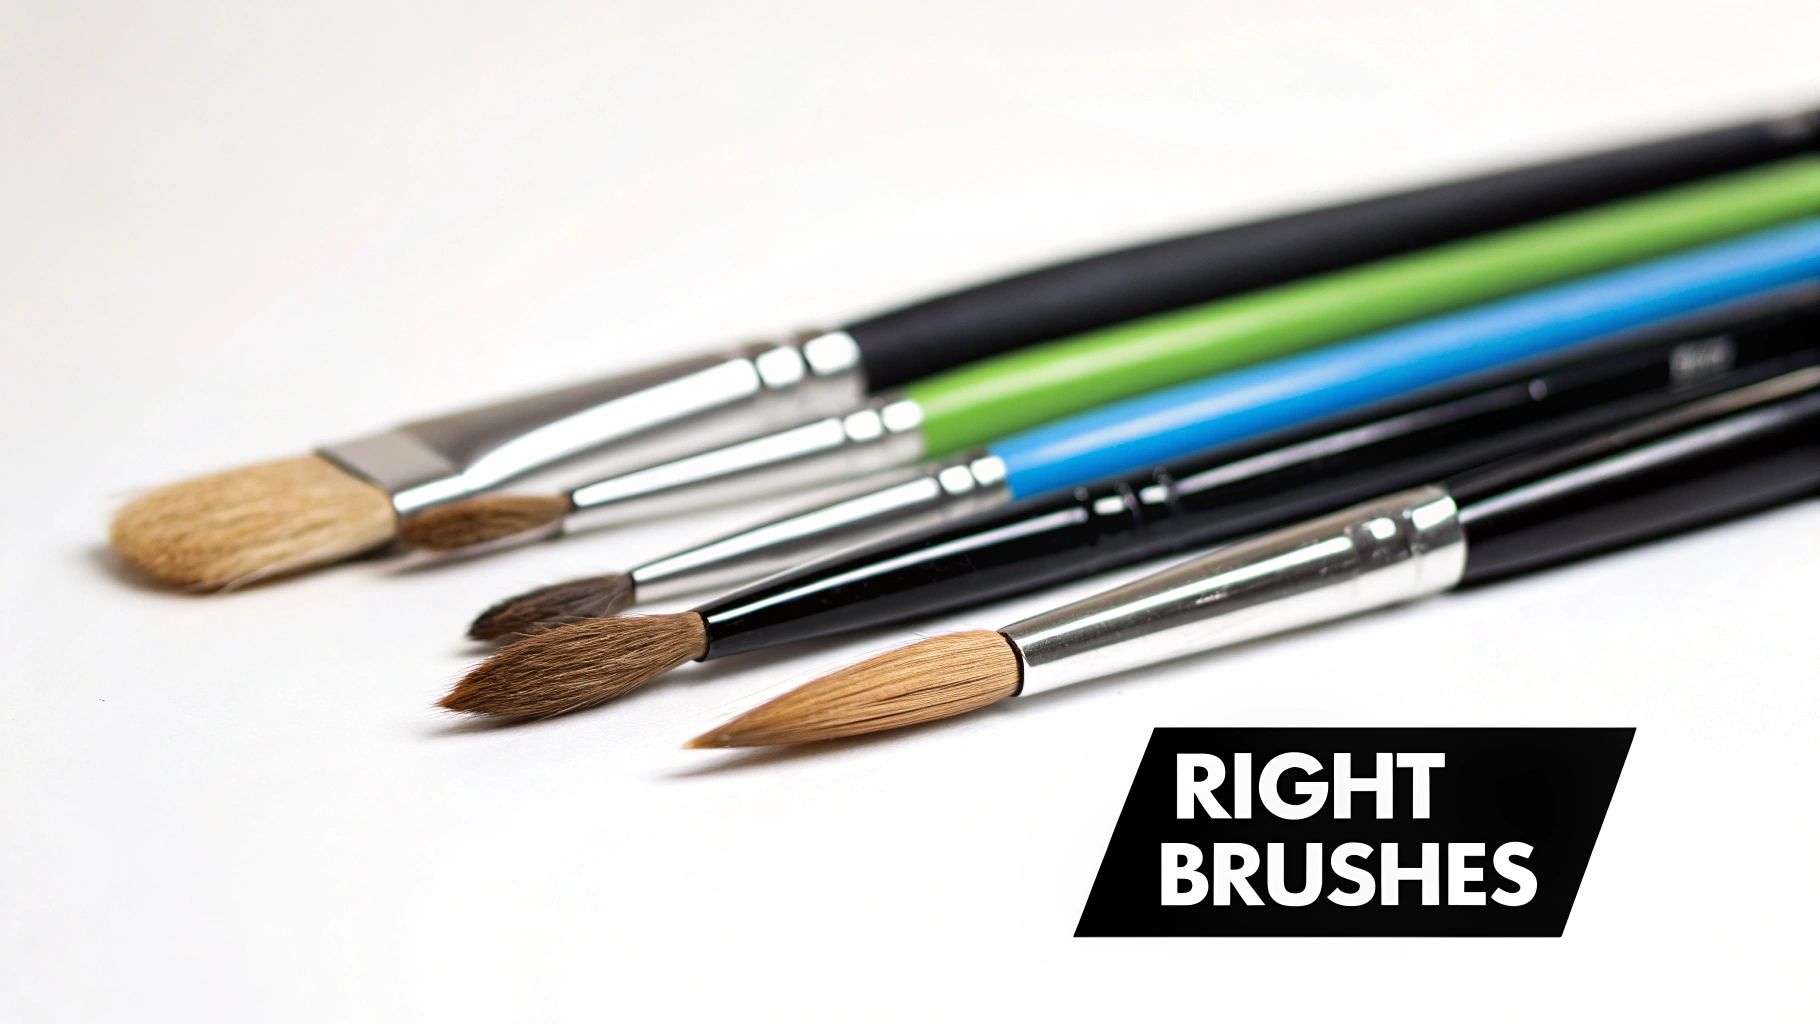
The real magic in precision painting happens when you have the right tools. While the brushes in your kit are a great start, adding a few specialized detailing paint brushes to your collection is a game-changer. It gives you the kind of control you need for those really detailed designs. Let's break down what to look for.
Bristle Material Matters
Your first big decision is between natural hair and synthetic bristles. Natural brushes, often made from soft sable or squirrel hair, are fantastic for watercolors because they hold a ton of water. But for the acrylic paints in your kit? Synthetic bristles are the superior choice, hands down.
Nylon or taklon bristles are much more durable and can stand up to the slightly abrasive texture of acrylics without losing their sharp point. They just last longer. In fact, recent advances have boosted their durability by up to 30%, making them a smart buy for any painter. It's no wonder the global paint brush market is expected to hit US$6.48 billion by 2032, fueled by a new wave of DIY artists.
Understanding Brush Shapes and Their Uses
Different jobs call for different tools, and the same goes for brush shapes. Each one is designed for a specific kind of stroke.
- A Liner brush has long, skinny bristles. It's your go-to for elegant, continuous lines—think a cat's whiskers or the delicate branches on a distant tree.
- A Spotter or Round brush comes to a super-fine point. This one is perfect for tiny dots, like the glint in an eye or other minuscule details.
This visual guide breaks down the most common detailing brushes and what they're used for.
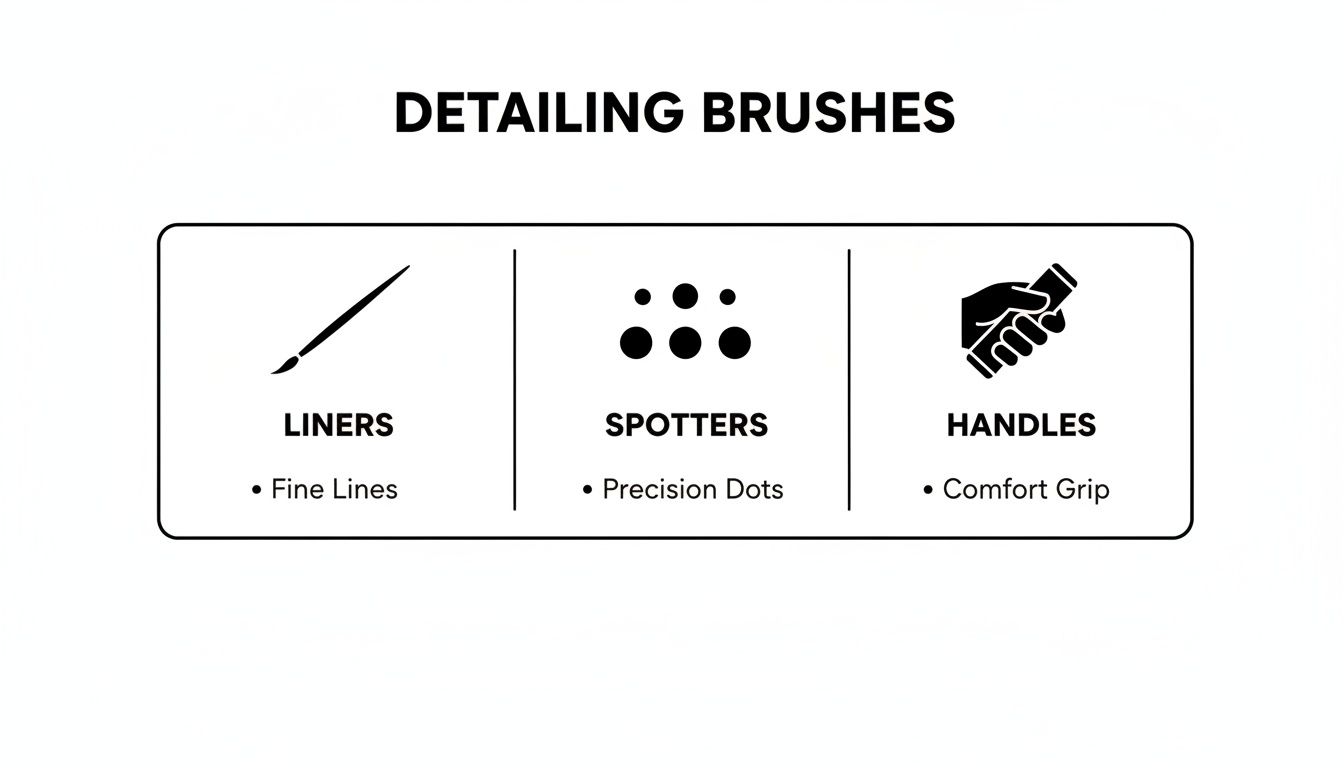
As you can see, everything from the tip to the handle is designed for a specific purpose, helping you achieve precision and paint comfortably.
Here's a quick reference to help you choose the right brush for the job.
Detailing Brush Cheat Sheet
| Brush Type | Primary Use | Best For... | Tip Shape |
|---|---|---|---|
| Liner | Creating long, thin lines | Script, outlines, whiskers, grass | Very long and thin, pointed tip |
| Spotter | Painting tiny dots and details | Eyes, dots, signatures, micro-areas | Very short and fine, pointed tip |
| Round | Versatile detail work | Small areas, controlled lines, dots | Round with a sharp, pointed tip |
| Flat | Sharp edges and small fills | Straight lines, tiny corners, small blocks of color | Flat and square with a sharp edge |
Having just a couple of these on hand will make a huge difference in your painting.
My Two Cents: You really don't need a massive collection. Start with a small, quality set. A size 0 round, a 10/0 liner, and maybe a size 2 flat will handle almost any detail your paint-by-number kit throws at you.
Handle Ergonomics for Comfort
Don't forget about the handle! A comfortable grip is more important than you might think, especially when you're settling in for a long, relaxing painting session. Many detail brushes now come with ergonomic, triangular, or thicker handles that help reduce hand fatigue and give you better control.
A standard thin handle is fine, but a more comfortable grip can be the difference between painting for 20 minutes and getting lost in your project for hours. To learn more about the brushes in our kits, check out our guide on essential paint-by-numbers brush types. It’ll help you make smarter choices as you build your own toolkit.
Mastering Techniques for Fine Detail Painting
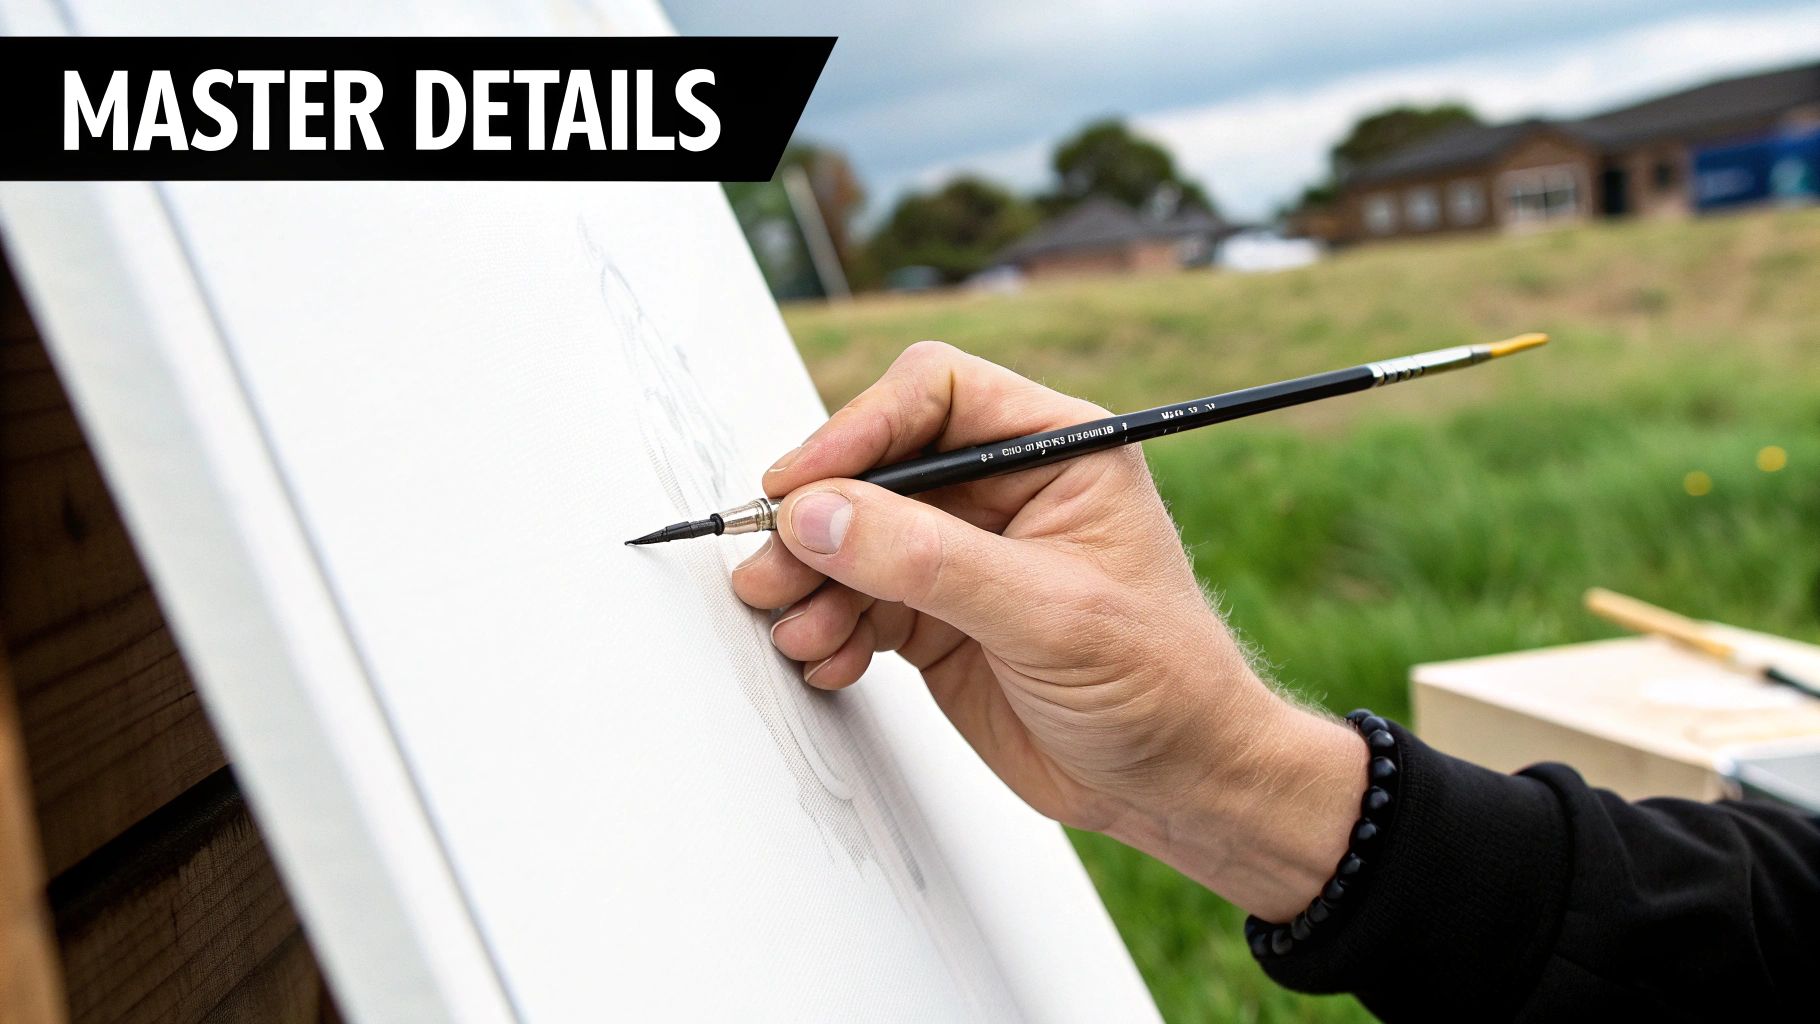
Having the right set of detailing paint brushes is a great start, but the real magic happens when you know how to wield them. A few key techniques are all it takes to transform shaky, frustrating lines into confident, precise strokes that give your paint-by-number project that polished, professional look.
The whole process actually begins before your brush even touches the canvas. It all starts with loading your brush correctly.
Loading Your Brush for Precision
The secret to a clean stroke is to avoid dunking your brush too deep into the paint pot. You want the paint right on the tip and the belly of the bristles, not clumped up by the ferrule (the metal part holding them together).
- Dip Just the Tip: Start by lightly touching only the very end of your brush into the paint.
- Roll and Shape: Next, gently roll the brush tip on your palette. This little move does two things: it distributes the paint evenly and shapes the bristles into a super-fine point, ensuring a consistent flow from start to finish.
Making this a habit is the best way to prevent overloading your brush, which is the number one cause of those thick, uncontrollable lines and dreaded paint blobs.
Controlling Pressure and Creating Varied Lines
Your detailing brushes are incredibly sensitive to pressure. How hard you press directly controls the thickness of the line you create. It’s a simple concept that gives you incredible power.
-
For Hair-Thin Lines: Use an extremely light touch. Let only the very tip of the brush glide across the canvas. Think of it like you're trying to tickle the surface, not paint it. This is absolutely perfect for things like animal whiskers, distant blades of grass, or delicate outlines.
-
For Bolder Details: Apply a bit more pressure to let the "belly" of the bristles make contact. This creates a fuller, more substantial line that’s ideal for filling in small numbered areas or defining stronger edges.
Practicing the shift between light and firm pressure on a scrap piece of paper is a great way to build muscle memory. It'll give you a real sense of control over your work. This is similar to how photographers approach their craft; just as we master brushstrokes, understanding concepts like Mastering Photo Colour Grading can deepen an artist's appreciation for how color transforms an image and sets a mood.
Achieving Stability for Intricate Work
Even the most seasoned artist with a steady hand can use a little support when tackling those tiny, intricate sections. If you're getting wobbly lines, it’s usually because your hand isn't properly supported.
Pro Tip: Create a "bridge" to stabilize your painting hand. Rest the heel of your painting hand on your other hand, which should be placed firmly on the table right beside your canvas. This simple trick acts as a solid anchor, dramatically improving your control for those ultra-fine details.
The demand for these precision tools is growing for a reason. In fact, it's projected that detailing paint brushes will capture 32.4% of the global painting tool market by 2025. Hobbyists and professionals alike are realizing just how valuable that extra bit of control is.
Putting these brush control methods into practice alongside other foundational skills is where you'll see real artistic growth. For a deeper dive, our guide on acrylic painting techniques for beginners offers even more great tips. When you combine proper loading, pressure control, and hand stabilization, the improvement in your detail work will be remarkable.
Keeping Your Detailing Brushes in Top Shape
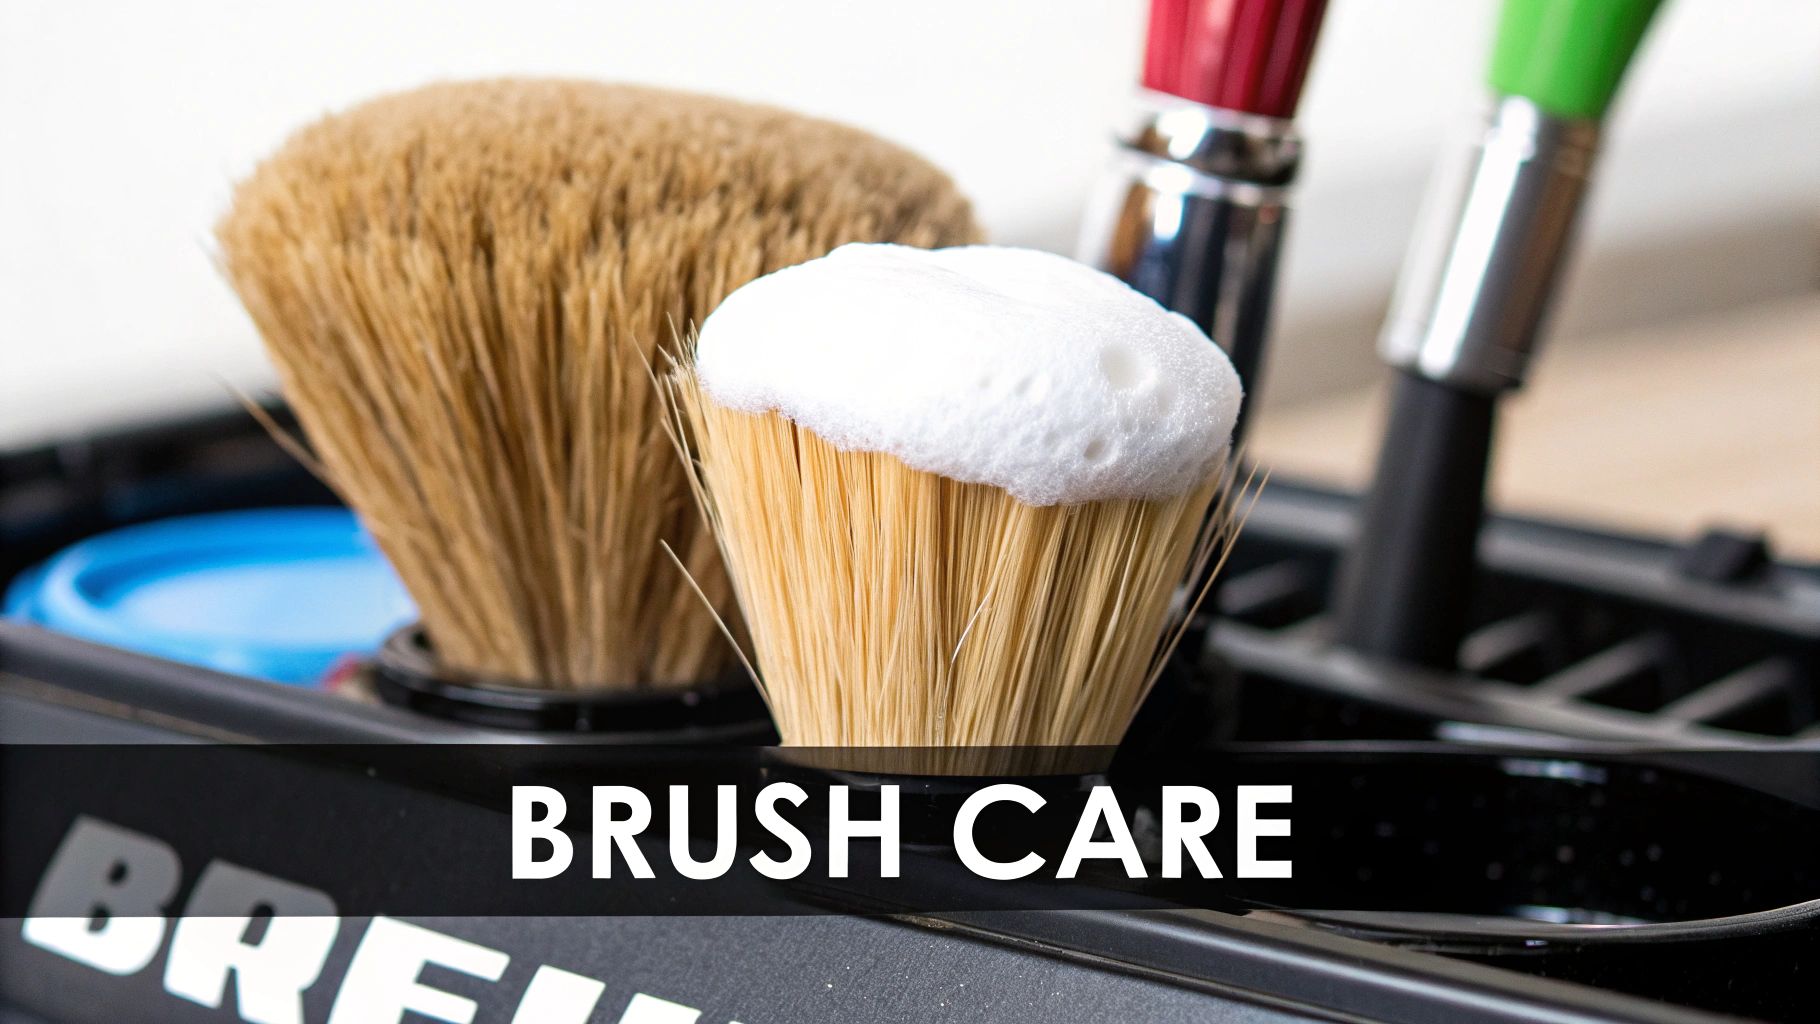
If you want your detailing paint brushes to last, you have to take care of them. It's really that simple. A quality brush can be a painter's best friend for years, but only if you show it some love after each session. The number one brush killer? Dried acrylic paint. It turns those fine, flexible bristles into a stiff, frayed mess, making precision work impossible.
Thankfully, keeping them clean is easy and only takes a couple of minutes. The secret is to clean them while the paint is still wet. Water-based acrylics are a breeze to wash out right away, but once they cure, they're basically plastic.
A Quick and Easy Cleaning Routine
Never, ever let paint dry on your brush. If you're just swapping colors or stepping away for a moment, at least swirl it in your rinse water to keep the bristles wet. When you're finished painting for the day, make this your immediate ritual.
First, give the brush a good swish in a cup of lukewarm water. Gently press the bristles against the side of the cup to work out the excess paint. Just be careful not to jam the tip into the bottom—that’s a surefire way to bend those delicate hairs out of shape.
Next, put a tiny drop of mild soap (like dish soap) in the palm of your hand. Add a bit of water and gently work the brush tip into a lather. You'll see the last of the pigment wash away.
Finally, rinse the brush under cool running water until the water runs clear. Make sure you get all the soap out, because any residue left behind can mess with your paint flow next time.
Pro Tip: Avoid hot water at all costs. It can weaken the glue inside the ferrule (the metal part) that holds the bristles together, causing them to fall out. Stick with cool or lukewarm water to keep your detailing paint brushes intact.
Drying and Storing for a Long Life
How you dry your brushes is just as crucial as how you wash them. Storing them upright in a cup while they're still wet is a classic mistake. Water will trickle down into the ferrule, ruining the glue and making the wooden handle swell or crack.
Instead, gently blot the excess water with a paper towel or your fingers. Carefully pinch the bristles back into their sharp, original point. Then, just lay the brush flat on a clean towel to dry. Letting the tip hang slightly over the edge of a counter is even better, as it allows air to circulate all around the bristles and helps maintain that perfect point.
For an even deeper dive into brush care, our guide on how to clean paint brushes has you covered.
Smart Storage to Protect Your Tools
Once your brushes are bone dry, you need to store them properly to protect those fine tips from getting bent or dusty.
- Upright Holders: A simple jar, cup, or a dedicated brush holder works great. Just make sure you store them bristle-side up.
- Brush Rolls: A canvas or fabric brush roll is an excellent way to protect your collection, especially if you take your brushes on the go. The individual slots keep them from banging into each other.
By turning this simple routine into a habit, you'll ensure your favorite detailing paint brushes are always pristine and ready for your next masterpiece.
Tackling Common Brush Problems
Even with the most careful maintenance, your go-to detailing paint brushes will hit a few snags. Bristles start to fray, paint gets caked in the worst spots, and those once-crisp lines begin to look a little fuzzy. It happens to all of us.
But don't toss that brush just yet! Before you declare it a lost cause, try a few of these restoration tricks. A little bit of targeted care can often bring a favorite tool back from the brink, saving you money and keeping your trusty brushes in the game.
Reviving Splayed or Split Bristles
There's nothing more frustrating than a brush tip that splits apart, making precision work impossible. This usually happens when the bristles get bent out of shape during cleaning or get jammed in a storage cup.
Thankfully, there's a simple fix: hot water. Just dip the unruly bristles into hot (but not boiling!) water for about 30 seconds. The warmth encourages the synthetic fibers to relax and snap back into formation. After their bath, gently pinch the bristles back into a sharp point with your fingers and lay the brush flat to dry.
If you have a particularly stubborn brush, try working a tiny dab of hair conditioner or a good brush soap into the damp bristles. Reshape the tip, let it sit for an hour, and then give it a final rinse with cool water.
Dealing with Dried Paint in the Ferrule
This is the big one. Dried paint wedged up into the ferrule—that metal band holding everything together—is the number one brush killer. It pries the bristles apart from the inside, ruining the point for good.
To fight back, soak just the bristle end in a dedicated brush restorer or some isopropyl alcohol for a few minutes. This will start to soften up that rock-hard paint. Be careful not to let the solvent touch the handle, as it can eat away at the finish. Once the paint has softened, you can gently work it out with a fingernail or a fine-toothed brush comb.
A Crucial Reminder: The best fix here is prevention. Make it a habit to never let paint creep up into the ferrule. When you load your brush, only dip the first half of the bristles. Keeping paint away from the base is the single best thing you can do for the life of your brushes.
Why Your Brush Leaves Streaks
Seeing streaky or uneven lines when you're trying to lay down a smooth coat of color? This usually points to one of two things.
First, your paint might be too thick. This is especially common with acrylics. Try adding just a drop or two of water to thin it out until it has the consistency of ink. This small adjustment makes a world of difference for detailing paint brushes.
Second, the brush might not be holding enough paint, causing it to drag across the surface. When you load your brush, gently roll the tip on your palette to make sure it's fully and evenly saturated. A well-loaded brush is a happy brush that will give you the smooth, clean lines you're after.
Upgrading Your Brush Collection Beyond the Kit
The brushes that come with your paint-by-number kit are a great way to get your feet wet, but at some point, you'll probably feel the itch to try something better. Stepping up your brush game is a natural part of the journey and opens up a whole new world of detail and control.
Don't worry, this isn't about buying a hundred different brushes. It's about being smart and adding a few key detailing paint brushes that will make a real difference in how you paint.
Finding Your Workhorse Brush
A fantastic first upgrade is to find a single, high-quality "workhorse" brush. This will become your go-to tool, the one you grab for almost everything. For most painters, this is a size 0 or 1 round brush with a crisp synthetic tip that holds its point perfectly.
You'll know you've found a good one when it just feels right in your hand. It should give you clean lines, fill in tiny spots, and lay down precise dots without a fight. Honestly, spending a little more on one great brush that you love is a much better move than buying a big pack of cheap ones.
Exploring Specialty Brushes for Unique Effects
Once you have a reliable primary brush, you can start having some fun by adding a few specialty tools. These are the brushes you pull out for specific jobs that the standard ones just can't handle. Think of them as new words in your artistic vocabulary.
-
Bent Ferrule Brush: You might see this called an "angle" or "corner" brush. It's an absolute lifesaver for getting into those tight, awkward spaces without accidentally smudging the section next to it. The bend lets you see exactly where the tip is landing.
-
Miniature Fan Brush: Don't just think of this for big landscape paintings. A tiny fan brush is amazing for creating soft textures. With just a few dabs, you can get the look of animal fur, soft leaves, or wispy clouds.
-
Dagger Striper: This one looks a bit different with its long, angled tip. It’s perfect for creating those beautiful, sharp calligraphic lines. It also makes things like flower petals or long blades of grass feel effortless and expressive with just one stroke.
Investing in your tools is investing in your art. A specialized brush might seem like a small addition, but it can unlock techniques and styles you never thought possible, making the painting process more enjoyable and the final result more impressive.
Building out your collection should be a slow, deliberate process. Think about what parts of your paintings you struggle with the most, or what effects you wish you could create. Let that be your guide. By adding one or two new detailing paint brushes when you need them, you’ll build a custom toolkit that's perfect for you.
Got Questions About Detailing Brushes? I've Got Answers.
When you're trying to get those super fine lines just right, a lot of questions can pop up. It's totally normal. Here are some of the most common things I get asked about detail brushes, with some straightforward advice from my own experience at the easel.
What’s the best all-around brush if I’m just starting?
If you're ready to upgrade from the brushes that came with your kit, the first one you should grab is a size 1 or 2 round brush. Seriously, it's a game-changer.
This brush is the perfect workhorse. It has a sharp enough tip for tiny spots and lines, but the "belly" of the bristles—that's the fatter part—holds a decent amount of paint. This means you can fill in slightly larger sections without constantly reloading. It's the one I reach for most often.
Think of it as your go-to brush before you decide you need something more specialized, like an ultra-fine liner.
Help! My liner brush keeps splitting. How do I fix it?
Ah, the dreaded split tip. We've all been there. It’s incredibly frustrating when you're trying to paint a clean line and the bristles decide to go their separate ways. Usually, one of two things is happening: your paint is too thick, or you haven't loaded the brush properly.
First, check your paint. If it's globby, it's going to force the bristles apart. Add a drop or two of water and mix it until it has the consistency of ink.
Next, when you dip your brush, don't just jab it in the paint. Gently roll the tip on your palette. This little trick works wonders—it makes sure every single bristle is coated and helps them all come together into one sharp, unified point.
My Two Cents: Your paint's consistency is just as crucial as your brush's quality. When the paint flows smoothly, your brush can glide across the canvas, leaving behind a perfect, unbroken line without any splitting.
Can I use these fine-detail brushes with oil paints?
You absolutely can, but there's one golden rule: keep your oil brushes and acrylic brushes separate. They do not play well together.
The solvents needed to clean oil paints leave behind a residue. Even a tiny bit of that oiliness will make water-based acrylics refuse to stick to the bristles. The paint will literally bead up and slide right off.
If you're in a pinch and absolutely have to use the same brush, you need to be incredibly meticulous with your cleaning. But honestly, it's much easier to just have a dedicated set for each type of paint.
Why can I see my brush strokes after the paint dries?
Seeing unwanted texture from your brush is almost always caused by one of two things: the paint is too thick, or you're pressing too hard. When acrylic paint is laid on too heavily, it doesn't have time to level out into a smooth surface before it starts to dry.
The fix is pretty simple. Thin your paint just a little with some water or an acrylic flow-improver. More importantly, lighten your touch. You barely need to apply any pressure. Let the very tip of the brush do all the work, almost like you're just guiding the paint where it needs to go.
Ready to turn a cherished photo into a personal masterpiece? At Custom Paint By Numbers, we'll set you up with everything you need, from high-quality canvases to the precision brushes we've been talking about. Start your next creative project by visiting our website today.


