Before you dive into the fun of slinging paint, let's talk about what you'll be slinging it with. Honestly, your success as a painter starts long before you make your first brushstroke. It begins with the simple, foundational choices you make for your canvas, paints, and brushes. These tools are your partners in creation, and they have a huge impact on how your final piece turns out.
Building Your Essential Artist Toolkit
Every painting you admire started with a smart selection of materials. Getting the right gear isn't about buying the most expensive stuff; it's about being intentional. A well-chosen toolkit can be the difference between a frustrating afternoon and a truly fulfilling creative session.
Choosing Your Canvas
The surface you paint on is everything. Think of it as the stage for your art. For beginners, the two most common choices are stretched canvas and canvas boards, and each has its own vibe.
- Stretched Canvas: This is the classic you probably picture—a piece of cotton or linen fabric pulled taut over a wooden frame. It's lightweight and has a nice little bounce to it as you paint, which feels great. Plus, it's ready to hang right away, giving your work a finished, professional look.
- Canvas Boards: These are simply pieces of canvas glued onto a stiff cardboard backing. They're cheaper, super durable, and easy to stack and store. This makes them absolutely perfect for practice, experimenting with new ideas, or working on smaller pieces.
If you're just starting, I'd suggest grabbing a medium-sized canvas board. It gives you a stable, no-fuss surface to work on. As you get more ambitious, you’ll probably find yourself drawn to the traditional feel of a stretched canvas.
Selecting Your Paints
Ah, the great debate: acrylics or oils? The paint you choose really sets the tone for your entire process and determines which techniques you can easily use.
Acrylics are fantastic for beginners. They're water-based, dry really fast, and are incredibly versatile. That quick drying time is a blessing when you want to layer colors without creating a muddy mess. You can thin them with water for a watercolor-like effect or use them thick and bold, straight from the tube.
Oils, on the other hand, are famous for their deep, rich colors and slow drying time. That extra time to work the paint is a huge advantage for blending. It allows you to create those buttery smooth transitions and subtle gradients that oils are known for. Just be aware they require solvents like turpentine for thinning and cleanup, which adds an extra step.
My best advice for anyone starting out? Begin with a limited palette of good-quality acrylics. You'll learn far more by mastering color mixing with just a few primary colors, white, and black than you will by having a jumble of 20 mediocre paint tubes.
Must-Have Brushes and Accessories
You don't need a whole forest of brushes to start. A few key shapes will get you far. A flat brush is your workhorse for broad areas and crisp edges. A round brush is essential for details and line work. And a filbert—which is a cool hybrid of the two—is incredibly versatile for all sorts of marks.
Beyond brushes, you'll need a simple palette (an old ceramic plate works perfectly!), an easel to save your back, and a roll of paper towels for cleanup. For a complete list of what to pick up, take a look at this fantastic guide on essential art supplies for beginners.
Understanding Core Painting Approaches
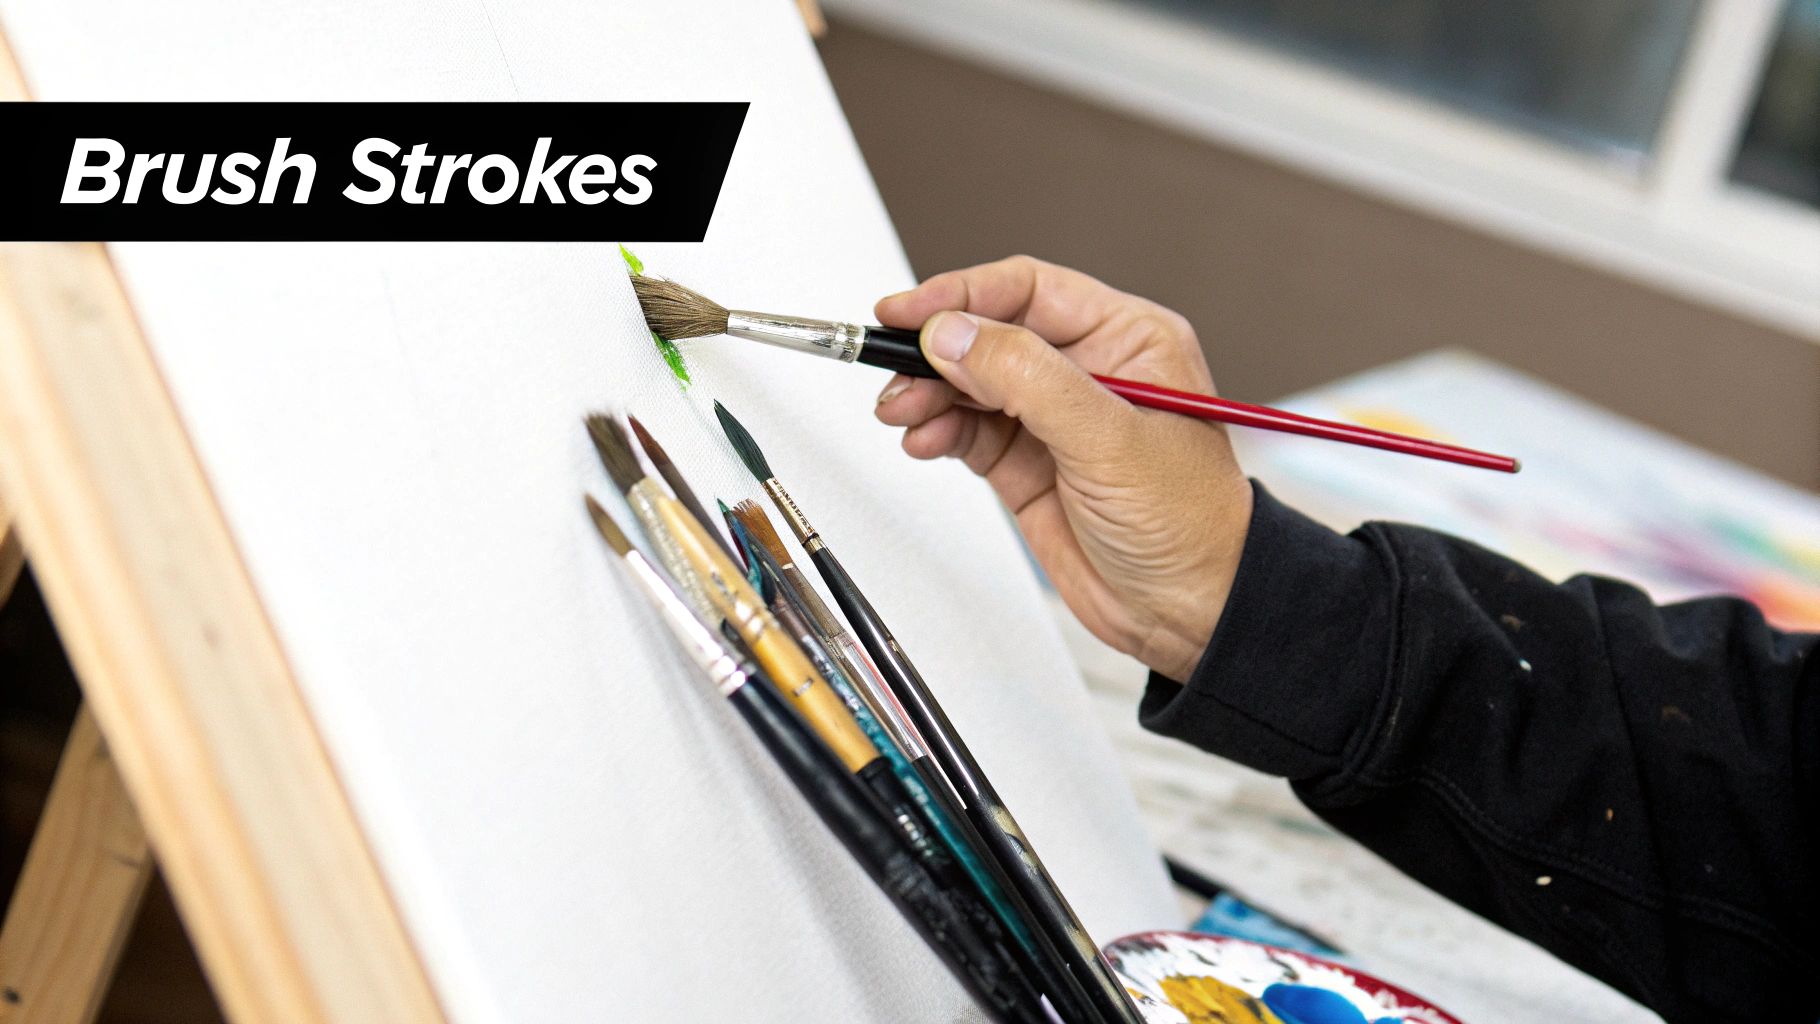
This is where the real fun starts. Before we get into the nitty-gritty of specific methods, let's take a step back and look at the big picture. The core ideas behind every great painting aren’t just a collection of random tricks; they’re all connected, working together to bring an artist’s vision from their head onto the canvas.
Think of these concepts as your creative toolkit. Once you know what each tool does, you can pick the right one for the job, whether you're chasing photorealistic detail or letting loose with bold, abstract forms.
Foundational Building Blocks
At its heart, painting is about building an image, often one layer at a time. Two of the most critical skills you'll ever learn are underpainting and blending.
-
Underpainting: This is your roadmap. It's a monochromatic first layer, usually in a neutral earth tone, that maps out the lights and shadows of your painting. It gives your work an incredible sense of depth and structure, making your final colors pop.
-
Blending: This is where the magic of realism happens. Blending is all about creating silky-smooth transitions between colors. From the soft glow of a sunrise to the subtle curve of a portrait's cheek, mastering blending is essential for making your work feel seamless and alive.
Getting a good grip on these two will make learning every other technique feel so much more intuitive. If you're just starting, there are tons of simple https://paint-by-number.com/blogs/learn-about-paint-by-numbers/beginning-painting-ideas that provide the perfect practice ground.
The very techniques we rely on today grew up alongside oil paints during the Renaissance. Artists realized that oils dried much slower than the tempera paints they were used to. This extra time was a game-changer, allowing for new methods like layering and gradual shading that completely reshaped the art world.
Expressive and Advanced Styles
Once you’re comfortable with the basics, you can start exploring techniques that inject more personality and texture into your art. This is where methods like impasto and glazing come into play, opening up a whole new level of creative expression.
A great way to learn is to see how the pros do it. Studying the distinctive brushstrokes of contemporary artist Henry Asencio can be incredibly insightful, showing you how a master manipulates texture and light.
To help you decide which approach to try next, here’s a quick overview of some essential painting techniques.
Core Canvas Painting Techniques at a Glance
This table provides a snapshot of the most fundamental techniques, breaking down what makes them unique and when you might want to use them in your own work.
| Technique | Primary Characteristic | Best Used For |
|---|---|---|
| Underpainting | Monochromatic foundational layer | Establishing light, shadow, and structure early on |
| Blending | Smooth color transitions | Creating realism, soft skies, and gentle gradients |
| Impasto | Thick, textural paint application | Adding energy, drama, and capturing light reflection |
| Glazing | Thin, transparent color layers | Achieving luminosity, depth, and rich, jewel-like tones |
Each of these core canvas painting techniques offers a unique way to work with paint. The real secret is to experiment, play around, and see which ones click with your own artistic voice.
Creating Depth with Underpainting and Blocking In
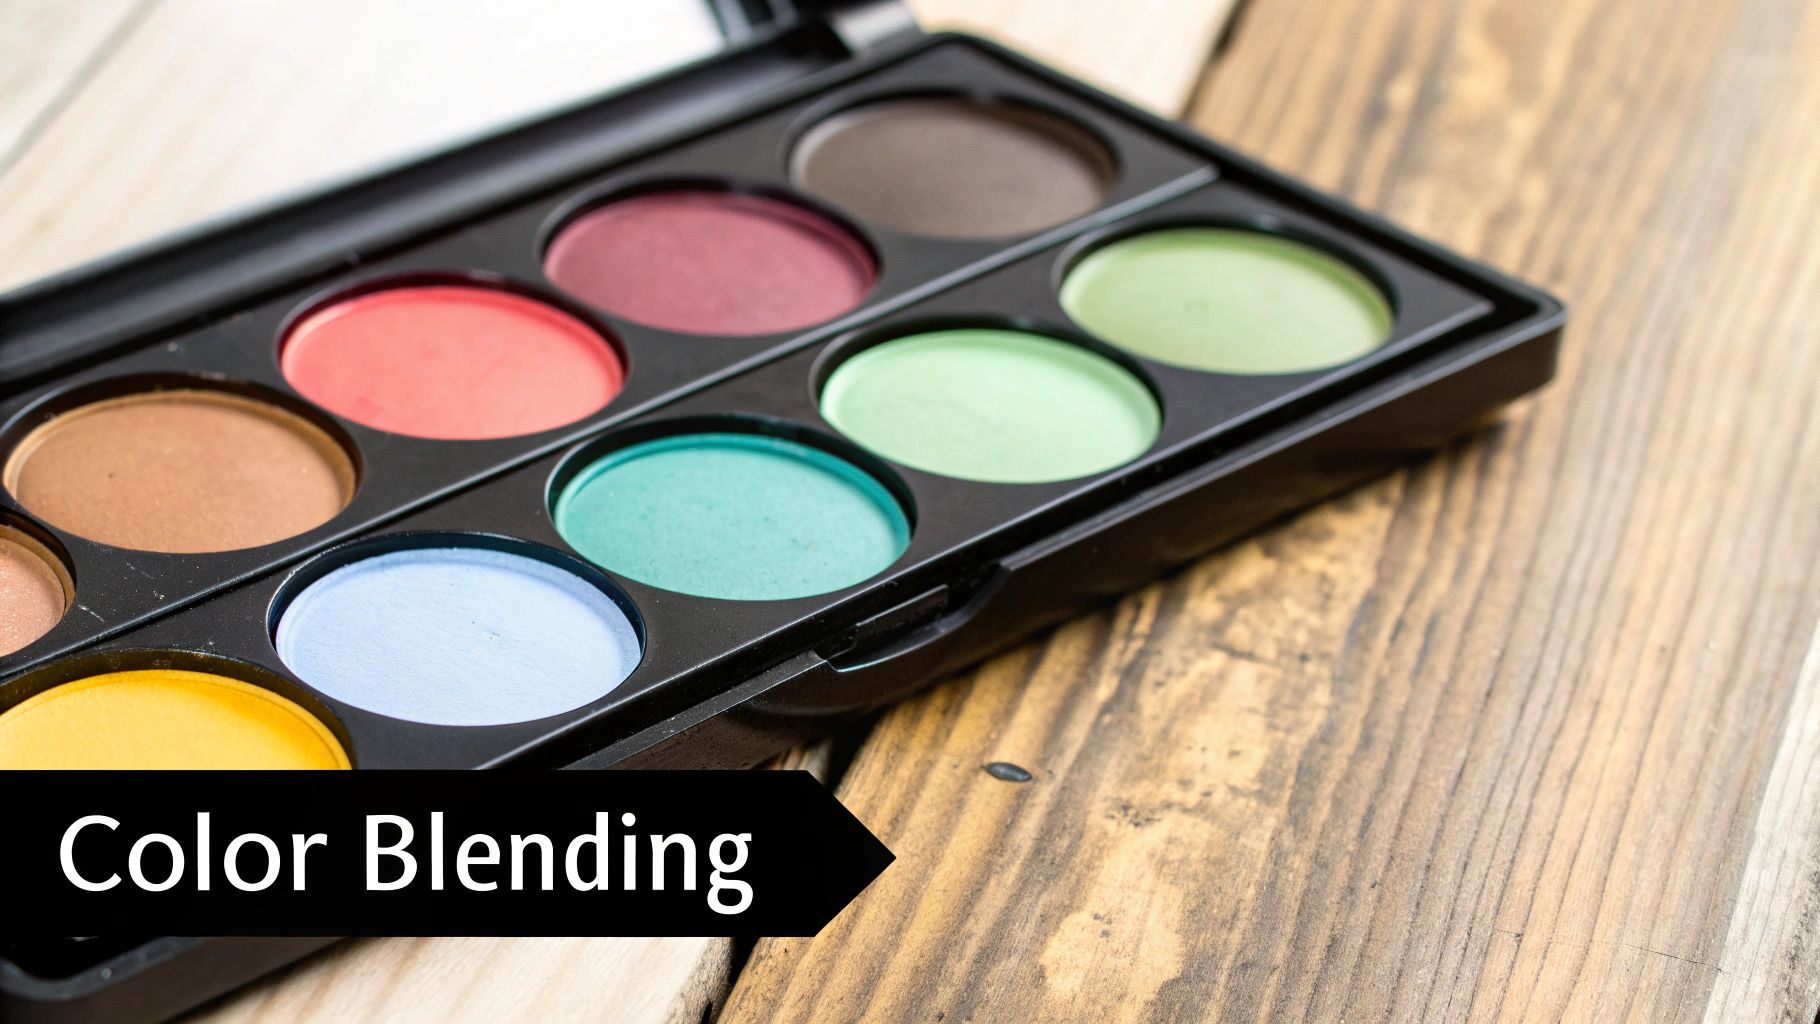
It’s a common misconception that a great painting starts with getting the colors just right. The truth? Some of the most compelling artworks are built on a solid foundation of light and shadow, figured out long before the final colors are ever mixed. This is where underpainting and blocking in come in. These two techniques are the secret to giving your work structure, depth, and a real sense of life.
An underpainting is basically a monochrome first draft of your painting. By mapping out your tonal values—the lights, midtones, and darks—you get to solve all the big compositional problems right away. It's a quick sketch in paint that ensures your final piece will feel three-dimensional and believable.
The Power of the Underpainting
Think of an underpainting as the architectural blueprint for your painting. You wouldn't worry about the final wall color before making sure the building's structure is sound, right? An underpainting does the exact same thing for your artwork. It establishes the "bones" of your image, letting you focus purely on form and light without getting distracted by color.
For instance, if you're painting a portrait, a good underpainting will clearly define the planes of the face—the curve of a cheek, the subtle shadow under the nose, the highlight on the forehead. When you start adding thin layers of skin tone over this, that underlying structure shines through. This gives the skin a lifelike quality that's incredibly hard to get any other way.
A strong underpainting is one of the best tricks I know for making colors pop. When you layer a transparent or semi-transparent color over a monochrome base, something amazing happens. Light travels through that top layer, reflects off the underpainting, and bounces back to your eye, creating a beautiful, glowing effect.
Different Approaches to Underpainting
There's no single "right" way to tackle an underpainting. The method you pick will often come down to the mood you're aiming for and your choice of paint. A couple of my go-to approaches are:
- Imprimatura (Tonal Ground): This is the simplest method. You just apply a thin, transparent wash of a single neutral color, like burnt sienna, over the whole canvas. This quick step gets rid of that intimidating stark white and gives you a unified midtone to build your lights and darks from.
- Grisaille: This is a more detailed approach. Grisaille (French for "gray") involves creating a full, highly rendered painting using only shades of gray, black, and white. The Old Masters loved this technique. A grisaille underpainting is perfect when you want to achieve realistic, almost sculptural forms before glazing thin layers of color on top.
From Tones to Colors with Blocking In
Once your underpainting has had a chance to dry, the next logical step is blocking in. This is where you apply flat, simple shapes of your main colors over their corresponding areas. Don't worry about details or blending here; you are just mapping out the color composition.
Let's say you're painting a still life of a red apple on a blue cloth. You’d mix a basic red and paint the entire apple shape. Then, you'd mix a basic blue and fill in the cloth. Simple.
This method is incredibly efficient. By establishing these big color masses early, you can see how your color relationships are working. Does the red feel too strong next to the blue? Is the background too busy? Blocking in helps you answer these questions now, saving you a ton of frustration later on.
Adding Texture with Impasto and Dry Brushing
So, you're ready to make your paintings pop right off the canvas? Let's talk about two fantastic techniques for giving your work physical dimension: impasto and dry brushing. They are polar opposites in many ways, but both add a tangible quality that really draws the viewer in.
Impasto is all about bold, sculptural strokes, while dry brushing creates those beautiful, weathered effects. Getting a feel for both will give you incredible control over the final look and feel of your painting's surface.
Building Form with Impasto
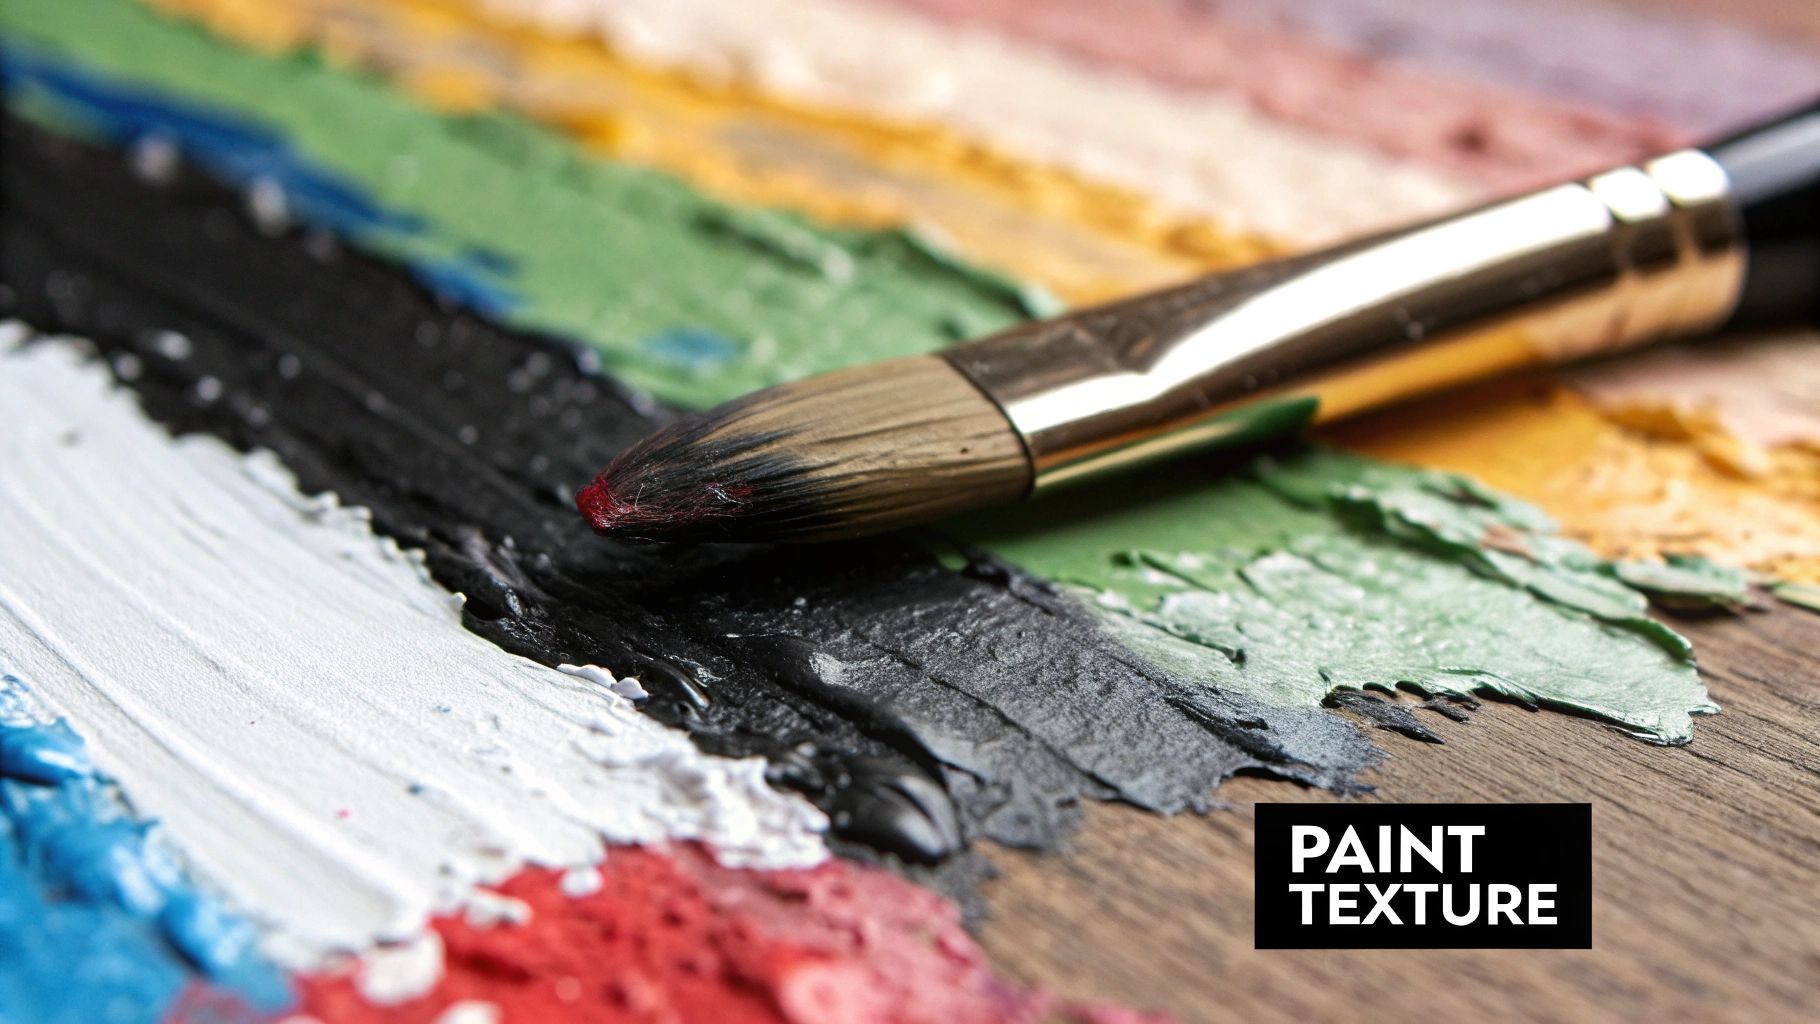
Impasto is a technique where you apply paint so thickly that it stands up from the canvas, creating obvious peaks and valleys. Instead of blending smoothly, you’re literally sculpting with your paint. The texture catches the light in fascinating ways, adding a dynamic energy that a flat layer of paint just can't replicate. Think of Van Gogh's swirling, emotional skies—that's the power of impasto.
To get started, you'll want some heavy-body acrylics or oil paints. You can apply them with a stiff bristle brush, but for really dramatic marks, a palette knife is your best friend. A knife lets you lay down thick, clean slabs of color.
Imagine you're painting a rugged mountain range. You could use a palette knife to drag a thick glob of white paint across the peaks, creating a physical texture that actually looks and feels like snow-dusted rock.
The real secret to great impasto is confidence. Its beauty lies in those spontaneous, decisive marks. Try not to mess with the paint too much. Just lay it down and let that incredible texture speak for itself.
Creating Subtle Texture with Dry Brushing
Now for something completely different. Dry brushing is a delicate technique that involves using a stiff brush loaded with a tiny amount of paint. You'll dip your brush, then wipe most of the paint off on a paper towel until barely anything is left.
When you drag this nearly "dry" brush lightly across your canvas, it only catches on the raised parts of the canvas weave or any existing bumps of dried paint.
It’s the perfect method for creating subtle, scratchy textures. Here are a few ways I use it all the time:
- Weathered Wood: I'll paint a dark brown base. Once it's dry, I'll lightly dry brush a lighter tan or grey over the top. Instantly, it looks like aged, splintering wood grain.
- Wispy Clouds: Over a painted blue sky, a dry brush with a little white paint is perfect for scuffing in soft, airy clouds that feel light and transparent.
- Soft Fur or Grass: Building up layers with a dry brush is my go-to for creating the look of individual strands of animal fur or blades of grass swaying in a field.
The trick is to use very little pressure and build the effect gradually. You’re almost using the absence of paint to get the look you want.
This image below touches on a related concept—layering—which is fundamental to creating depth, whether through texture or color.
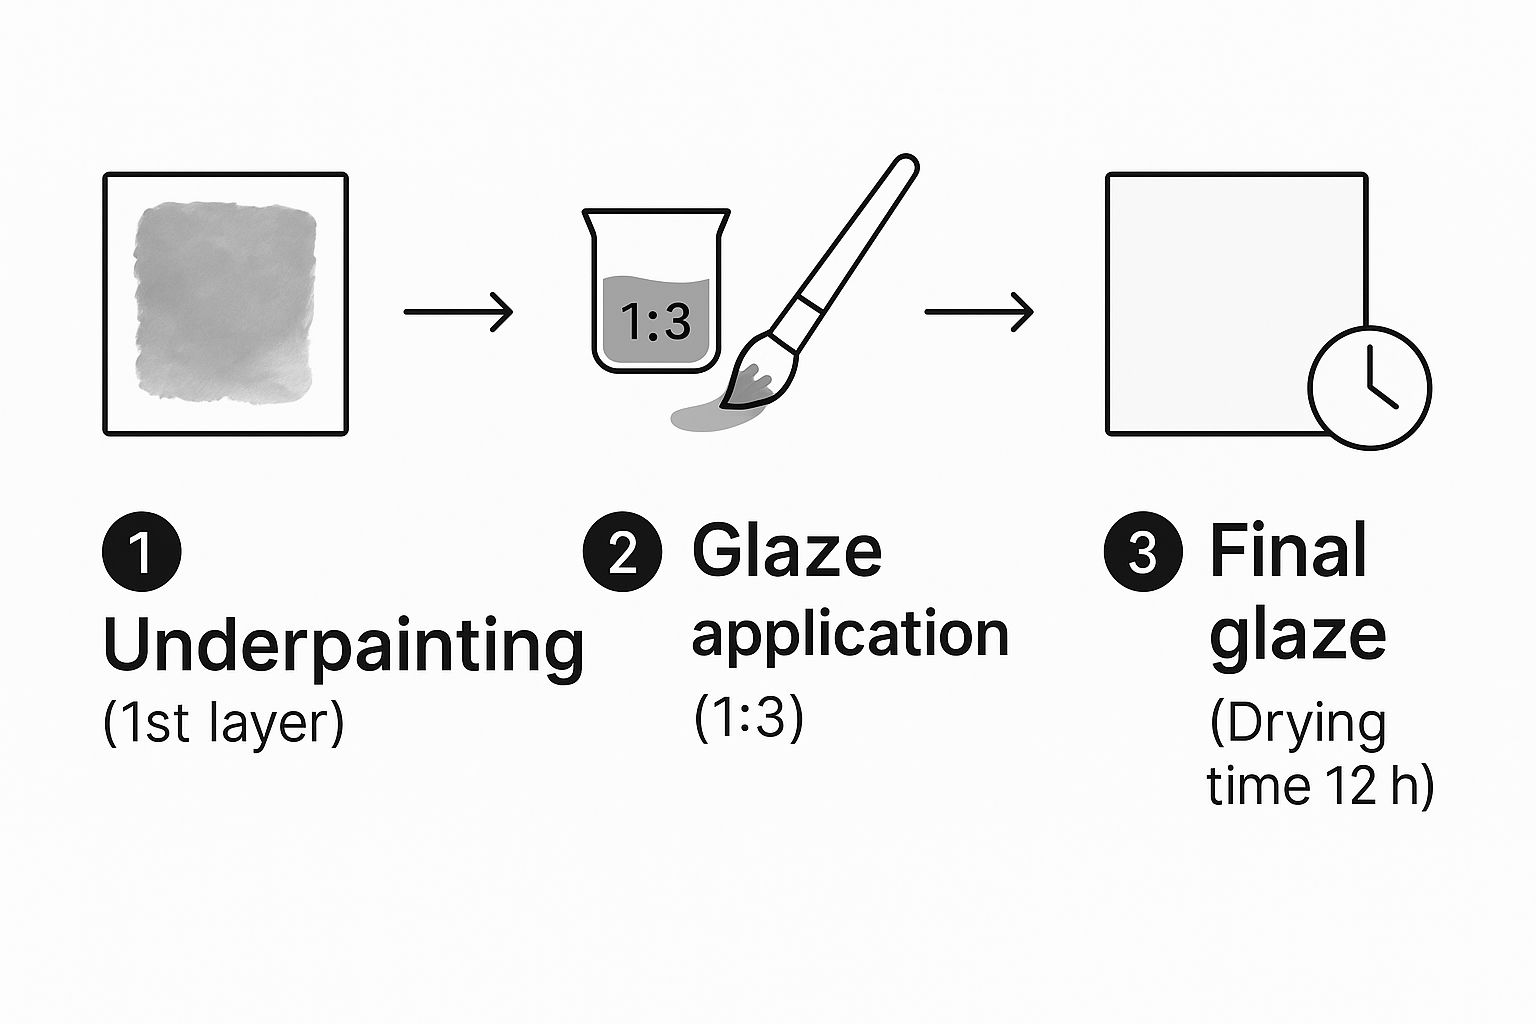
As the graphic shows, building up a painting with controlled layers, from the initial sketch to the final details, is what creates that rich, complex finish.
Tools and Materials for Texture
The tools you grab from your studio will make a huge difference in the textures you can create. Your choice of brush—or knife—is everything.
| Technique | Recommended Tool | Why It Works |
|---|---|---|
| Impasto | Palette Knife | You can lay down thick, clean slabs of paint without getting bristles stuck in it. Perfect for sharp edges. |
| Impasto | Stiff Bristle Brush | It holds a lot of thick paint and leaves behind those expressive brushstroke marks that add to the texture. |
| Dry Brushing | Old, Stiff Brush | I find my old, worn-out brushes are best. The separated bristles create a wonderfully broken, scratchy texture. |
| Dry Brushing | Fan Brush | When used for dry brushing, a fan brush can create fine, parallel lines—ideal for textures like grass or hair. |
Don't be afraid to experiment! Playing with both impasto and dry brushing will seriously expand what you can do with paint. Try using them together in one piece—a thick impasto focal point that pops, with a subtly dry-brushed background to create depth. These techniques are all about making your art a more physical and compelling experience.
Achieving Luminosity with Glazing and Layering
Ever stood in a gallery and wondered how an Old Master painting seems to glow from within? That incredible depth and luminosity isn't magic—it's the result of glazing and layering. These aren't just techniques; they're a way of thinking about color. Instead of mixing everything on the palette, you're mixing colors optically, right on the canvas.
Glazing is essentially applying thin, transparent washes of paint over a completely dry underpainting. Each new layer subtly shifts the color beneath it. Light travels through these transparent films, hits the opaque layer at the bottom, and bounces back to your eye, creating a richness and complexity you just can't get from a single, flatly mixed color.
It’s a slow, deliberate process that has been fundamental to painting for centuries. It's no surprise that its use exploded alongside the material it was best suited for. The shift to canvas as the go-to support in the 16th century opened the door for the large, intricately layered compositions that glazing makes possible. You can learn more about the fascinating history of canvas preparations at museodelprado.es.
Crafting the Perfect Glaze
Getting a glaze right all comes down to the perfect consistency. You can't just water down your paint; doing so breaks apart the binder, leaving you with a weak, chalky mess once it dries. The secret is a dedicated glazing medium.
For acrylics, look for products specifically labeled "glazing medium" or "glazing liquid." For oils, the classic recipe is a mix of stand oil, damar varnish, and turpentine (a common ratio is one part oil, one part varnish, and five parts turpentine), but there are plenty of excellent pre-mixed mediums that save you the trouble. The goal is simple: make the paint transparent and fluid without sacrificing its structural integrity.
Pro Tip: Don't underestimate the power of your underpainting. A detailed grisaille (a monochrome painting in shades of gray) is your best friend when glazing. It establishes all your lights and darks from the start, so when you add your glazes, you can focus entirely on getting the color and saturation just right.
The Direct Approach: Alla Prima
At the complete opposite end of the spectrum is alla prima, the wet-on-wet technique. Its name is Italian for "at first attempt," which tells you everything you need to know. This method is all about immediacy, energy, and capturing a moment in a single painting session. You apply fresh paint directly onto previous layers while they're still wet.
This technique demands confidence and a solid understanding of how colors will physically blend on the canvas. Instead of the clean, distinct layers of glazing, you’ll get soft, beautifully blended transitions. It's a favorite among plein air painters and anyone aiming for an expressive, lively style.
Key Differences at a Glance
| Feature | Glazing & Layering | Alla Prima (Wet-on-Wet) |
|---|---|---|
| Pacing | Slow, methodical, requires drying time | Fast, spontaneous, completed in one session |
| Color Mixing | Optically, through transparent layers | Physically, by blending on the canvas |
| Edges | Crisp, defined edges are easier to achieve | Softer, blended edges are characteristic |
| Final Effect | Luminous, deep, jewel-like colors | Fresh, expressive, energetic brushwork |
When to Use Each Technique
Knowing when to glaze and when to go alla prima can really push your paintings to the next level.
-
Glazing for Realism: Let’s say you're painting a shiny red apple. You’d start with a careful underpainting to nail the form. Then, you would apply thin, transparent red glazes over it. This builds a depth and glossiness that makes the apple look truly three-dimensional and delicious.
-
Alla Prima for Atmosphere: Now, picture painting a misty forest at dawn. Using an alla prima approach, you can blend soft grays, blues, and whites directly on the canvas to capture that fleeting, hazy atmosphere before it disappears.
Whether you choose the patient, deliberate path of glazing or the spontaneous energy of alla prima, both are powerful tools for controlling color and light. Mastering them gives you a versatile toolkit to bring any creative vision to life.
Your Top Canvas Painting Questions, Answered
As you get your hands dirty with different painting techniques, you’re bound to run into some questions. It happens to every artist! Here are some answers to the most common things people ask, put together from years of experience to help you paint with a little more confidence.
What's the Easiest Technique for a Beginner to Learn?
If you're just starting out, your best bet is to begin with the blocking in method using acrylics. It’s a straightforward approach where you simply paint large, flat areas of a single color to map out the basic shapes of your painting.
This technique is incredibly forgiving. It lets you build a solid foundation and get comfortable with your composition and color choices before you have to worry about the tricky stuff like blending or fine details. Another great one to try is dry brushing. You use very little paint, so it’s low-risk, and it’s perfect for creating instant texture for things like grassy fields or rustic wood.
Can I Mix Oil and Acrylic Paints Together?
This is a huge one, and the answer is yes... but you have to follow one non-negotiable rule. You can always put oil paint on top of dry acrylic paint, but you can never put acrylics on top of oils.
Here’s why: think of a dry layer of acrylic as a primed surface. It has "tooth," meaning it's got a slightly rough texture that oil paint can grab onto. Oil paint, on the other hand, dries into a slick, non-porous film. Water-based acrylics just can't stick to that oily surface and will eventually peel right off. Just remember the classic rule: "fat over lean." The "fatter" (oilier) paint goes on top.
It's amazing what you can create with just a basic setup. Ever looked at a favorite photo and wished you could paint it? It’s more achievable than you might think. You can find guides that show you exactly how to turn a photo into a painting and bring a personal memory to life on canvas.
How Do I Fix a Mistake on My Painting?
Don't panic! Making mistakes is just part of the process, and luckily, both acrylic and oil paints are pretty easy to correct. The fix just depends on which paint you’re using.
- Fixing Acrylics: They dry incredibly fast, which is a huge advantage here. Just let the mistake dry completely. Once it’s hard, you can paint right over it like it was never there. Easy.
- Fixing Oils: If the paint is still wet, just take a palette knife and gently scrape it off. Wipe the spot with a rag, and you're good to go. If the paint has already dried, you'll want to lightly sand the area to rough it up a bit, then you can paint over it.
Do I Really Need to Prime My Canvas?
This is a great question. The good news is that most canvases you buy from an art store are already pre-primed with gesso, so you can start painting on them right out of the wrapper.
However, many painters (myself included) like to add one or two extra coats of gesso. Why? It creates a much smoother, less absorbent surface to work on, which helps your paint flow beautifully and your colors stay vibrant. If you ever work with raw, unprimed canvas, then priming with several coats of gesso isn't optional—it's essential.
At Custom Paint By Numbers, our goal is to prove that anyone can be an artist. We help you transform your personal photos into beautiful, high-quality paint-by-number kits that include everything you need to create something you’re proud of. Start your own personalized masterpiece today at https://paint-by-number.com.