

There's something incredibly special about turning a photo of your pet into a hand-painted portrait. With a paint your pet by number kit, you don't need to be a seasoned artist to create a beautiful tribute to your furry (or feathered) friend. It’s a simple, guided way to transform a favorite memory into a piece of custom art you’ll be proud to hang on your wall.
Let’s walk through how it works.
A Meaningful Way to Honor Your Pet

This is more than just a craft project. It’s a chance to really connect with what makes your pet unique—that little spark in their eye, the way their fur looks in the sun, or the funny tilt of their head. You get to focus on all the little details that you love, making the whole experience mindful and deeply rewarding. Forget any notion that you need "natural talent," because these kits are designed to give anyone the confidence to create something wonderful.
It’s no surprise that immortalizing our pets this way has become so popular. As we treat our pets more and more like family, the demand for personalized items like custom art kits has skyrocketed. Consider that in North America alone, 94 million U.S. households now own a pet. That bond is incredibly strong; a recent report found that 77% of owners haven't cut back on spending for their pets, even with financial concerns. You can read more about this growing connection in the Global Pet Industry magazine.
Why Create a Custom Pet Portrait
The appeal here really goes beyond just putting paint on a canvas. It’s an entire experience that pet lovers everywhere are embracing for a few key reasons.
- A Truly Personal Keepsake: You're not just painting a generic animal; you're capturing the specific personality of your pet and the special bond you share.
- Relaxing and Therapeutic: There's a reason adult coloring books took off. The structured process of paint-by-number is known to calm the mind, reduce stress, and let you just unwind.
- Perfect for Any Skill Level: Whether you haven't picked up a brush since grade school or you're a regular painter, the numbered guide on the canvas gives you a clear path to a fantastic result.
The real magic of a paint your pet by number project lies in the connection it fosters. Each brushstroke is a small act of love, turning a simple photo into a timeless and heartfelt tribute.
Once your masterpiece is dry, the final step is to give it the presentation it deserves. To make sure your artwork looks its absolute best, check out our guide on how to frame canvas paintings.
How to Choose the Perfect Photo
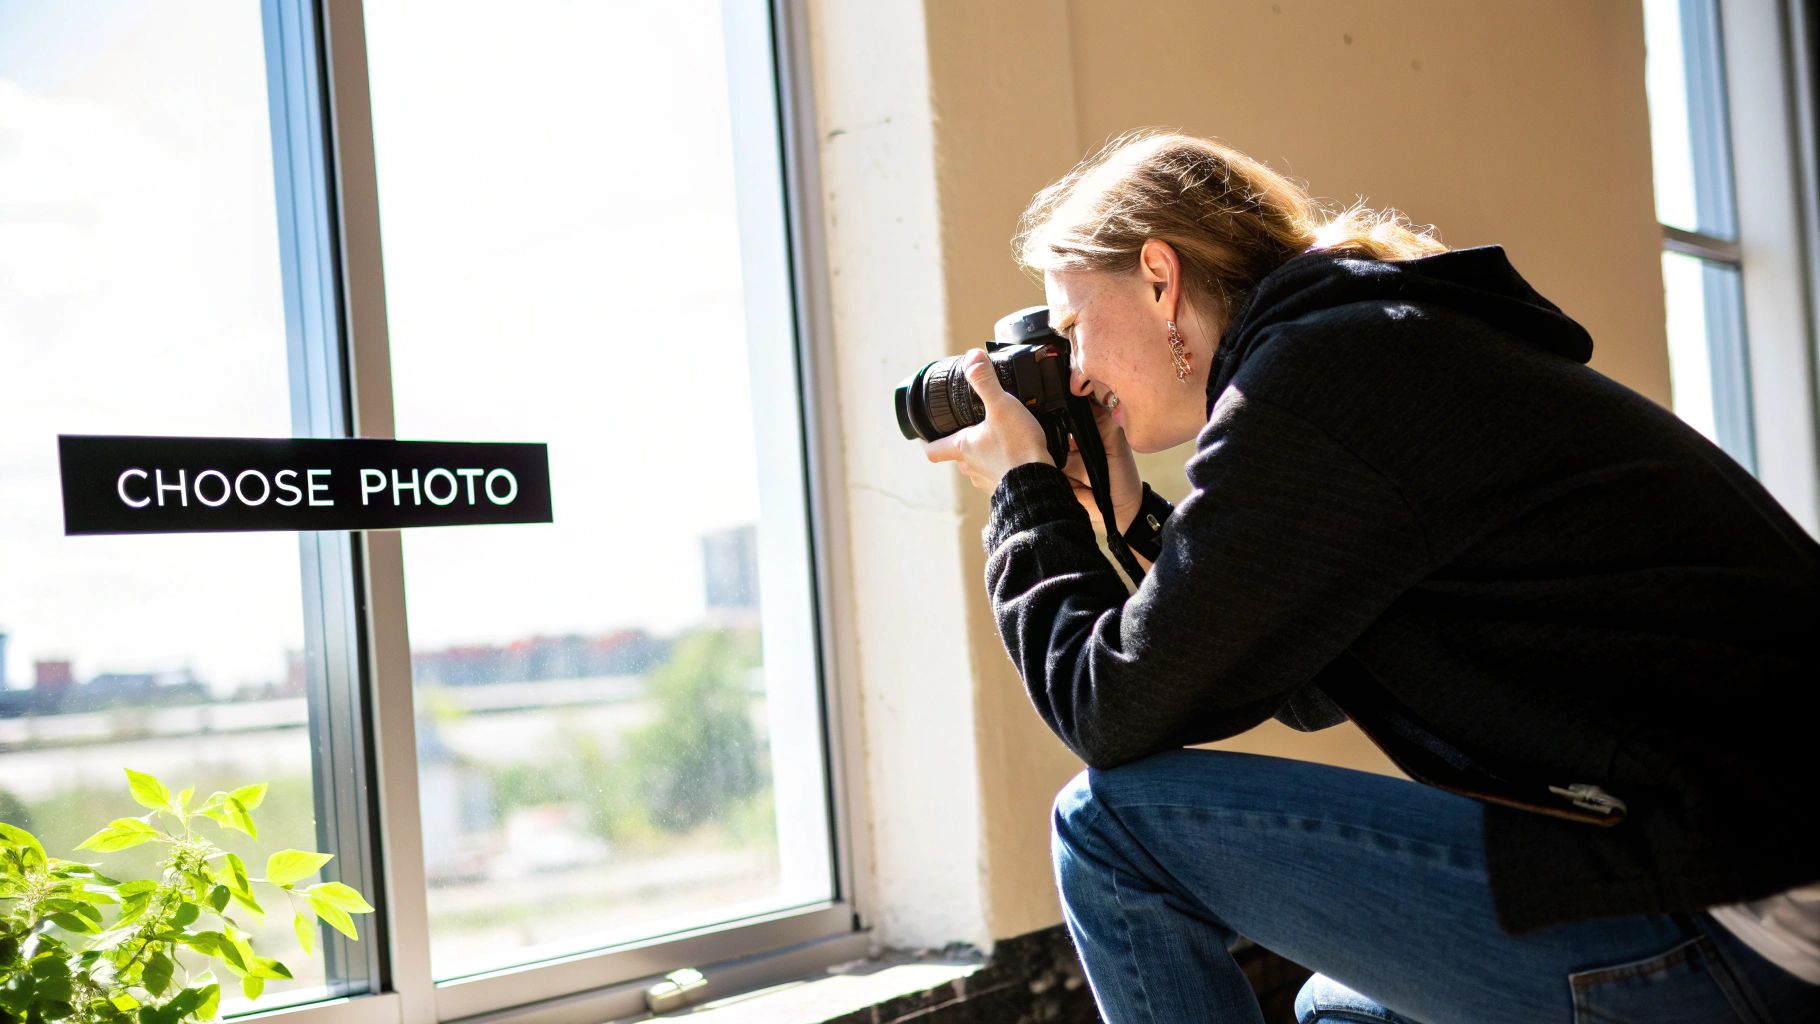
The secret to a stunning pet portrait starts long before you even think about picking up a paintbrush. It all comes down to the photograph you choose. The software that creates your custom canvas literally translates the light, shadows, and details from your photo into the numbered sections you'll be painting. So, a great photo gives you a clear roadmap for a beautiful result.
Think of it like building a house. A detailed, accurate blueprint leads to a strong, beautiful structure. Your photo is that blueprint. If you start with a blurry, dark, or low-resolution image, you'll get a design with vague shapes and muddled colors. This can make your paint your pet by number project frustrating and leave you with a final piece that doesn't quite look like your furry friend.
Focus on Lighting and Clarity
If there's one thing to get right, it's the lighting. Clear, natural light is your best friend—it shows off the true colors of your pet’s fur and that little sparkle in their eyes. On the other hand, harsh, direct sunlight can create deep, dark shadows that swallow up important features. Indoor lighting isn't much better, as it often casts a weird yellow or orange glow.
I’ve found that the absolute best photos are taken outdoors on a slightly overcast day. The light is bright but soft, which gets rid of those harsh shadows and lights up your pet evenly. If you have to shoot indoors, try placing your pet near a large window, but just out of the direct sunbeams.
A few quick tips from my experience:
- Never use the flash. It creates an unnatural glare, the dreaded red-eye, and completely flattens your pet’s cute features.
- Double-check the focus. Your photo has to be sharp. Zoom in on the image on your computer or phone to make sure you can see individual strands of fur and the tiny reflection in their eyes.
- Resolution is key. Always use the original, high-resolution file from your phone or camera. Photos you pull from social media or that have been sent through text messages are often shrunk down, and a lot of that crucial detail gets lost.
A high-quality photo with great lighting gives the design software more information to work with. This means more accurate color mapping and a more detailed, lifelike canvas for you to paint.
Capture Their Personality from the Right Angle
Once you've nailed the lighting, it's time to think about composition. The best portraits feel personal and really draw you in, and the angle you shoot from makes a huge difference. Try getting down on your pet’s level instead of shooting down at them from above. That eye-level perspective makes for a much more intimate portrait and does a better job of capturing their unique personality.
Also, make sure your pet is the star of the show. A busy background with furniture, other people, or just general clutter can be really distracting. While some backgrounds can be edited out, you’ll always get a cleaner result with a simple backdrop like a plain wall, a patch of green grass, or a solid-colored blanket. It helps if your pet is looking toward the camera or maybe just slightly off to the side.
If you want to get into the nitty-gritty, our guide on how to convert photos to paint by numbers has even more technical tips and examples to look at.
At the end of the day, choose a photo that you absolutely love—one that truly captures the spirit of your best friend. That connection you have with the picture will make the whole painting process that much more special.
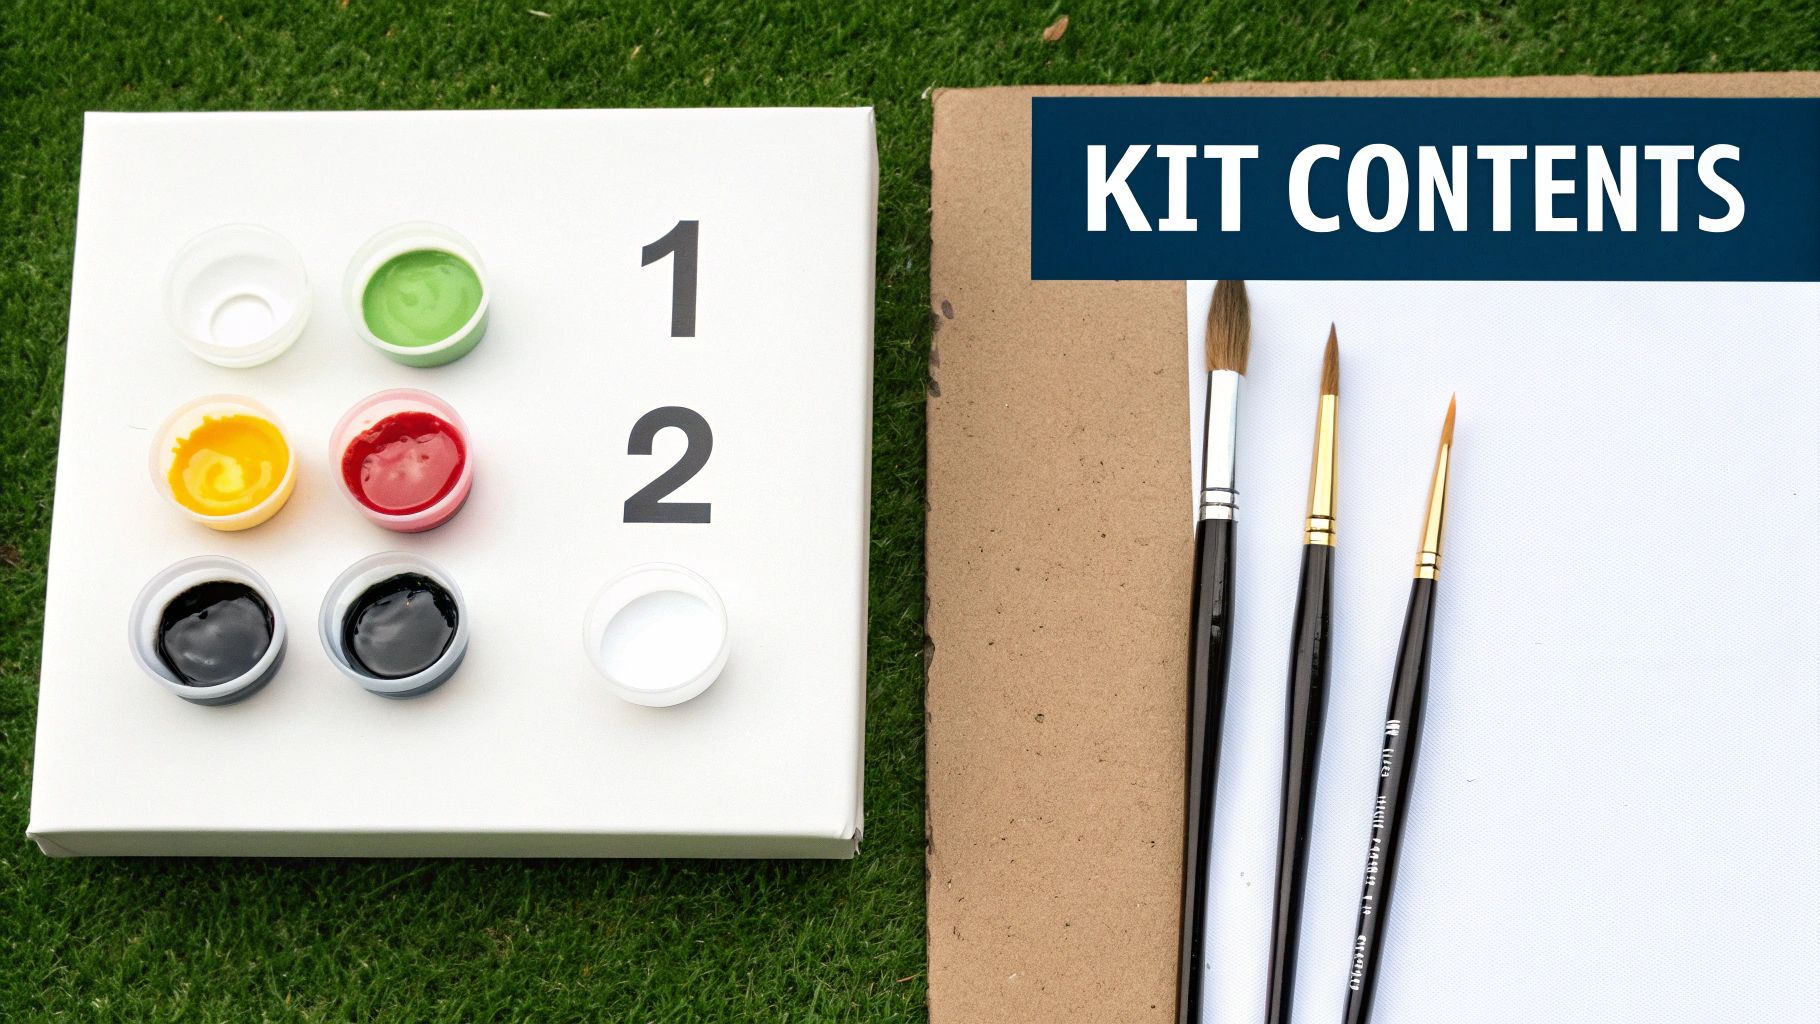
What Comes in Your Custom Painting Kit
This is the fun part—unboxing your paint your pet by number kit! That moment when you finally get to see all the goodies inside feels a bit like Christmas morning. Inside that box is everything you need to bring your pet’s portrait to life, and knowing what each piece does will help you hit the ground running.
While kits can vary slightly, they all come with the same core supplies. Think of it as a complete artist’s studio, perfectly curated just for your project. Let’s pop the lid and see what’s waiting for you.
The Tools of the Trade
At the center of it all is your custom, pre-printed canvas. This isn't just any canvas; it's a detailed, numbered map of your pet’s face, created directly from the photo you sent in. It's pretty amazing to see.
Of course, you can't paint without paint! You’ll find a set of small, numbered acrylic paint pots. The magic is that each paint number corresponds to a number on the canvas. No color theory or mixing required—it’s all done for you.
You'll also get a few brushes in different sizes, which is key to getting a professional-looking finish.
- The Tiny Detail Brush: This will be your best friend for capturing the little things—the glimmer in your pet's eye, individual whiskers, or the fine hairs around their ears.
- The All-Purpose Flat Brush: You'll use this one for filling in medium-sized areas, like patches of fur or the shape of a floppy ear.
- The Large Background Brush: This workhorse helps you cover the big, single-color sections quickly and smoothly, like the background or the main part of your pet’s body.
To help you get familiar with your new art supplies, here's a quick rundown of what's in the box and what it's for.
Your Kit's Tools and What They Do
| Tool | Description | Best For |
|---|---|---|
| Numbered Canvas | A pre-printed, high-quality canvas with the outline of your pet. | The foundation of your entire project. |
| Numbered Paint Pots | A set of acrylic paints, each with a number matching the canvas. | Applying the correct color to the corresponding canvas section. |
| Fine-Tip Brush | A very small brush designed for precision work. | Intricate details like eyes, whiskers, and fur texture. |
| Flat Brushes | Medium and large brushes for broader strokes. | Filling in larger color blocks and backgrounds efficiently. |
| Reference Sheet | A paper copy of the numbered canvas. | Double-checking a number without having to look at the canvas. |
This little toolkit has everything you need to create a beautiful piece of art you'll be proud of.
Having the right tools makes all the difference. While our guide focuses on your painting kit, the principle of choosing the perfect creative kit applies to any artistic project you take on.
Setting Up Your Creative Space
Before you even think about dipping a brush into paint, take five minutes to set up your station. Trust me, it makes the whole experience much more relaxing. Find a spot with good lighting—near a window is great—where you can spread out without feeling cramped.
I always recommend putting down some old newspaper or a plastic tablecloth to protect your table from the inevitable paint drip. You’ll also want a small cup of water for rinsing brushes and some paper towels for dabbing them dry. Getting organized now means you can just lose yourself in the fun of painting later.
If you’re curious to learn more, our guide to custom paint by numbers for adults has even more great tips. With your workspace ready, it's time to create your masterpiece
Alright, you've got your space set up and your paints are ready to go. Now for the fun part: bringing your furry friend's portrait to life on the canvas.
Honestly, there’s no single "right" way to tackle a paint-by-number. The real goal is to find a method that you enjoy and that feels natural.
A lot of people like to work their way down from the top of the canvas. If you're right-handed, starting at the top-left and moving down prevents you from dragging your hand through wet paint. It’s a simple trick, but it saves a lot of frustration! And if you’re a lefty, just flip it—start at the top-right and work your way down and across.
Another popular strategy is painting one color at a time. This is my personal favorite because it feels so organized. You just grab the pot for color #1, fill in every spot with that number, and then move on to #2. It’s incredibly satisfying to watch the image slowly take shape as you complete each color.
Adding Depth and Making It Pop
Want a pro tip that makes a huge difference? Start with your darkest colors first.
When you lay down those deep shadows—maybe around the ears, under the chin, or in the pupils—you create an instant sense of depth. This really anchors the whole painting, making it much easier to build up the other tones and highlights later. It’s a small change in process that has a big impact on the final look.
When you're ready to paint, just dip the very tip of your brush in the paint. You really don't need a lot! Just enough to cover the number and the lines without creating a thick glob. The goal is a smooth, even coat that gives you great coverage while still letting the texture of the canvas show through a little.
Your paint your pet by number kit is more than just a craft; it's a way to connect with a really joyful part of the pet care world. These kits are a booming piece of the global pet supplies market, which is valued at $321 billion and expected to climb to $427.75 billion by 2032. It just shows how much we all love finding unique, personal ways to celebrate our pets. You can dive deeper into these pet industry trends and growth statistics to see just how big this movement is.
Keeping Your Brushes Clean and Blending Like a Pro
Clean brushes are non-negotiable if you want crisp, vibrant colors. It's a simple but crucial step.
Once you’re done with a color, give your brush a good rinse in a cup of water until it runs clear. Then, just dab it on a paper towel to dry it off before you move to the next color. This quick clean-up stops colors from getting muddy and keeps your portrait looking sharp and defined.
Ready to take it up a notch? For a smoother, more realistic look, especially on fur, you can try a simple blending technique where two colors meet.
- Step 1: Paint the sections. Go ahead and fill in two adjacent numbered areas with their correct colors.
- Step 2: Act while the paint is wet. While the edges where the two colors meet are still wet, quickly rinse your brush and dab it so it's just barely damp.
- Step 3: Feather the edge. Use that clean, damp brush to gently "feather" the line between the colors. A few light, back-and-forth strokes are all you need to soften that hard edge.
This little trick creates a beautiful, subtle gradient that really helps capture the soft look of fur. It elevates your piece from a standard paint-by-number to something that feels much more like a custom portrait. Just remember, a light touch is all it takes
Adding the Final Polish to Your Artwork
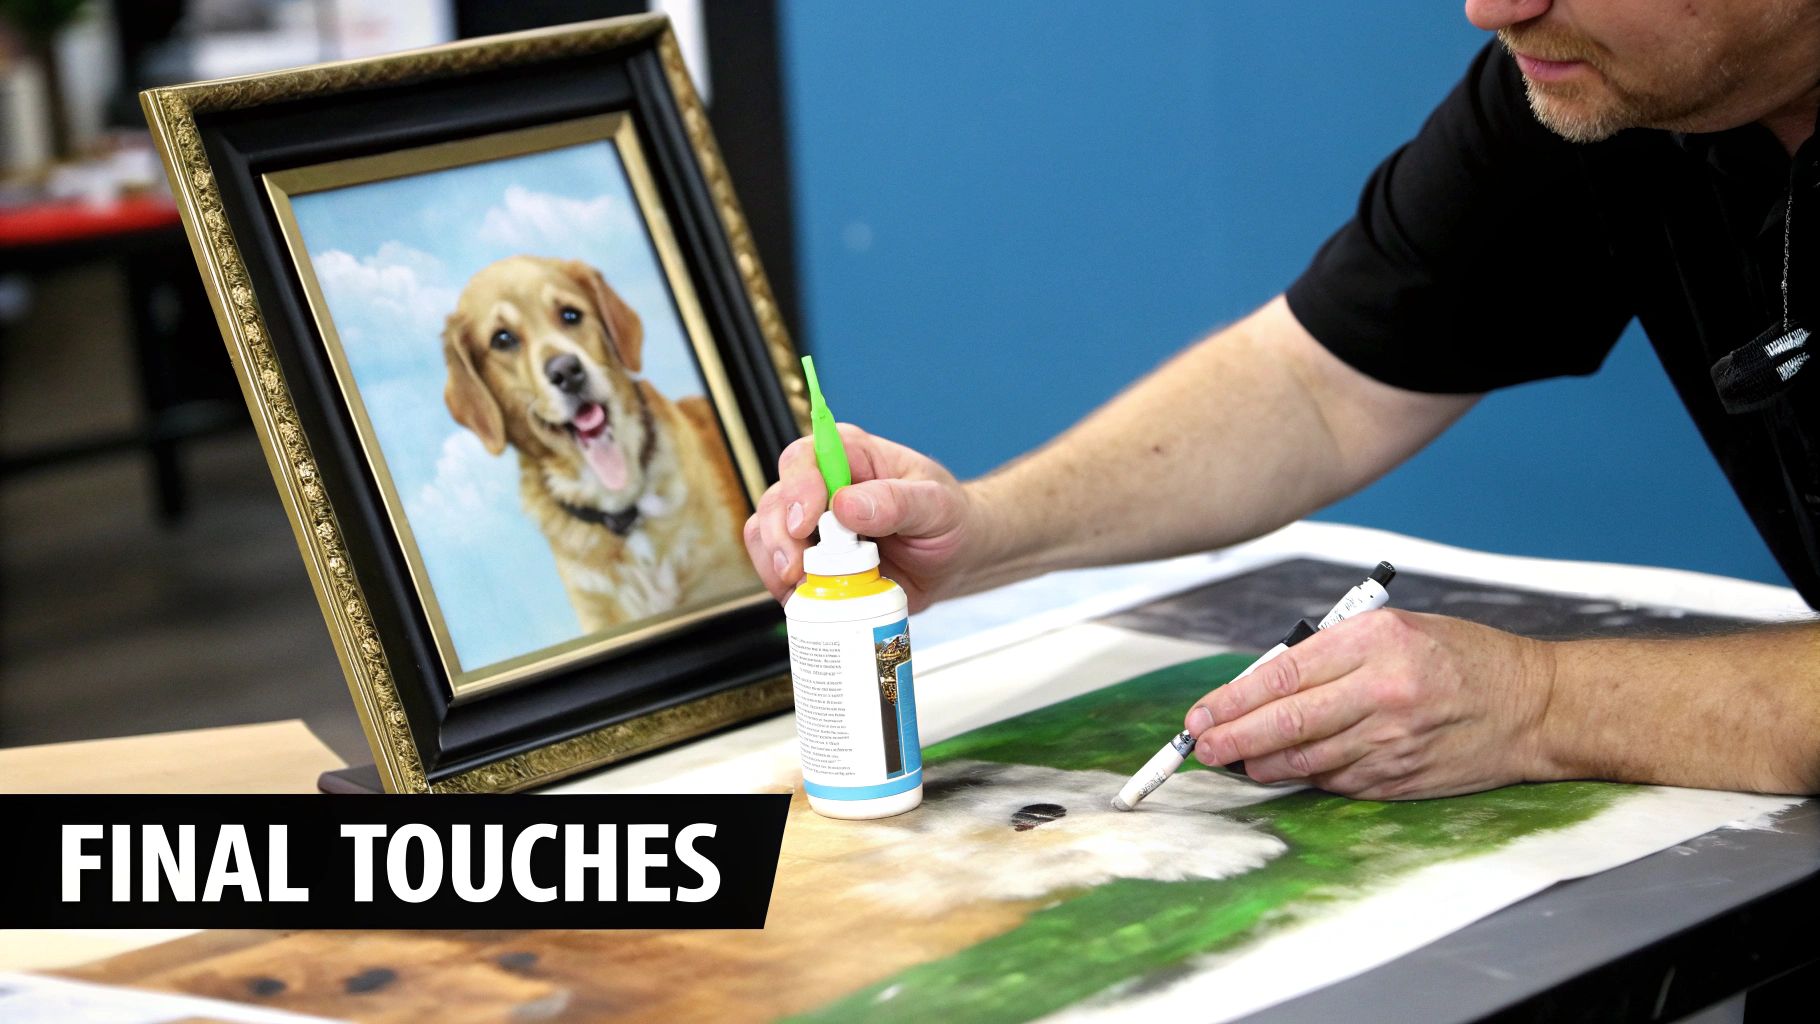
You’ve painted the last numbered section, and your pet's adorable face is finally complete. It's a great feeling! But before you clean your brushes for the last time, there are a couple of finishing touches that can take your painting from a fun craft project to a genuine piece of art you’ll be proud to show off.
These last few steps are my secret to getting that polished, professional look. They protect your hard work and make the colors truly shine, ensuring your masterpiece looks fantastic for years to come.
Refining the Details
Okay, it's time for a little quality control. Prop your canvas up somewhere with good lighting and take a few steps back. Really look at it from a distance and different angles.
Can you see any of the faint numbers or lines showing through the lighter paint colors? This happens all the time, especially with yellows, whites, and light grays. The fix is easy: just add another thin coat of paint to those spots. This small touch makes a huge difference, giving the painting a solid, clean finish. Just be sure to let the first layer dry completely before you add the second, or you might end up with smudges.
Protecting Your Work with a Varnish
Once you’re happy with the details and the paint is bone dry—I always recommend waiting at least 24 hours to be safe—it’s time to seal it. Applying a clear acrylic varnish is probably the most important final step for any paint your pet by number canvas.
Varnish is like a suit of armor for your art. It does two crucial things:
- It protects. Varnish creates a barrier against dust, grime, and the UV rays that can make colors fade over time.
- It enhances. It instantly deepens the dark colors and makes the bright ones pop. You can choose a gloss, satin, or matte finish to get the exact look you’re going for.
I never skip this step. Applying varnish is the final act of care for your creation. It preserves all the hours you put in and gives the entire surface a consistent, professional-looking sheen.
Framing and Displaying Your Masterpiece
Now for the best part—showing it off! Framing your canvas instantly gives it a gallery-worthy feel. You could go for a simple, modern floating frame that lets the art be the star, or pick something more traditional that complements your home’s style.
With your custom pet portrait framed and ready, all that's left is finding the perfect spot for it. Learning how to arrange wall art like a pro can give you some great ideas, whether you want it to be a standalone piece or the heart of a gallery wall.
Got Questions About Painting Your Pet? We’ve Got Answers.
Jumping into your first paint your pet by number kit is a blast, but it's totally normal to have a few questions pop up. We’ve been there! Think of this as your friendly FAQ, packed with tips we've picked up over the years to help you get the best results.
Let’s get those common queries out of the way so you can relax and enjoy the process.
"Oops! What Do I Do If I Make a Mistake?"
This is hands-down the number one question we get, and the fix is surprisingly simple. If you accidentally paint outside a line or grab the wrong color pot, take a deep breath. No need to panic.
The best thing about the acrylic paint in your kit is how forgiving it is. Just let the mistake dry completely. I can't stress this enough—trying to fix wet paint just makes a smeary mess. Once it's bone dry, you can simply paint over it with the correct color. A lighter color might need a second thin coat to hide the darker one underneath, but it works like a charm.
"How Do I Keep My Paints From Drying Out?"
Acrylics are designed to dry fast on the canvas, which means they can also dry out in the pots if you're not careful. The simplest habit to get into is snapping the lids shut tightly every single time you're done with a color, even if you're just stepping away for a few minutes.
Taking a longer break for a day or two? Here’s a little pro tip we swear by:
- Cut a tiny piece from a damp paper towel or sponge.
- Make sure it's just damp, not dripping wet.
- Place it inside the lid before you seal the paint pot.
This creates a mini-humidifier inside the pot, keeping the paint fresh and ready for your next session.
Don't let a small slip-up throw you off. Every single artist makes mistakes—it's all part of the process. Learning how to fix them is what builds confidence. Your masterpiece is just a few brushstrokes away!
"Can I Mix the Colors for Different Shades?"
Feeling a little adventurous? Go for it! While your paint your pet by number kit comes with every color you need, you can absolutely mix them to add your own personal touch.
For instance, say you want to create a softer, more realistic transition on your pet's fur between a light patch and a dark one. Just dab a tiny bit of each color onto a spare palette (a plastic lid or a small piece of foil works great) and mix them together. Use that new "in-between" shade to blend the two sections on your canvas. It’s a fantastic way to elevate your painting and give it a smoother, more professional look.
Ready to turn that favorite photo of your furry friend into a work of art? We make it simple and fun to create a portrait you’ll treasure forever.


