

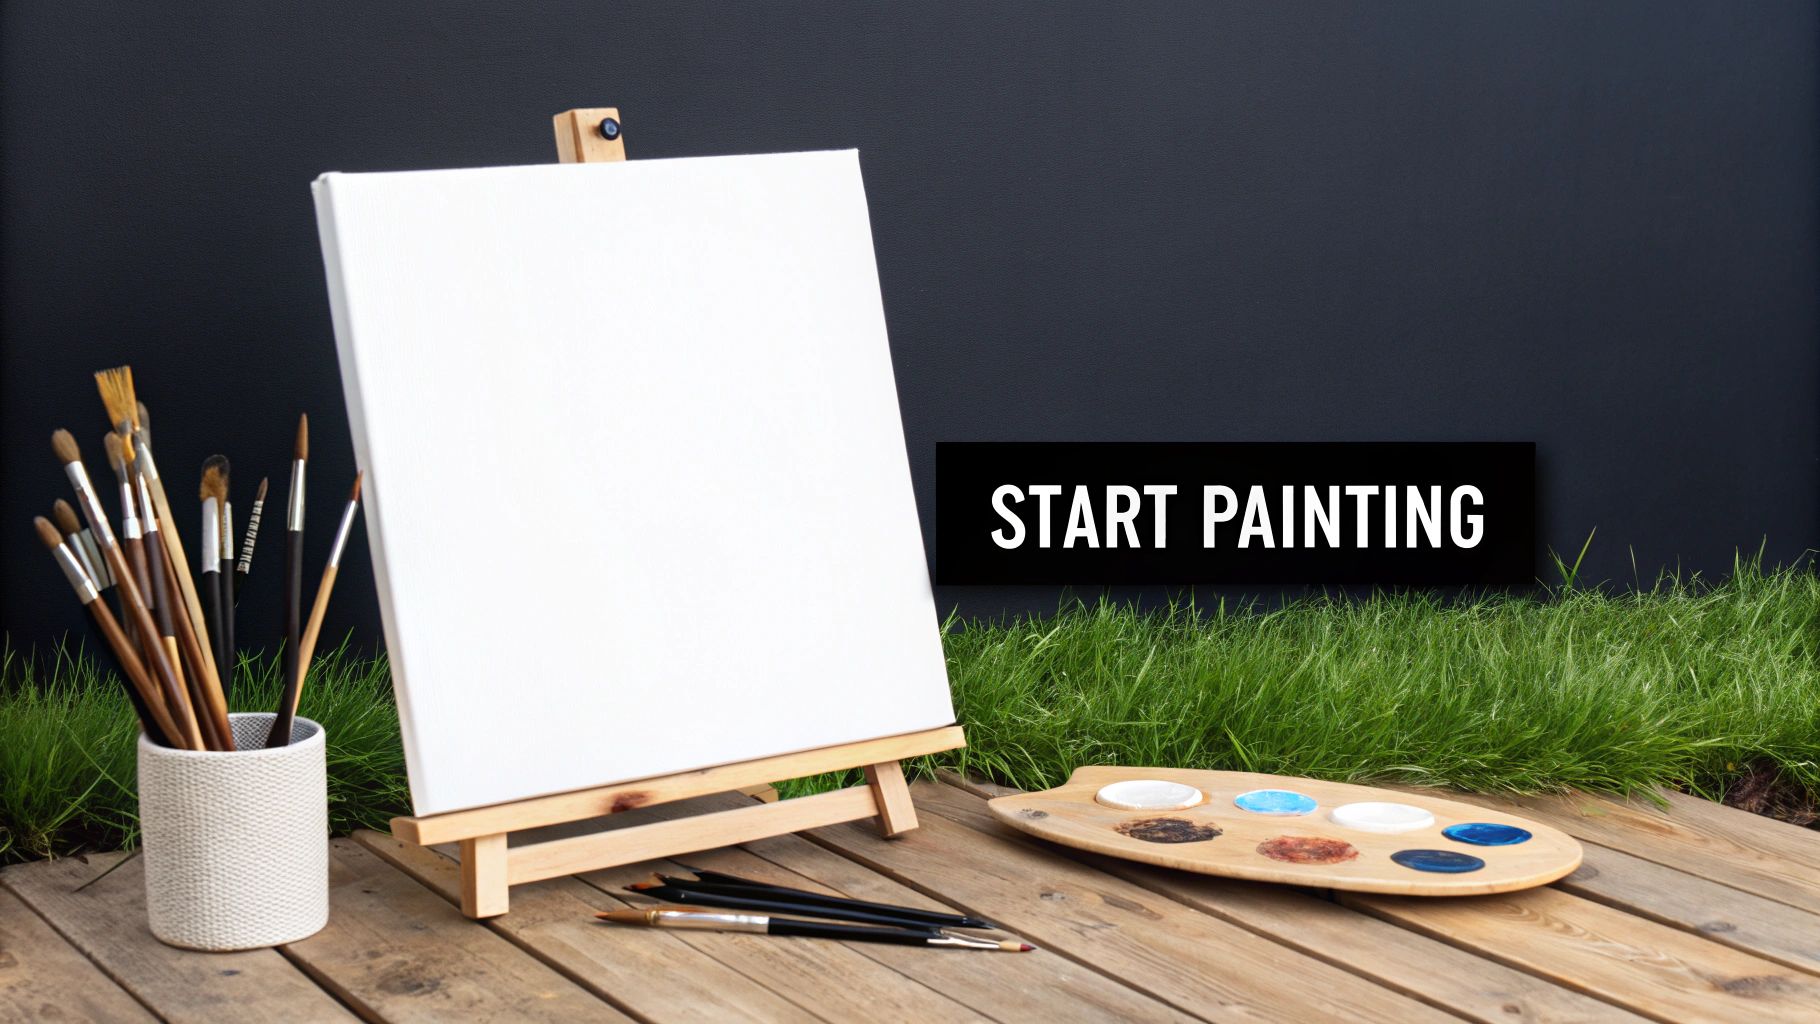
Welcome to the wonderfully relaxing world of landscape painting. If you've ever looked at a breathtaking sunset or a quiet, misty mountain range and thought, "I wish I could paint that," then you're in the right place. This guide is designed to break down that entire process, step-by-step, showing you how to turn that spark of inspiration into a landscape on canvas painting you’ll be proud to hang on your wall.
Your First Step into Landscape Painting
Does the idea of facing a blank canvas feel a little daunting? It’s a common feeling. But trust me, creating a beautiful landscape is far more achievable than you might think. This guide is your friendly roadmap, here to help you turn that initial idea into a finished piece of art you’ll love.
We’re going to walk through everything together, from picking the perfect scene to adding those final, satisfying details. It doesn’t matter if you’re painting completely from scratch or using a handy paint-by-number kit—you'll find clear, practical advice for your journey.
Why Landscapes Resonate So Deeply
There’s just something about landscapes. They’re one of the most popular subjects for artists and art lovers for a good reason. A well-painted scene can instantly transport you to a peaceful forest, a rugged coastline, or a sun-drenched field without you ever leaving your home. It’s a powerful way to connect with the natural world.
This isn’t just a feeling; it’s a trend. The huge demand for nature-themed art ties directly into the growth of wellness and at-home hobbies. In fact, market data shows that “Landscapes & Flowers” are the top themes in Amazon searches and sales for adult paint-by-number kits. This is all part of a bigger picture—the global art and craft materials market is expected to climb from USD 22.57 billion in 2024 to an incredible USD 35.29 billion by 2032. You can read more about this growing market and see how your new hobby is part of a major global shift.
This guide explores two paths to your masterpiece: the classic freehand approach and the guided paint-by-number method. Both are fantastic and fulfilling ways to create a stunning landscape on canvas painting.
What You Will Learn in This Guide
My goal here is to demystify the painting process and build your confidence, one brushstroke at a time. You don't need a formal art degree or a studio full of expensive gear to begin.
Here’s a quick look at what we’ll cover:
- Choosing Your Tools: We'll dive into the essential materials you'll need, from the canvas itself to paints and brushes. We’ll also weigh the pros and cons of building your own kit versus grabbing a convenient all-in-one paint-by-number set.
- Planning Your Masterpiece: Learn some simple but powerful tricks for picking a great reference photo, composing your scene for maximum impact, and getting your initial sketch down on the canvas.
- Bringing It to Life: I’ll guide you through a practical, step-by-step painting workflow. We’ll cover blocking in your main colors, building up layers, and adding those all-important details and textures that make a painting pop.
- Finishing with a Flourish: Discover the final steps to protect and display your work, like varnishing and framing, to give it that polished, gallery-worthy look.
Think of this as your own personal art class, one you can take at your own pace. Let’s get ready to turn that blank canvas into something amazing.
2. Gather Your Painting Tools and Materials
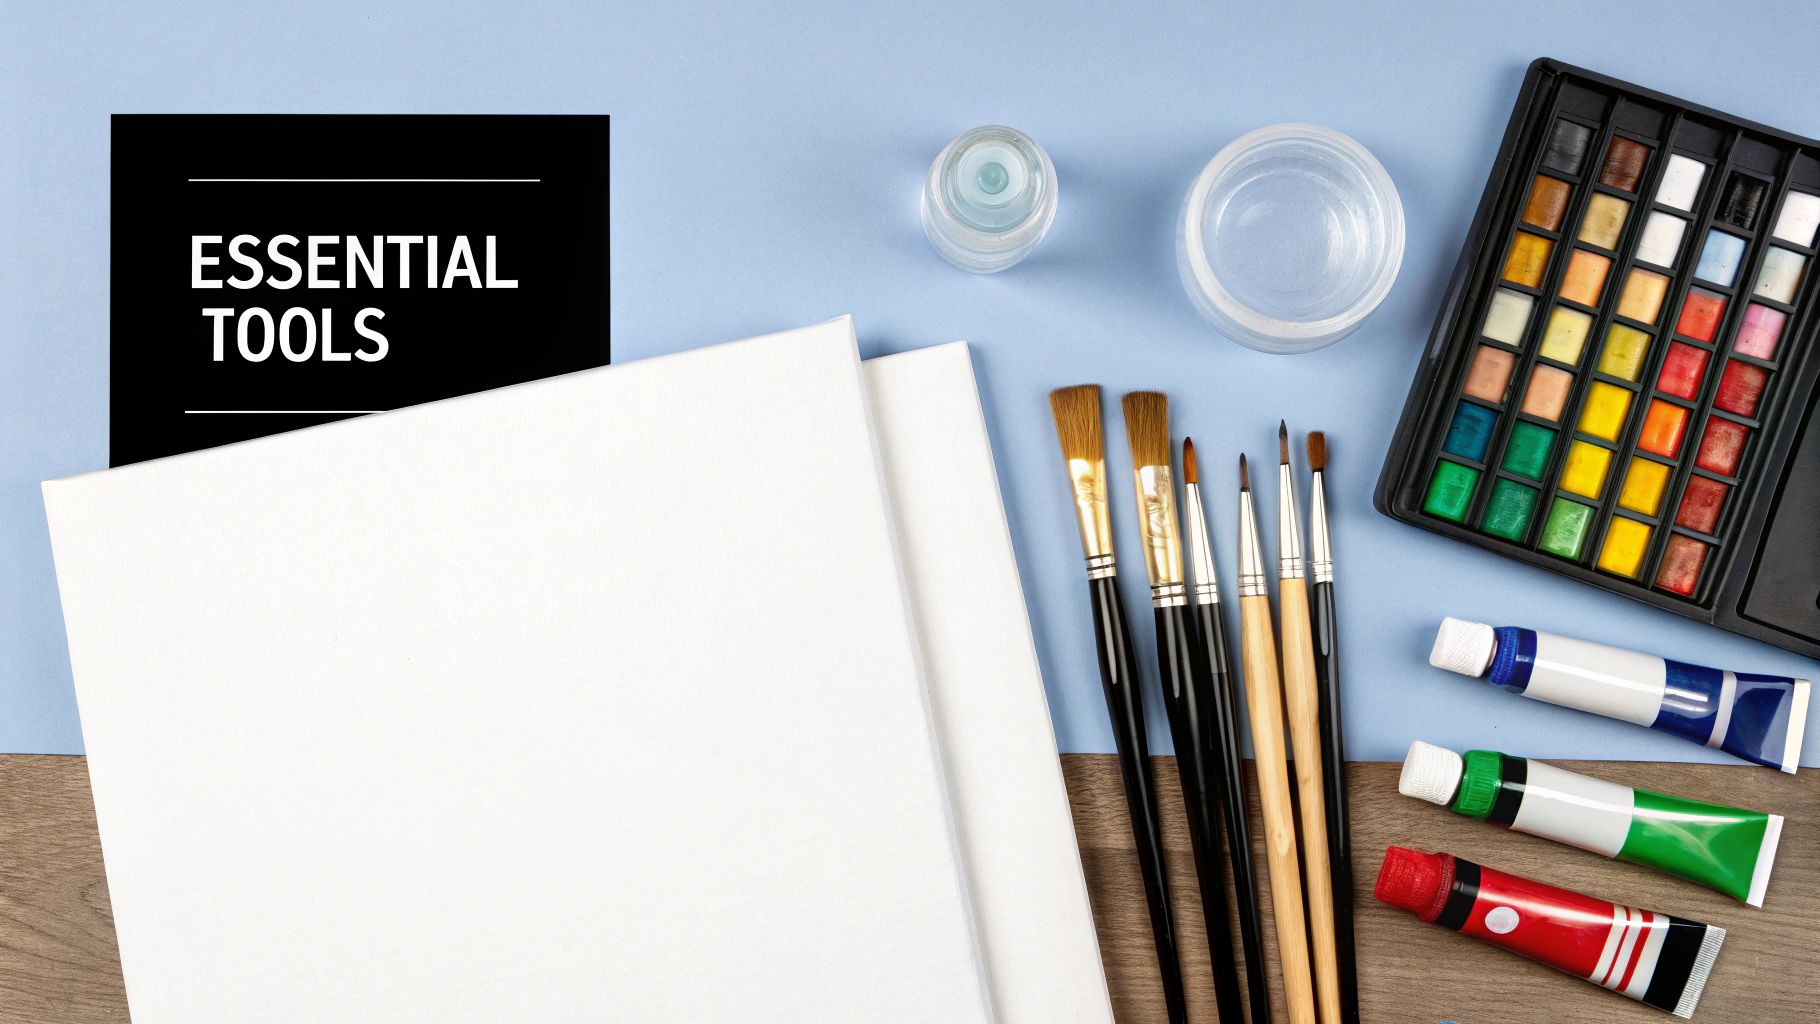
Alright, you've got your inspiration—now for the fun part: gathering your gear. This can feel a little intimidating if you're new to painting, but it doesn't have to be complicated or break the bank.
You really have two main ways to go here. You can either assemble your own artist’s toolkit piece by piece, or you can grab an all-in-one painting kit that has everything you need ready to go.
The DIY Approach: Building Your Own Artist Toolkit
Going the DIY route gives you complete freedom. You get to pick the exact canvas size, choose the paint brands you've heard good things about, and select the specific brushes that feel right in your hand. This is a great option if you already have some supplies lying around or if you want to experiment with particular tools for your landscape painting.
If you decide to build your own kit, here are the absolute essentials you'll need to get started. My advice? Don't worry about buying the most expensive professional-grade materials right away. Student-grade supplies are perfectly fine while you're learning.
- Canvas: A medium-sized stretched canvas, maybe a 16x20 inch, is a fantastic starting point. It’s large enough to give you room to work but not so huge that it feels overwhelming.
- Acrylic Paints: Start with a basic set of colors. You can mix just about anything with these key tubes: Titanium White, Mars Black, Ultramarine Blue, Cadmium Yellow, and Cadmium Red. I'd also recommend adding a Burnt Sienna—it’s a game-changer for earthy landscape tones like soil and tree trunks.
- Brushes: A small variety pack will do the trick. Just make sure it includes a large flat brush (perfect for big areas like skies), a medium round brush for general shapes, and a tiny detail brush for adding those finishing touches. For a deeper dive, check out our complete guide to beginner acrylic painting supplies.
The Simple Route: The All-in-One Kit
On the other hand, there’s a reason why all-in-one kits are so popular. They take all the guesswork out of the equation.
The global market for canvas painting kits is booming, estimated at around USD 2.5–3.0 billion annually and growing by 7–10% each year. This isn't just a random trend; it's fueled by people like you and me who are looking for a guided, low-stress way to create something beautiful without the hassle of shopping for individual supplies.
Let's break down the two options side-by-side.
DIY Art Supplies vs All-in-One Painting Kit
| Aspect | DIY (From Scratch) | Custom Paint-by-Number Kit |
|---|---|---|
| Pros | Total creative control, ability to choose high-quality specific items, can be cost-effective if you already own some supplies. | Everything is included, perfectly matched colors, pre-sketched canvas removes drawing anxiety, great for beginners. |
| Cons | Can be overwhelming to choose, potential for forgetting a crucial item, initial cost can be higher if starting from zero. | Less creative freedom, paint quality can vary, fixed canvas size and design. |
| Typical Cost | $40 - $100+ for a starter set of decent quality materials. | $25 - $50 for a complete kit. |
Ultimately, both paths lead to a finished painting. The DIY route is for the adventurer who wants full control, while the kit is for the person who wants to get straight to the relaxing part—the painting itself.
A custom paint-by-number kit is the ultimate shortcut. It bundles a pre-sketched canvas, all the necessary numbered paints, and brushes, removing any guesswork so you can dive straight into the fun.
Whichever you choose, having your tools ready before you start makes the whole experience much smoother. It sets you up for a creative session where you can just focus on bringing that beautiful landscape to life on your canvas.
Planning Your Composition and Color Palette
Every great landscape painting starts with a solid plan. Seriously. Taking a little time to make a few key decisions before you even dip a brush in paint will save you a ton of frustration and make the whole process feel more like a joy and less like a chore.
First up, you need something to paint. This could be a photo from your last vacation, a picture of your backyard, or even a stunning landscape you found online. Look for an image that speaks to you—one with interesting light, strong shadows, and a general vibe you want to capture. Remember, this is just a starting point, not a blueprint you have to follow exactly.
Crafting a Dynamic Composition
With your reference image in hand, it's time to think about composition. This is simply the art of arranging everything on your canvas to guide the viewer’s eye and create a feeling of harmony.
One of the oldest and most effective tricks in the book is the rule of thirds. Picture your canvas with a tic-tac-toe grid drawn over it. Instead of sticking your main subject, like a big tree or a mountain peak, right in the center square, place it on one of the points where the lines cross. It's a small change that instantly makes your painting feel more alive and professional.
The same idea applies to your horizon line. Don't slice your canvas perfectly in half. Placing the horizon lower down emphasizes a huge, dramatic sky. Raising it higher pulls the viewer into the foreground, giving your landscape a wonderful sense of depth.
Once you have a general layout in mind, grab a pencil and lightly sketch the big shapes directly onto your canvas. Don’t get bogged down in details. Just map out the horizon line, the silhouette of the mountains, and where the major clusters of trees will go. This simple roadmap is a lifesaver when you start painting.
Selecting Your Color Palette
Color is where you really bring the emotion into your painting. It sets the entire mood. A palette packed with warm oranges, reds, and yellows will give you a fiery sunset, while a collection of cool blues and soft greens can create the feeling of a peaceful, misty morning.
If you're using a paint-by-number kit, this part is already done for you, which is a huge relief! The colors are chosen and matched to the design, letting you dive right into the relaxing process of filling in the shapes.
For those of you building a palette from scratch, it helps to know a little about how colors work together. To really get a handle on this and make your landscapes pop, taking some time for understanding color theory for beginners is a game-changer. We also have a dedicated article that dives into color theory for beginners specifically for painters like you.
Bringing Your Landscape Painting to Life
Alright, your canvas is prepped and your colors are ready to go. This is where the real fun begins. We're going to build your painting from the ground up, layer by layer, turning that simple sketch into a scene brimming with depth and atmosphere. Don't stress about perfection at this stage; think of it less like drawing and more like sculpting with color.
The best way to tackle any landscape is to work from back to front. It just makes sense, right? You can't put a tree in front of a mountain that isn't there yet. This simple approach is the key to creating a natural sense of distance and making your scene feel real.
Before a single drop of paint hits the canvas, a little prep work goes a long way.
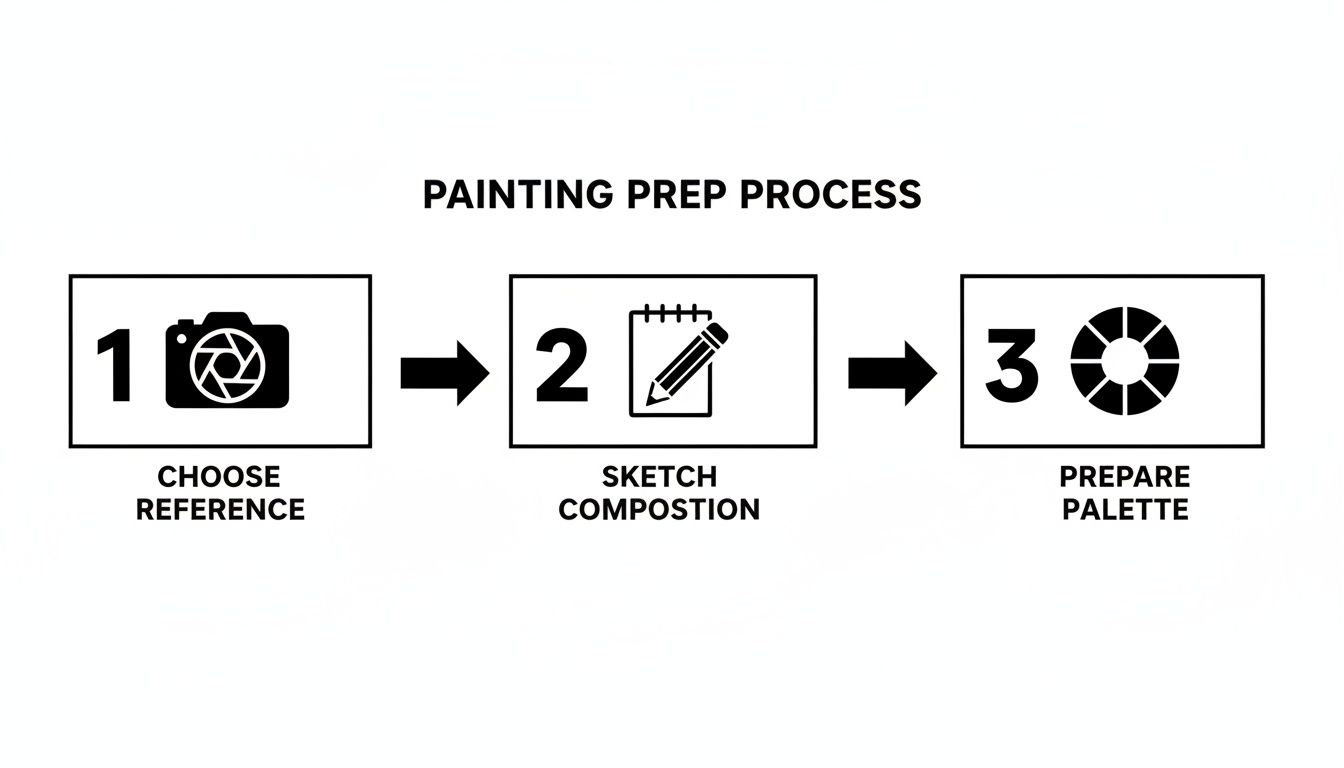
As you can see, a great painting starts with three things: a solid reference, a thoughtful sketch, and an organized palette.
Start by Blocking In Large Shapes
First things first: let's get rid of that intimidating white canvas. Your initial goal is to simply get some color down. This step is called blocking in, and you'll use your biggest brush to paint the largest, most basic shapes in your scene. If you're painting that tranquil lake, this means filling in the entire sky with a base blue and the water with its main color.
Forget about details here. We're just creating a color map to build on. If you're using a paint-by-number kit, this part is a breeze. Just start filling in all the areas marked with the same number, tackling the biggest sections first.
This foundational approach has been a staple of landscape painting for centuries. Back in the 19th century, landscapes made up an estimated 30–40% of all works shown in major European art shows. That passion is still alive today, with "Landscapes & Flowers" being a top seller for adult paint-by-number kits. You can discover more about landscape art trends to see how this timeless genre continues to capture our imagination.
Building Depth with Layers
Once that first layer is dry to the touch, we can start to add dimension. This is where you'll introduce shadows and highlights to give your scene form. For our lake painting, you might brush a darker blue-gray across the base of the distant mountains to push them back, or add a pop of lighter blue to the water where the sun is hitting it.
Think in layers. Each new coat of paint you add will refine the shapes and bring you one step closer to realism.
Here's a little trick I learned: squint your eyes when you look at your reference photo. It instantly blurs out the distracting details and helps you see the main blocks of light and shadow. This makes it so much easier to figure out where your darks and lights should go.
Creating Texture with Simple Brushwork
Now for the really fun part—texture! And you don’t need any complicated techniques to do it.
To get that shimmering effect on water, just grab a small brush and add thin, horizontal strokes of a lighter color over your base. For convincing tree bark, try dabbing the canvas with a stiff, mostly dry brush that has just a tiny bit of paint on it. This technique, called dry brushing, creates a fantastic rough texture.
A few more ideas to try:
- For soft clouds: Use a dry brush with a little white paint and gently scrub it in light, circular motions.
- For grassy fields: Use quick, upward flicks of your brush with a few different shades of green to create movement.
Whether you're painting freehand or following a numbered guide, these steps will help you construct your scene logically. By starting in the background and moving forward—blocking in color, layering shadows and highlights, and finally adding texture—your landscape on canvas will come together with a beautiful, polished look.
Adding Final Touches to Your Artwork
So, you’ve laid down that last brushstroke and stepped back to admire your finished landscape. Fantastic work! But hold on—before you rush to find the perfect spot on your wall, there are a couple of small steps that can take your painting from "finished" to "flawless."
These final touches are what truly protect your hard work and give it that polished, gallery-ready look.
First things first, let's talk about varnish. Think of it as a clear coat of armor for your painting. Without it, dust, grime, and even UV light will eventually start to dull your beautiful colors. A good varnish creates a tough, transparent shield that keeps your art looking vibrant for years to come.
It’s not just about protection, though. A final coat of varnish can make your colors pop, deepen the dark tones, and unify the overall finish of the painting. You can choose from gloss, satin, or matte, depending on the look you're going for. Trust me, this simple step makes a world of difference. For a complete guide, check out our tutorial on how to seal acrylic paint on canvas.
Choosing the Perfect Frame
Once your painting is varnished and fully dry, it’s time to find the right frame. A great frame doesn't just hang your art—it becomes part of it, connecting the piece to the room's decor.
Think about the feeling your landscape evokes.
- A rustic, countryside scene? A natural wood or weathered barnwood frame would be a perfect match.
- A sleek, modern landscape? Try a simple black or white floater frame to give it that clean, contemporary gallery vibe.
- A classic, traditional painting? An elegant gold or silver frame can add a timeless touch of class.
The trick is to find a frame that enhances your painting without stealing the show. I always recommend laying a few different frame samples next to the canvas to see what really clicks with the colors and style.
Give the Gift of Creativity
Now that you've discovered how rewarding it is to paint your own landscape, why not share that experience? A truly personal gift idea is turning a meaningful photo into a custom paint-by-number kit.
Think about it: you could take a photo from a friend's honeymoon, a snapshot of a family pet, or a picture of a childhood home and have it made into a complete kit. It comes with everything they need—a numbered canvas, all the paints, and brushes.
It's so much more than just another gift. You’re giving someone an invitation to unwind, tap into their creative side, and make a piece of art that’s uniquely theirs.
Got Questions? Let's Talk Landscape Painting
Diving into a new creative hobby is exciting, but it almost always comes with a few questions. I've gathered some of the most common ones I hear from beginners who are just starting out with landscape painting. Let's get them answered so you can start your first canvas with confidence.
What’s a Good First Landscape to Paint?
For your first go, think simple. The best scenes are the ones with big, bold shapes and a clear difference between what's up close and what's far away.
A minimalist sunset over the ocean is a fantastic choice. Why? Because you're essentially working with big, horizontal blocks of color for the sky and water, which is perfect for practicing your brushwork without getting bogged down in tiny details. Another great option is a simple mountain range against a clear sky. The strong, triangular shapes of the mountains are easy to define, letting you focus on getting that smooth blend in the sky just right.
My advice? Steer clear of super busy scenes for now, like a dense forest with a million leaves or a complicated city street. Those can feel overwhelming at first. A paint-by-number kit is actually a brilliant way to dip your toes in, as it guides you through those basic color blocks and helps you build a feel for composition.
How Do I Fix Mistakes With Acrylics?
This is my favorite thing about acrylic paint: it’s incredibly forgiving. That’s a huge reason it’s the go-to for beginners. Mistakes aren't just fixable; they're an expected part of the process.
If you spot a mistake while the paint is still wet, just wipe it away with a damp cloth or paper towel. It’s that simple. If the paint is already dry, the fix is even easier: just paint right over it. Let's say a tree branch looks a bit too thick or just plain wrong. Let it dry completely, then take your sky color and paint over the edges to reshape it. No one will ever know.
This is the magic of acrylics. You can layer to your heart's content. Unlike watercolor, one "wrong" stroke won't derail your entire piece. Just see it as an opportunity to refine and adjust.
Can I Really Turn My Own Photo into a Paint-by-Number Kit?
Yes, you absolutely can! It's a fantastic way to create a really personal piece of art. Lots of services specialize in creating custom paint-by-number kits straight from your own photos.
Just upload a favorite vacation shot, a picture of your dog, or a landscape photo you're proud of. The company will turn it into a numbered canvas and send you all the perfectly matched paints. It's a great way to paint a memory, and honestly, it makes for one of the most thoughtful, unique gifts you can give.
What's the Secret to a Realistic Sky?
The key to a believable sky is all in the blending. You want those colors to melt into each other seamlessly.
Start by laying down your lightest color near the horizon. While it's still wet, add the next darker shade right above it. Now, grab a clean, slightly damp brush and gently sweep back and forth where the two colors meet. This simple motion will create that soft, natural gradient you're looking for.
For those fluffy, wispy clouds, try the ‘dry brush’ technique:
- Dip just the tip of a dry brush into a little bit of white paint.
- Dab most of it off on a paper towel until the bristles are almost dry.
- Lightly scrub the brush onto your painted sky using soft, circular motions. This gives you that wispy, see-through effect that looks so much better than solid white blobs.
Once you have these common challenges handled, you’ll be ready to really enjoy the process of your first landscape on canvas painting.
Ready to turn a favorite photo into a masterpiece? At Custom Paint By Numbers, we make it easy to create a personalized painting kit from any image you love. Get started on your custom kit today and bring your memories to life on canvas.


