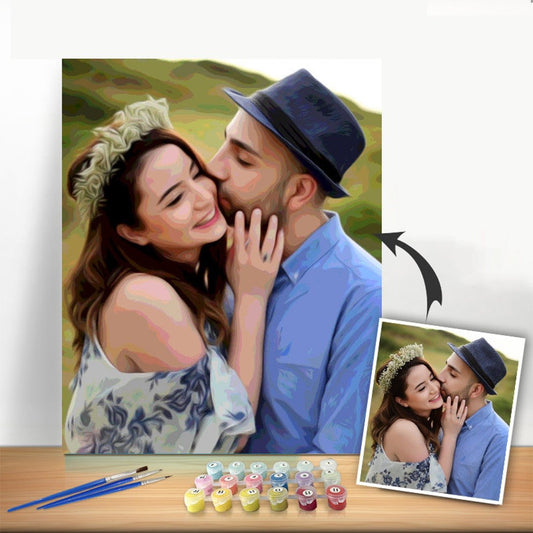
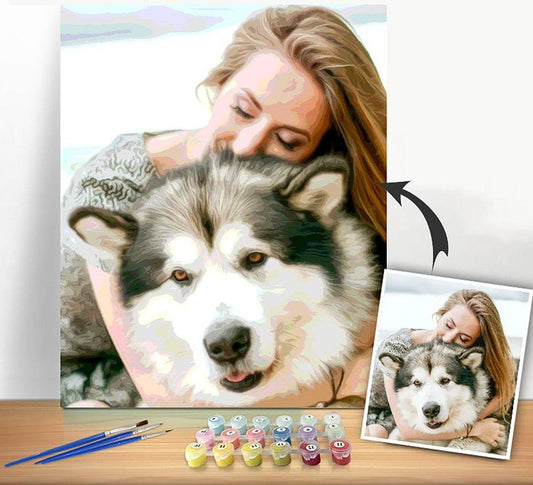
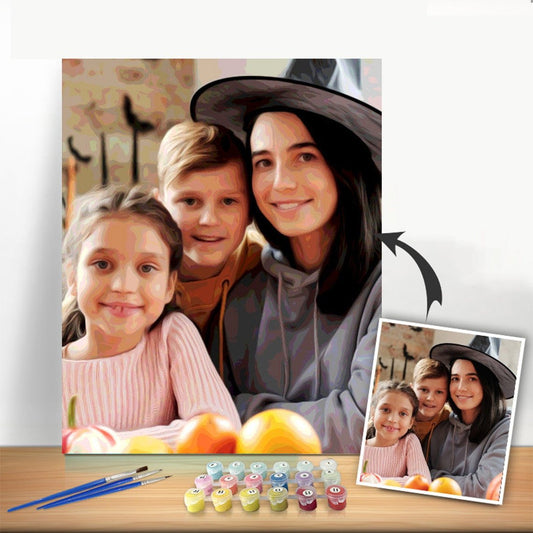
Diving into a paint by numbers landscape kit is one of the most satisfying ways to create a piece of art you'll actually be proud to hang on your wall, even if you’ve never picked up a brush before. It's like a creative roadmap. The canvas guides you, and each numbered paint pot is a stop along the way, removing all the guesswork so you can just get lost in the process.
Why Landscapes Are the Perfect Starting Point
If you're new to paint by numbers, starting with a landscape is a brilliant move. There's just something special about watching a quiet mountain range or a peaceful sunset come to life under your own brush. It's calming, almost meditative, and connects you with the beauty of nature right from your kitchen table.
The whole point is to build your confidence, one little numbered section at a time. You're not just coloring; you're methodically piecing together a complex, beautiful scene. It breaks down what looks like an impossible painting into small, achievable wins.
Understanding Your Toolkit
When you first unbox your kit, you'll see it’s a self-contained art studio. Everything you need is right there, which is part of the appeal. Let’s take a quick look at the essentials you'll find inside.
| Component | What It Does | Pro Tip |
|---|---|---|
| Numbered Canvas | This is your guide. It's a quality linen canvas pre-printed with the landscape's outline, broken down into numbered shapes. | Before you start, lay the canvas flat for a day or two (or gently iron it on low heat, face down) to remove any creases from shipping. |
| Numbered Paint Pots | Your pre-mixed acrylic paints. Each number on the canvas corresponds to one of these little pots. | Always close the paint pot lids tightly after each use. Acrylics dry out fast! |
| Brush Set | You'll typically get a few different sizes: a fine tip for details, a medium for general use, and a flat brush for bigger areas. | Clean your brushes with water between colors and after you're done. A clean brush makes all the difference for crisp lines. |
Think of these components as your partners in creativity. Getting familiar with them from the start makes the whole experience much smoother.
Key Takeaway: The magic of a paint by numbers landscape kit is its simplicity. It takes the intimidation out of art by giving you a clear path, but the final, beautiful result is all yours.
This hobby has seen a huge comeback, right alongside the general boom in DIY crafts. The entire art supplies market was valued at a massive USD 13.6 billion in 2023, and a lot of that growth is thanks to accessible hobbies like this one. People are looking for ways to relax and feel productive, and painting a calming landscape scene checks both boxes. If you're curious, you can explore more about these creative growth trends.
Set Up Your Space for a Stress-Free Painting Session
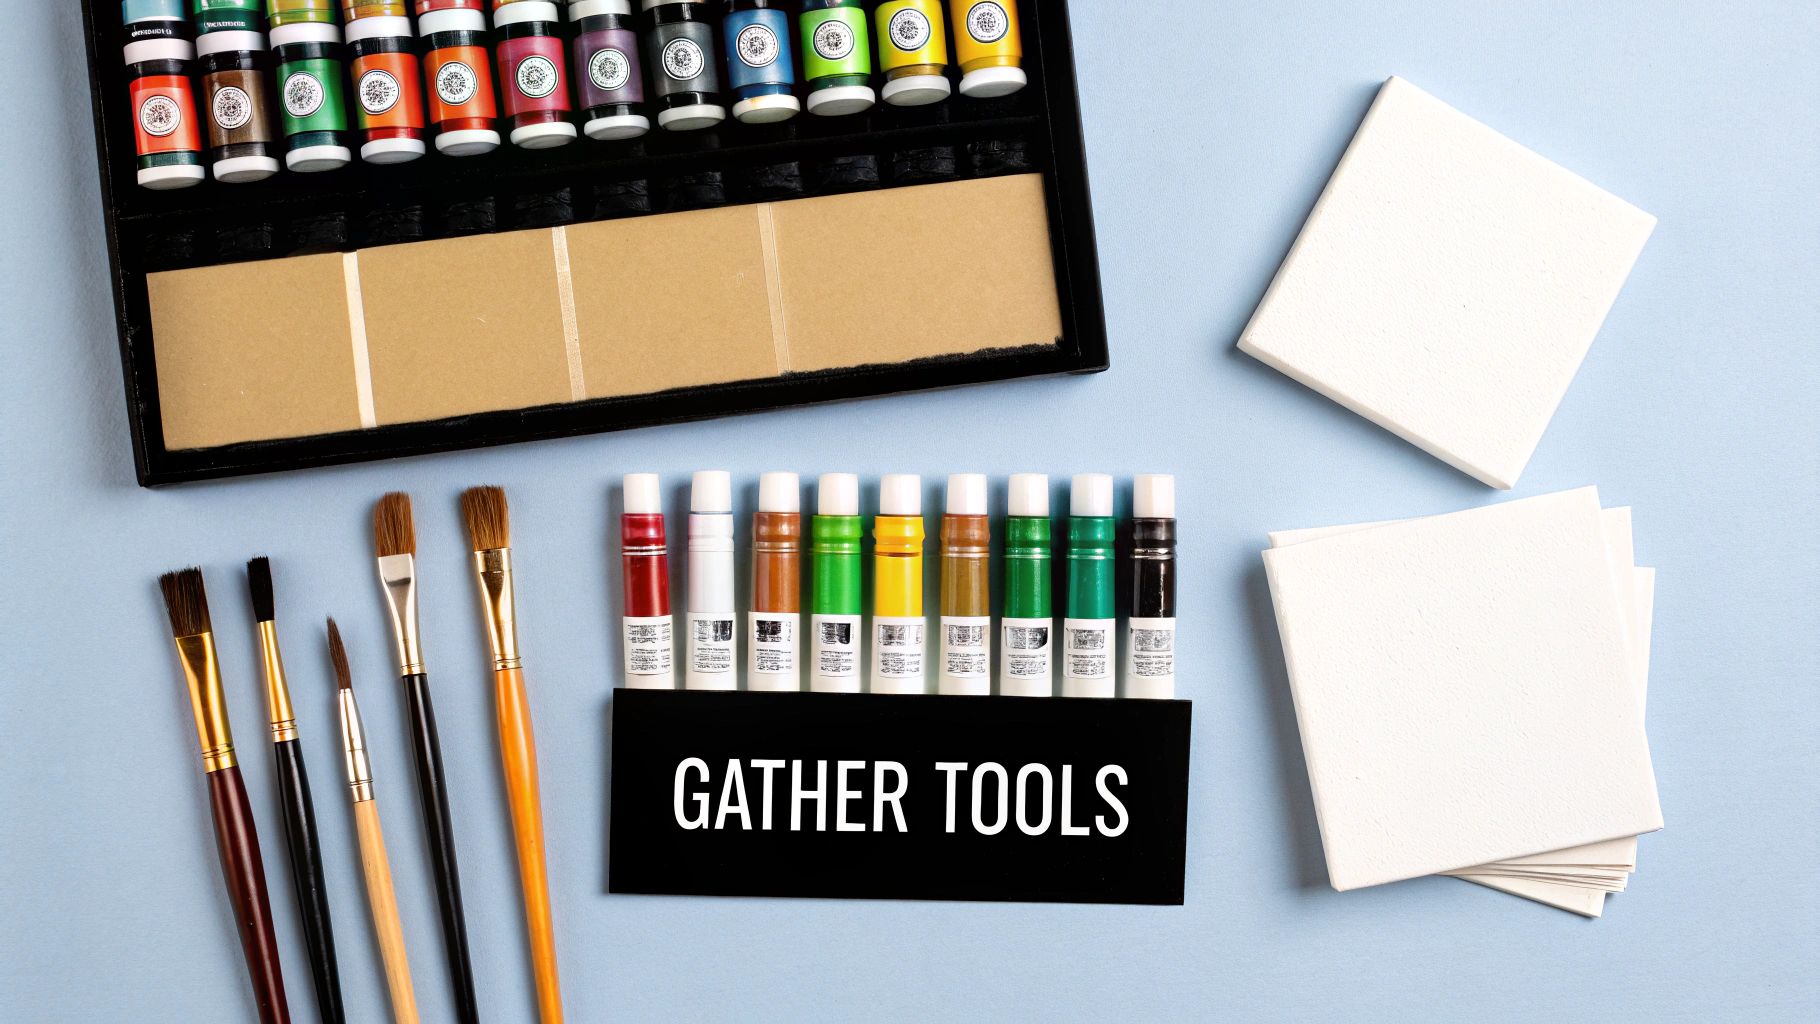
The secret to a relaxing painting session versus a frustrating one is all in the prep. Taking a few minutes to get your space sorted is the best way to bring your paint-by-numbers landscape to life without any trouble. Think of it as setting up your own little art studio.
First things first, find a spot with good lighting. If you can, set up near a window. Natural daylight is your best friend because it shows the true paint colors and makes reading those tiny numbers a breeze. Painting at night? No problem. Just grab a bright desk lamp with a neutral light to save your eyes and prevent mistakes.
Next, you'll want to protect your table. A single drop of acrylic paint can be a real pain to remove once it dries. Throw down some old newspaper, a plastic tablecloth, or even just a flattened cardboard box. This simple move lets you paint freely without worrying about making a mess.
Prep Your Canvas and Paints
Your canvas probably came rolled up in the box, which means you'll need to flatten it out before you start. The easiest way is to lay it flat and place a few heavy books on top for about 24 hours. If you're eager to get started, you can also gently iron the back of the canvas on a low setting (no steam!) with a towel between the iron and the canvas.
Here’s a little tip that I wish I knew when I started: consider a clear gesso primer. It’s not a must-do, but a thin layer of clear gesso on the canvas can be a game-changer. It makes the surface smoother and less thirsty, so your paint glides on beautifully and the colors look much richer.
It also really helps to organize your paint pots. I like to line them up in numerical order so I can quickly find the next color without breaking my focus. It keeps the whole process flowing smoothly.
Key Insight: A well-organized workspace isn’t just about being tidy—it's about staying in the zone. When everything is where it should be, you can lose yourself in the creative process instead of getting derailed hunting for the right paint pot.
Gather Your Must-Have Tools
Before you even think about dipping a brush in paint, make sure you have these essentials within arm's reach. A little setup now prevents you from running around later with a paint-covered brush.
- A Cup of Water: You’ll need this to rinse your brushes between colors. Any sturdy jar or an old mug will do the trick.
- Paper Towels or an Old Rag: Perfect for blotting excess water from your brushes or quickly wiping up small spills.
- A Magnifying Glass: Trust me on this one. For those super tiny, detailed areas in your landscape, a magnifying glass is a true lifesaver.
- Toothpicks: These are my secret weapon! They're great for stirring any paint that's a bit thick and for dabbing tiny dots of color into tight spaces.
By creating a dedicated, organized space, you're doing more than just preparing to paint. You're building an environment where you can truly relax, focus, and enjoy watching your beautiful landscape come together.
Getting Started: Brush and Paint Techniques
Now for the fun part. With your station all set up, you're ready to actually start painting your landscape. This is where a little technique goes a long way, transforming your numbered canvas into a piece you'll be proud to display. There’s no single correct way to begin, so let’s look at a couple of popular methods I've seen work well.
A lot of people like to tackle one color at a time. You'd paint every single section marked with #1, for instance, then clean your brush and move on to all the #2s. This is a great way to find a good rhythm and it definitely cuts down on how often you have to stop and wash your brushes.
Another approach I often recommend is going from dark to light. Start with your darkest colors first to lay down the shadows and major shapes in your landscape. This helps you build a strong foundation. Then, as you add the lighter colors, it’s easier to see how they all work together to create depth. Plus, it’s much easier to paint a light color over a dark one if you make a mistake—the other way around is much trickier.
Getting Your Brush Control Down
Clean, crisp lines are what really make a paint-by-number piece look sharp. The trick isn't about having a surgeon's steady hand; it's all about how much paint is on your brush.
Don't just dunk the whole brush in the pot. You want to dip just the very tip of the bristles into the paint. Before you touch the canvas, gently wipe any extra paint off on the inside lip of the pot. This gives you way more control.
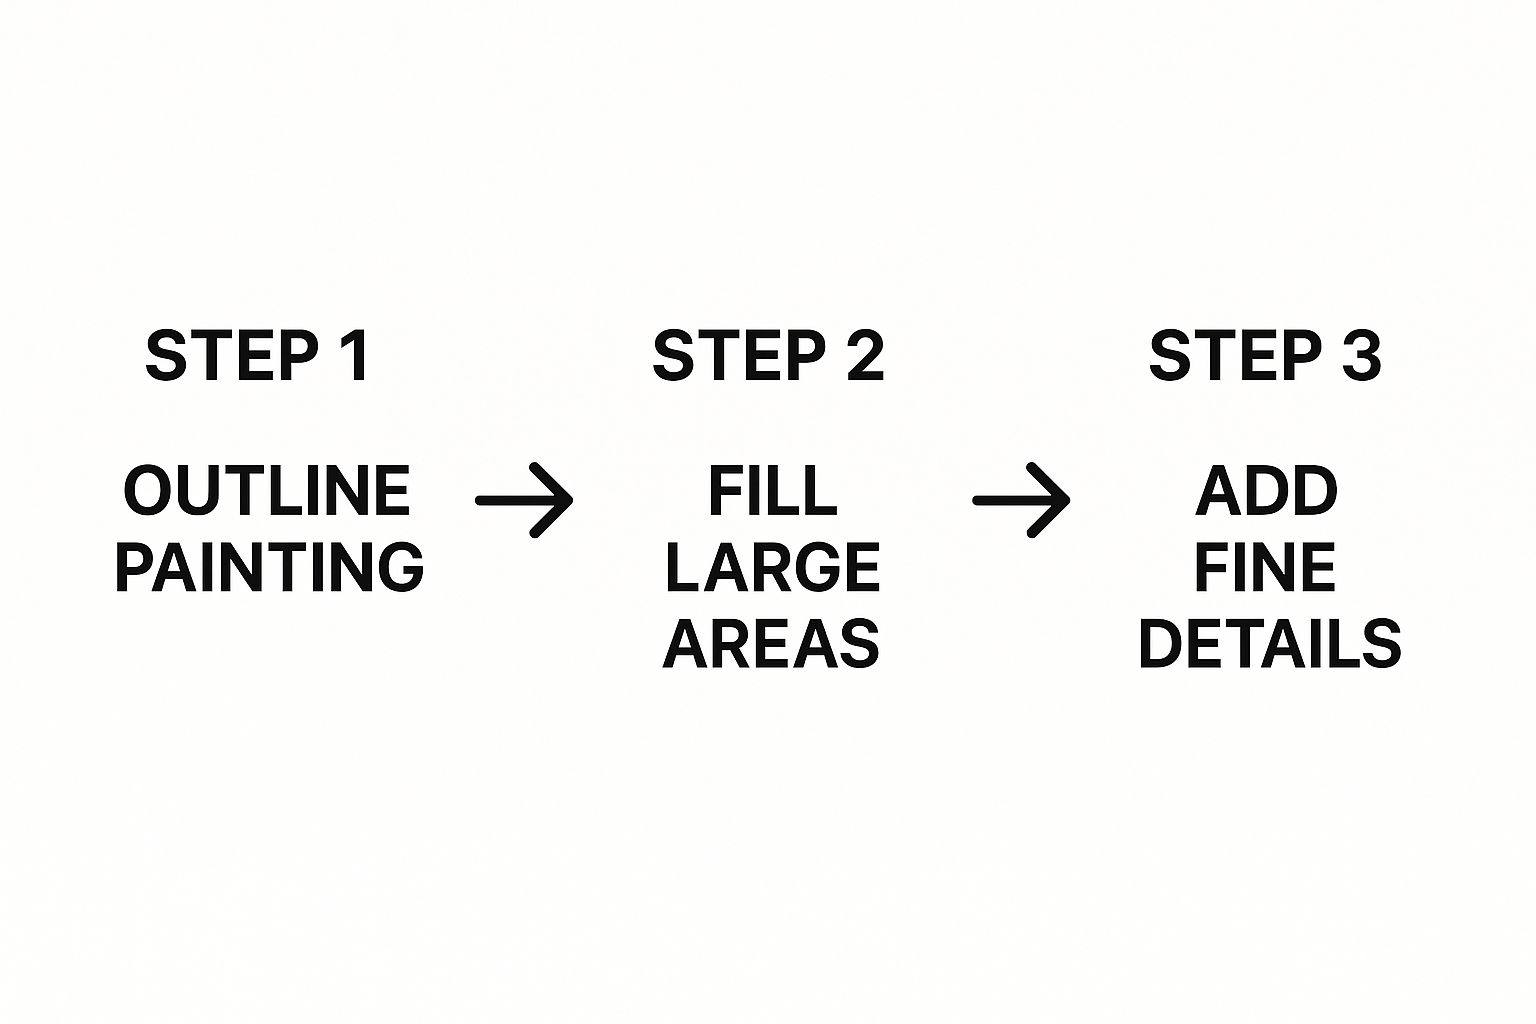
As you can see, a great workflow is to start with the outlines, fill in the big areas, and then circle back for all the tiny details. This keeps the process organized and much less overwhelming.
Make sure you’re using the right tool for the job. Your kit likely came with a few different brushes.
- That tiny, fine-tipped brush? It's your secret weapon for those impossibly small spots.
- The wider, flatter brushes? Perfect for covering big open areas like the sky or a field in a fraction of the time.
Hold your brush like you would a pencil—find a comfortable grip that allows for smooth, confident strokes.
My Go-To Tip: When you're painting right up against a section you just filled, always paint away from the wet edge and into the empty, dry area. This one little trick is a game-changer for preventing smudges and keeping your colors from bleeding into each other.
Dealing With Thick Paint
Every now and then, you might open a pot of acrylic paint and find it's a bit on the thick side. Don't worry, this is totally normal, especially if the kit has been sitting for a bit. Resist the urge to just paint with it anyway! Thick, clumpy paint will leave a bumpy texture and can hide the fine details of your landscape.
Fixing it is easy. Just add one single drop of water into the paint pot and stir it really well with something small like a toothpick. The key here is patience. Add water one drop at a time until you get a smooth, creamy consistency. If you add too much, the paint will become thin and watery, and you might see the numbers and lines showing through on the canvas.
If you're looking for more advice, we've put together a huge list of painting by numbers tips that covers everything from taking care of your brushes to more advanced blending techniques. Getting the paint consistency just right is the first step to making sure it flows perfectly, giving you that vibrant, even coverage you want for your painting.
Making Your Landscape Look More Realistic
Your numbered canvas is a fantastic starting point, but a few simple artistic tricks can really make your painting pop. Think of these techniques as your personal signature—they're what transform a paint by numbers landscape from a flat picture into a scene with real depth and character. The best part? They're much easier to master than you might think.
The idea is to go beyond just coloring within the lines. By learning a technique like blending, for instance, you can soften those hard edges between colors. This is a game-changer for things like skies and water, where a smooth, gradual shift in color looks far more natural than chunky blocks of blue.
Mastering Smooth Blending
Blending is your secret weapon for creating those seamless gradients you see in nature, like the soft fade of a sunset or gentle ripples on a lake. The trick is to work quickly while both paint colors are still wet, right at the border where two numbered sections meet.
First, paint one section with its assigned color. Then, without even cleaning your brush, dip into the neighboring color and paint that section. As you do, let your brush drag a little of the new color back into the first section, and vice-versa.
- For Skies: Grab a clean, slightly damp brush and gently feather the line where the two colors meet. Use light, back-and-forth strokes to blur that hard edge away.
- For Water: To create believable reflections, pull a few streaks of a sky color down into the water section. Then, gently blend the edges to soften them.
- For Mountains: Far-off mountains often look a bit hazy. You can recreate this effect by blending the colors of overlapping hillsides to create that illusion of atmospheric depth.
Pro Tip: Don't panic if your paint dries too fast! Just apply a tiny dab of fresh paint along the border. A clean, damp brush can then reactivate both colors and let you blend them together.
Creating Lifelike Texture
While blending is all about softening, other techniques are about adding texture to make elements like rocks and leaves feel like you could almost touch them. Two of the easiest and most effective methods for this are scumbling and stippling.
Give Scumbling a Try
Scumbling is fantastic for creating soft, cloudy textures or the look of sunlight catching the tops of leaves.
- Start with a dry, stiff-bristled brush.
- Get just a tiny bit of a lighter-colored paint on the very tip.
- Now, wipe most of it off on a paper towel. You want the brush to be almost dry.
- Lightly scrub or drag the brush in a circular motion over a darker area that's already dry.
This technique leaves behind a broken, uneven layer of the lighter paint, adding instant dimension. It’s perfect for making clouds look fluffy or for adding highlights to trees and bushes.
Experiment with Stippling
Stippling is simply making a pattern of tiny dots. It’s the perfect way to suggest the texture of sand, gravel, or a dense cluster of leaves on a tree. Just dip the very tip of a fine brush in your paint and apply it to the canvas with a light dabbing motion. If you vary the pressure and the spacing between the dots, you'll get a much more natural-looking result.
Finally, don't forget the power of layering. Instead of globbing on one thick coat, try applying a thin layer, letting it dry completely, and then adding another. This works especially well for lighter colors like yellow or white, helping you cover the printed numbers and achieve a richer, more solid finish.
If you're new to painting, getting a handle on these foundational skills is a great first step. We cover even more helpful advice in our complete guide to landscape painting for beginners.
Giving Your Artwork That Final Polish
You’ve done it. The last numbered section is filled in, your brushes are clean, and you can finally step back and admire your creation. It’s a great feeling, but there's one more thing you can do to take your painting from a finished project to a true work of art: sealing it.
This final step is your painting's best defense. It protects your paint by numbers landscape from all the things that can dull its beauty over time—dust, UV light, and yellowing.
Think of it like putting a clear, protective shield over your canvas. It ensures those vibrant colors you spent so much time on stay bright and true for years. It's no wonder the global art paint market, which includes essentials like varnish, is expected to hit $14.58 billion by 2033. Clearly, people love preserving their art.
Finding the Right Varnish
When you're ready to seal your painting, you’ll generally find two options: gloss or matte. The one you choose really changes the final vibe of your landscape.
-
Gloss Varnish: This gives your painting a shiny, reflective finish. It really makes colors pop and look deeper, which is perfect for landscapes featuring water or a brilliant sunny sky.
-
Matte Varnish: If you prefer a non-reflective, flat look, matte is the way to go. This finish is great for more rustic or moody scenes because it cuts down on glare and gives the painting a softer feel.
Applying it is straightforward. Grab a wide, soft brush and find a spot with good airflow. Lay your canvas perfectly flat, pour a little varnish on, and spread it in one direction with long, even strokes. Right after, gently brush across it in the opposite direction to get rid of any streaks and ensure you’ve covered every inch.
Key Takeaway: Patience is everything here. Make sure your painting is completely dry—give it at least 24-48 hours—before you even think about varnishing. Sealing paint that's even a tiny bit damp can lead to smudges or a cloudy mess.
Framing Your Masterpiece
After the varnish has fully cured, it’s time for the final touch: the frame. A frame does more than just protect the edges; it gives your painting a polished, professional look that says, "I'm ready to be shown off."
If your kit came on a rolled canvas, you might need to stretch it first. We have a handy guide on how to stretch a painted canvas that walks you through it.
When picking a frame, think about what complements the painting and your room. You can rarely go wrong with a simple black or natural wood frame for a landscape—it lets the artwork itself be the main attraction. Now, all that's left is to hang it on the wall for everyone to enjoy.
Got Questions? We’ve Got Answers.
As you get lost in your landscape, you’ll probably run into a few little quirks. Don't sweat it—every painter, from beginner to pro, hits these small roadblocks. Knowing how to handle them keeps the painting process relaxing and ensures your finished landscape looks fantastic.
Think of these little puzzles as just part of the creative process.
What Happens If I Paint in the Wrong Spot?
It’s bound to happen, and thankfully, it's an easy fix. The absolute most important thing to do is let it dry. Resisting the urge to wipe away wet acrylic paint is key, because trying to "fix" it while it's wet usually just creates a bigger, smudgier problem.
Once the paint is completely dry, you can simply paint right over it with the correct color. Acrylics are wonderfully opaque, so it usually only takes two or three thin layers of the right color to make that little mistake disappear completely.
A Pro Tip: If you've accidentally put a dark color where a very light one should be (like a dab of black in a fluffy white cloud), here's the trick. Let the dark paint dry, then cover the mistake with a thin layer of white paint. Once that's dry, go in with your intended light color. The white acts as a primer, stopping the dark mistake from peeking through.
How Do I Stop My Paints From Drying Out?
We love that acrylics dry fast on the canvas, but it’s a different story when they're in the pots. The name of the game is minimizing air exposure. Make sure you snap the lids shut tightly every single time—you should hear a satisfying little click.
I find it helps to work with just one color at a time, keeping all the other pots sealed. Even if you're just stepping away for a minute to grab a drink, it's worth taking a few seconds to close up any open paints.
But what if a paint pot starts to get a little thick or goopy? It's not a lost cause.
- Just add one or two drops of water to the pot.
- Grab a toothpick and stir it in really well until the paint is smooth and creamy again.
- Start with less water than you think you need! Adding too much can make the paint watery and see-through on the canvas.
How Can I Cover Numbers That Show Through Light Colors?
This is easily the most common question I get. It's a classic paint-by-number challenge, especially with those bright yellows, crisp whites, and other pale hues in your landscape. Seeing a dark number under a delicate color can be really distracting.
There are a couple of great ways to handle this. Before you even dip your brush, you can go over the numbers in the light-colored areas with a white colored pencil or even a white gel pen. This essentially knocks back the number, making it much easier to cover.
The other reliable method is layering. Just apply your first coat of the light paint as you normally would and let it dry. Then, come back and add a second, thin coat. Sometimes, you might even need a third. This patient approach works much better than trying to glob on one super-thick layer, which often just ends up looking clumpy.
Ready to turn a personal photo into a work of art? At Custom Paint By Numbers, we can transform your favorite image into a personalized kit. Start your custom painting journey today!