

Ever wondered how some people create stunningly detailed paintings without any formal training? The secret is often a paint-by-numbers kit. It’s a guided art system that breaks down a complex image into a simple, numbered outline on a canvas.
Think of it as a coloring book for adults, but with a far more impressive result. The kit gives you everything you need: a pre-printed canvas, tiny pots of paint that correspond to the numbers, and a few brushes. Your job is simply to match the paint to the number and fill it in. It's a creative roadmap that lets you focus on the relaxing act of painting, not the stress of composition and color theory.
What Are Paint by Numbers Kits and How Do They Work?
Imagine you’re collaborating with a professional artist. They've already handled the tricky parts—sketching the design, figuring out the color scheme, and mapping out where every single shade goes. All that’s left for you to do is bring their vision to life with your brush. That's exactly what a paint-by-numbers kit does.
This clever system takes the intimidation out of the artistic process. Instead of staring at a daunting blank canvas, you have a clear, numbered guide. Each number on the canvas points you to a specific pot of paint, so there’s no guesswork involved.
The Three Core Components
Every paint-by-numbers kit, no matter how simple or complex, comes down to three key items working together. Knowing what they are helps you see just how beautifully straightforward the whole thing is.
- The Numbered Canvas: This is the foundation of your project. It’s usually a piece of linen or cotton fabric printed with the faint outlines of your chosen picture. Each little shape inside the outline has a number.
- The Matching Paint Pots: You'll get a set of small, numbered containers filled with acrylic paint. The number on each pot is your key—it tells you exactly which sections on the canvas to fill with that color.
- A Set of Brushes: Most kits include at least three brushes. You'll typically get a fine-tipped one for those tiny, intricate spots and a couple of broader ones to cover the larger areas more quickly.
This structured setup makes painting an achievable goal for anyone. It’s less about having a natural gift for art and more about enjoying the process. And people are definitely enjoying it—the global paint-by-numbers market hit an incredible USD 1.56 billion in 2024. This boom shows how it has transformed from a niche hobby into a major creative outlet for people seeking a fun, mindful way to unwind. You can learn more about the growing paint-by-numbers market trends.
The real magic of paint by numbers is the confidence it builds. It proves that with a little guidance, anyone can create a piece of art they’re truly proud to hang on their wall.
From Hobby to Mindful Practice
Paint by numbers first became a hit after World War II, created as a way to bring art into every home. It’s seen a huge comeback recently, but for a new reason. Today, it’s not just a craft project; it’s a powerful tool for mindfulness.
The simple, methodical act of filling in one numbered section at a time helps you get into a state of "flow." Your mind quiets down, stress melts away, and you become fully immersed in the moment. By just following the numbers, you can disconnect from your worries and find joy in the simple act of creation, one brushstroke at a time.
How to Choose Your Perfect Paint by Numbers Kit
Walking into the world of paint by numbers kits can feel a bit like being a kid in a candy store. The options are endless and exciting, but it's easy to feel a little overwhelmed. Let's break it down so you can find the perfect kit for you.
The very first decision is a big one: do you want a pre-made design, or would you rather create a custom kit from one of your own photos?
Think of a pre-made kit like picking a beautiful postcard from a gift shop. It’s a professionally designed image, all set for you to bring to life with color. This is a fantastic option if you're just starting out or simply want a relaxing, straightforward project.
A custom kit, on the other hand, is a much more personal journey. You get to turn a favorite memory—a family portrait, a photo of your dog, that amazing sunset from vacation—into a one-of-a-kind piece of art. It’s a beautiful way to make your memories tangible.
Choosing Between Premade Kits and Custom Kits
To help you decide, here’s a quick comparison. Each type of kit offers something different, and seeing them side-by-side can make the choice a lot clearer.
| Feature | Premade Kits | Custom Kits |
|---|---|---|
| Source Image | Professionally designed scenes (landscapes, animals, abstracts) | Your personal photographs (family, pets, travel) |
| Best For | Beginners, relaxation, practicing skills, and immediate projects | Meaningful gifts, commemorating special moments, unique home decor |
| Effort Level | Low - just pick a design you love and start painting | Medium - requires selecting a high-quality photo for the best results |
| Emotional Connection | Enjoyment of a beautiful image | Deeply personal and sentimental |
Ultimately, there's no wrong answer here! It all comes down to whether you're looking for a simple, creative escape or a project that tells a story close to your heart.
If you want to get a better feel for the incredible variety out there, you can explore some of the best paint by number kits available and see what catches your eye.
Finding the Right Canvas Size and Complexity
Okay, so you've picked between pre-made and custom. Now it's time to think about canvas size and the number of paints. These two things really determine how complex your project will be and what the final painting will look like.
Canvas size is pretty straightforward. A smaller canvas, say 20x20 cm, is great for a quick project or if you're just dipping your toes in. A big 60x75 cm canvas, however, makes a real statement and allows for incredible detail, but be prepared—it’s a bigger time commitment.
The number of paints in your kit is where the detail comes in. A kit with 24 colors will give you a beautiful painting with simpler shading and bolder blocks of color, which is perfect for beginners. If you want something more photorealistic, a kit with 36 or 48 colors will create subtle gradients and amazing depth. Just remember, more colors mean more tiny, intricate sections to fill in.
This handy little decision tree can help you match a kit's complexity to your experience level.
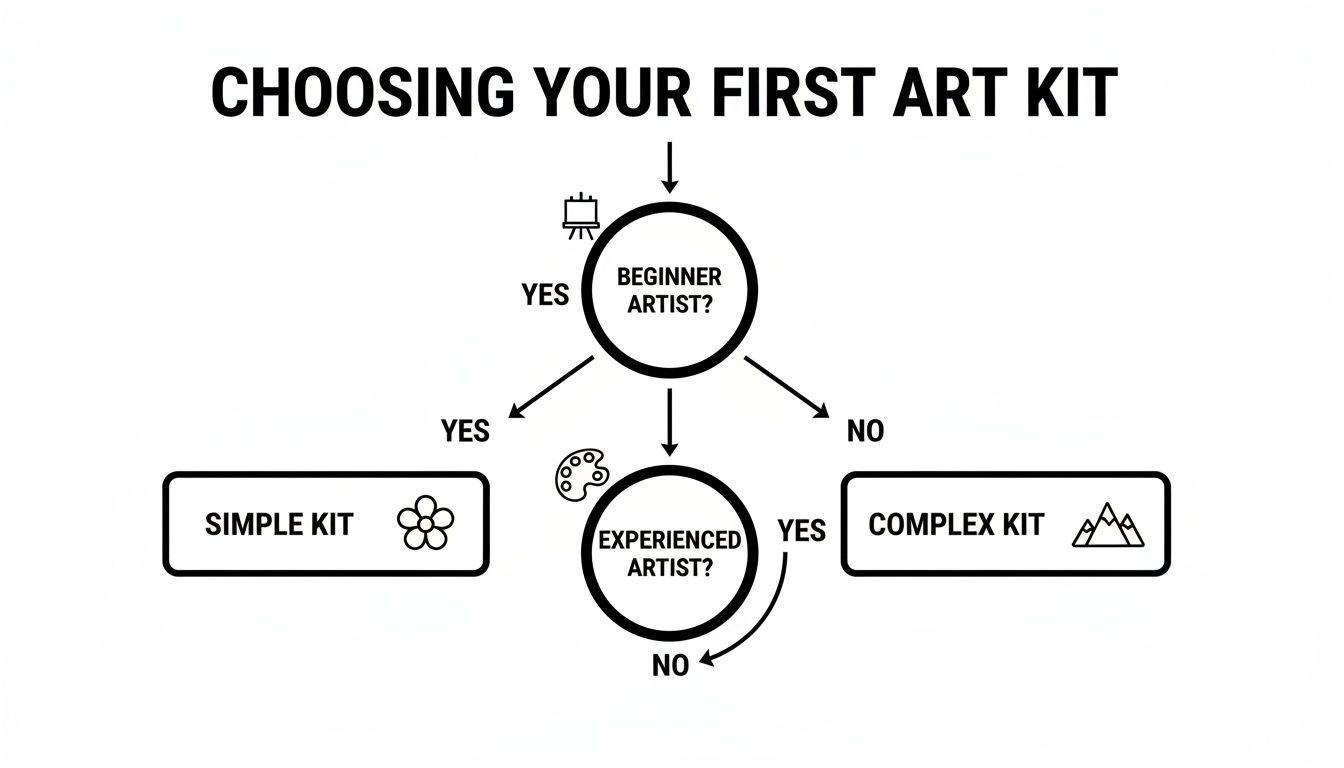
As you can see, the path is pretty clear. If you're new to this, starting with a simpler kit is a great way to build confidence. If you've done a few before, you might be ready for a bigger challenge!
Why Material Quality Matters
Last but not least, don't overlook the quality of the materials themselves. This can truly make or break your painting experience.
A quality kit is the difference between a frustrating process and a truly rewarding artistic journey. The right canvas and paints make every brushstroke smoother and more enjoyable.
Always look for a kit that comes with a high-quality linen canvas. Its slightly textured surface is perfect for gripping the paint, which helps prevent bleeding and keeps your lines nice and crisp. Some cheaper kits use a slick, non-absorbent material that can make the paint streak or bead up.
The paint is just as crucial. Acrylic paints are the go-to for these kits because they're vibrant, cover well, and dry quickly. Good acrylics will feel creamy and opaque, covering the numbers and lines in just one coat. By choosing a kit with premium materials, you’re setting yourself up for success and a final piece you’ll be proud to hang on your wall.
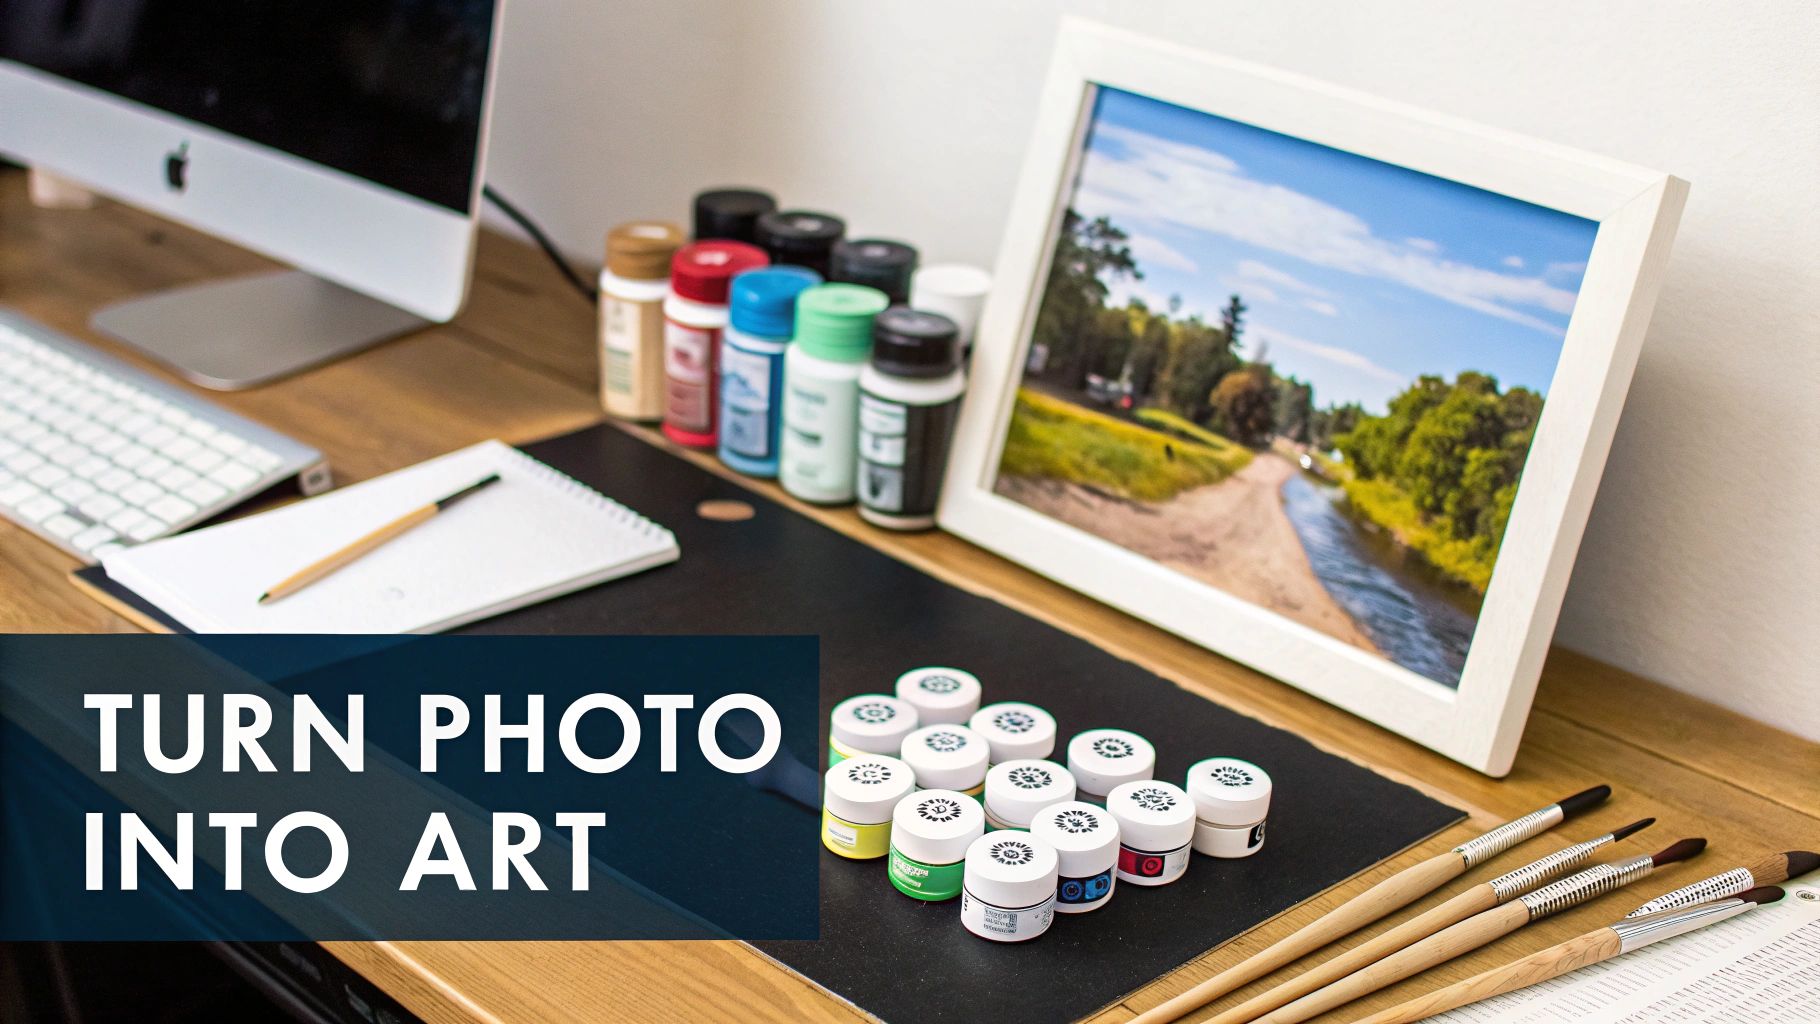
Creating a Custom Kit from Your Own Photo
While pre-made designs are a fantastic way to jump right in, there's something truly special about turning one of your own photos into a paint-by-numbers kit. This is where the magic really happens. You get to take a cherished memory—a candid shot of your family laughing, your dog's goofy grin, or that unforgettable sunset from your last vacation—and transform it into a piece of art. You’re not just painting; you’re recreating a moment that means the world to you.
The process itself is pretty simple, but getting a stunning final painting all comes down to the choices you make upfront. The single most important thing? Picking the right photo. A great photo will give you a clear, detailed, and enjoyable painting experience. A not-so-great one can leave you with a canvas that’s blurry and confusing.
Step 1: Selecting the Perfect Photo
Think of your photo as the blueprint for your painting. The better the blueprint, the better the final piece will be. The software that creates your custom kit is smart, but it can only work with the information you give it. That's why clarity and detail are everything.
Here are the three key things to look for in a photo to get a picture-perfect result:
- Good Lighting and Contrast: Grab a photo with clear, balanced light. When there's good contrast between the subject and the background, it’s easier for the software to map out the edges, which means you get a crisp, clean outline on your canvas. Photos that are too dark or have washed-out bright spots just won't work as well.
- High Resolution and Clarity: This one is a must. A blurry or pixelated image will always lead to a muddled painting guide. You need a sharp, clear photo to make sure all those little details you love are captured.
- Simple Composition: Sometimes, less is more. The best photos for custom kits usually have one clear thing to focus on. A portrait against a simple background, for instance, translates much better than a busy, crowded scene where everything is competing for attention.
Step 2: Choosing Your Canvas and Paint Count
Once you’ve landed on the perfect photo, it’s time to decide how you want to bring it to life. This means picking your canvas size and the number of paint colors. These two things work hand-in-hand to define how detailed and realistic your finished painting will look.
The canvas size is straightforward—it determines how big your final artwork will be. A larger canvas not only makes a bigger impact on the wall but also gives you more room to work, as the numbered sections are bigger and easier to paint.
But the paint count? That’s where you control the artistry. It determines the color depth and subtlety of your painting.
- 24 Colors: This is great for simpler images, like cartoons, bold logos, or portraits with a plain background. It gives you a more graphic, stylized look with strong blocks of color.
- 36 Colors: This is the sweet spot and our most popular option for a reason. It strikes a perfect balance between detail and simplicity, capturing shading and highlights beautifully. It’s ideal for most portraits, pet photos, and landscapes.
- 48 Colors: If you're aiming for true photorealism, this is the way to go. The 48-color option is best for complex, high-resolution pictures with subtle color changes and rich textures, like a detailed cityscape or a close-up of a flower.
Think of it this way: choosing more colors is like giving an artist a bigger box of crayons. It allows for more precise shades, smoother transitions, and a richer, more lifelike final image.
Taking a moment to think through these choices will set you up for a fun, relaxing painting session and a result you’ll be proud to hang up. For a deeper dive, you can learn more about turning your memories into masterpieces with our guide to creating paint by numbers from photos. It’ll help ensure your custom kit is everything you hoped it would be.
A Step-by-Step Guide to Painting Your Canvas
Alright, this is where the magic happens. You've got your paint by numbers kit laid out, and you're ready to turn that numbered outline into a real piece of art. We’re going to walk through the whole process together, from getting your area ready to that final, satisfying brushstroke.
The best part about paint-by-numbers is how straightforward it is. There’s no pressure, just a simple path to follow. With a few tried-and-true tips, you can make sure the experience is fun, relaxing, and leaves you with a painting you’ll be genuinely proud of.
Setting Up Your Creative Sanctuary
Before you even think about dipping a brush in paint, take five minutes to get your space set up. A little prep work now saves a lot of headaches later and lets you get into a nice, creative flow.
- Find a Flat, Well-Lit Surface: Your kitchen table or a desk near a window is perfect. You need good light to see those tiny numbers and tell the difference between similar shades of paint.
- Protect Your Workspace: Spread out some old newspaper or a tablecloth you don't care about. Acrylic paint is great to work with, but it’s a real pain to get off furniture once it’s dry.
- Organize Your Supplies: Pop open your paint pots and maybe arrange them by number. You’ll also want a small cup of water for rinsing brushes and a paper towel for dabbing them dry.
Once your station is ready, you’ve basically created your own little art studio. Now you can focus entirely on painting without any interruptions.
Choosing Your Painting Strategy
So, how do you actually tackle the canvas? There are a few different ways people like to do it, and there’s really no “right” way. It all comes down to what feels best for you.
- One Color at a Time: This is the classic method. You pick a color, find all its matching numbers on the canvas, and fill them all in before moving on. It’s a very methodical way to work and helps you get into a good rhythm.
- Top-to-Bottom: This one is just plain practical. If you’re right-handed, start painting in the top-left corner and work your way down and across. Lefties, start in the top-right. This simple trick keeps your hand from smudging any wet paint as you go.
- The Zone-by-Zone Approach: Feeling a little overwhelmed by a big canvas? Just mentally divide it into four sections and tackle one quadrant at a time. It makes the whole project feel much more manageable.
Pro Tip: I always recommend starting with the darkest colors first. Darker paints are naturally more opaque, so they do a great job of covering up the printed lines and numbers. This makes it much easier to get clean edges when you go back to fill in the lighter shades later on.
Whatever you choose, just take your time and have fun with it. Try to let each little section dry before painting an area right next to it—that’s the secret to keeping your colors from bleeding together.
Pro Tips for a Professional Finish
A few little tricks of the trade can take your painting from a fun craft project to something that looks seriously impressive. These small details can make a huge difference.
Getting Rich, Solid Colors
You might notice that some of the lighter colors don't quite cover the numbers on the first pass. Don’t sweat it, that’s totally normal! Just let that first layer dry completely, then go over it with a second, thin coat. You’ll get a beautiful, solid color that really pops.
Mastering the Tiniest Details
Some of those numbered areas are impossibly small, right? Sometimes even your tiniest brush feels too clumsy for the job. Here's my go-to hack: grab a toothpick. Dip the very end into the paint and just gently dot it into the tiny space. It gives you incredible precision for those super intricate spots.
Keeping Your Brushes Happy
Clean brushes are essential for keeping your colors pure and your lines sharp. Here’s a quick-and-easy cleaning routine to use between colors:
- First, wipe any excess paint off on your paper towel.
- Next, swish the brush around in your water cup, gently pushing it against the side to work the paint out.
- Finally, dab it dry on a clean spot on your towel and use your fingers to reshape the bristles.
Follow these steps, and you’re not just filling in numbers—you’re creating a little masterpiece, one brushstroke at a time.
Finishing and Displaying Your Masterpiece
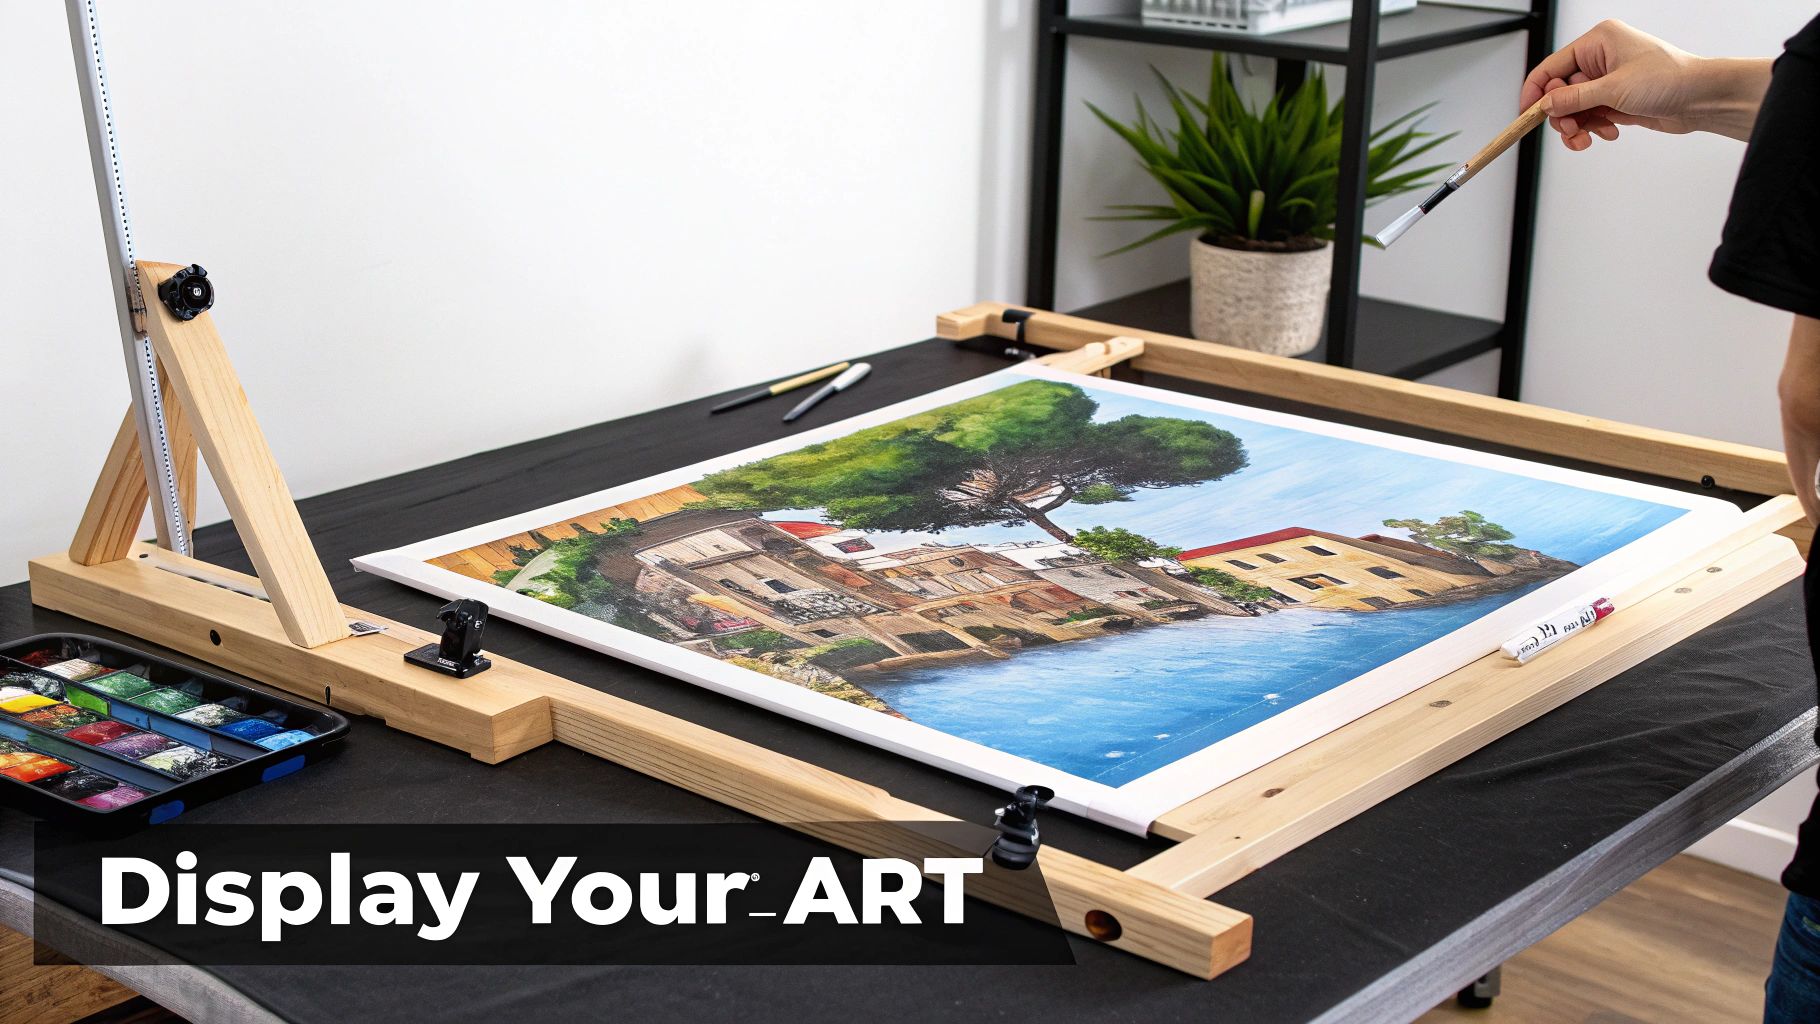
That moment you paint the very last numbered section is pure magic. It’s an incredible feeling, but your journey isn’t quite over yet. A few final steps can protect all that hard work and turn your project into something you’d be proud to hang on any wall. These are the touches that take it from a fun activity to a real work of art.
The first thing you’ll want to do is seal your painting. Think of a sealant or varnish as an invisible shield for your artwork. It creates a protective barrier against dust, moisture, and damaging UV light, which helps keep those vibrant acrylics from fading or turning yellow down the road.
Sealing also has a neat side effect: it makes the colors pop. A good varnish evens out the finish across the entire canvas, giving it a consistent, professional-looking sheen. Whether you go for glossy, satin, or matte, this one step can deepen the darks and brighten the lights, adding a whole new level of dimension to your painting.
Framing Your Canvas for a Gallery Look
Once your painting is sealed and completely dry, it's time to decide how to show it off. A frame is the go-to choice, and a lot of paint by numbers kits even include an optional DIY stretcher frame. Putting it together is surprisingly straightforward and gives your canvas that classic, gallery-wrapped look.
Here's how to assemble your frame:
- Lay Out the Frame: Place the four wooden bars on a flat surface, making sure the slanted edges are facing up.
- Connect the Corners: Gently push the corners together to create a rectangle. If the fit is tight, a few light taps from a rubber mallet will lock them in.
- Position Your Canvas: Lay your painting face down. Center the assembled frame on top of it.
- Secure the Canvas: Fold the canvas edges over the wooden frame. Use the thumbtacks that came with the kit or a staple gun to attach it. Start by securing the middle of each of the four sides, pulling the canvas tight as you work. From there, move outward toward the corners to get a smooth, wrinkle-free finish.
A well-stretched canvas not only looks professional but also ensures the artwork remains tight and flat for years to come. It’s the foundational step for a beautiful display.
Creative Ways to Showcase Your Art
A traditional frame is a great look, but it’s definitely not your only option. There are plenty of other creative and modern ways to display your finished piece that might be a better fit for your home’s style.
- Poster Hangers: These have a really clean, minimalist vibe. They’re basically two wooden bars that clamp onto the top and bottom of your canvas with magnets. Super stylish and incredibly easy to hang.
- Classic Picture Frames: If you want a more formal presentation, a traditional picture frame is a perfect choice. This works especially well if you want the painting to match other framed photos or art in the room. Just make sure you remove the glass—a sealed acrylic painting doesn't need it, and it looks much better without the glare.
No matter which route you take, the goal is the same: to protect your creation and display it with pride. These finishing touches are the final, rewarding steps that truly honor the time and care you poured into your painting.
The Creative and Therapeutic Benefits of Painting
Beyond just being a hobby, paint by numbers kits are a surprisingly powerful way to connect with others, spark your creativity, and boost your mental well-being. They give you a unique chance to turn a personal memory into a real piece of art, making for a gift that’s far more meaningful than anything you could buy in a store. Just imagine turning a favorite family photo into a custom kit—it would be an incredibly heartfelt present for a wedding, anniversary, or a big birthday.
These kits are also perfect for a shared activity. Picture it: gathering with family or friends, putting the phones away, and all working together on a single art project. It’s a fantastic way to bond, make some new memories, and feel that shared sense of accomplishment when the final masterpiece is done.
A Pathway to Mindfulness and Relaxation
The therapeutic side of this focused, methodical process is a really big deal. As you start matching numbers to colors and carefully filling in each little section, your mind naturally settles into a state of mindfulness. This gentle focus helps quiet that constant internal chatter and daily anxieties, letting you just be present in the moment.
The built-in structure of the kit takes away the pressure of staring at a blank canvas, which can honestly be a little intimidating. Instead, you're guided through a calming, almost rhythmic process. People find that this kind of activity can:
- Reduce Stress: The simple, repetitive motion of painting can actually lower cortisol, your body's main stress hormone.
- Improve Focus: Concentrating on all the small, detailed sections helps sharpen your focus and attention span over time.
- Boost Self-Esteem: Finishing a beautiful painting gives you a real, tangible sense of achievement and pride.
Beyond the simple joy of creating something, painting offers some serious therapeutic perks. Many people find that getting lost in a creative activity helps them de-stress and lifts their mood. You can explore the link between creativity and mental health to get a better sense of how this all works.
The act of painting by numbers is a form of active meditation. It directs your focus away from worries and onto the simple, satisfying task of bringing color to a canvas, one number at a time.
The Growing Trend of Mindful Crafting
This blend of creativity and wellness is a huge reason for the growing interest in the arts and crafts world. And within that booming market, paint-by-numbers kits are having a real moment. The global DIY craft kits market is projected to hit USD 14.5 billion in 2025 and is on track to reach a staggering USD 27 billion by 2033. This growth points to a clear shift—people are looking for structured projects that help them relax and be more mindful.
This trend makes perfect sense. In a world that’s constantly pulling for our attention, these kits offer a clear, easy way to unplug and de-stress. If you're curious about how this practice can support your own well-being, you should check out our guide on the art therapy benefits for mental health. It’s a wonderful way to reconnect with your creative side and find a little calm in the process.
Got Questions? We’ve Got Answers.
As you get ready to dive into your first paint-by-numbers project, a few questions are bound to come up. It happens to everyone! Here are some quick answers to the most common things people ask, so you can start painting with confidence.
What If My Paint Seems a Little Dry?
Every now and then, you might open a paint pot and find it's a bit thick, especially if the kit has been on a shelf for a bit. No need to panic—it's an easy fix.
Just add a single drop or two of warm water into the pot and give it a gentle stir with a toothpick. The trick is to go slow. You're aiming for that smooth, creamy consistency, not a watery mess. That little bit of hydration will bring it right back to life.
How Do I Fix a Mistake?
Oops! You've painted a section with the wrong color. It's one of the most common hiccups, and thankfully, it's not a big deal at all. The beauty of acrylic paint is that it's forgiving.
The key is to let the mistake dry completely first. Once it's dry, you can simply paint right over it with the correct color. If you're covering a dark color with a light one, you might need a second coat to hide it completely, but in the end, no one will ever know.
How Should I Clean My Brushes?
Taking good care of your brushes is the secret to keeping your colors vibrant and your lines sharp. Plus, they'll last a lot longer.
- Switching Colors: First, wipe off the extra paint on a paper towel. Then, just swish the brush around in a cup of water until it comes out clean.
- Ready for the Next Color: Before you dip into a new pot, dab the damp brush on a clean spot on your paper towel. This gets rid of any extra water so you don't thin out your next paint color.
How Long Will It Take to Finish My Painting?
This is probably the number one question we get! The honest answer is: it completely depends on the painting's size and how detailed it is.
A small, simple canvas might take just a few hours. But a larger, more complex piece with 48 different colors could easily take 20 hours or more to complete. The best approach is to treat it like a relaxing escape—enjoy the journey and don't worry about the clock.
Ready to start your own artistic journey? Explore the perfect design or create a unique gift at Custom Paint By Numbers. Find your next masterpiece at https://paint-by-number.com.


