

There's something truly special about turning a photo you love into a piece of art you painted yourself. With a custom paint by numbers from photo kit, any picture on your phone or computer—whether it's a family portrait, your goofy pet, or that perfect sunset from vacation—can become your next creative project. It’s a wonderful way to blend a personal memory with the relaxing, mindful process of painting.
Turn Your Cherished Photos Into Hand-Painted Art
Ready to see your favorite memories come to life on a canvas? This guide is all about that journey: taking a digital photo and turning it into a one-of-a-kind paint by numbers kit. We'll get into why this hobby is so satisfying—it’s not just about painting, but about connecting with a moment that means something to you.
We'll cover everything you need to know, from picking the right photo to that final, satisfying brushstroke. Think of this as your roadmap to starting with confidence, even if you’ve never held a paintbrush before.
Why Is Everyone Painting Their Own Photos?
It’s no secret that paint-by-numbers has exploded in popularity, especially kits that let you use your own pictures. People are looking for creative outlets and ways to make their hobbies more personal. Instead of painting a stock image of a boat, you get to recreate a moment that's completely your own.
This isn’t just about making something pretty; it's about reconnecting with a memory. It’s a fun, hands-on way to bring your digital photos into the physical world. While you're at it, you might even get inspired to find other ways to display your memories, like learning how to create a personalized photo album.
The Big Idea: Making a paint-by-numbers from your photo is more than a craft. It’s a chance to spend quality time with a cherished memory and end up with a beautiful piece of decor that you’ll be proud to hang on your wall.
Our guide on https://paint-by-number.com/blogs/learn-about-paint-by-numbers/custom-paint-by-numbers-kits has even more tips to help you get your first project off the ground.
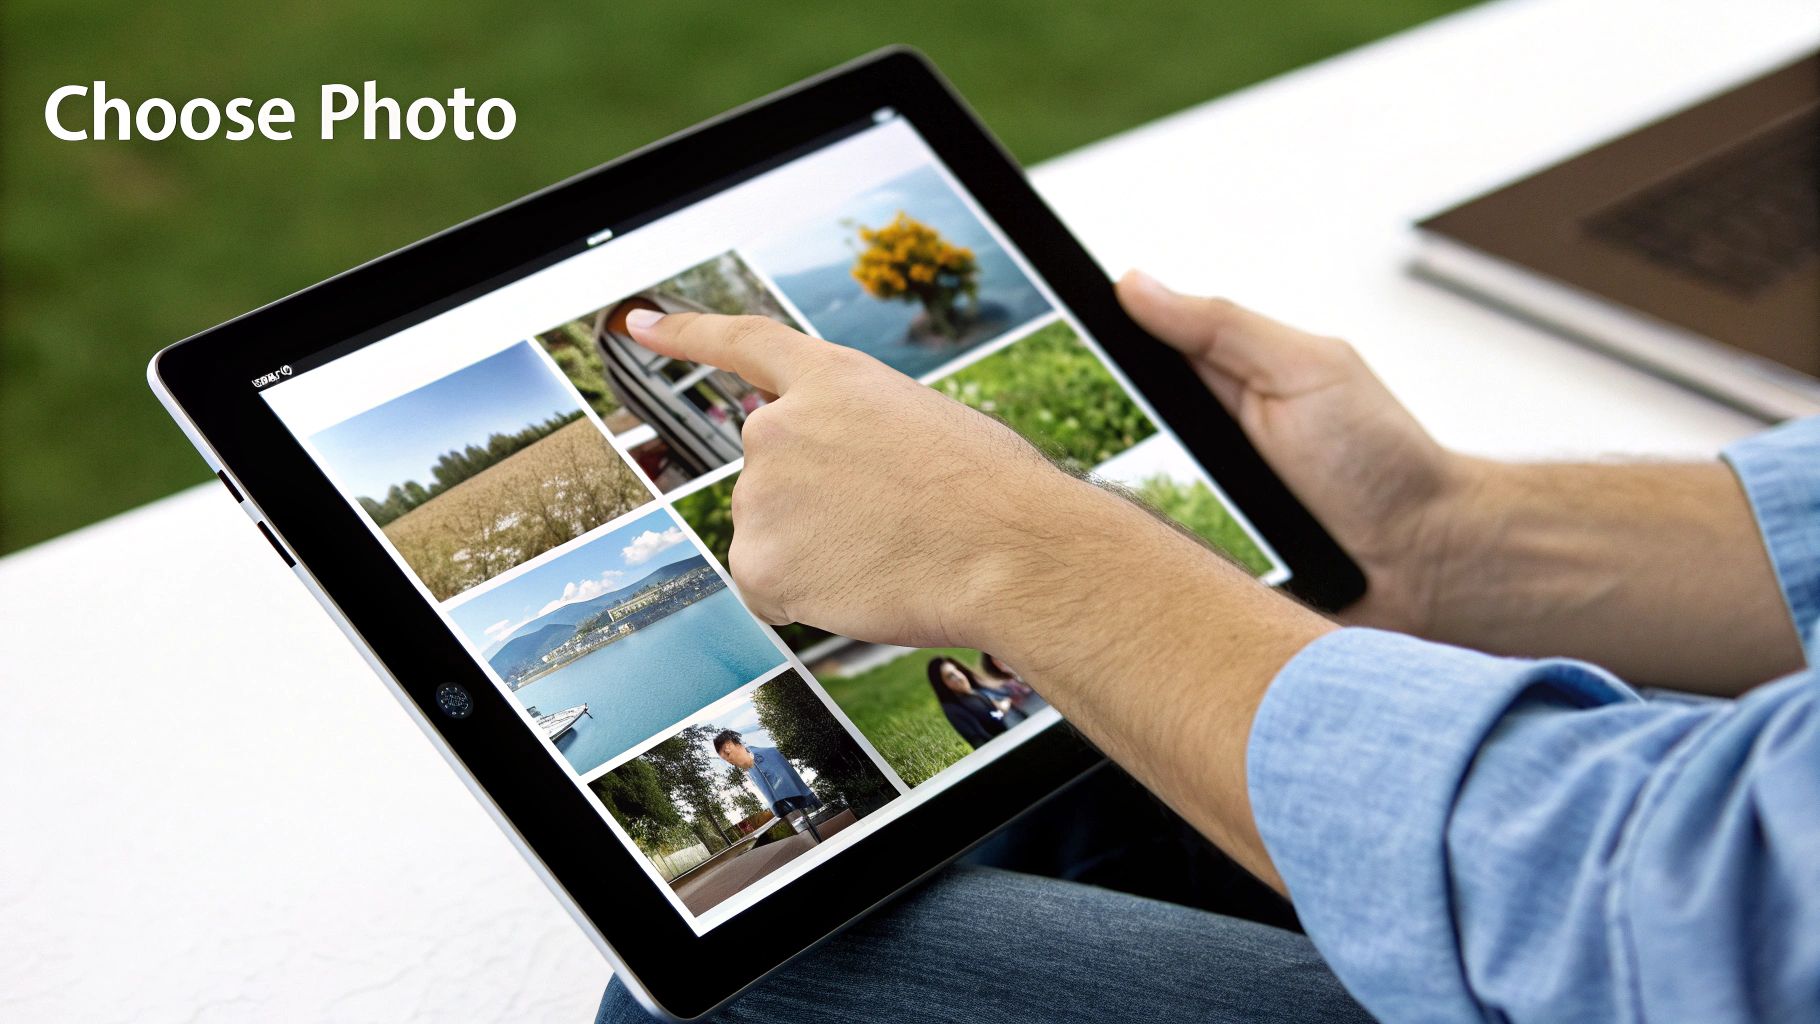
How to Select the Perfect Photo for Your Painting
The secret to a stunning custom painting? It all starts with the right photograph. I've seen it time and again—not every picture translates well onto a canvas. The best results always come from images that are clear, well-lit, and have a distinct subject.
Think of your photo as the blueprint for your masterpiece. A blurry or dark photo is only going to give you a muddy, undefined painting. You want an image with high resolution, strong contrast between your subject and the background, and sharp, crisp details. Close-up portraits of a pet or a bright shot of a single flower? Those are fantastic candidates. Steer clear of photos with chaotic backgrounds or where your main subject is just a tiny speck in the distance.
Key Qualities of a Winning Photo
To create the best paint by numbers from photo, you need to be a little picky. Looking for these specific elements in your image will make a huge difference in the final quality of your kit.
- High Resolution: The image should be sharp, not fuzzy or pixelated when you zoom in. A crisp photo is what allows the software to create accurate and detailed paint lines for you to follow.
- Good Lighting and Contrast: Try to avoid photos with harsh, dark shadows or overly bright spots where all the detail is washed out. Natural, even lighting is your best friend here, as it creates clear distinctions between light and dark areas.
- A Clear Focal Point: Your painting will have the most impact if it has one main subject. Whether it’s a person, a pet, or a building, it should be the undeniable star of the show.
Just look at this example. It perfectly shows the difference between a poor choice (blurry, low contrast) and a great one (sharp, well-lit).
See how the image on the right has clean edges and distinct colors? That’s exactly what translates into a satisfying and fun painting experience.
Pro Tip: Don't be afraid to do a little light editing before you upload. Cropping your photo to really focus on the main subject or just slightly bumping up the brightness can dramatically improve its chances of becoming a fantastic custom kit.
The technology that turns our favorite photos into paintable canvases is part of a booming digital artwork market, which was valued at USD 5.8 billion globally. Thanks to advances in AI, your photo can be processed with incredible accuracy. You can find more insights about the digital art market's growth over at coherentmarketinsights.com.
And if you want to get into the nitty-gritty of the technical side, check out our guide on how to make a paint by number from a photo.
Picking Your Canvas Size and Paint Palette
You've got the perfect photo picked out—now for the fun part! It's time to decide on the canvas size and the number of paint colors for your paint by numbers from photo kit. These two choices go hand-in-hand, and they'll shape everything from the final look of your artwork to how much time you'll spend bringing it to life.
Think of the canvas size as the stage for your masterpiece. A big, sweeping landscape from that unforgettable vacation? A larger canvas, like a 24x36 inch, gives you all the room you need to capture those grand, breathtaking details. But for an intimate, close-up portrait of your furry best friend, a smaller 12x16 inch canvas keeps the focus tight and personal.
How Much Detail Do You Want?
The number of paint colors you choose is all about realism. Want to capture every subtle shadow and highlight? A palette with 36 or 48 colors will give you a stunning, almost photorealistic result. This is perfect for complex images, like a vibrant garden in full bloom, where a rich variety of tones makes all the difference.
If you're new to this or prefer a more stylized, graphic feel, a 24-color palette is a fantastic choice. It’s ideal for photos with bold, simple color blocks, like a pop-art style portrait. This option is less intensive and makes for a quicker, but just as satisfying, painting session.
This handy chart breaks down how your photo's complexity and your own experience level can help you pick the perfect paint set.
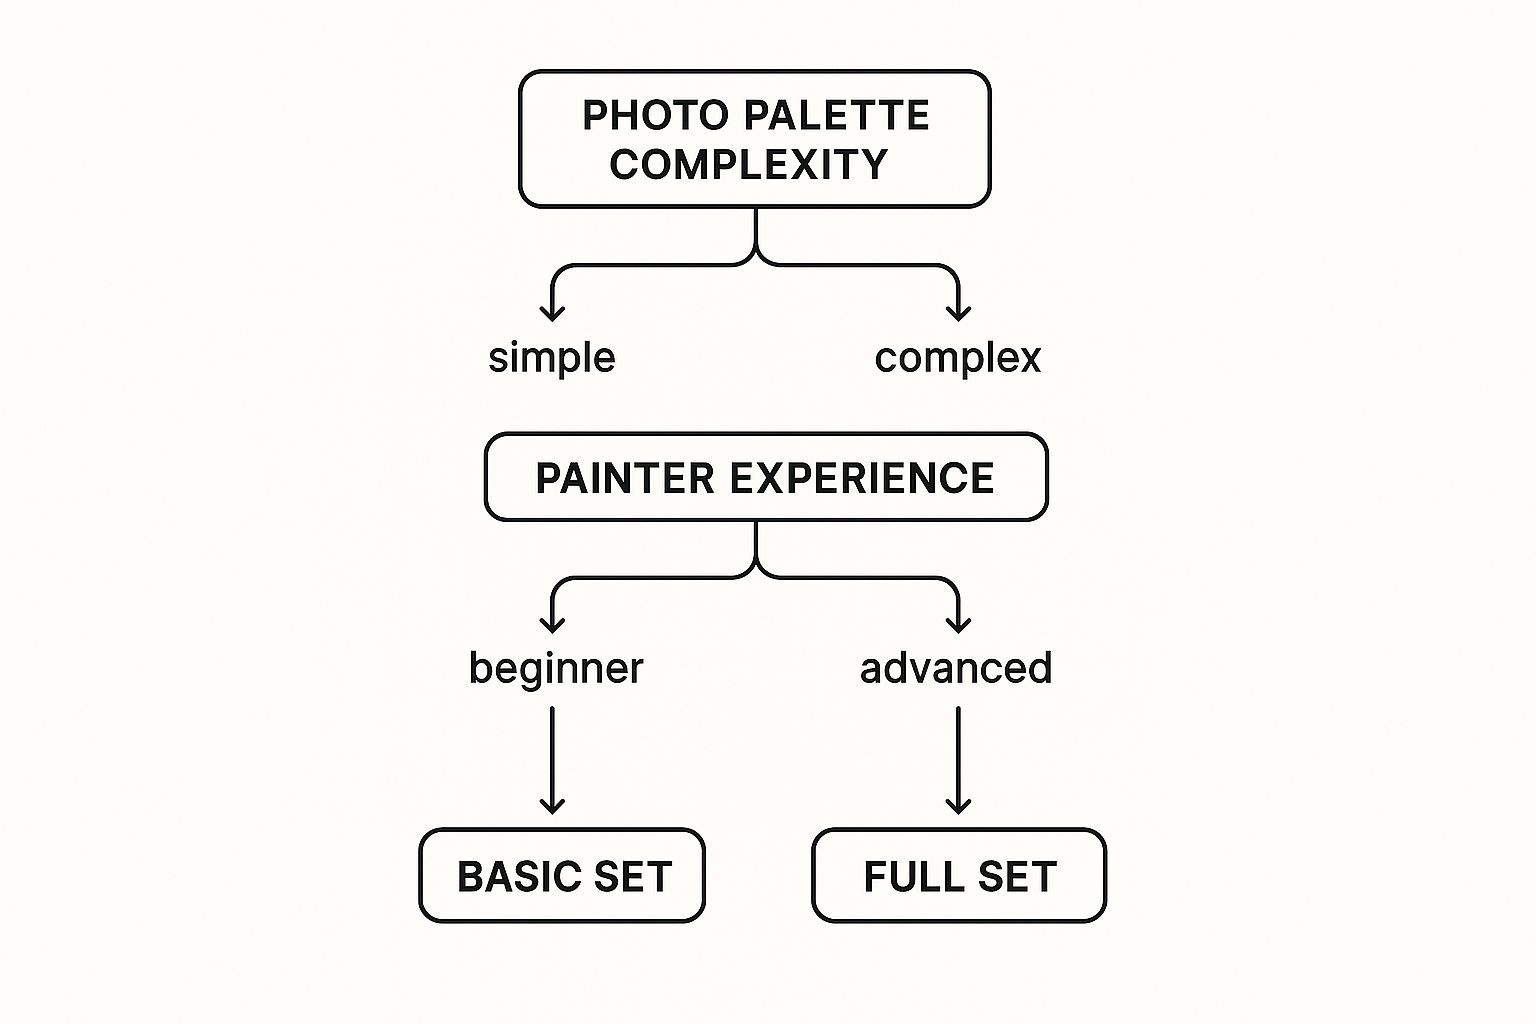
Simply put, more intricate photos and seasoned painters usually get the best results with a full set of colors. If you're just starting or your picture is on the simpler side, a basic set is the way to go.
To make it even clearer, here’s a quick guide to help you match your photo and your goals with the right customizations.
Canvas Size and Paint Count: Your Customization Guide
| Customization | Best For Beginners | Best For Detailed Artwork | Key Considerations |
|---|---|---|---|
| Canvas Size | Smaller sizes (e.g., 12x16) are less intimidating and faster to complete. | Larger sizes (e.g., 24x36) allow for more intricate details and grander scale. | Think about where you'll display it. A bigger canvas makes a bold statement. |
| Paint Count | 24 colors provide a simpler, more graphic look that's easy to manage. | 36 or 48 colors capture subtle gradients, shadows, and lifelike tones. | More colors mean smaller, more numerous sections to paint. Are you ready for the challenge? |
Choosing the right combination is all about balancing the final look you're aiming for with the kind of painting experience you want.
A Painter's Insight: I once tried to paint a complex sunset photo using only 24 colors. The result was still beautiful and artsy, but it completely lost the soft, gradual color shifts that made the original picture so special. For my next landscape, I went with 48 colors, and the difference in depth and realism was just incredible.
In the end, there's no right or wrong answer. It really comes down to what you're looking for. Are you in the mood for a meditative, detailed project that you can get lost in for hours? Or do you want a more straightforward, relaxing session? Let your answer guide you to the perfect custom kit.
Painting Techniques for a Professional Finish
Alright, you've got your custom kit, and this is where the magic happens. Before you dive in and start painting, let's go over a few simple tricks of the trade. These are the little things that will take your finished piece from a fun project to a work of art you’ll be proud to display.
First things first: set up your painting station. Find a spot with good, bright light—natural light is best, but a decent lamp will do. This is your creative space for the next few hours, so get comfortable! Lay out your canvas, paints, brushes, a cup of water for cleaning brushes, and some paper towels. Having everything at your fingertips makes the whole process so much more relaxing.
A Smart Painting Strategy
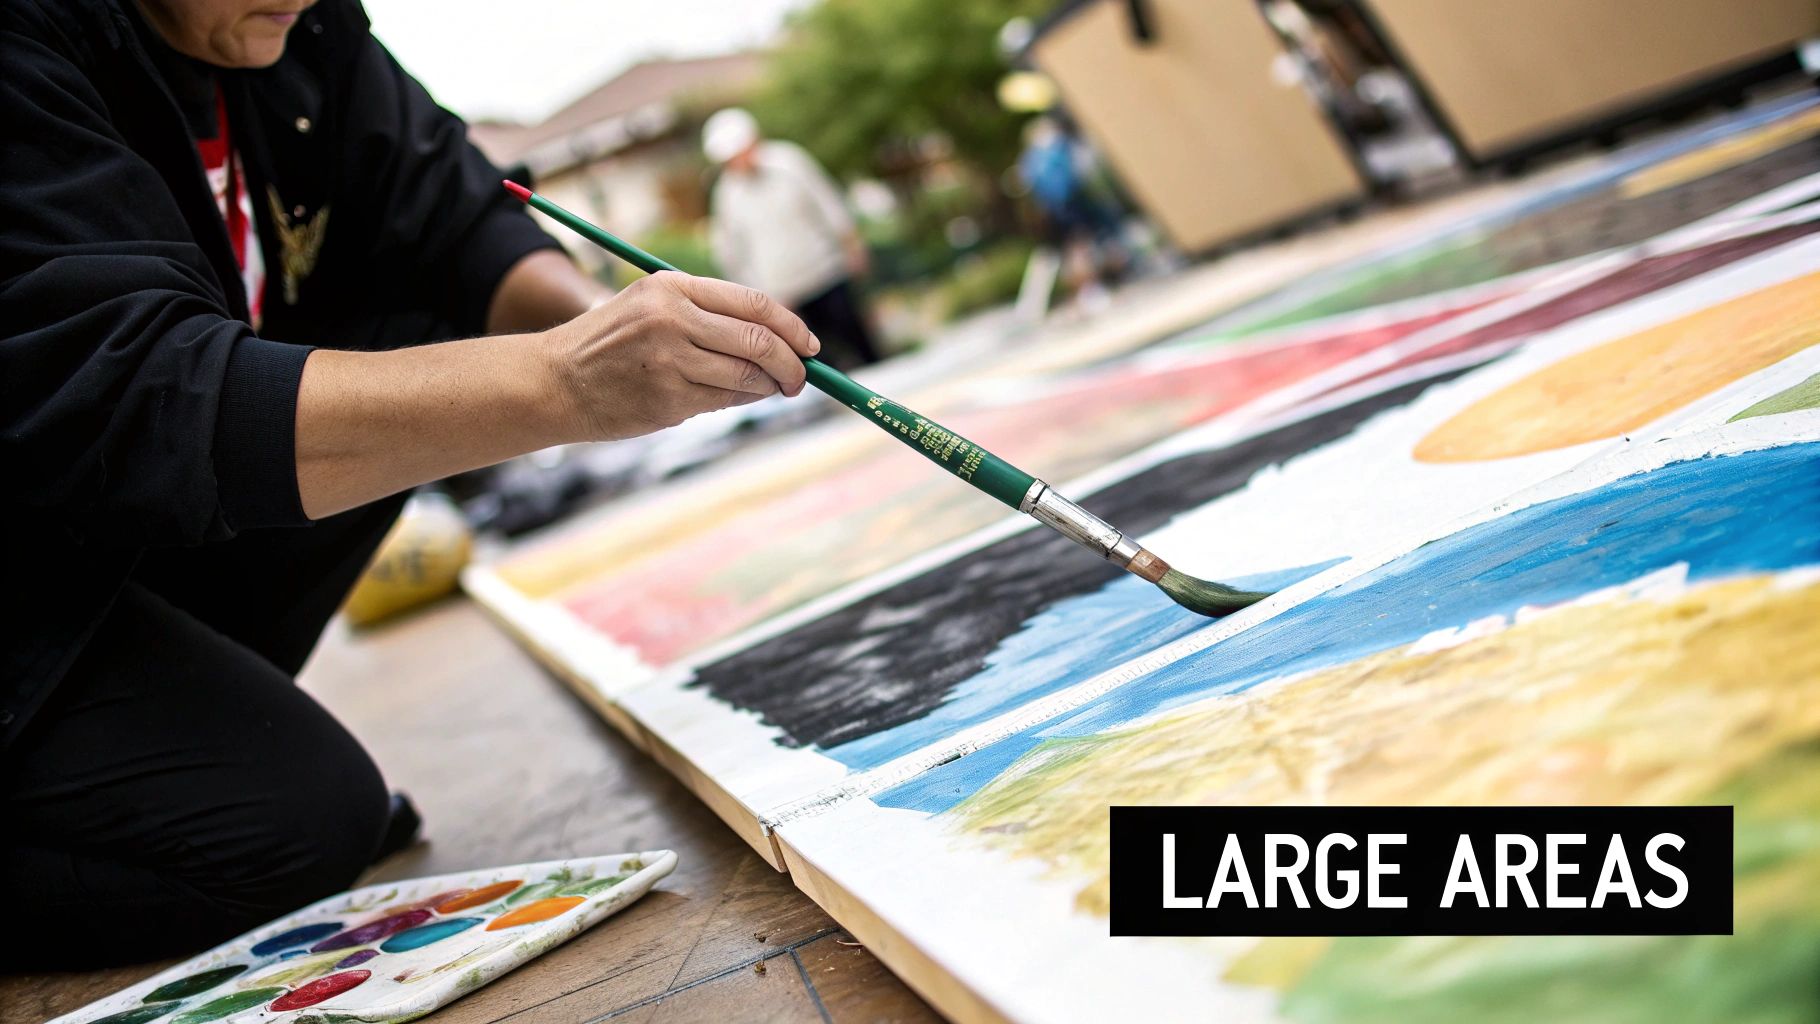
So, where do you start? It’s a question I hear all the time. My go-to strategy is to work from the lightest colors to the darkest. It’s a simple but effective trick that helps keep your light areas looking crisp and clean, preventing any accidental smudges from darker paints.
Tackle one color at a time. Paint all the areas marked with a '1,' then close that pot and move on to all the '2's, and so on. This method helps you get into a nice rhythm and, just as importantly, keeps your acrylic paints from drying out. Don't forget to seal those little pots tightly after you're done with each color!
Expert Insight: Don't obsess over getting it perfect on the first try. Think of your first coat as a base layer—you're just getting the colors blocked in. You can always go back later and add a second coat to make the colors richer and cover the numbers completely.
Essential Brush Care and Techniques
Your brushes are your most important tools, so you've got to treat them right. A little care goes a long way in keeping the bristles sharp and precise for those tiny details.
- Rinse and Repeat: As soon as you finish with a color, give your brush a good swirl in your water cup.
- Blot, Don't Mash: Gently dab the wet brush on a paper towel to remove extra water and bring the bristles back to a point.
- Don't Let Them Soak: Whatever you do, don't leave your brushes sitting head-down in the water—it will ruin the bristles for good.
When you get a custom paint by numbers from photo kit, you're getting something special. These kits often sell for over $40, a big step up from the $8-$10 generic ones you might see. That price reflects the care that goes into turning your photo into a unique piece of art, so using the right techniques helps you get a result that's worth every penny.
Ready to explore even more pro-level tips? For a closer look at blending, dabbing, and other methods, check out our guide on acrylic painting techniques for beginners.
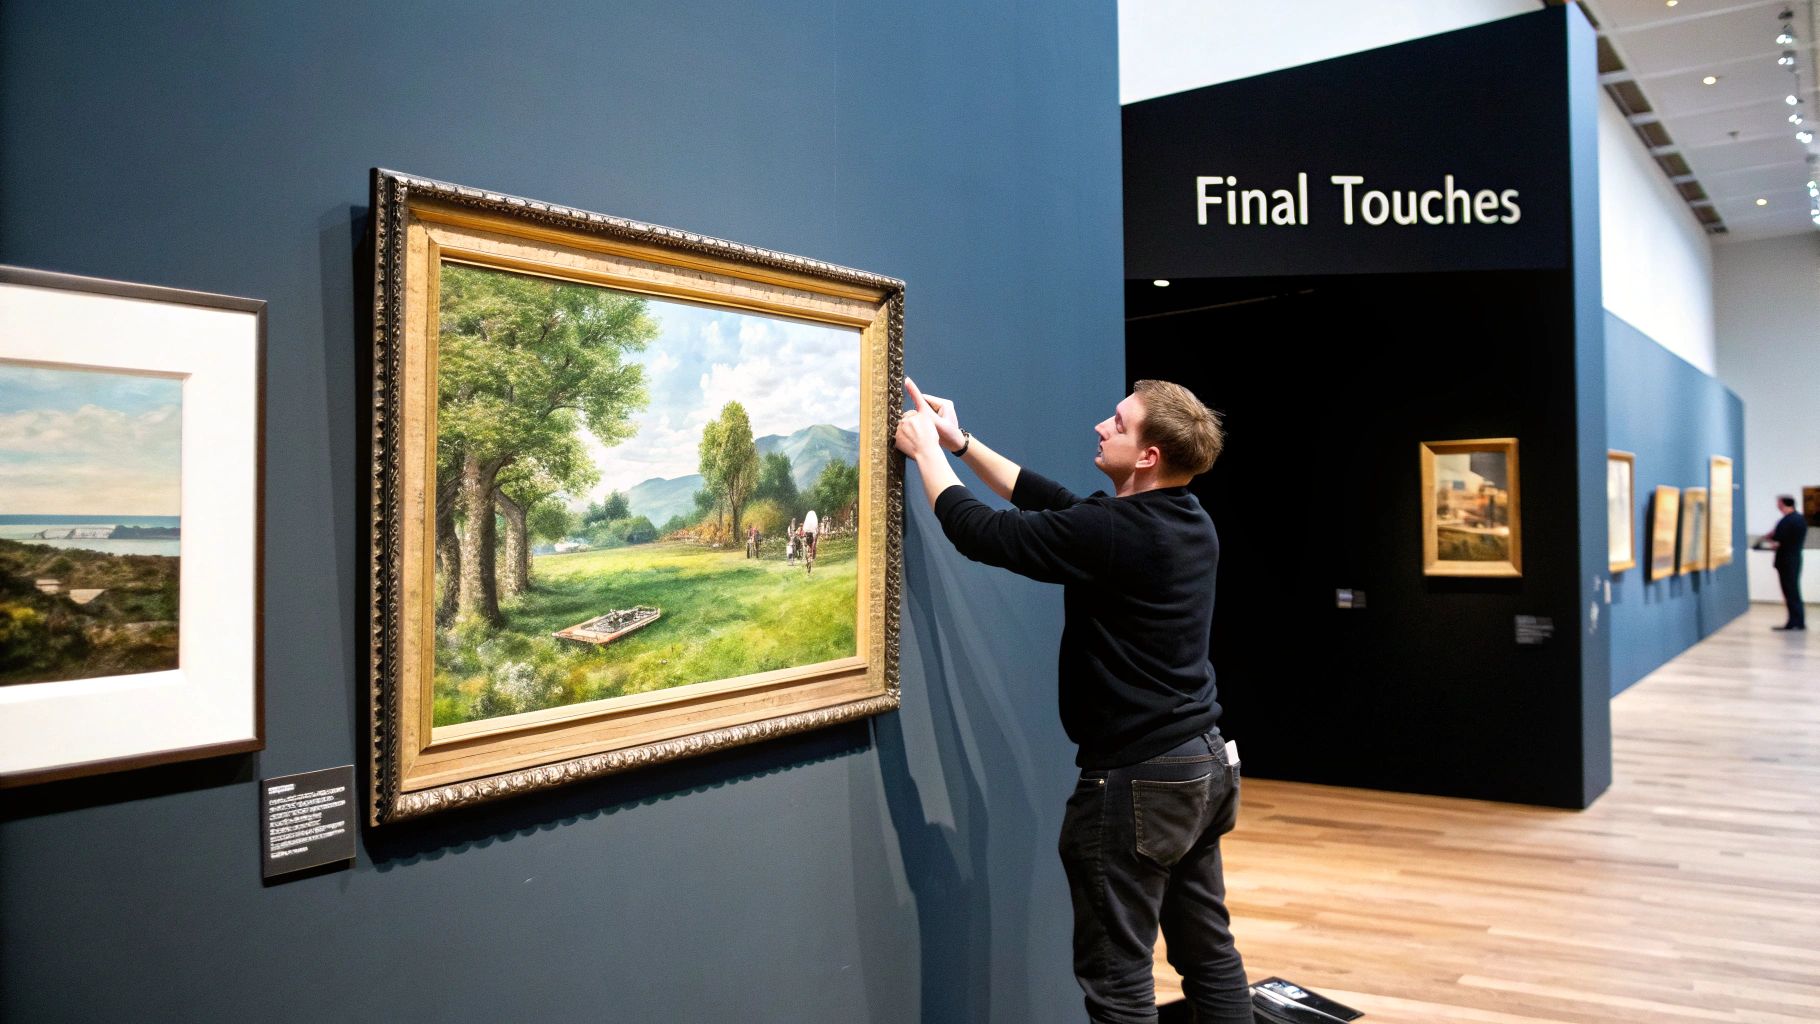
Bringing Your Masterpiece to Life: Finishing and Display
That final brushstroke is such a satisfying moment, isn't it? But before you hang your masterpiece, a few extra touches can really make it shine and ensure it lasts.
Protecting Your Hard Work
Think of this next step as insurance for all the hours you've put in. Applying a good varnish or sealant is the best way to protect your paint by numbers from photo from the elements. It creates a barrier against dust, grime, and the biggest culprit of faded art: damaging UV light.
You've got two main choices here, and it really comes down to personal taste. A gloss varnish will make your colors pop, giving them a rich, vibrant depth and a professional, shiny finish. If you prefer a more subtle, modern look, a matte varnish is the way to go. It offers a flat, non-reflective surface that cuts down on glare, which is great for brightly lit rooms.
Time to Show It Off
With your painting sealed and ready, it's time to find the perfect spot for it. Framing is the classic route, and for good reason—it adds a polished, complete look that can help your art fit right in with your home decor.
A Quick Tip: When picking a frame, let the painting do the talking. A simple black, white, or natural wood frame usually works best. It puts the focus on your artwork instead of competing with it.
Looking for something a little different? Here are a few other ideas I love:
- Create a Gallery Wall: Mix your new painting in with other photos, prints, and art pieces. This creates a really personal and dynamic focal point in any room.
- Mount it on Wood: For a more rustic, frameless vibe, try adhering your canvas to a stained or painted wooden panel. It's a unique look that feels both modern and warm.
- Use Canvas Hangers: These simple magnetic wood hangers clip onto the top and bottom of your canvas. They’re a minimalist, budget-friendly option that's super easy to use.
These finishing touches are what turn your fun project into a piece of art you'll be proud to display for years to come.
Common Questions About Custom Paint by Numbers
Jumping into your first custom paint-by-numbers project is exciting, but it’s natural to have a few questions. From getting the photo just right to knowing what’s in the box, a little bit of know-how can make all the difference.
Let's start with the most common question I hear: photo quality. To get a really sharp and detailed painting, you need a good photo. But what does "good" actually mean? As a rule of thumb, look for an image that’s at least 1000 pixels on its longest side. This gives the software enough data to create clear lines and distinct numbered areas. If you start with a blurry photo, you’ll end up with a blurry painting.
What Comes in the Box
Think of your custom kit as a complete art studio in a box. When you unbox it, you’ll find everything you need to get started right away.
- A Pre-printed Linen Canvas: This is the heart of your project. Your photo is professionally outlined and numbered on a quality canvas, waiting for your creative touch.
- A Set of Numbered Acrylic Paints: You’ll get a full set of paints perfectly matched to your image. Each little pot corresponds to a number on the canvas, so there’s no guesswork.
- Three Brushes: The kit usually includes a small, medium, and large brush, giving you the right tools for filling in tiny details and covering larger spots.
Good to Know: Most people find a custom project takes between 8 to 20 hours to finish. It all depends on the canvas size and how intricate your photo is. Remember, it’s a marathon, not a sprint!
The whole idea is to make the experience totally straightforward. We give you all the supplies so you can dive right into the fun part—bringing your favorite photo to life, one number at a time.
Ready to turn a cherished memory into a work of art? We make it simple at Custom Paint By Numbers. Just upload your photo, pick your canvas size, and we’ll ship a complete kit right to your door. Start creating your masterpiece today


