

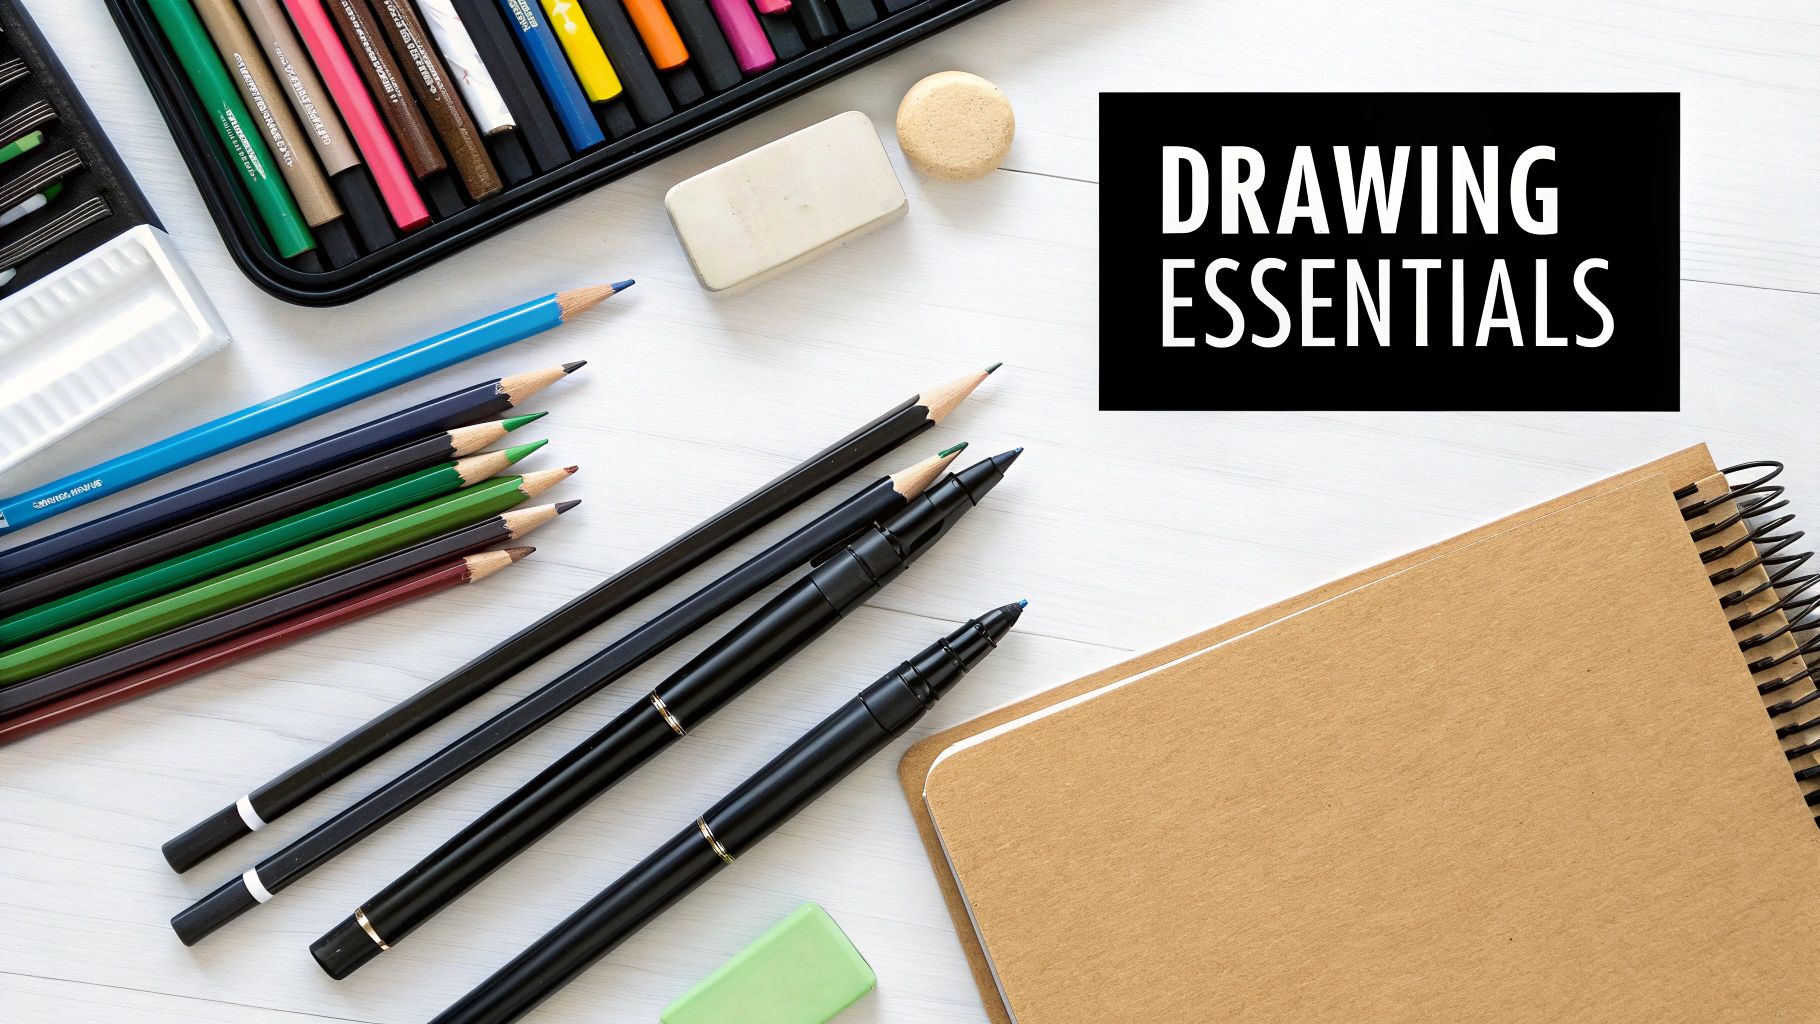
Diving into art is a fantastic feeling, but walking into a supply store for the first time? That can be a little overwhelming. If you're wondering what you really need, the essential art supplies for beginners boil down to a few key items: a small set of graphite pencils, a couple of good erasers, some quality drawing paper, and a starter set of either acrylic or watercolor paints.
Starting with just these core tools is so much better than buying one of those giant, low-quality kits. It lets you focus on building real skills right from the start.
Your First Step Into The World Of Art
Walking into an art store for the first time can feel like you've landed on another planet. There are tubes of paint in a million different shades, brushes in every conceivable size and shape, and stacks of paper with textures you never knew existed. It's enough to make any aspiring artist feel completely lost.
But here's the good news: you don't need a professional studio's worth of gear to make great art. The real goal is to build a small, versatile toolkit with quality basics. This approach lets you focus on learning fundamental techniques—things like shading, blending, and color mixing—without getting bogged down by a ton of specialized tools you don't need yet. It's about building a solid foundation, not just collecting supplies.
Why Quality Over Quantity Matters
I know how tempting it is to grab one of those huge, all-in-one art sets that seem to have everything. The problem is, they're almost always filled with low-quality materials that are just plain frustrating to use. The paint might be thin and streaky, the pencil leads can snap constantly, and the paper often buckles the second it gets wet.
Investing in a few student-grade supplies is a much smarter move. These materials are made to perform well without the professional price tag. They won't fight you every step of the way, which means you can see the actual results of your practice and build confidence.
This isn't just a niche idea; the demand for good starter gear is huge. The global art supplies market is currently valued at USD 8.577 billion and is projected to keep growing, mostly thanks to hobbyists and students who need reliable tools to get started.
To help you figure out what to get first, here’s a quick checklist of the absolute essentials for drawing and painting.
Essential Beginner Art Supply Checklist
This table breaks down the core supplies that will give you the best start in both drawing and painting.
| Category | Essential Item | Why It's A Good Starting Point |
|---|---|---|
| Drawing | Graphite Pencil Set (e.g., HB, 2B, 4B) | Gives you a range of light to dark tones for sketching and shading. |
| Drawing | Kneaded & Vinyl Erasers | A kneaded eraser lifts graphite without damaging paper, while a vinyl eraser removes lines cleanly. |
| Drawing | Sketchbook (Mixed Media Paper) | Versatile paper that can handle pencil, ink, and a light wash of paint without falling apart. |
| Painting | Starter Acrylic Paint Set | Acrylics are vibrant, dry quickly, and are easy to clean up with just water. Perfect for beginners. |
| Painting | Starter Watercolor Pan Set | Watercolors are transparent and luminous. A pan set is portable and less messy than tubes. |
| Painting | A Few Synthetic Brushes (Round, Flat) | A small round brush for details and a medium flat brush for larger areas cover most of your needs. |
Getting these items will set you up for success without breaking the bank. You can always add more specialized tools as you discover what you love to create.
Your Creative Starting Point
To get your creative journey off the ground, try exploring art forms that are accessible and fun. Even simple daily practices like sketching what you see or keeping a creative journal can build foundational skills surprisingly quickly. Many new artists find that things like bullet journaling for beginners are a fantastic, low-pressure way to play with pens, markers, and basic layouts.
Ultimately, your first set of art supplies is your launchpad. If you choose them wisely, you're setting yourself up for a rewarding experience where the focus is on your creativity, not on fighting with your tools.
The Foundation Of All Art: Drawing Essentials
Before you ever pick up a paintbrush, you'll likely start with a pencil. Drawing is the bedrock of almost all visual art; it's how you learn to translate what you see in the world—or in your head—into lines, shapes, and shadows on paper. It's the first conversation you have with your canvas.
You're probably familiar with the standard #2 pencil you used in school. That's a good starting point, but the world of drawing pencils has so much more to offer. Think of it as a whole new vocabulary for your art.
Think of graphite grades like a volume knob for your lines. 'H' pencils are hard, creating light, crisp marks that are perfect for initial, barely-there sketches. On the other end, 'B' pencils are soft, laying down rich, dark lines that are brilliant for shading. You don't need a massive set; starting with a small range like a 2H, HB, 2B, and 4B gives you everything you need to explore.
Once you get a feel for sketching, it’s amazing to see how those simple lines can become the skeleton for a finished piece. To see this in action, check out our guide on how to turn a photo into a painting and watch a basic drawing transform.
Pencils: The Heart Of Your Sketching Kit
When you're just starting, it’s easy to get overwhelmed by the sheer number of tools out there. Don't worry about getting one of everything. A simple, quality set of graphite pencils is the perfect way to begin.
Here's a quick look at the essentials:
- Graphite Pencil Set: Look for a starter set that covers a range from 2H to 6B. This will give you the versatility to draw light guidelines and build up to deep, dramatic shadows.
- Pencil Sharpener: This is non-negotiable. A good, sharp point is crucial for detail, and a cheap sharpener will just chew up your pencils and your patience. Invest in a decent one.
- Mechanical Pencils: While not a must-have, a 0.5mm mechanical pencil is handy for creating consistently fine lines without ever needing to stop and sharpen.
With just these few items, you have everything required to start exploring the fundamental concepts of drawing. You'll build your skills and confidence one line at a time.
More Than Just For Mistakes: Erasers And Charcoal
Let's get one thing straight: erasers aren't just for fixing mistakes. They're creative tools in their own right.
A kneaded eraser is your best friend for subtle work. It feels like putty and can be shaped into a fine point to lift out small highlights or dabbed on the paper to soften shadows without smudging or tearing the surface. For getting rid of lines completely, a classic vinyl eraser works cleanly and efficiently.
Once you’re feeling good about your pencil work, think about giving charcoal a try. It’s a wonderfully messy, expressive, and surprisingly forgiving medium.
- Vine Charcoal: This is the soft, dusty stuff. It's incredibly easy to blend and erase, which makes it perfect for big, loose sketches where you're just trying to capture a form.
- Compressed Charcoal: This comes in stick or pencil form and creates deep, velvety blacks. It's harder to erase, so you'll want to use it for adding those final, punchy, dramatic shadows.
Working with charcoal forces you to think in big shapes of light and dark instead of getting bogged down in tiny details too soon. It’s a fantastic way to loosen up, build confidence, and develop a more intuitive feel for drawing.
Bringing Your Ideas To Life With Paint
Alright, you've got the hang of drawing, and now it's time for the really fun part: adding color. This is where your art truly starts to pop, and diving into paint is much easier than you might think. Forget the overwhelming wall of options at the art store. For now, let's just focus on three fantastic choices for any beginner: acrylics, watercolors, and gouache.
Acrylics are your best all-around friend. They’re basically a type of plastic paint that's super vibrant, dries quickly, and is incredibly forgiving. You can pile it on thick to create cool textures or water it down for a more translucent, watercolor-like look. Best of all, once acrylic paint is dry, it’s permanent, which means you can easily paint right over any little mistakes. No stress!
This image shows you the bare essentials you'll need. It's all about starting simple.
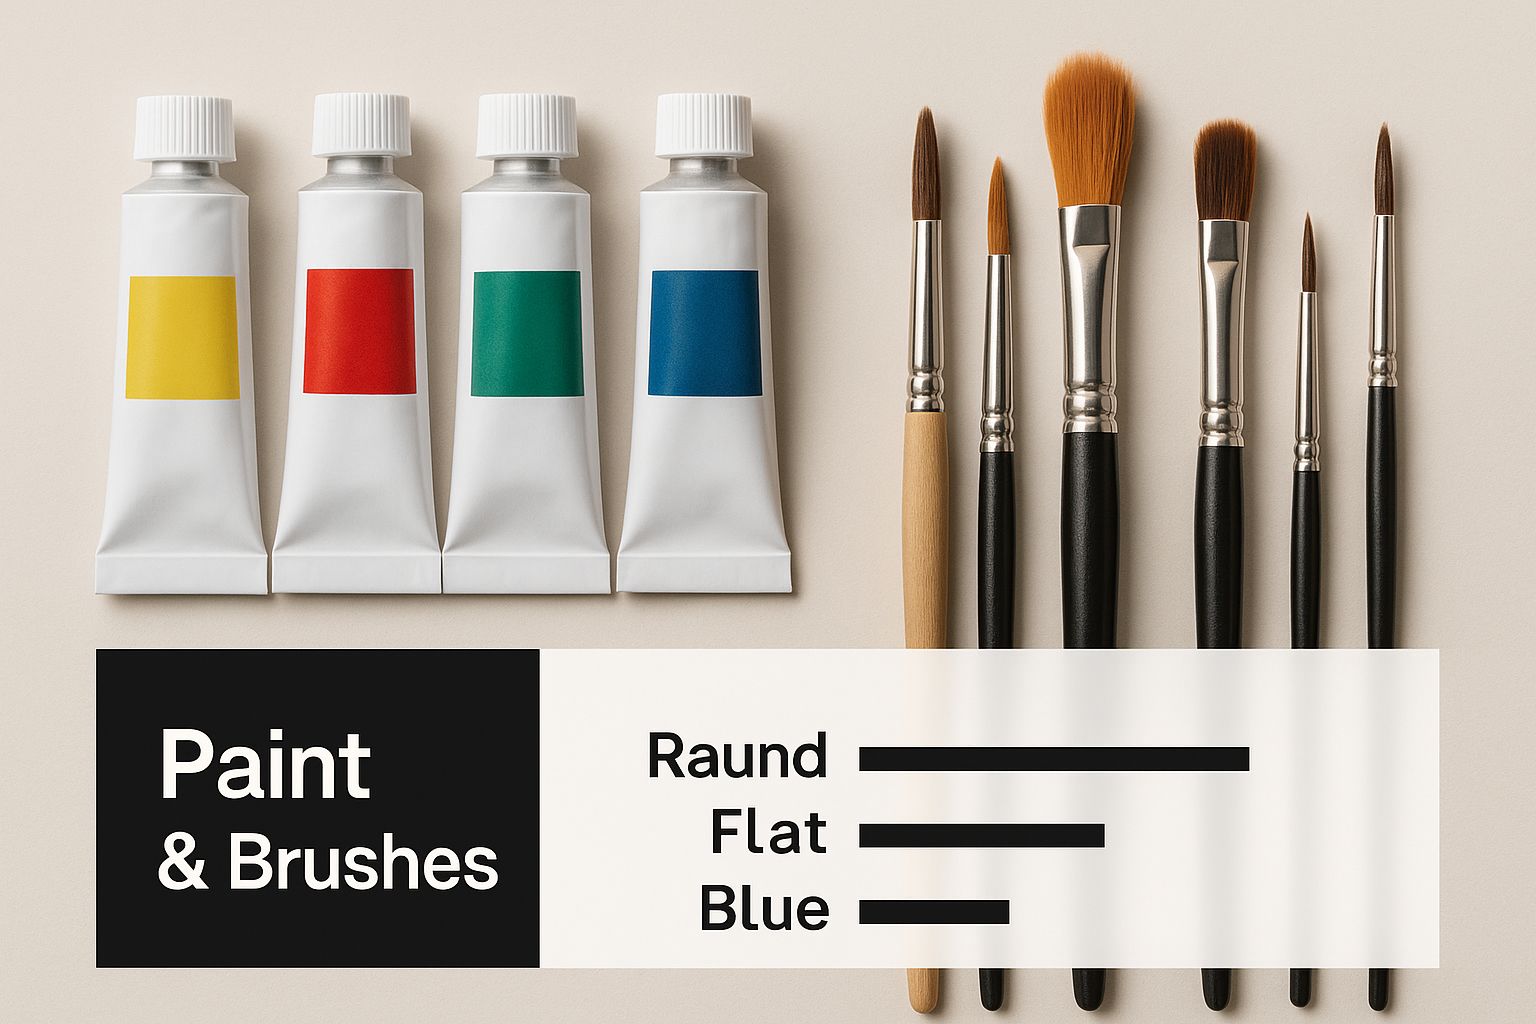
As you can see, you don't need a massive collection. A handful of key colors and a couple of versatile brushes are all it takes to get going.
Choosing Your First Paint Type
So, how do you choose? While acrylics are a fantastic starting point, your personal style might be a better match for the unique personalities of watercolor or gouache. Getting to know what makes each one different is the secret to picking the right supplies for your first masterpiece.
Watercolors are all about that transparent, glowing look. Think of it like creating stained glass on paper. You build up color by adding delicate, see-through layers, one on top of the other. They're famous for the beautiful, flowing effects they can create, but they are a bit less forgiving. Because the paint is so transparent, covering up a mistake can be tricky.
Gouache (you say it like "gwash") is often called an "opaque watercolor," and that’s a perfect description. It gives you flat, bold, and matte color—the kind you often see in posters and modern illustrations. The big advantage here is its opacity, which lets you paint light colors directly over dark ones. This gives you a bit more wiggle room than you get with traditional watercolors.
To make things a little clearer, here’s a quick breakdown to help you decide which paint is calling your name.
Comparing Beginner Paint Types
| Paint Type | Key Characteristic | Best For... | Cleanup |
|---|---|---|---|
| Acrylic | Opaque, vibrant, fast-drying, and permanent once dry. | Layering, creating texture, and correcting mistakes. Very versatile. | Easy cleanup with soap and water while wet. |
| Watercolor | Transparent, luminous, and builds color in thin layers. | Delicate washes, glowing effects, and a traditional painterly look. | Simple cleanup with just water. |
| Gouache | Opaque, matte, flat finish. Can be reactivated with water. | Bold illustrations, poster-style art, and painting light over dark. | Easy cleanup with water, even after drying. |
Ultimately, your choice really boils down to the final look you're going for. If you want something bold and forgiving, acrylics are your go-to. If you love delicate, transparent art, grab some watercolors. And for that flat, vibrant, illustrative style, gouache is the perfect fit.
Building Your Starter Palette
You absolutely do not need to buy dozens of paint tubes to get started. In fact, learning to mix your own colors is one of the most valuable skills an artist can develop. All you need is a small, core set of colors to create an almost endless spectrum of hues.
A great starter paint set just needs these basics:
- Primary Colors: Cadmium Red, Ultramarine Blue, and Cadmium Yellow.
- Essential Neutrals: Titanium White and Mars Black.
That’s it! With just those five tubes, you can mix nearly any color you can dream of. Red and yellow make orange; blue and yellow create green. Adding white lightens your color (this is called a tint), and adding black darkens it (this is called a shade).
This simple approach not only saves you money but also gives you a much deeper understanding of how colors actually work together. More and more beginners are discovering the joy of painting, so much so that the art materials market is projected to hit USD 13.04 billion. Plus, innovations in non-toxic paints are making it safer and easier than ever for newcomers to jump in.
Once you’ve got your paints, you’ll probably be eager for some inspiration. You can explore these beginning painting ideas to find a fun and easy project to kick things off.
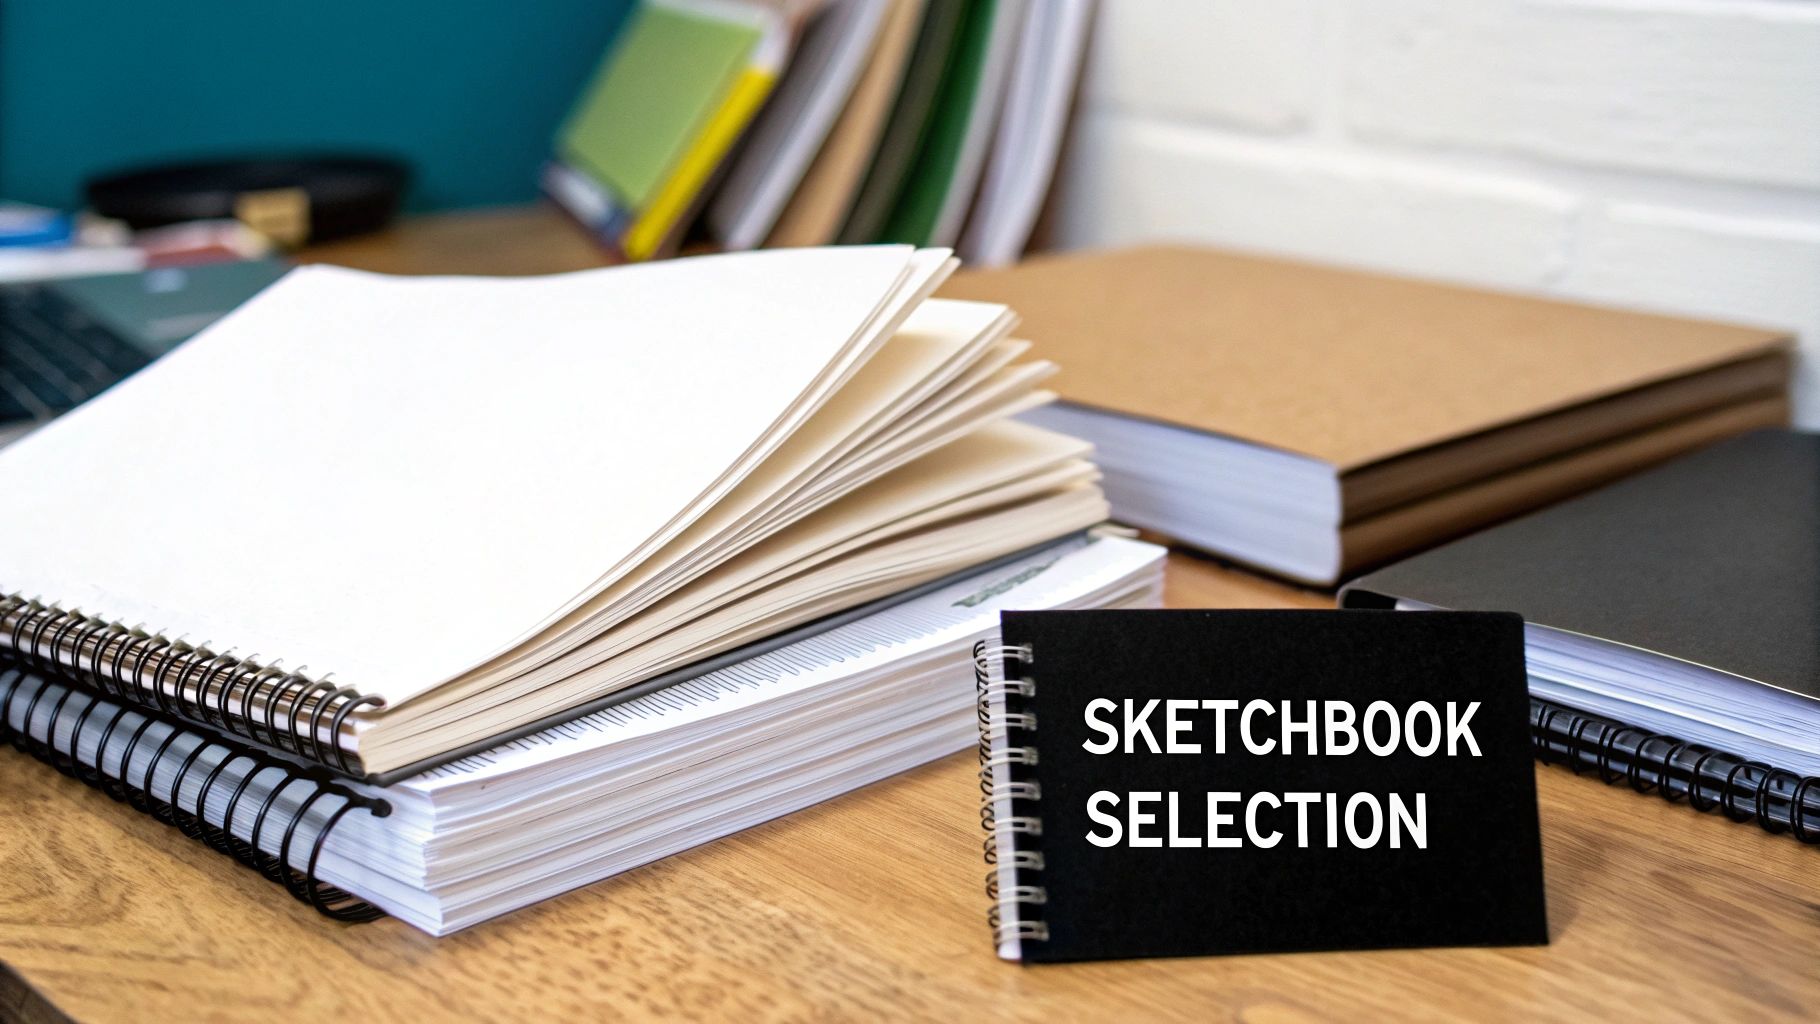
Choosing The Right Surface For Your Art
The surface you work on is your silent partner in every creative project. It’s the stage where your paints and pencils perform, and a good stage can make all the difference. Picking the right paper or canvas can be the key that unlocks a piece you’re proud of, while the wrong one can feel like you’re fighting an uphill battle.
Honestly, choosing your surface is one of the most important decisions you'll make when gathering art supplies for beginners. A poor surface will fight you every step of the way, but the right one will support your learning and make your materials sing.
Understanding Paper Weight and Texture
When you first walk down the paper aisle, you’ll be hit with terms like "weight" and "press." They sound a little technical, but they're actually simple concepts that have a huge impact on your art.
Paper weight is just how thick and sturdy the paper is, measured in either grams per square meter (gsm) or pounds (lbs). The higher the number, the heavier the paper. If you're using anything wet, like watercolor or even thinned-down acrylics, you’ll want heavyweight paper (around 300 gsm or 140 lb). It's tough enough to take a good soak without buckling or warping into a wavy mess.
Think of paper texture as the personality of your surface. There are two main types you'll encounter as a beginner: hot-press and cold-press paper.
- Hot-Press Paper: This paper is super smooth, almost like a piece of cardstock. It's fantastic for work that needs a lot of detail, like intricate ink drawings or smooth blends with colored pencils. Your pen will just glide right over it.
- Cold-Press Paper: This is your classic watercolor paper. It has a bit of a bumpy texture, often called "tooth," which is perfect for grabbing onto pigment and water. That texture is what helps you create those beautiful, varied washes that watercolor is famous for.
For everyday sketching and experimenting, a good mixed-media sketchbook is your best friend. It’s a great all-rounder, built to handle most dry media and even a light wash of paint without giving up.
Choosing Your First Painting Surface
When you feel the itch to start painting, don't feel like you have to go out and buy a massive, expensive canvas. There are a couple of fantastic, affordable options that are perfect for finding your footing.
Canvas boards are an absolute lifesaver for beginners. They're just canvas cloth mounted onto a stiff cardboard backing. This makes them cheap, easy to store, and they give you a firm surface that feels like a traditional canvas without the higher price tag.
Stretched canvas is what most people picture when they think of painting—it's canvas stretched taut over a wooden frame. The big advantage here is that they're ready to hang on the wall the moment they're dry, which gives your finished work a professional feel right from the get-go. Starting with a manageable size like 8x10 inches is a great way to practice techniques without feeling overwhelmed.
The good news is that there’s never been a better time to be a new artist. The global art and craft materials market was recently valued at USD 22.57 billion, a number that's expected to climb as more people discover the joy of creating. This creative boom means more choices and better quality starting gear for everyone. You can read more about the growing art supplies market to see just how big this trend has become.
Essential Tools To Complete Your Art Kit
Okay, so we've covered the exciting stuff like paints and pencils. But what about the other gear? Think of these next items as the essential support crew for your art station—the unsung heroes that make creating your art smoother, cleaner, and just plain more fun.
You don't need to break the bank on these supporting tools, but skipping them isn't an option. For instance, if you're diving into acrylics or watercolors, you can't exactly use your fingers (well, you could, but let's start with the basics!). A small, well-chosen set of brushes is all you really need to get going.
Building Your Support Toolkit
When you're first picking out brushes, keep it simple. There's no need to buy a massive bundle with dozens of shapes you don't understand yet. A starter pack of synthetic brushes is perfect—they’re affordable, tough, and play nicely with both acrylics and watercolors.
To start, make sure you have these three key shapes:
- A small round brush: This is your go-to for fine lines, tiny details, and signing your name.
- A medium flat brush: Perfect for filling in larger areas with smooth, even strokes of color.
- A filbert brush: This is a flat brush with a rounded tip, making it incredibly versatile for blending and creating soft edges.
Next up, you’ll need a place to mix those beautiful colors. A palette is non-negotiable. For a beginner, a simple plastic tray with little wells is a great reusable option that's easy to wash. If you hate cleanup, a pad of disposable palette paper is a game-changer—when you're finished, you just tear off the messy sheet and toss it.
You’ll also want to grab a couple of things from around the house. Two sturdy glass jars are perfect for water—use one for rinsing dirty brushes and the other for clean water to thin your paints. A stack of old rags or a roll of paper towels is also a must-have for dabbing excess paint off your brush and cleaning up the inevitable spills.
Creating Your Creative Space
Keeping your new supplies organized will save you a ton of frustration. You don’t need a fancy setup; a simple plastic tub or a small set of drawers works wonders for keeping your tools in good shape and right where you can find them. For some more great ideas, check out this guide on the Top 10 Must-Have Art Supplies for Beginners.
As you start spending more time making art, you might want to get an easel. Even a small tabletop easel can make a huge difference for your posture, saving you from neck and back pain during long painting sessions. It also gives you a better vantage point, letting you see your work without the distortion that comes from looking down at a flat table.
With these tools in hand, you'll be all set to tackle a bunch of fun art projects for beginners and really start enjoying your creative journey.
Common Questions From New Artists
Diving into the world of art is incredibly exciting, but it's totally normal to have a ton of questions. If you're standing in an art supply aisle feeling a little lost about what to buy or where to spend your money, you're in good company. We've rounded up some of the most common questions from new artists and answered them in a straightforward way to help you get started with confidence.
Walking into an art store can be overwhelming, especially when you're trying to figure out that sweet spot between cost and quality. The good news? You don’t need a massive budget or professional-level gear to start creating beautiful art. The trick is just to be smart about your first few purchases.
How Much Should I Spend On My First Supplies?
This is one of the biggest hurdles for beginners: Should you splurge on the fancy stuff or just grab the cheapest option? Honestly, the best approach is to find a happy middle ground.
You don't need professional-grade supplies right out of the gate. Instead, look for materials labeled "student grade." These products are made specifically for beginners and hobbyists. They offer reliable quality without the intimidating price tag of professional tools, giving you the best bang for your buck.
For instance, a professional tube of paint can easily cost two or three times more than its student-grade equivalent. While the pro version might have more pigment, the student-grade paint is more than good enough for learning all the essentials like color mixing, layering, and brushwork. Besides, investing too much upfront can create a fear of "wasting" expensive materials, which can really stifle your creativity. Start affordably, and you'll feel much freer to experiment and just play.
What Should I Prioritize On A Budget?
If your budget is tight and you have to make some tough choices, always put your money into your surfaces first. The quality of your paper or canvas has a huge impact on your final artwork—sometimes even more than the paint or pencils you use.
Think of it this way: you can create something stunning with student-grade paints on high-quality paper. But even the most expensive professional paints will look dull and act weird on a cheap, flimsy surface.
Good paper makes a world of difference, especially for anything wet:
- Watercolor Paper: Quality watercolor paper (look for at least 140 lb or 300 gsm) is designed to handle water without buckling, warping, or pilling. This lets you practice techniques like wet-on-wet washes and lifting color without the paper disintegrating on you.
- Drawing Paper: For drawing, a sketchbook with smooth, sturdy paper will let your pencils glide and allow you to erase cleanly without tearing up the surface.
This rule holds true for painting, too. A well-primed canvas board or stretched canvas will take the paint smoothly and make your colors pop. A cheap canvas might absorb paint unevenly, leaving you with a splotchy, frustrating finish. So, if you need to save money, buy the more affordable paints and brushes, but treat yourself to a good surface.
Should I Buy An All-In-One Art Kit?
It's a classic beginner's dilemma: Do you grab that giant, all-in-one art kit that seems to have everything, or do you buy supplies individually? While those massive kits look like a fantastic deal, we strongly recommend buying your supplies separately.
Here’s why building your own kit is the smarter way to go:
- Quality Control: All-in-one kits are almost always packed with low-quality materials. The pencils break, the paints are chalky, and the brushes shed all over your work. These little frustrations can easily make you think you’re bad at art, when really, it’s the tools that are letting you down.
- You Get What You Actually Need: Do you really need 12 different shades of green right now? Probably not. Kits are often padded with colors and tools you’ll never touch. By buying individually, you can build a core set of essentials—like a good set of primary colors and a few versatile brushes—that you'll use over and over again.
- Personalized to Your Interests: Buying your supplies one by one lets you build a toolkit that grows with you. As you discover what you love to do, you can try different brands and materials, creating a set of art supplies for beginners that is truly your own.
Frequently Asked Questions
Still have a few questions swirling around? That's completely normal! We've put together a quick FAQ table to address some other common concerns that new artists often have.
| Question | Answer |
|---|---|
| How do I know which brand to choose? | Start by reading reviews online or asking for recommendations. Many student-grade brands like Winsor & Newton Cotman (for watercolor) or Liquitex Basics (for acrylics) are trusted starting points. Don't be afraid to buy a single tube or pencil from a few different brands to see what you like best before committing to a full set. |
| Do I need an easel right away? | Not at all! You can easily work on a desk, a table, or even the floor. An easel is a nice-to-have item that you can consider later on as you get more serious about your practice. For now, focus on the core supplies. |
| What's the difference between "hue" and regular colors in paint? | When you see "hue" on a paint tube (e.g., "Cadmium Red Hue"), it means it's a look-alike color made from a mix of less expensive pigments. These are great for beginners as they are more affordable and often less toxic than their genuine counterparts, while still providing a very similar color. |
Hopefully, these answers clear things up and make you feel more prepared. The most important thing is to just start creating and not let the fear of choosing the "perfect" supplies hold you back.
Ready to turn your favorite memories into art without the guesswork? At Custom Paint By Numbers, we make it easy to create a personalized masterpiece. Just upload a photo, and we'll send you a complete kit with everything you need—a pre-numbered canvas, all the right acrylic paints, and quality brushes. Start your artistic journey today at https://paint-by-number.com.


