

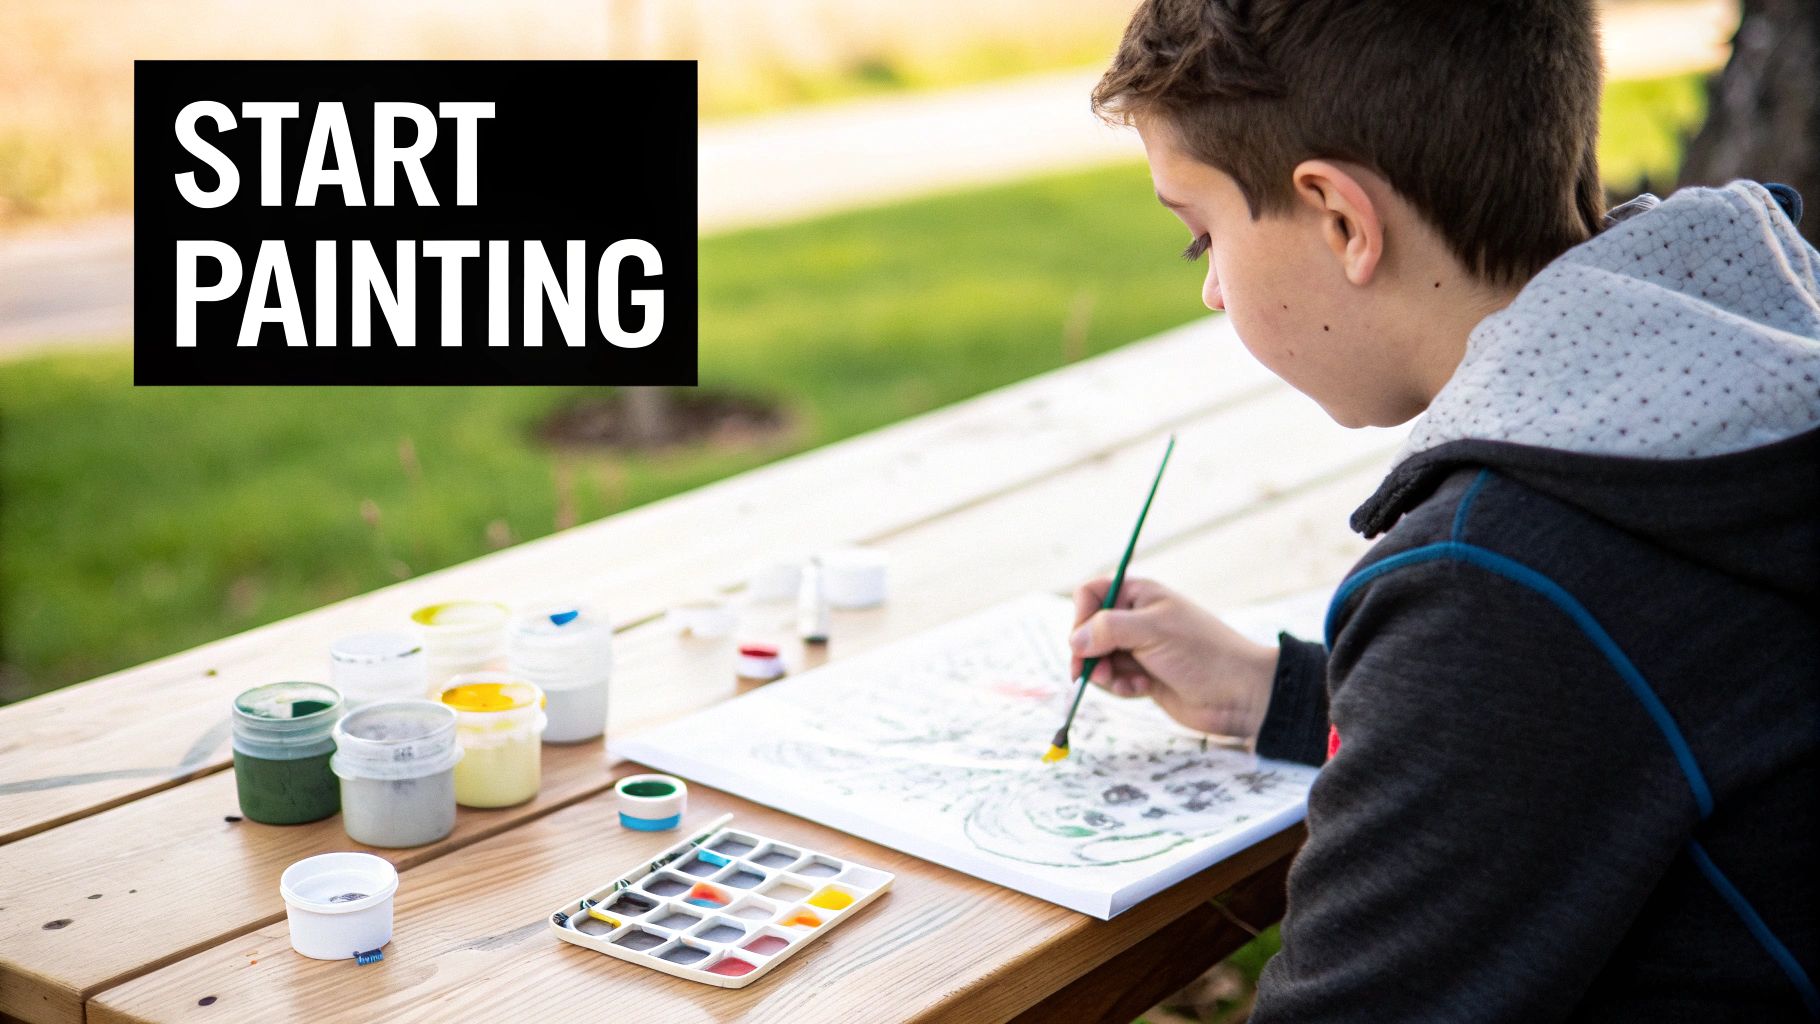
If you've ever admired a beautiful painting and thought, "I wish I could do that," paint-by-numbers is your perfect entry into the art world. It's a wonderfully simple and relaxing way to create something amazing, even if you've never picked up a brush before.
The concept is straightforward: you get a canvas pre-printed with a design broken into small, numbered sections. Each number corresponds to a specific paint color. All you have to do is match the paint to the number and fill it in. Slowly but surely, a complete masterpiece comes to life.
Why Paint by Numbers Is the Perfect Creative Start
The fear of the blank canvas is real. Paint-by-numbers takes that intimidation away completely. It provides the structure, so you can skip the stress of composition and color mixing and jump straight to the fun, meditative part: applying paint to canvas.
This accessible approach is a huge reason for its booming popularity. The global art paint industry, valued at around USD 2.9 billion in 2025, is expected to climb to nearly USD 4.99 billion by 2034, and beginner paint by numbers kits are a massive part of that growth. It’s clear that tons of people are discovering the joy of guided art.
More Than Just a Hobby
This isn't just about making a pretty picture; it's a fantastic tool for wellness. The simple, focused act of filling in each section helps quiet a busy mind, making it a great way to de-stress and practice a little mindfulness.
Many painters find it helps them build valuable skills:
- Concentration: You really have to focus to stay within the lines, which sharpens your attention to detail.
- Patience: A good painting takes time. This hobby teaches you to slow down and enjoy the process.
- Confidence: There's nothing like finishing a piece and hanging it on your wall to boost your self-esteem.
The real magic of paint by numbers is how it makes art accessible to everyone. It’s proof that you don’t need to be a classically trained artist to create something beautiful.
What to Expect in Your Kit
When you open a typical kit, you'll find everything you need to get started immediately. It’s an all-in-one package containing the numbered linen canvas, a full set of numbered acrylic paint pots, and usually three different-sized brushes. This makes it a super easy and affordable way to dive into a new hobby.
If you're curious about where this craft can take you or want to see some truly stunning designs, you can explore different 'Artist Series' to get inspired by a whole range of styles.
Choosing Your First Paint By Numbers Kit
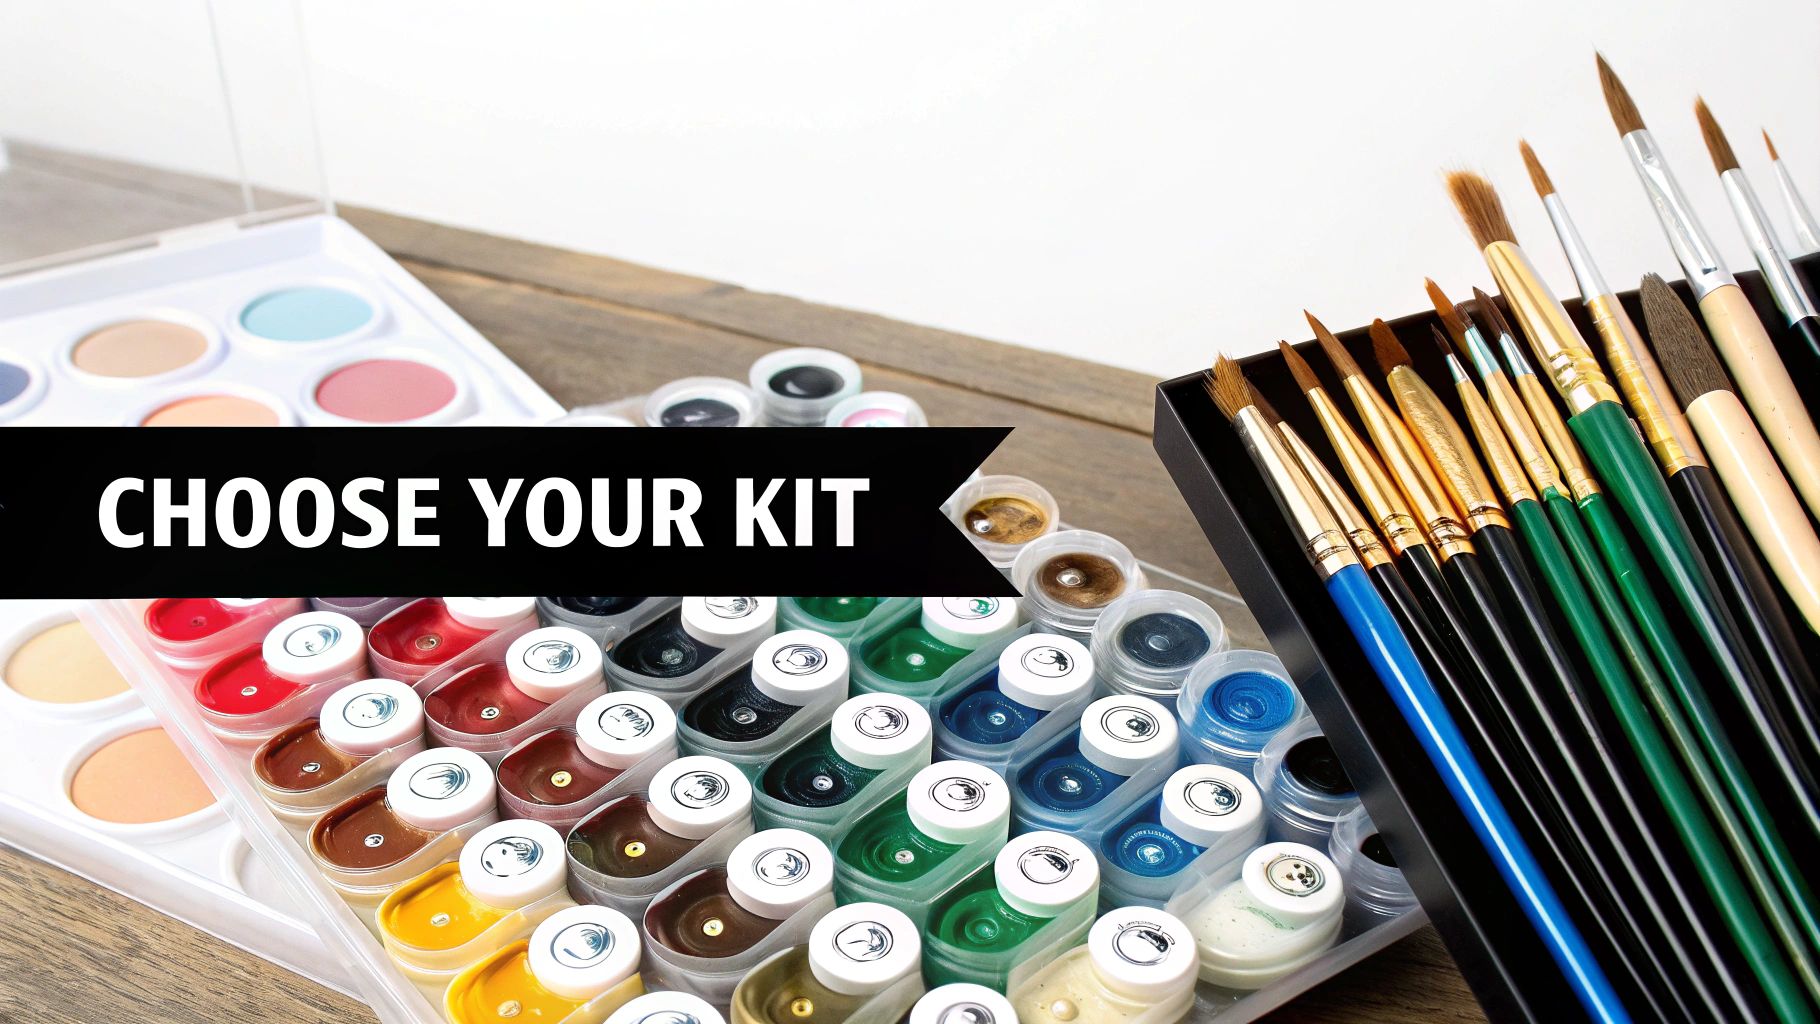
Alright, this is where the fun really begins! Picking your first kit is your first creative step, and with so many options out there, it's easy to feel a little overwhelmed. The trick is to find a project that feels exciting, not intimidating.
This hobby has truly taken off. A quick search online shows a massive selection—market data points to over 1,200 different paint-by-number products available from major retailers. It’s clear people are discovering just how relaxing and rewarding it can be.
Finding a Design That Inspires You
Here’s the most important piece of advice I can give: choose an image you genuinely love. You’re going to be spending a good amount of time with this canvas, so pick a landscape, a pet portrait, or a cool abstract pattern that you'll be excited to see come to life.
For your very first beginner paint by numbers project, complexity is key. Look for designs with larger, simpler sections and a limited color palette. It’s much more fun to start with something you can complete confidently than to get frustrated by a super-detailed image with tons of tiny, intricate spots. Think of it as a warm-up for the more challenging pieces you'll tackle later.
A great rule of thumb for your first kit is to check the number of paint pots. A kit with around 24 colors is a perfect starting point. Anything with 36 or 48 colors will have far more detail and smaller sections, demanding a lot more patience.
Custom Kits vs. Standard Kits
As you browse, you'll mainly see two types of kits: standard and custom. Standard kits come with pre-designed images from artists, which is a fantastic way to get a feel for the process. They're reliable, beautifully designed, and ready to go right out of the box.
Custom kits are where things get personal. You can turn your own photos—a picture of your dog, a favorite family photo, or a stunning sunset from your last vacation—into a paint-by-number canvas. It’s an incredible way to create a piece of art that means something special to you. The process is surprisingly simple: you upload your photo, and the company creates a one-of-a-kind numbered canvas just for you.
So, which one is right for you? This table breaks it down.
Standard Kit vs Custom Kit What to Choose
| Feature | Standard Kits | Custom Photo Kits |
|---|---|---|
| Experience Level | Perfect for absolute beginners. | Great for all levels, but maybe after one practice kit. |
| Design Source | Professional art and illustrations. | Your personal photographs. |
| Personalization | Low; you choose from existing designs. | High; it's completely unique to you. |
| Gift Potential | Good for anyone who loves a creative hobby. | Excellent for a personalized, heartfelt gift. |
Ultimately, a standard kit is a safe and enjoyable bet for your first time. Once you have a feel for it, a custom kit is a wonderful next step.
Why Quality Matters
Trust me on this: not all kits are created equal. The quality of the canvas, paints, and brushes makes a huge difference in how much you enjoy the process.
A good-quality linen canvas will hold the paint beautifully, without it bleeding. And well-pigmented acrylic paints give you that vibrant, solid coverage you want, often in just one coat. Flimsy brushes and thin paints are just frustrating to work with.
Look for kits that include a few different brush sizes. This gives you the control you need to fill in both the big, sweeping areas and those tiny, precise details. Spending a little more on a quality kit from a reputable brand means you’ll have the right tools for the job, making the entire experience smoother and more rewarding. Our guide on selecting the right paint by number kits has even more tips on what to look for.
Setting Up Your Painting Sanctuary
You don't need a dedicated art studio to get started with paint-by-numbers. Honestly, any quiet corner with a flat, stable surface will do the trick—think your kitchen table, a small desk, or even a sturdy TV tray. The real goal is to create a little nook where you can unwind and focus without interruptions.
It's no surprise that hobbies like this are booming. The global market for art and craft materials hit USD 22.57 billion in 2024 and is expected to climb to USD 35.29 billion by 2032. People everywhere are rediscovering the joy of creating something with their own hands, and paint-by-numbers is a fantastic gateway. You can read more about this growing market on fortunebusinessinsights.com.
Let There Be Light!
I can't stress this enough: good lighting is your best friend. It’s the difference between a relaxing session and a frustrating one. Great light helps you actually see those tiny numbers, tell the difference between shade #15 and #16, and prevents your eyes from getting tired after an hour.
Natural daylight is the gold standard, so if you can set up shop near a window, do it. For evening painters, a decent lamp is a must. Grab one with a bright, neutral bulb that you can angle right over your canvas. While it might be for a home office, this complete guide to proper lighting has some great tips that work just as well for an art space.
Here's a little pro-tip I swear by: keep a small cup of water and a paper towel right beside you. This makes switching colors a breeze. A quick rinse and a dab, and you’re ready for the next number without muddying your paints.
Protect Your Space and Organize Your Gear
A few minutes of prep can save you a lot of cleanup stress. Lay down some old newspaper, a cheap plastic tablecloth, or a flattened cardboard box to catch any stray drips. Trust me, it's worth it for the peace of mind.
Get your supplies in order before you even dip a brush. I like to arrange my paint pots numerically. It sounds simple, but not having to hunt for the next color keeps you in the creative zone and makes the whole process feel much more fluid.
Here are a few optional items I've found really helpful over the years:
- An Easel: Not essential, but a small tabletop easel does wonders for your posture and gives you a much better angle to work from.
- Magnifying Glass: Some kits have incredibly tiny sections. A simple magnifying glass or even a pair of reading glasses can be a total game-changer.
- Toothpicks: These are my secret weapon! They’re perfect for giving a slightly thick paint pot a good stir or for dabbing a minuscule dot of color exactly where you want it.
Practical Painting Techniques for Beginners
Alright, your space is set up, your kit is open, and it's time for the best part: putting paint on that canvas. This is where the magic happens. Don't worry about getting it perfect right away. The goal here is to relax, enjoy the creative flow, and pick up a few simple tricks that make a world of difference.
Let's start with the basics. Getting comfortable with your brush is the first step, and it's easier than you think.
Mastering Your Brush and Paint
First things first, don't overload your brush. Just dip the very tip into the paint pot; you really only need a tiny amount. Slathering on too much paint leads to goopy, thick strokes that are tough to control and take forever to dry. A little bit truly goes a long way.
When you apply the paint, use light and even pressure. Imagine you're coloring with a fine-tipped marker. You want to gently glide the paint across the canvas and let the bristles do the heavy lifting. This simple habit helps you stay neatly within the lines and leaves you with a beautifully smooth finish.
This diagram is a great reminder of the simple setup that makes the painting part so much more enjoyable.

When your area is prepped with good lighting and organized supplies, you can dive right into these techniques without any distractions.
Smart Strategies for a Flawless Finish
While there's no single "correct" way to tackle a painting, a few proven strategies can make your first beginner paint by numbers project feel much more manageable. These methods are all about preventing smudges and keeping your colors crisp.
A really popular approach is to paint one color at a time. Just pick a number, and fill in every single section on the canvas with that specific color. It's incredibly efficient because you're not constantly stopping to clean brushes. Plus, it helps you get into a nice, meditative rhythm.
Another fantastic strategy is the top-to-bottom method. By starting with the sections at the top of the canvas and gradually working your way down, you avoid accidentally dragging your hand or sleeve through wet paint. If you're left-handed, you might find it more natural to work from the top-right corner down to the bottom-left.
Don't be shy about applying a second coat. Some of the lighter colors, like yellows and whites, can be a little see-through on the first pass. Just let that first layer dry completely, then go over it again for a solid, vibrant look.
Fixing Those Little Mistakes
Let's be clear: mistakes are going to happen. And that's perfectly okay! Everyone paints outside the lines now and then or grabs the wrong color by accident. The great thing about the acrylic paint in these kits is that it's incredibly forgiving.
Here’s how you can handle those common little slip-ups:
- Painting Outside the Lines: If the paint is still wet, just grab a clean, damp cotton swab and gently wipe it away. If it’s already dried, don't sweat it. Simply paint over the mistake with the correct adjacent color later on.
- Used the Wrong Color: The fix is easy. Let the incorrect paint dry completely. Once it's dry, you can paint right over it with the color that was supposed to go there. A dark color might need two coats of a lighter color to be fully covered, but it works like a charm.
- Paint is Too Thick or Thin: If a paint pot seems a bit thick and gloopy, add one single drop of water and stir it thoroughly with a toothpick. On the flip side, if a color is too watery, just leave the lid off for about 15-20 minutes to let some of the moisture evaporate.
A Touch of Blending for a Pro Look
Want to take your painting to the next level? Try a little blending. This simple technique softens the hard edges between different colors, making your painting look less like a mosaic and more like a traditional piece of art.
The key is to work while the paint is still wet. Fill in one section, then immediately paint the adjacent section with its color. Before they have a chance to dry, use a clean, dry brush to gently "feather" the line where the two colors meet. Use light, back-and-forth strokes to create a smooth, gradual transition.
For a deeper dive into this and other cool tricks, check out our guide on acrylic painting techniques for beginners.
Finishing and Displaying Your Masterpiece
There's nothing quite like that feeling of laying down the final brushstroke. You did it! You’ve turned a blank, numbered canvas into a real piece of art, and now it’s time to give it the grand finale it deserves.
These last steps are what really elevate your project from a fun craft into a lasting keepsake. A little effort now will protect your hard work and get it ready to be shown off.
Protecting Your Artwork With Varnish
Think of varnish as a shield for your painting. The acrylic paints in most kits are pretty tough, but they’re not invincible. Over time, they can get dusty or even fade from sunlight. A clear coat of varnish is the best way to lock in those brilliant colors.
Varnish does more than just protect; it can seriously enhance the final look. It unifies the sheen across all the different colors, giving the entire piece a more professional, cohesive finish. You’ll notice the darks get deeper and the brights really pop.
You have a choice when it comes to the final look. A gloss varnish creates a vibrant, shiny surface that makes colors look rich and saturated. If you prefer a non-reflective, modern look with zero glare, a matte varnish is the way to go.
If you need a bit more guidance, this is a great resource on how to seal acrylic paint on canvas that walks you through it.
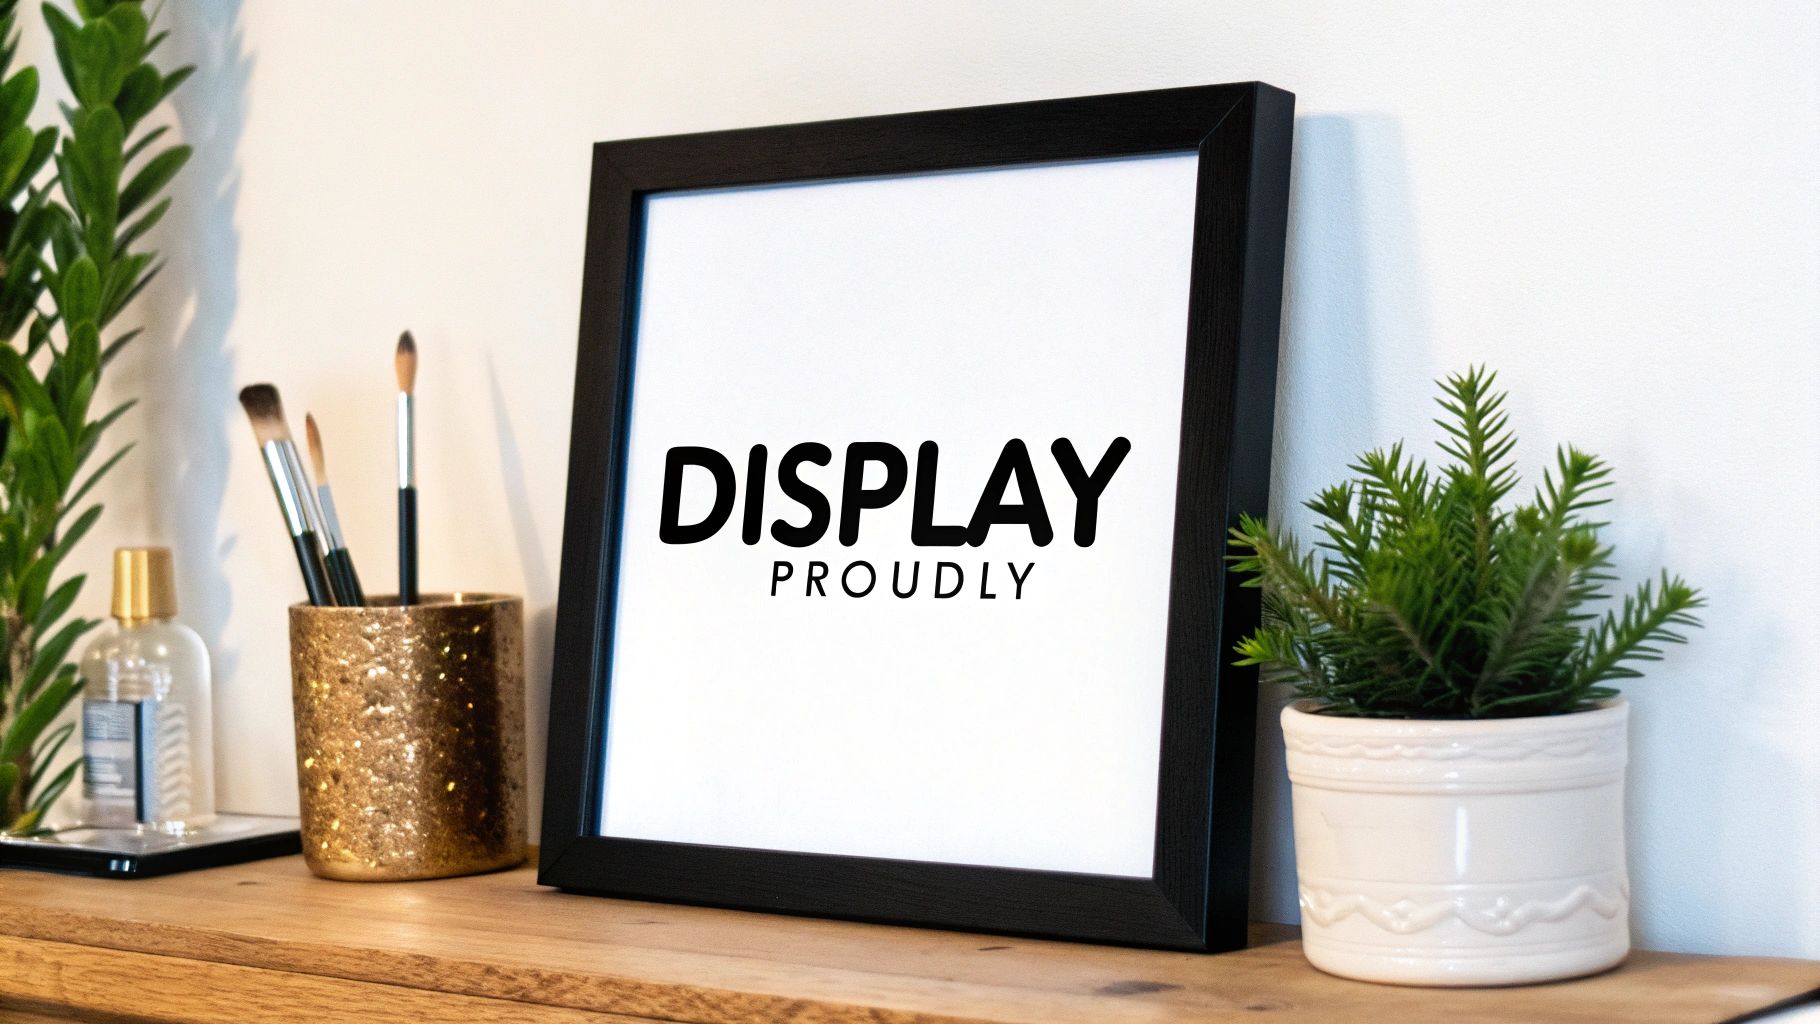
Creative Ways to Display Your Painting
Once your masterpiece is sealed and dry, it’s time to find the perfect home for it. Don’t feel like you need to run out and spend a fortune on custom framing, especially when you're just starting out. There are plenty of great ways for a beginner paint by numbers artist to display their work.
Here are a few of my favorite ideas:
- Classic Framing: You can never go wrong with a simple black, white, or wood-grain frame. It puts the focus squarely on your art. Most craft stores have affordable frames that fit standard canvas sizes.
- Stretcher Bars: Many paint-by-numbers kits come with an optional DIY wooden frame, also called stretcher bars. If you assemble this before you start, you’ll end up with a taut, gallery-wrapped canvas that looks fantastic hanging just as it is.
- Casual & Modern: For a more relaxed vibe, try using magnetic poster hangers or even a few stylish bulldog clips. A small decorative easel is also a lovely way to prop up your painting on a desk, shelf, or mantelpiece.
However you decide to display it, make sure you put it somewhere you can see it every day. It’s a wonderful reminder of the time you dedicated to creating something beautiful with your own hands.
A Few Common Paint by Numbers Questions
As you get started, you're bound to have a few questions. Don't worry, everyone does! Getting a handle on these little details early on will help you avoid frustration and keep the painting process fun and relaxing. Let's tackle some of the things new painters ask most often.
What Should I Do if My Paint Is Too Thick or Dried Out?
It's a common moment of panic: you pop open a paint pot and find it's either goopy or, even worse, a solid little puck. If the paint is just a bit too thick and paste-like, the fix is usually pretty simple. Just add one tiny drop of water or an acrylic flow improver and give it a good stir with a toothpick until it's back to a creamy consistency.
A completely dried-out pot is a tougher challenge, but it's not always a lost cause. You can try adding a few drops of warm water, sealing the lid tightly, and letting it sit for about an hour before stirring like crazy. The real trick, though, is prevention. Always make sure you hear that satisfying "click" when you close the lids after painting.
Here's a pro tip I swear by: give each paint pot a quick stir with a toothpick before you start using it. This gets the pigment mixed evenly and ensures you have a perfectly smooth consistency right from the get-go.
How Do I Blend Colors for a Softer Look?
If you're aiming for a final piece that looks less like a mosaic and more like a fluid painting, blending is your secret weapon. It's a fantastic technique for softening the hard lines between different colors, giving the whole thing a more seamless, professional finish.
The easiest way to do this is with a "wet-on-wet" approach. As soon as you paint one numbered section, immediately paint the color in the section next to it, bringing the wet paints right up to the edge. Then, with a clean, slightly damp brush, just gently blur the line where they meet. You'll be amazed at the beautiful, soft transition it creates.
Should I Paint Light or Dark Colors First?
Ah, the great debate! Honestly, you'll find experienced painters on both sides of this fence, and neither is wrong. A lot of people will tell you to start with the darker colors first. Their logic is sound—if you accidentally slip into a lighter area, the dark paint will cover it up easily.
On the other hand, some artists prefer to start with the light colors, since those shades can be more transparent and might need a second coat anyway. A simple strategy that works great for any beginner paint by numbers painter is to just tackle one number at a time. Finish all the '7s' on the canvas, for example, then clean your brush and move on to all the '8s'.
Do I Really Need to Clean My Brush Between Colors?
Yes, one hundred percent. This is the one rule you really shouldn't break if you want your colors to stay crisp and true. Even a tiny speck of dark blue left on your brush can turn a bright yellow into a murky green, both on the canvas and in the paint pot itself.
It only takes a second. Just give the brush a good swirl in your water cup until the bristles look clean, then gently blot it on a paper towel until no more color comes off. It's a small habit that makes a huge difference in how vibrant your final painting looks.
Ready to transform a favorite photo into a painting project? We make it incredibly simple to create a personalized kit from your own memories.
Start creating your custom masterpiece today at paint-by-number.com!


