

A landscape paint-by-number kit is a fantastic way to create a beautiful piece of art, no matter your experience level. It cleverly breaks down a complex scene into a simple, numbered guide. This makes the whole process feel less intimidating for absolute beginners and wonderfully relaxing for seasoned painters.
Why Everyone Loves Landscape Paint by Numbers
The real magic of a landscape paint-by-number kit isn't just the finished painting—it's the journey of creating it. It’s a hobby that perfectly blends mindfulness with a bit of skill-building. You get to unplug and focus on the simple, satisfying task of matching paint to a number.
This isn't some new fad, either. The idea exploded in the 1950s as people searched for easy ways to be creative. By 1955, an incredible 20 million kits had been sold in the U.S. alone, proving that anyone can be an artist.
The beauty of this process is its simplicity. It removes the intimidation of a blank canvas and replaces it with a clear, guided path to a stunning final product.
The Draw of Natural Scenes
There's a reason landscapes are such a popular choice for these kits. They just connect with people on a few different levels:
- It’s Therapeutic: There’s something so calming about painting a peaceful forest, a still lake, or a dramatic mountain range. It’s a great way to unwind and de-stress.
- You're Learning as You Go: You’ll naturally start to pick up on concepts like color theory, perspective, and composition as you work with the light and shadows in the scene.
- Endless Inspiration: Nature offers a staggering variety of scenes to paint. You can find inspiration anywhere, from a local park to the stunning, unique cacti of the Sonoran Desert.
How to Choose Your Perfect Landscape Kit
Picking out the right landscape paint-by-number kit is the first, and honestly, one of the most exciting parts of the whole process. Think of it as choosing your next adventure. You want to find a scene that genuinely pulls you in—maybe it's a serene forest trail, a fiery ocean sunset, or a majestic mountain range.
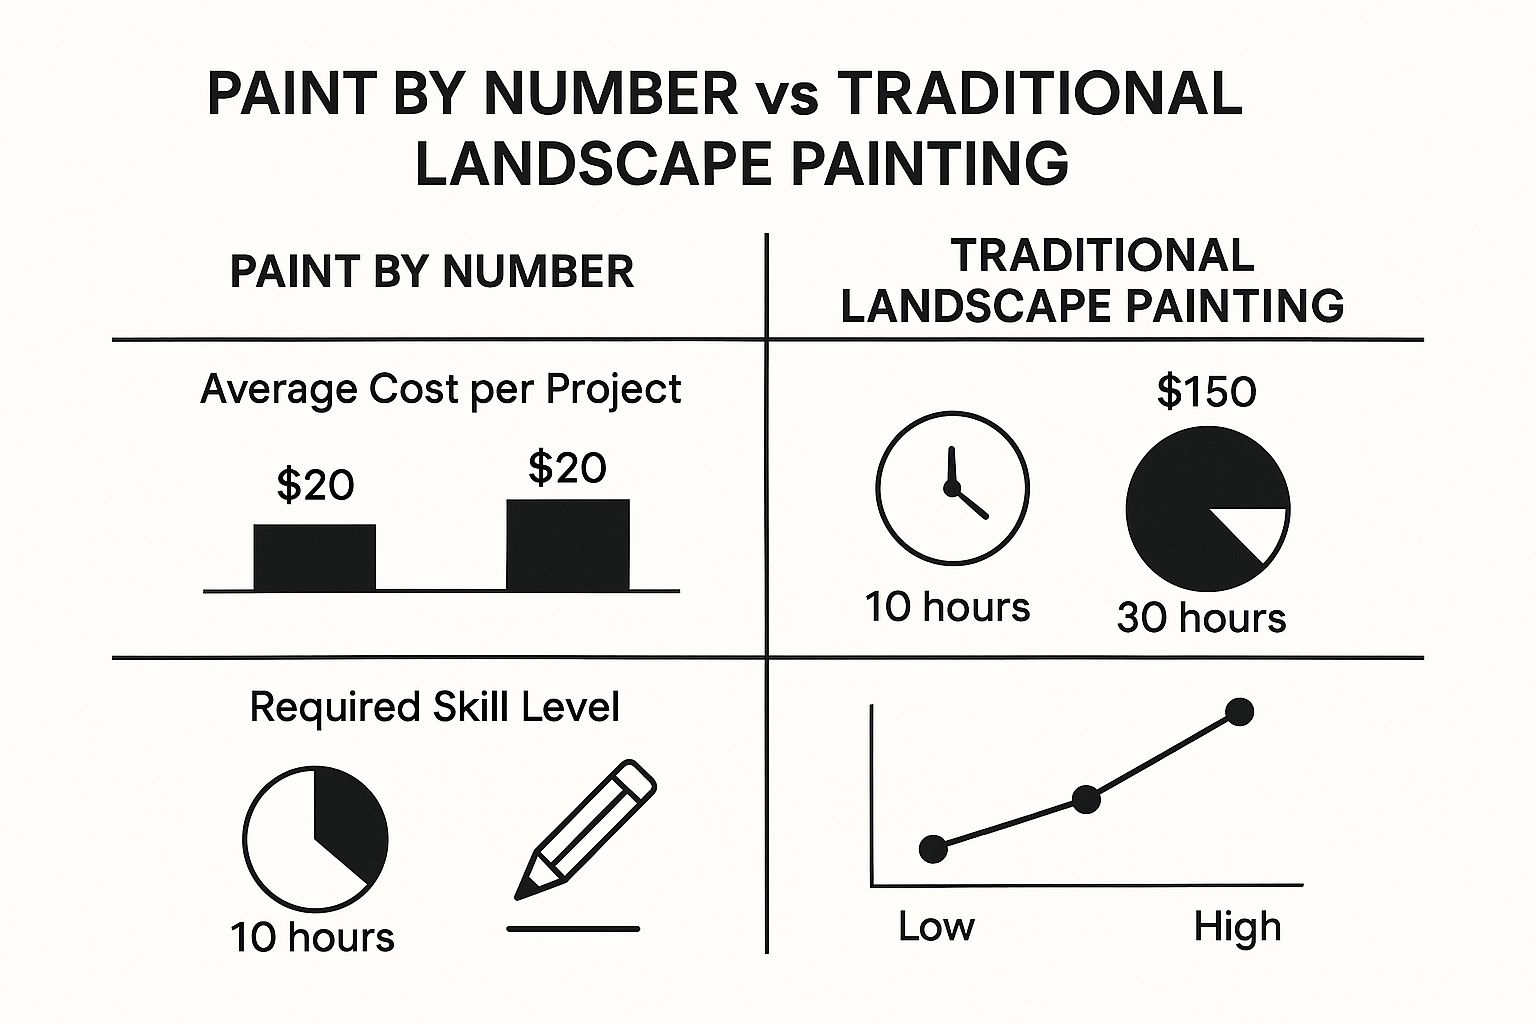
Once you find a picture you love, it's time to look at the practical side of things. Think about how much of a challenge you're in the mood for. A kit with 24 paints and big, easy-to-fill sections is fantastic for a chill weekend project. On the other hand, if you're ready to really dive in, a design with 36 or more paints and lots of tiny, detailed areas will offer a deeply rewarding experience.
Finding Your Skill Level Match
Before you click "buy," zoom in on the canvas preview if you can. Do the numbered areas look fun and doable, or a little intimidating? If you're just starting out, look for kits with larger sections. They're much easier to fill and are a great way to build up your confidence and brush control. More advanced kits will have those tiny, intricate spots that demand a steady hand but create incredible detail.
The quality of the materials makes a huge difference, too. I always recommend looking for kits that come with a high-quality linen canvas and vibrant, creamy acrylic paints. Good materials mean your colors will pop and the finished piece will look like something you'd be proud to hang on your wall. If you need some ideas, checking out a list of the best paint by number kits can be a great starting point to see what's out there.
To help you decide, here’s a quick guide to understanding what to expect from different kits.
Kit Complexity Level Guide
| Complexity Level | Ideal For | Canvas Details | Number of Paints |
|---|---|---|---|
| Beginner | First-timers, kids, or a relaxing project | Large, simple shapes with clear numbers. | 18-24 |
| Intermediate | Those with some experience or a steady hand | A mix of large and small sections. | 24-36 |
| Advanced | Experienced painters looking for a challenge | Many small, intricate areas requiring fine detail. | 36+ |
Ultimately, choosing a kit with the right complexity for your current skill level ensures the experience is enjoyable from the first brushstroke to the last.
As you can see, these kits are designed to make art accessible to everyone, regardless of their background.
They're so much more than just a craft project; they're a blend of art lesson and mindfulness practice all in one. It’s no wonder the hobby and craft market has boomed, surpassing $46 billion in revenue in the early 2020s. Paint-by-numbers is a huge part of that, proving just how much people everywhere love to create.
Get Your Painting Space Ready to Go
Before you even think about dipping a brush in paint, setting up your space is a must. A little prep work can be the difference between a frustrating mess and a relaxing, creative session. It really does make the whole experience smoother and lets you just focus on the fun part.
First things first: light. Find a spot with plenty of good, bright light. If you have a spot near a window with natural daylight, that’s perfect. If not, a good desk lamp will do the trick. You need to see those tiny numbers clearly, and good lighting ensures the colors you're painting are true to life.
Next, cover your work surface. Whether you’re at the kitchen table or a dedicated desk, lay down some newspaper or an old tablecloth. Trust me, this simple step lets you relax and paint freely without worrying about drips and spills.
Lay Out Your Supplies
Once your area is protected, it's time to get your materials in order. Having everything within arm's reach means you can stay in the zone without constantly stopping to find something.
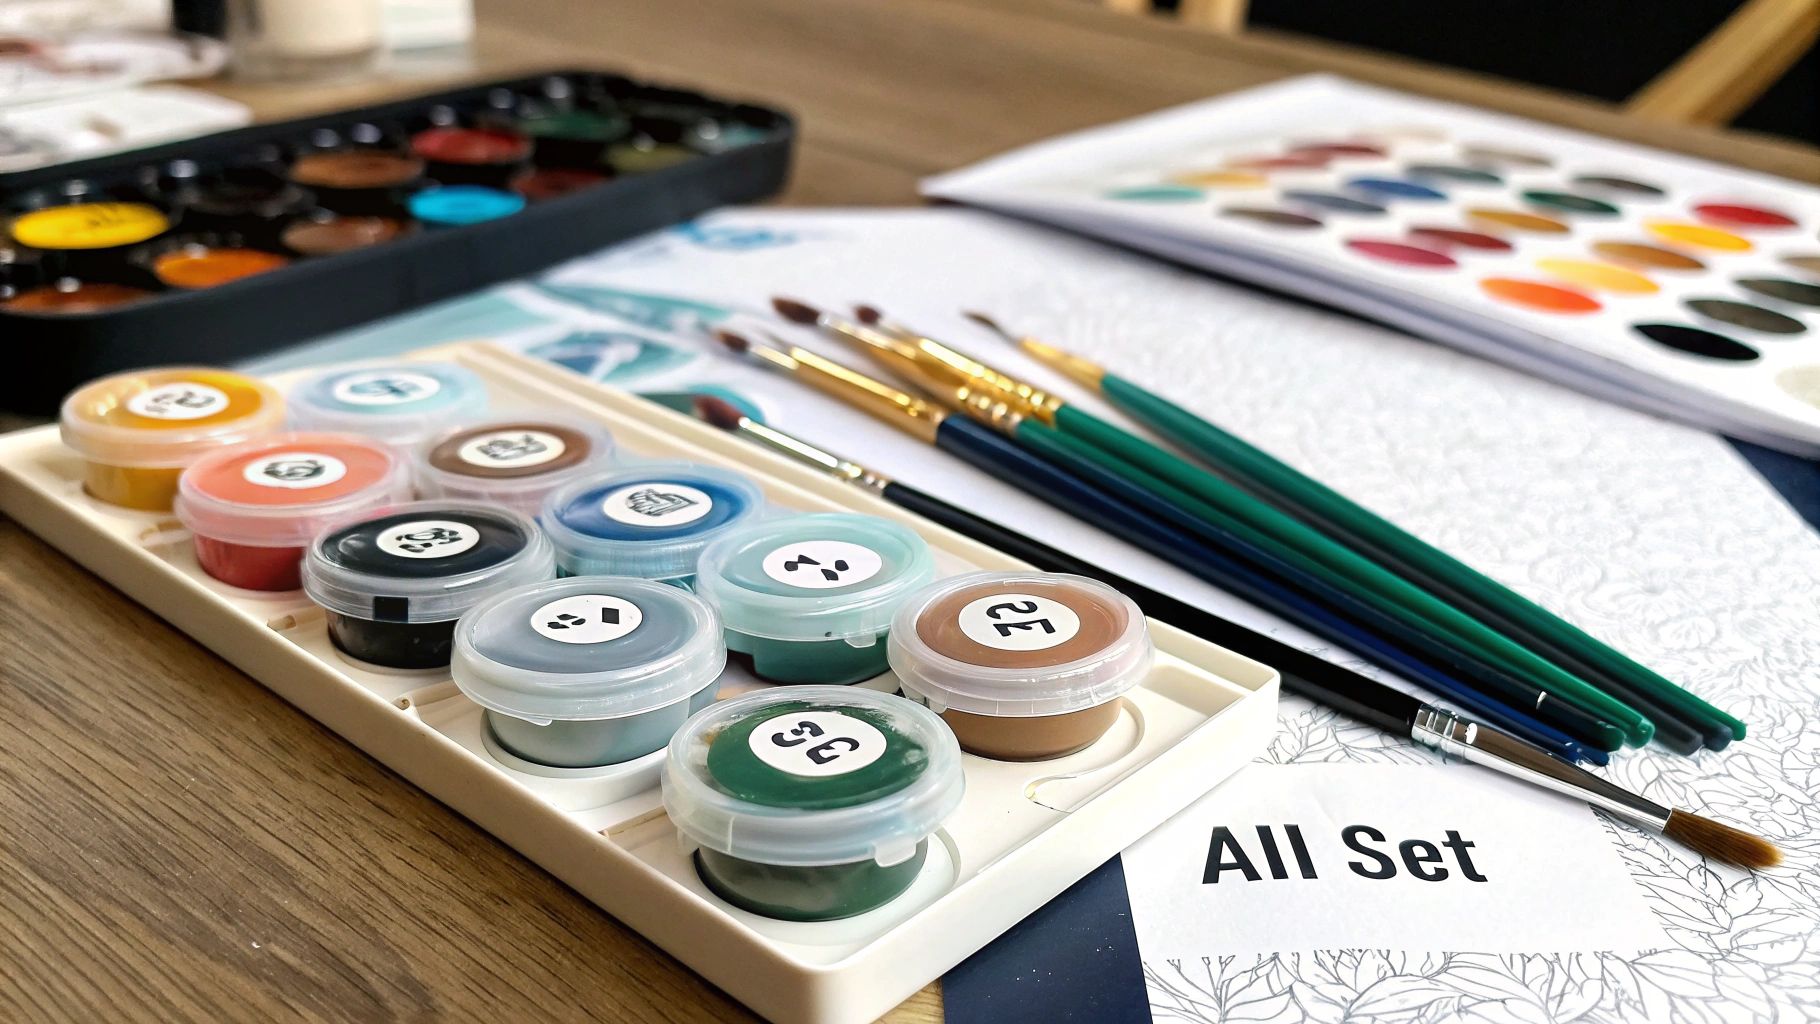
- Organize Your Paints: I find it helps to line up the paint pots numerically. This way, you can grab the next color instantly without searching.
- Water and Paper Towels: Have a cup of water ready for rinsing your brushes, and keep a roll of paper towels or a cloth handy. You'll need them to gently dab your brushes dry after rinsing.
Pro Tip: Sometimes, a canvas arrives folded or creased from shipping. To get it perfectly flat, you can gently iron the back of it on a low heat setting before you start painting. This makes a huge difference.
Taking a few minutes to get organized really pays off. For a deeper dive, check out these great tips on organizing your craft supplies effectively for any project.
With your paints in order and your space ready, you’re all set to start bringing that landscape to life. A tidy setup is the first step to a great painting experience.
Essential Painting Techniques for a Better Finish
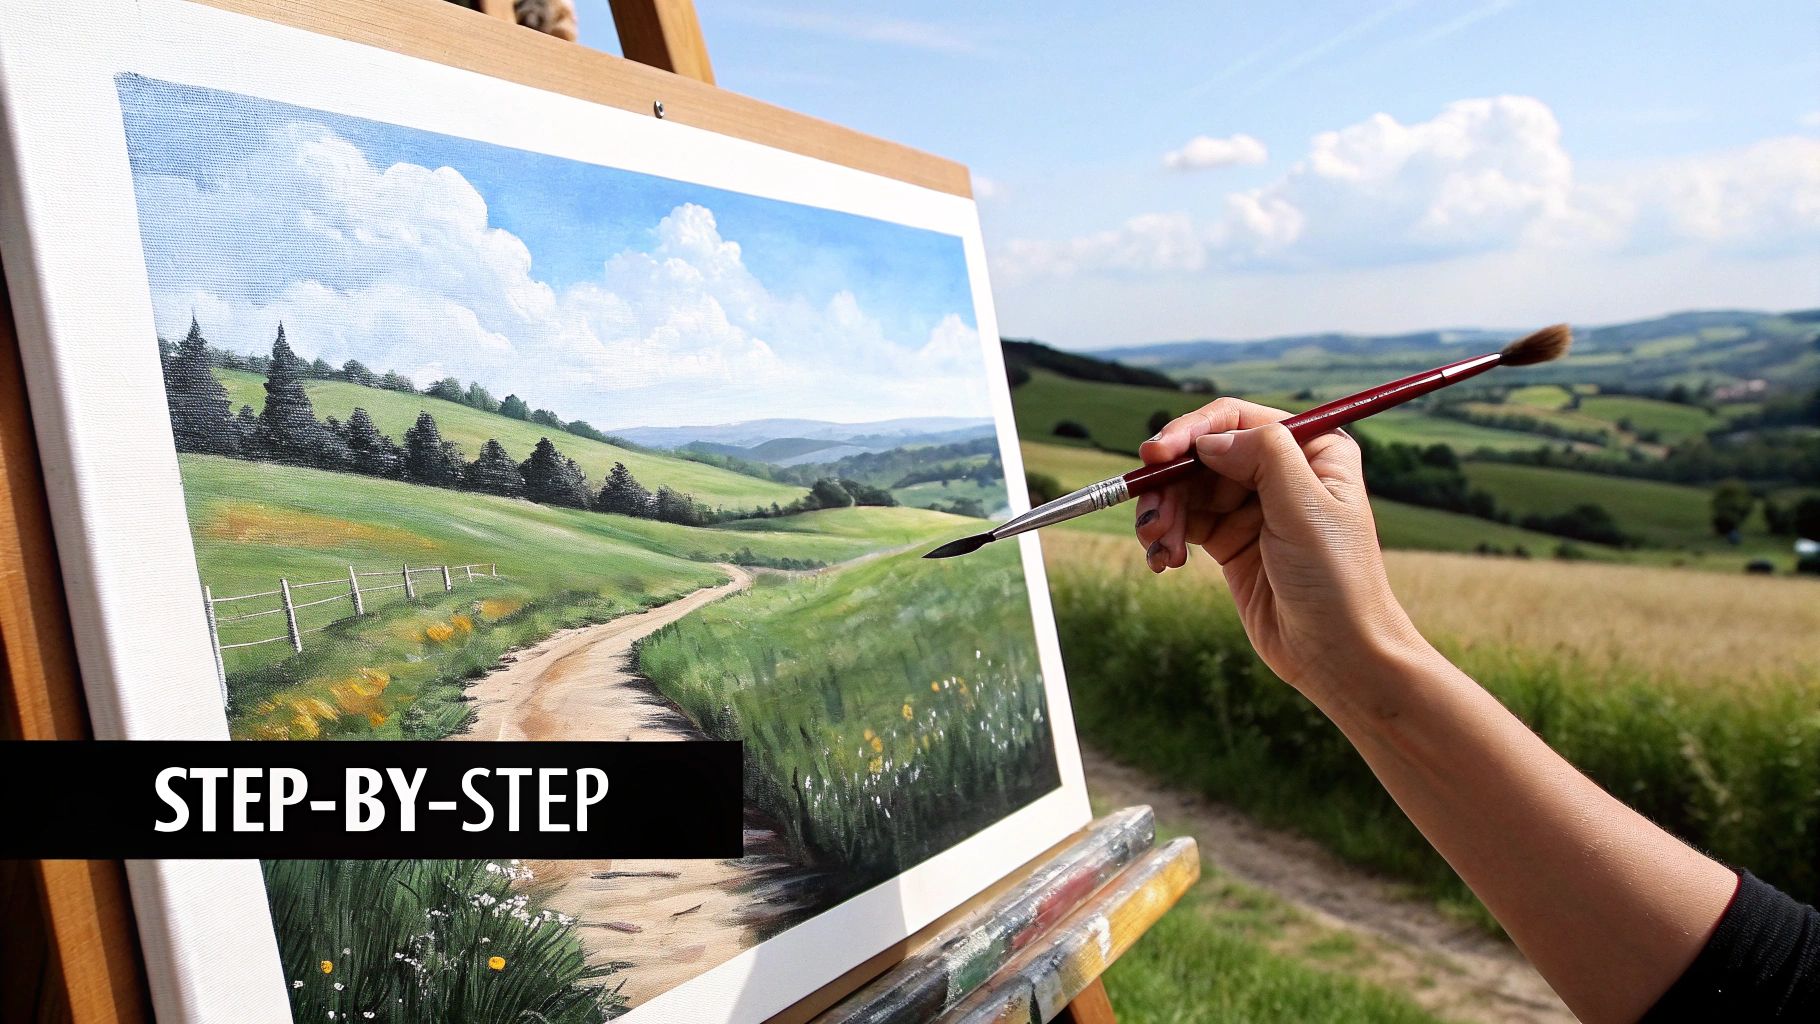
Alright, your workspace is ready, so it's time for the fun part—bringing that landscape to life. This is where you can go beyond just coloring inside the lines and really elevate your painting from a simple craft into a piece of art. A few simple strategies I've picked up over the years can make a huge difference in the final result.
First, a classic painter's trick: start at the top of the canvas and work your way down. This little habit saves you from the frustration of smudging wet paint with your arm as you reach across the canvas. If you're right-handed, I find that starting in the top-left corner and moving across and down works best.
Another pro tip is to tackle one color at a time. Pick a number and fill in every single section for that color before moving on. It’s way more efficient. You'll spend less time cleaning brushes, which not only keeps your colors pure but also helps your brushes last longer.
Creating Depth and Texture
Want to give your landscape a more realistic, professional look? It all comes down to how you apply the paint. You might notice that lighter colors—like pale sky blues or sunny yellows—can look a bit transparent on the first go. Don't worry about it. Just let the first layer dry completely and then go over it with a second, thin coat. This simple step makes those colors incredibly vibrant and solid.
You can also play with texture by changing up your brushwork. Instead of using smooth, flat strokes for everything, try these simple techniques for different parts of your scene:
- Dabbing or Stippling: Use the very tip of your brush to tap on small dots of paint. This is a fantastic way to create the look of leafy trees or the rough surface of a rock.
- Dry Brushing: This one is great for clouds or wispy water. Dip your brush in a tiny bit of paint, wipe most of it off on a paper towel, and then lightly drag the nearly dry brush across the canvas.
These methods add so much visual interest and dimension. If you're curious to learn more, there are plenty of other acrylic painting techniques for beginners that work beautifully with paint-by-number kits.
My Favorite Trick: The single most impactful technique for landscapes is softening the hard edges between colors. While the paint is still wet, take a clean, slightly damp brush and gently blur the line where two colors meet. This creates a beautiful, natural gradient that's perfect for realistic skies, water, and distant mountains.
The love for this hobby is undeniable. In 2024 alone, the industry estimates that over 15 million landscape kits were sold globally—that’s a huge testament to their popularity. In fact, landscapes often make up more than 30% of all paint-by-number sales, which just goes to show how much people enjoy capturing the beauty of nature on canvas.
Putting the Finishing Touches on Your Masterpiece
There’s a special kind of satisfaction that comes with painting that very last numbered section. You’ve done it! But before you pop it on the wall, a couple of final steps can really make your landscape painting shine and look like a true piece of art.
First things first, let's protect your hard work. Sealing your painting with a clear acrylic varnish is a game-changer. It’s not just about protecting the surface from dust or fading over time; it’s about making the colors come alive. A good varnish deepens the hues, making that sky a richer blue and the forest a more vibrant green. You've got options here: go with a glossy varnish for a bright, reflective finish, or choose a matte varnish if you prefer a more subtle, glare-free look.
Polishing the Details
After the varnish has completely dried, take a step back and give your painting one last look. Can you see any faint numbers or lines showing through the lighter paint colors? It happens all the time, especially with yellows and whites, but it's an easy fix. Just grab a tiny bit of the corresponding paint and carefully dab over those spots.
The idea is to make the guide completely invisible, so all anyone sees is the beautiful scene you’ve brought to life. It’s a small detail that makes a huge difference.
Now for the best part—showing it off! Framing is what truly completes your landscape. Think of the frame as the final brushstroke; it can enhance the whole mood of the piece. A rustic, weathered wood frame might be the perfect match for a cozy forest scene, while a sleek, simple black frame could give a dramatic mountain vista some extra punch.
There are a bunch of ways to get your painting ready for display. For some great tips and tricks, check out our guide on how to frame canvas paintings. Once it's framed and ready, find that perfect spot in your home where it can catch someone's eye and remind you of the awesome creative journey you just took.
Got Questions? Let's Talk Through Common Painting Snags
Even when you've prepped everything perfectly, you're bound to run into a few little quirks while painting. That's totally normal, and honestly, it's part of the process. Luckily, most of these common issues have a really simple fix.
What to Do With Goopy or Dry Paint
First up, a classic problem: you open a paint pot and find it’s gotten thick or a little dried out. Don't toss it! Just add one or two drops of warm water and give it a gentle stir with a toothpick. The key here is to go slow—you can always add another drop, but you can't take water out. You're aiming for that smooth, creamy texture, not a watery mess.
My Best Advice: The number one way to avoid this is to get into the habit of snapping those little lids shut tightly every single time you're done with a color. It’s a tiny action that makes a huge difference in keeping your paints ready to go.
Oops, I Made a Mistake! (And How to Handle Tiny Spaces)
So, you colored outside the lines or grabbed the wrong number. It happens to all of us. The fix is easy: just let the paint dry completely. Seriously, walk away and let it dry. Once it’s set, you can go right over it with the correct color. If you're covering a dark mistake with a light color, you might need a second coat, but it's a surprisingly forgiving process.
And what about those incredibly tiny, detailed spots that seem impossible to fill? They can be intimidating, but they're what make the final piece pop. Here’s how I tackle them:
- Grab Your Smallest Brush: That super-fine detail brush included in your kit? This is its moment.
- Brace Your Hand: To keep from getting shaky, I like to rest my painting wrist on my other hand or anchor my pinky finger on a dry part of the canvas. It really helps stabilize your strokes.
- Less is More: Only dip the very tip of your brush into the paint. Overloading it is the fastest way to lose control and end up with a blob where a fine line should be.
One last thing people always ask: "Do I really need to clean my brush every time I switch colors?" Yes, you absolutely do. A quick rinse in your water cup and a dab on a paper towel is all it takes. This simple step keeps your colors from turning muddy and ensures that brilliant blue sky doesn't get a hint of forest green in it.
Ready to put these tips into practice? At Custom Paint By Numbers, we have a whole world of stunning landscapes waiting for you. You can even turn your own favorite photo into a custom kit. Find your next project at paint-by-number.com.


