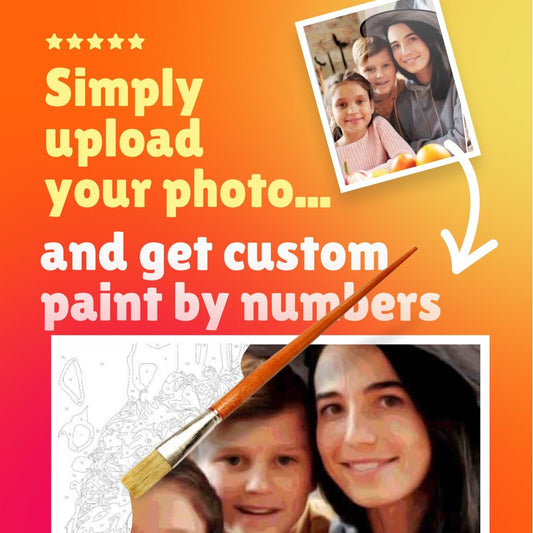
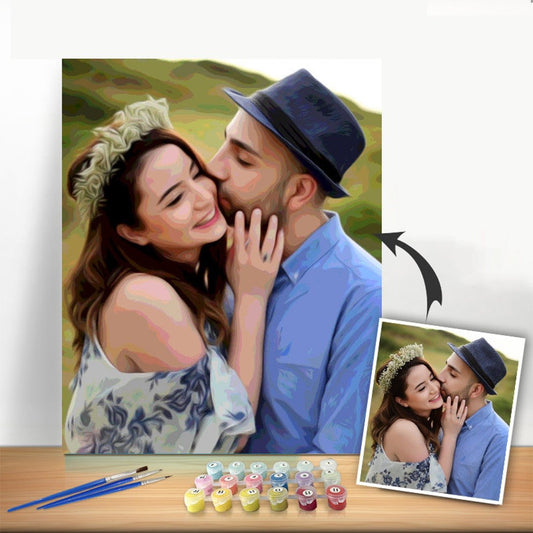
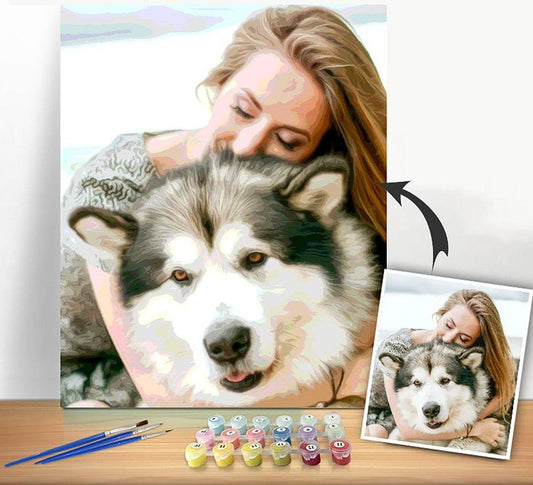
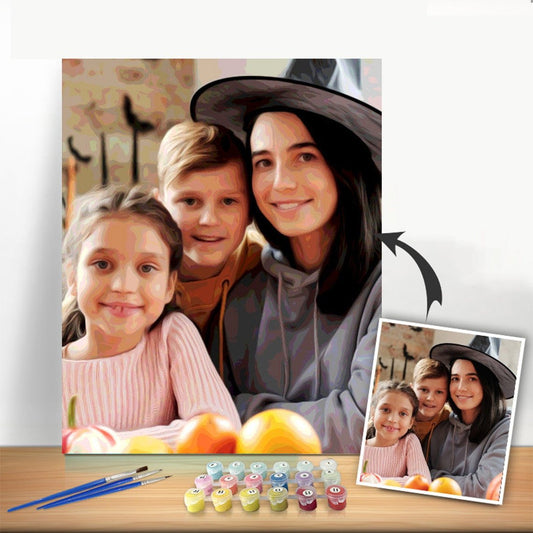
Ever thought about turning one of your favorite photos into a real painting? With a DIY paint by numbers kit, you can do just that. It’s a surprisingly simple way to bring a special memory to life on canvas—whether it's a family picture, a shot of your pet, or that perfect sunset from your last vacation. You don’t need any artistic experience to create something you'll be proud to hang up.
This guide will walk you through everything, from picking the right photo to putting the final touches on your artwork.
Your Guide to Creating a Custom Paint By Numbers Masterpiece
There’s a unique kind of satisfaction that comes from creating something with your own hands. Imagine hanging a painting on your wall that started as a personal photo you took. That’s the appeal of a custom paint by numbers kit. It’s not just a craft project; it’s a chance to slow down, unplug, and watch a meaningful image come together one brushstroke at a time.
It’s no wonder this hobby has exploded in popularity. People everywhere are discovering how relaxing it can be. The market for these kits is actually projected to hit USD 2.87 billion by 2033, growing at a rate of 7.1% each year. This isn't just a fleeting trend; it shows how much we all crave hands-on activities that help us de-stress and make something personal.
The Joy of Personalized Art
What really sets a custom kit apart is the personal connection. Instead of painting a generic landscape, you're recreating a moment that means something to you. There's a special kind of magic in watching a familiar face or place emerge from a canvas of numbers and lines. It’s a completely different way to connect with your memories.
This kind of personalized crafting is just the beginning. Once you get the creative bug, you can try all sorts of projects, like figuring out how to make your own DIY photo booth frame for your next party. Every project is an opportunity to put a bit of yourself into the things you create.
When you turn a personal photo into a painting, you're doing more than just making art—you're telling a story. Each brushstroke brings a memory to life, creating a keepsake that’s both beautiful and full of meaning.
Choosing the Right Photo for Your Kit
The first, and most important, step in creating a custom DIY paint by numbers kit has nothing to do with paint. It’s all about the photo you choose. A fantastic picture translates into a stunning painting with crisp lines and beautiful colors, but a bad one can lead to a blurry mess that’s just plain frustrating to work on.
You’re looking for an image with a clear, obvious subject. Think of a portrait where the person’s face is sharp and well-lit, or a landscape with a defined foreground and background. Photos that are blurry, low-resolution, or just too dark simply don't have enough data for the software to create a clean, paintable canvas.
What Makes a Photo Great for Painting
Good lighting is everything. I’ve found that photos taken in natural daylight, without any harsh shadows or washed-out bright spots, always produce the best results. You also want good contrast—that clear difference between the light and dark parts of your image is what will give your finished painting a real sense of depth.
Before you upload your picture, a few quick edits on your phone can make a huge difference.
- Crop for Composition: Don’t be afraid to cut out busy backgrounds to really zero in on what matters. A tight crop on a pet’s face or a smiling group of people almost always creates a more compelling piece of art.
- Adjust Brightness and Contrast: Bumping up the brightness just a little can reveal details hiding in the shadows, making them much easier to see and paint.
- Boost Saturation (Slightly): A little extra pop of color can make the final painting feel more vibrant and alive. Just don’t overdo it!
The software that generates your custom kit essentially translates the pixels from your photo into numbered paint sections. The clearer your original image is, the better your painting will turn out. It's as simple as that.
This little decision tree can help point you in the right direction.
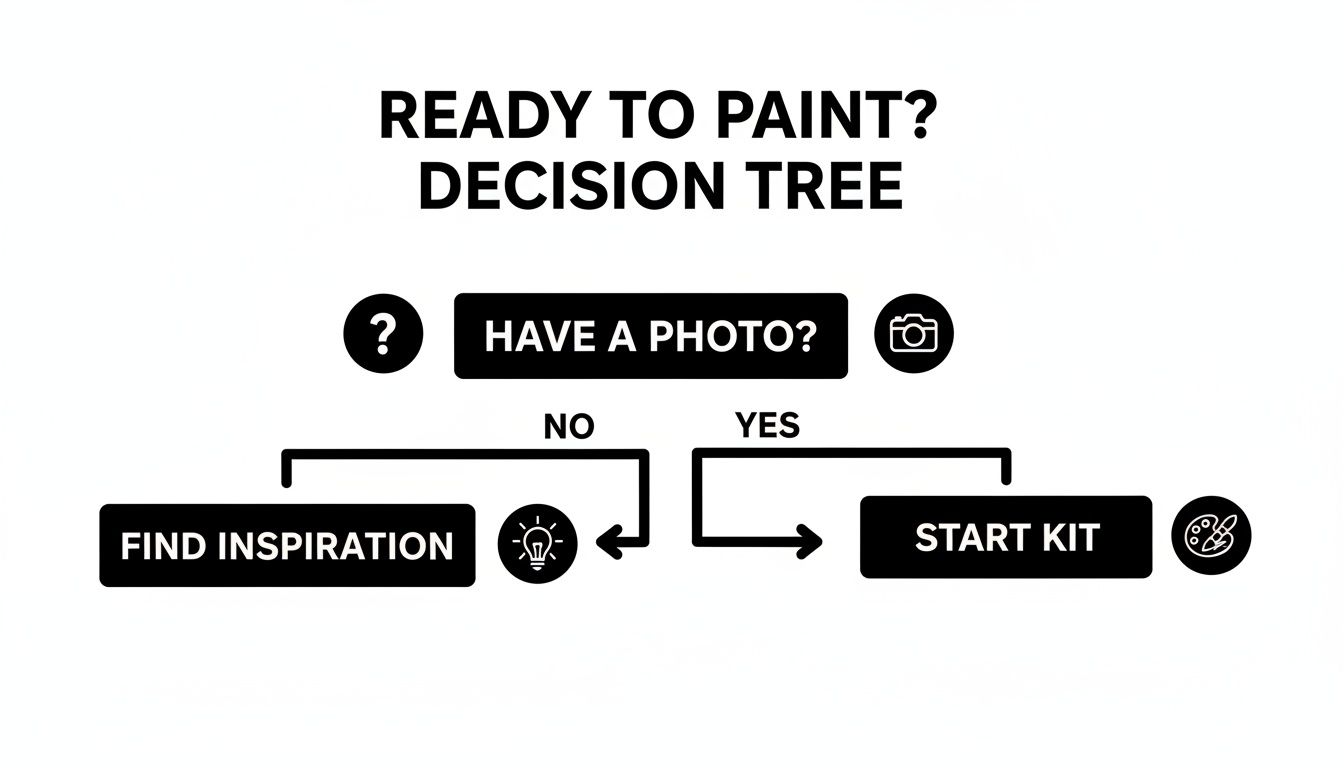
As you can see, if you've already got a photo you love, you're all set to start building your kit.
Matching Your Photo to the Right Kit
Once you've picked your winner, the next step is to match it with the right canvas size and paint count. This is where you have to be honest about the complexity of your image. A detailed photo with lots of subtle color changes—like a fiery sunset or a flower garden—really needs a larger canvas and more paint colors to do it justice. On the other hand, a simpler image, like a cute cartoon-style portrait of your dog, can look amazing on a smaller canvas with fewer paints.
I've put together a quick guide to help you decide.
Matching Your Kit to Your Creative Goals
Use this table to decide on the best kit specifications based on your photo's detail and your desired painting experience.
| Specification | Best for Beginners | Best for Detailed Artwork |
|---|---|---|
| Canvas Size | 16x20 inches (40x50 cm) or smaller. The sections are larger and easier to manage. | 20x24 inches (50x60 cm) or larger. More space to capture fine details without feeling cramped. |
| Paint Count | 24 colors is a great starting point. It provides enough variety without being overwhelming. | 36 or 48 colors are ideal. This allows for subtle shading, gradients, and a more realistic finish. |
| Photo Type | Simple portraits, bold graphics, pet photos with a clean background. | Complex landscapes, group photos, detailed architectural shots, or intricate floral patterns. |
Taking a moment to align your photo’s complexity with the kit’s specs is the final gut check before you order your personalized art project.
For a deeper dive, our guide on how to choose the perfect custom canvas size has even more tips.
A little pro-tip: while our kits include everything you need, I always like to have a printed copy of the original photo on hand for reference. If you decide to do this, selecting a high-quality photo printer makes a world of difference in getting the colors just right, giving you a perfect guide as you bring your masterpiece to life.
Setting Up Your Creative Workspace
So, your DIY paint by numbers kit has arrived! I know the feeling—you just want to rip it open and start dabbing colors onto the canvas. But trust me on this: taking ten or fifteen minutes to set up a proper painting spot will make the whole experience so much more relaxing and enjoyable. A little prep now prevents a lot of frustration later.
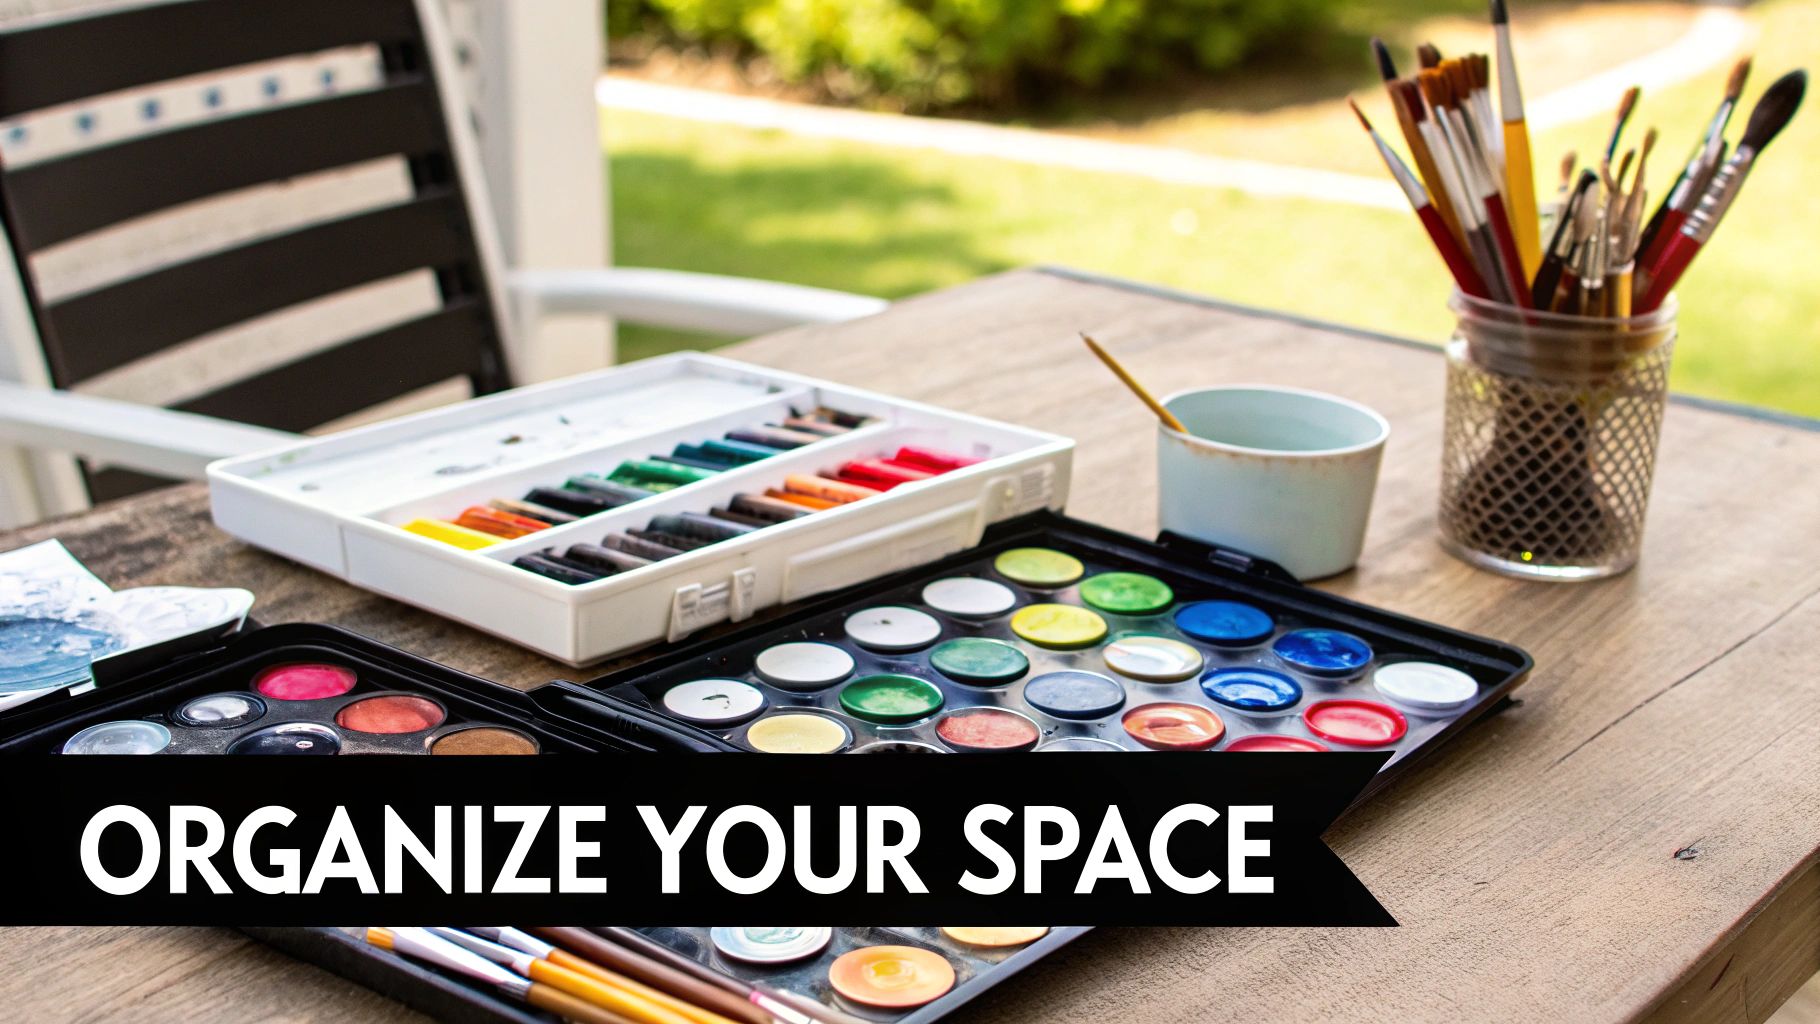
First things first, find your spot. You don't need a dedicated art studio. The corner of a kitchen table or a small desk is perfect. The single most important thing is good lighting. If you can, set up near a window for natural light; it shows the true colors of the paint. Painting at night? Grab a bright desk lamp and aim it right at your canvas. This will save you from squinting and help you nail those tiny, detailed areas.
Organizing Your Supplies for Easy Access
Once you've claimed your space, lay everything out. I always start by putting down some old newspaper or a cheap plastic tablecloth to protect the surface. Dried acrylic paint is no fun to scrape off a dining table.
Now for the paints. I find it easiest to arrange the little pots in numerical order. It sounds simple, but it saves you from hunting for the right number mid-flow. A quick pro-tip: only open one paint pot at a time. This keeps the rest from drying out while you work.
Your brushes need a little attention, too. Before you even think about dipping one in paint, give it a gentle swirl in a cup of water and blot it on a paper towel. This gets rid of any stray bristles or starchy coating from the factory and makes that first brushstroke much smoother.
A well-organized workspace is about more than just tidiness; it’s about removing friction. When everything you need is within arm's reach, you can stay immersed in the creative process without interruption, letting the colors flow and the image emerge.
Gathering a Few Essential Extras
Your kit includes all the core components, but a few simple things from around the house can really improve your painting session. Having them ready from the start means no more frantic searching with a paint-loaded brush in hand.
Here's a quick list of what I always keep nearby:
- A Cup of Water: This is non-negotiable for cleaning brushes. I recommend a heavy mug or a glass jar because they're much harder to knock over than a flimsy plastic cup.
- Paper Towels or an Old Rag: Perfect for dabbing your brush after rinsing. If your brush is too wet, the paint will get watery and might bleed over the lines.
- Toothpicks: This is my secret weapon! A toothpick is fantastic for stirring any paint that might have separated and for getting tiny dots of color into the most intricate spots on the canvas.
With your station all set up and these extras at your side, you're ready to start a smooth and satisfying painting journey.
Essential Painting Techniques for a Professional Finish
Alright, your workspace is set up and you're ready to start painting. The real fun begins now, turning that numbered canvas into a piece of art. It’s not about following rigid rules, but picking up a few good habits can make a huge difference in how your painting turns out. These little tricks are what help prevent common mistakes and really elevate the final look.
I always tell people to start painting from the top of the canvas and work their way down. It's a simple habit, but it's a lifesaver—it keeps you from dragging your hand or sleeve through wet paint. Nothing's worse than smudging a section you just perfected!
Another smart move is to tackle one color at a time. Find all the sections for a single number and fill them all in before cracking open the next pot. You'll get into a nice rhythm this way, and it makes it much harder to miss any of those tiny little spots. Plus, you’ll spend less time cleaning brushes, which means your paints are less likely to dry out.
Adding Depth and Vibrancy to Your Painting
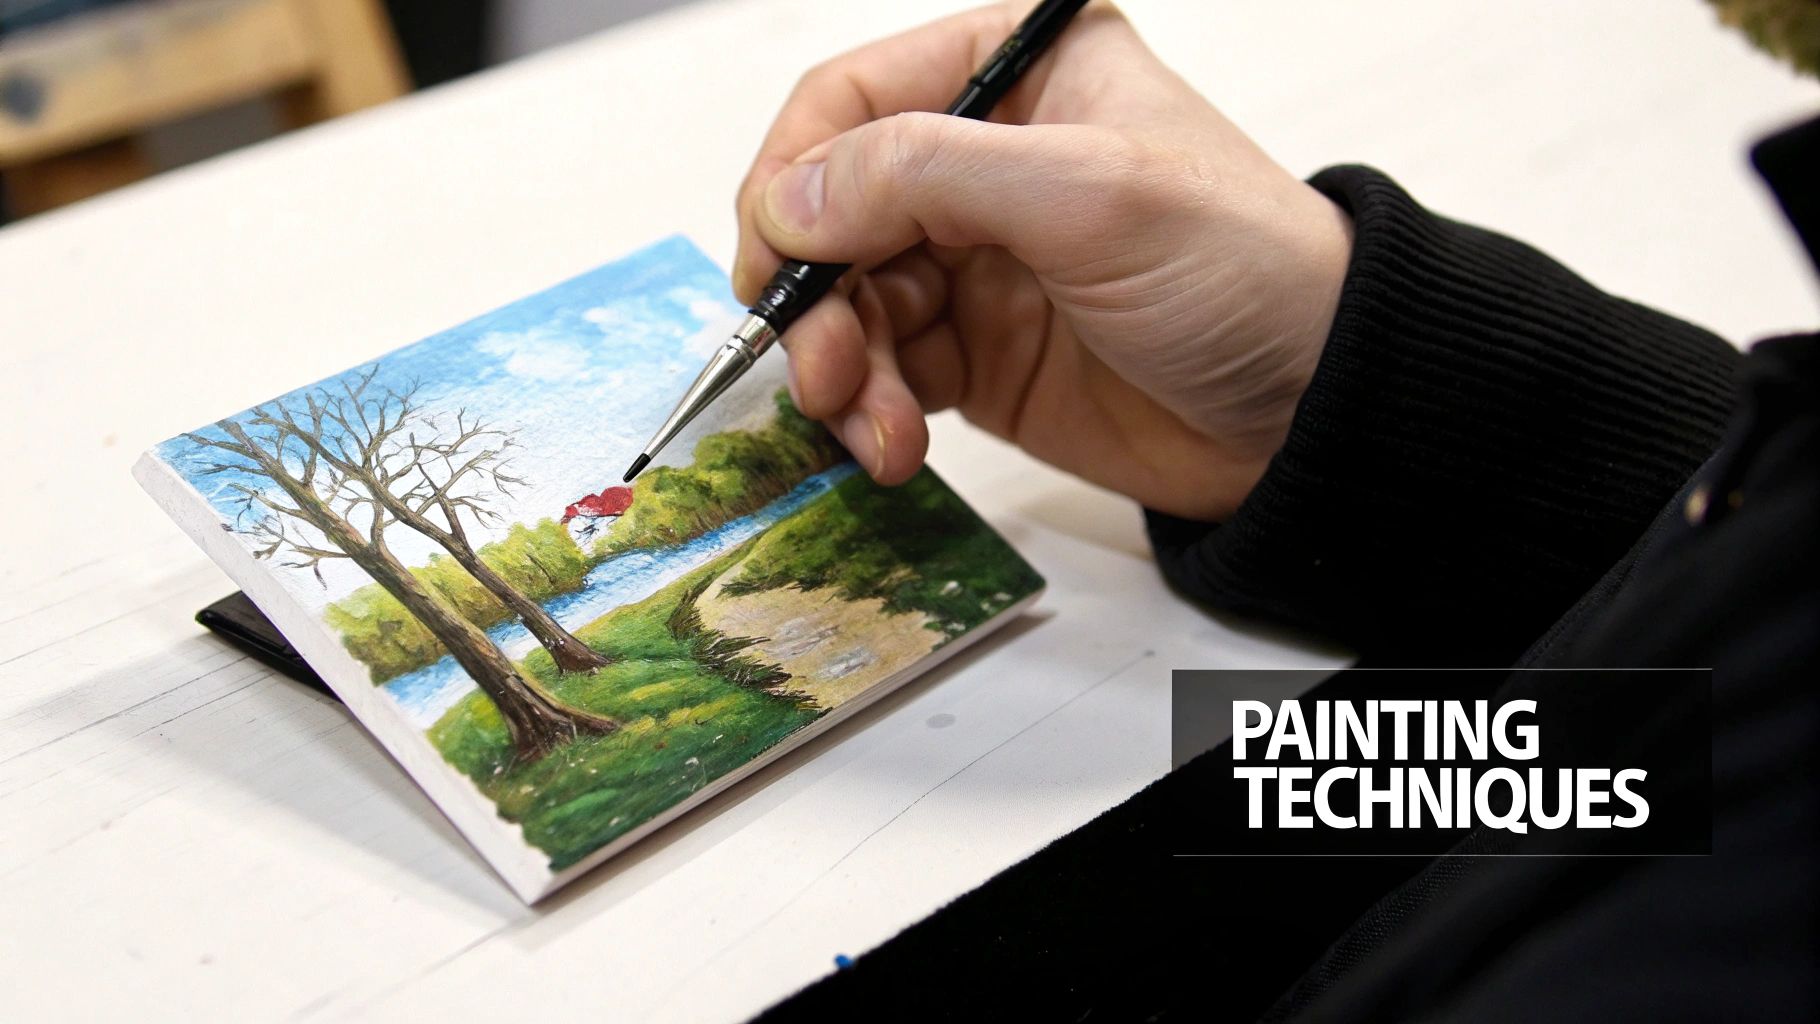
Once you get the hang of filling in the sections, you can start playing with techniques that give your work a more artistic, professional feel. These are the small adjustments that can transform a standard paint-by-numbers piece into something that looks genuinely hand-painted.
You might notice that lighter colors—like yellows, whites, or pale pinks—can be a bit transparent, letting the printed lines and numbers peek through. The fix couldn't be easier: just add a second coat. Let the first layer dry for about 15-20 minutes, then go over it again. This one extra step makes the colors pop with a solid, vibrant finish.
Want to soften the transition between two colors? Try a dry brush technique. After you've painted two neighboring sections, grab a clean, completely dry brush and gently flick it back and forth over the line where they meet. This blurs the hard edge, creating a beautiful, soft blend that works wonders for things like skies, water, or even skin tones.
A common misconception about paint by numbers is that it's just "coloring inside the lines." The real art happens when you use simple techniques like layering and blending to make those lines disappear, turning a segmented canvas into a seamless image.
Mastering Blending and Detail Work
Blending is where your DIY paint by numbers kit starts to feel less like a kit and more like your own custom masterpiece. Don't be shy about experimenting! A popular method is "wet-on-wet." Just apply a fresh coat of one color, and while it's still damp, paint the next color right up against its edge. Then, using a clean brush, you can gently mix the two right on the canvas.
This creates a stunning, natural-looking gradient. If you want a more detailed walkthrough, our post on how to blend paint colors is a great resource: https://paint-by-number.com/blogs/learn-about-paint-by-numbers/how-to-blend-paint-colors
And for those impossibly tiny sections? Here's my secret weapon: a toothpick. It gives you pinpoint control for placing a single dot of paint exactly where it needs to go. This is a game-changer for details like the glint in an eye, the stamen of a flower, or distant city lights.
The rise of craft kits like these has been incredible, completely changing how people spend their free time. This trend really took off after 2020, with DIY sales jumping by 50-70% as everyone looked for engaging things to do at home. Today, over 60% of kit buyers are adults over 25 choosing accessible creative outlets over formal art classes. By picking up these techniques, you're joining a huge community of creators finding real joy in making something beautiful from scratch.
Finishing and Framing Your Artwork
That feeling when you paint the very last section is just fantastic. After all that time and focus, your masterpiece is finally done! But hold on—before you hang it up, a couple of final touches will protect your art and give it that professional, polished look it deserves.
The first, and most important, step is to seal your painting with a good varnish.
This might sound a bit technical, but it's actually a really simple way to shield your hard work from dust, smudges, and the dreaded fading that UV light can cause over time. Varnish also does this wonderful thing where it evens out the sheen of the different paint colors, giving the whole piece a cohesive, gallery-quality finish. You've already done the hard part; this small final step makes sure it lasts.
Choosing Between a Gloss or Matte Finish
When it comes to varnish, you've got a choice to make: gloss or matte? Neither one is "better" — it all comes down to the style you're going for.
- Gloss Varnish: This will make your colors look deeper and more vibrant. It adds a reflective shine that really makes the painting pop, much like a classic oil painting.
- Matte Varnish: If you prefer a more understated, non-reflective look, matte is your best bet. It offers the same great protection but without any glare, which is perfect for hanging your art in a brightly lit room.
Applying it is easy. Just grab a wide, soft brush. Pour a little varnish onto a plate, dip your brush, and sweep it across the canvas in long, even strokes. I like to work from top to bottom, slightly overlapping each stroke to make sure I don't miss any spots. Let it dry completely in a dust-free space for a few hours, and you're golden.
Applying a varnish is like putting the final punctuation on your creative statement. It’s the protective seal that says, “This is complete,” transforming your project from a craft into a lasting piece of art.
Framing Options to Display Your Work
Now that your painting is sealed and protected, it’s time for the fun part: deciding how to show it off. The right frame can completely change the vibe of your artwork and help it fit perfectly with your home decor.
A classic wooden or metallic frame is always a great choice for a timeless, elegant feel. You can find standard-sized frames at just about any craft store that will fit your canvas. Just slide the painting in, secure the backing, and it's ready for the wall.
For a more modern, minimalist look, you could stretch the canvas yourself. Many DIY paint by numbers kit providers actually sell stretcher bars as an add-on. This involves wrapping your canvas around a wooden frame and stapling it in place on the back. It creates that clean, borderless look you often see in contemporary art galleries. If you want to give it a shot, our detailed guide on how to frame canvas paintings walks you through all the different methods.
Got Questions? We’ve Got Answers.
No matter how many paint-by-numbers projects you've finished, a few questions are bound to pop up. It’s all part of the creative process! Think of this as your go-to spot for those little "uh-oh" moments that can happen to anyone. Getting stuck is normal, but knowing a few quick fixes will keep a minor snag from ruining your relaxing painting time.
A classic worry is, "Oops, I painted over a line!" Don't sweat it—it happens to the best of us. The trick is to just let the mistake dry completely. Once it's dry, grab the correct color for that section and simply paint right over it. Acrylic paint is a lifesaver here because it’s so opaque; one good coat is usually enough to make that little slip-up disappear.
Fixing Common Kit Problems
Ever open a paint pot and find it’s gotten a little thick or goopy? This is a super common problem, especially if the lid wasn't snapped on tight. You can usually bring it back to life by adding just one or two drops of warm water. Stir it in gently with a toothpick until it's smooth again. Just be careful not to add too much water at once, or you'll end up with paint that's too thin and see-through.
Another frequent scenario is realizing you've filled in a whole section with the wrong color. The fix is pretty much the same as painting over a stray line. First, let that incorrect color dry all the way. If you accidentally used a dark color in an area that was supposed to be light, you might need two or even three coats of the correct lighter paint to get full coverage. A little patience goes a long way here; always let each layer dry before you add the next.
Every little mistake you make on a DIY paint-by-numbers kit is totally fixable. These kits are meant to be forgiving, so you can easily correct any errors and keep going. It’s all about enjoying the process, not chasing perfection.
Painting with the Little Ones
Want to make a DIY paint by numbers kit a fun project for kids? It just takes a few simple tweaks. The super tiny, detailed sections in a standard kit can be a real headache for younger children. A great idea is to make it a team effort—let them tackle the bigger, easier-to-paint areas while you handle the tricky spots.
You can also make the whole thing less about a perfect final product and more about having a good time.
- Bigger Brushes: The tiny brushes included are great for detail work, but chunky, kid-friendly brushes make filling in the large spaces way more fun for them.
- Try Q-Tips for Dots: For a different texture, let your kids use Q-tips to create a cool dot effect in some sections. It's a fantastic way to work on their fine motor skills without the pressure.
- Keep it Fun: Let them know it's totally okay to go outside the lines a bit. The best part is just making something cool together.
With these small adjustments, the project can become a fantastic family activity where everyone, no matter their age, can get in on the creative action.
Ready to turn that favorite photo of yours into a true work of art? Custom Paint By Numbers makes it incredibly simple. Just upload your picture, pick your canvas size, and we’ll ship you a complete kit with absolutely everything you need. Kick off your creative adventure today at https://paint-by-number.com.