Painting by numbers is as simple as it sounds: you match little pots of numbered paint to the corresponding areas on a pre-printed canvas. It’s a wonderfully guided way to create a detailed piece of art, even if you’ve never picked up a brush before. The real magic is in its simplicity, making it the perfect gateway into the world of painting.
Your First Brush With Painting By Numbers
Starting your first paint by numbers project is an exciting moment. You're about to dive into a hobby that’s incredibly relaxing and rewarding. This art form is designed for everyone, breaking down what looks like a complex image into small, manageable steps. You don’t need any artistic skill—just a bit of patience and the urge to create something beautiful.
The whole process is meant to be calming, guiding you from a blank, numbered canvas to a finished masterpiece, one color at a time.
This easy entry point has helped the creative hobbies market boom. The global art and craft materials market was valued at a staggering USD 22.57 billion in 2024 and is expected to hit USD 35.29 billion by 2032. A lot of that growth comes from beginners who find paint by numbers a fantastic and accessible way to express themselves.
What Comes in a Standard Kit
Unboxing your first kit is half the fun! While brands can differ, most sets come with everything you need to dive right in. That all-in-one convenience is a huge part of the appeal.
Here’s what you’ll almost always find inside:
- A Pre-Printed Linen Canvas: This is your roadmap, with the image outlined and divided into numbered segments.
- Numbered Acrylic Paint Pots: A set of paints where each number corresponds to a section on the canvas. They’re typically non-toxic and ready to go.
- Three Paintbrushes: You'll usually get a small, medium, and large brush—perfect for handling both the tiny details and the larger areas.
- A Reference Sheet: This is just a paper copy of the canvas. It's incredibly handy for checking a number you might have accidentally painted over.
Key Takeaway: The best part about a paint by numbers kit is that it's a complete package. You get everything you need to start and finish a painting, which means no guesswork or extra trips to the art store.
To make sure you're ready to go, here’s a quick checklist of what you should find in your kit and how to best use each component.
Paint by Numbers Kit Essentials Checklist
| Component | What It Is | Pro Tip for Use |
|---|---|---|
| Pre-Printed Canvas | The canvas with the outlined and numbered design. | Iron the back on low heat to remove any creases from shipping before you start. |
| Numbered Paint Pots | Small containers of acrylic paint, each with a specific number. | Close the lids tightly after each use to keep the paint from drying out. |
| Set of Brushes | Typically includes three brushes of varying sizes. | Use the smallest brush for fine details and the largest for filling in bigger areas. |
| Reference Sheet | A paper map of your canvas with all the numbers. | Keep it nearby to double-check numbers if you accidentally paint over one on the canvas. |
| Hanging Kit (Optional) | Some kits include small hooks and screws for display. | Wait until your painting is completely dry and sealed before attempting to hang it. |
With all your supplies laid out, you're just one small step away from painting.
Setting Yourself Up for Success
Before you dip that brush in paint, a little prep work can make a world of difference. Creating a comfortable, organized workspace not only makes the process more enjoyable but also helps you avoid rookie mistakes like spills or smudges.
First, find a spot with good lighting where you can sit comfortably for a while. It's a good idea to lay down some newspaper or an old towel to protect your table. Then, arrange your paint pots in numerical order. Trust me, this simple trick saves you so much time hunting for the right color.
You’ll also want a small cup of water for rinsing your brushes and a paper towel for dabbing them dry. For a complete walkthrough on getting everything just right, check out our guide for beginner paint by number enthusiasts.
Once you've got the hang of the setup, you can start exploring different themes that excite you. For example, a quick search can lead you to some truly beautiful projects, like these discover inspiring color by number butterfly pages. This initial setup is your foundation for a truly relaxing and successful painting session.
Getting Your Canvas and Paints Ready to Go
Want to know the secret to a painting that looks polished and professional? It all happens before you even dip your brush in the paint. Taking a few minutes to prep your canvas and paints is the difference-maker. It makes the whole process smoother and, honestly, a lot more fun.
Let's start with the most important part: your canvas. The image below shows you exactly what we're aiming for.
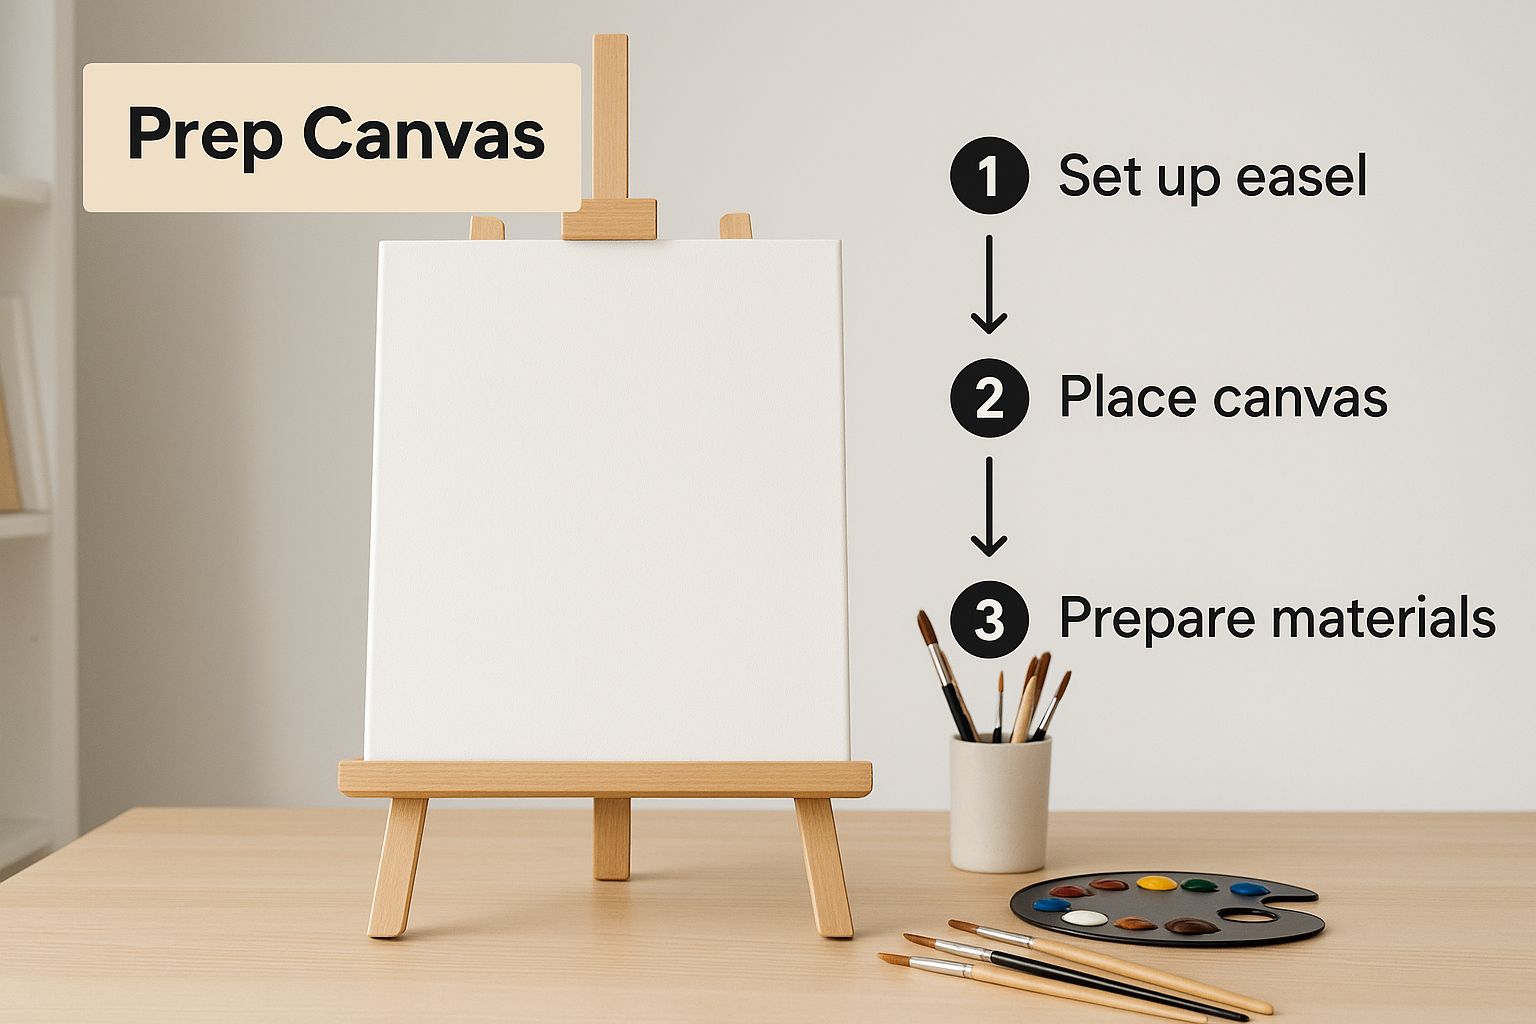
Starting with a perfectly flat surface means your brush will glide evenly, letting you focus on painting instead of wrestling with a lumpy canvas.
First, Tame That Rolled-Up Canvas
Most paint-by-numbers kits ship with the canvas rolled up, which is great for getting it to you safely but not so great for painting. Those creases and curls can be a real pain, leading to splotchy paint and a frustrating experience.
Good news is, it's an easy fix. The best tool for the job is probably sitting in your laundry room: your household iron.
Here’s how to do it without damaging anything:
- Place your canvas face-down on a thick towel.
- Set your iron to a medium heat setting. Crucially, make sure the steam is turned off. Steam is the enemy here and can mess with the canvas primer.
- Lightly iron the back of the canvas, keeping the iron moving. Don't let it sit in one spot for too long.
After a minute or two, you’ll have a beautifully flat canvas, ready to go. You could also press it under a stack of heavy books overnight, but let's be honest, ironing is way faster.
Getting the Paint Consistency Just Right
With your canvas sorted, let's look at the paints. The acrylics that come in your kit are usually good to go, but sometimes they can be a little thick, almost like toothpaste. This is especially true if the kit has been sitting around for a while. Trying to paint with thick, gloppy paint is no fun—it won’t spread well and can hide all those tiny details.
You're aiming for a smooth, creamy texture, kind of like melted ice cream. If your paint isn't there yet, a tiny bit of water will do the trick.
My Best Tip: Don't ever add water directly into the little paint pot. It's so easy to add too much and ruin the whole batch. Always mix separately.
Just dip the very tip of your brush in water and mix it into a small blob of paint on a spare bit of foil or a small plate. Seriously, one or two drops is all you need. This little tweak makes a huge difference in how the paint flows off your brush and onto the canvas.
Set Up Your Workspace for a Smooth Session
A little bit of organization can make your painting time so much more relaxing. There's nothing worse than fumbling for the right color or, even worse, knocking over a pot of wet paint.
A simple trick is to line up your numbered paint pots in order (1, 2, 3, etc.). It sounds obvious, but it saves you from constantly searching for the next color and really helps you get into a creative rhythm.
Here are a few other hacks I swear by:
- A Muffin Tin is Your Best Friend: Use an old muffin tin to hold your paint pots. It keeps them stable and prevents spills.
- The Two-Cup Rinsing System: Have two cups of water on hand. Use one for the first "dirty" rinse and the second for a final clean rinse. This keeps your colors pure and not muddy.
- Paper Towels are Non-Negotiable: Keep a roll nearby to blot excess water from your brush before dipping into a new color.
Now that you have a flat canvas, perfectly smooth paint, and a tidy workspace, you're all set up for success. You're ready to paint like a pro.
Getting the Hang of Basic Painting Techniques
Alright, your canvas is prepped, and your paints are ready. Now for the fun part—bringing the picture to life. This is where you’ll start learning the little skills that take your painting from a simple numbered outline to a piece of art you’ll be proud of. These techniques are straightforward, but they make a world of difference.
The main goal here is to get the paint on the canvas smoothly and confidently, making all those numbers and lines vanish. Honestly, it’s less about being a born artist and more about having a steady hand and a good game plan.
Getting a Feel for Your Brushes
Your kit probably came with a few different brushes, and there's a good reason for that. Each one is designed for a specific job. Think of them like tools in a toolbox—you wouldn't use a giant hammer for a tiny nail, right?
For those big, wide-open sections, you’ll want to use your widest brush. Hold it a bit further back from the bristles for a relaxed grip, and use long, even strokes to fill in the space. It’s all about smooth, efficient coverage.
When it comes to the tiny, detailed spots, switch to your finest-tipped brush. Here’s a little tip I’ve picked up: hold this brush much closer to the bristles, almost like you’re holding a pencil. This gives you way more control for precise, detailed work. I often brace my painting hand with my other hand to keep it from shaking on those super-fine lines.
Key Takeaway: How you hold your brush completely changes your level of control. A looser grip works great for big areas, while a tighter, closer grip is what you need for details. It's the secret to staying inside the lines.
Nailing this basic skill is a huge part of figuring out how to paint by numbers well.
Finding a Painting Strategy That Works for You
Now that you're comfortable with the brushes, let's talk strategy. A little planning goes a long way in preventing smudges and making the whole process feel more relaxing and organized. There are two popular methods that work really well for just about everyone.
The Top-Down Method
This is the easiest way to keep your work clean. By starting at the top of the canvas and slowly working your way down, your hand can rest on unpainted sections. This pretty much guarantees you won't smudge any wet paint with your arm or hand.
- If you're right-handed, start painting in the top-left corner and move across and down.
- If you're left-handed, just do the opposite—start in the top-right.
The One-Color-at-a-Time Method
This approach is great for getting into a nice rhythm. Just pick one color and fill in all of its numbered spots on the canvas. It really cuts down on how often you have to wash your brushes and helps prevent you from accidentally mixing colors.
Once you’ve painted all the sections for one color, give your brush a good rinse and move on to the next. It’s a methodical process, but it's so satisfying to watch the image slowly come together. For more practical advice, take a look at our complete guide packed with essential painting by numbers tips.
Using Layers for Rich, Solid Color
Ever finish a section only to see that pesky number still peeking through the paint? It happens all the time, especially with lighter colors like white, yellow, or a pale pink. The secret to getting that professional, solid finish is all in the layering.
The acrylic paint in these kits is great because it dries fast, which is perfect for adding a second coat. Don't try to cover a number by globbing on a super thick layer of paint all at once—that usually just creates a bumpy, uneven mess.
Instead, apply a thin, even first coat and just let it dry. It usually only takes a few minutes. Then, go back and paint a second thin coat right over it. That second layer will give you that beautiful, opaque coverage you’re looking for, hiding the lines and numbers completely.
This is especially important for those lighter shades. Here’s a quick look at why two thin coats beat one thick one every time.
| Technique | Outcome | Best For |
|---|---|---|
| Single Thick Coat | Can look bumpy, takes forever to dry, and might even crack. | Not really recommended if you want a smooth finish. |
| Two Thin Coats | Smooth, even, and solid coverage that hides the numbers perfectly. | All colors, but it’s a must for the light ones. |
When you combine good brushwork, a smart painting strategy, and a little layering, you'll end up with a finished piece you can really be proud of. These are the foundational skills that will make your painting look less like a kit and more like something you created from scratch.
Adding Depth with Advanced Blending and Texturing
So, you've gotten the hang of staying inside the lines. That's a huge step! But now, it's time for the real fun to begin. This is where you get to break the rules a little and transform your project from a guided painting into a genuine piece of art. We're going to talk about techniques that add depth, texture, and a bit of your own personality to the canvas.
It's a great time to be picking up a brush. The art market is massive—valued at around USD 67.4 billion in 2020—and a huge part of that is driven by people just like you exploring their creative side. In fact, an incredible 60% of artists are self-taught, many getting their start with kits. You can read more about the global rise of amateur painting on prominentpainting.com if you're curious.
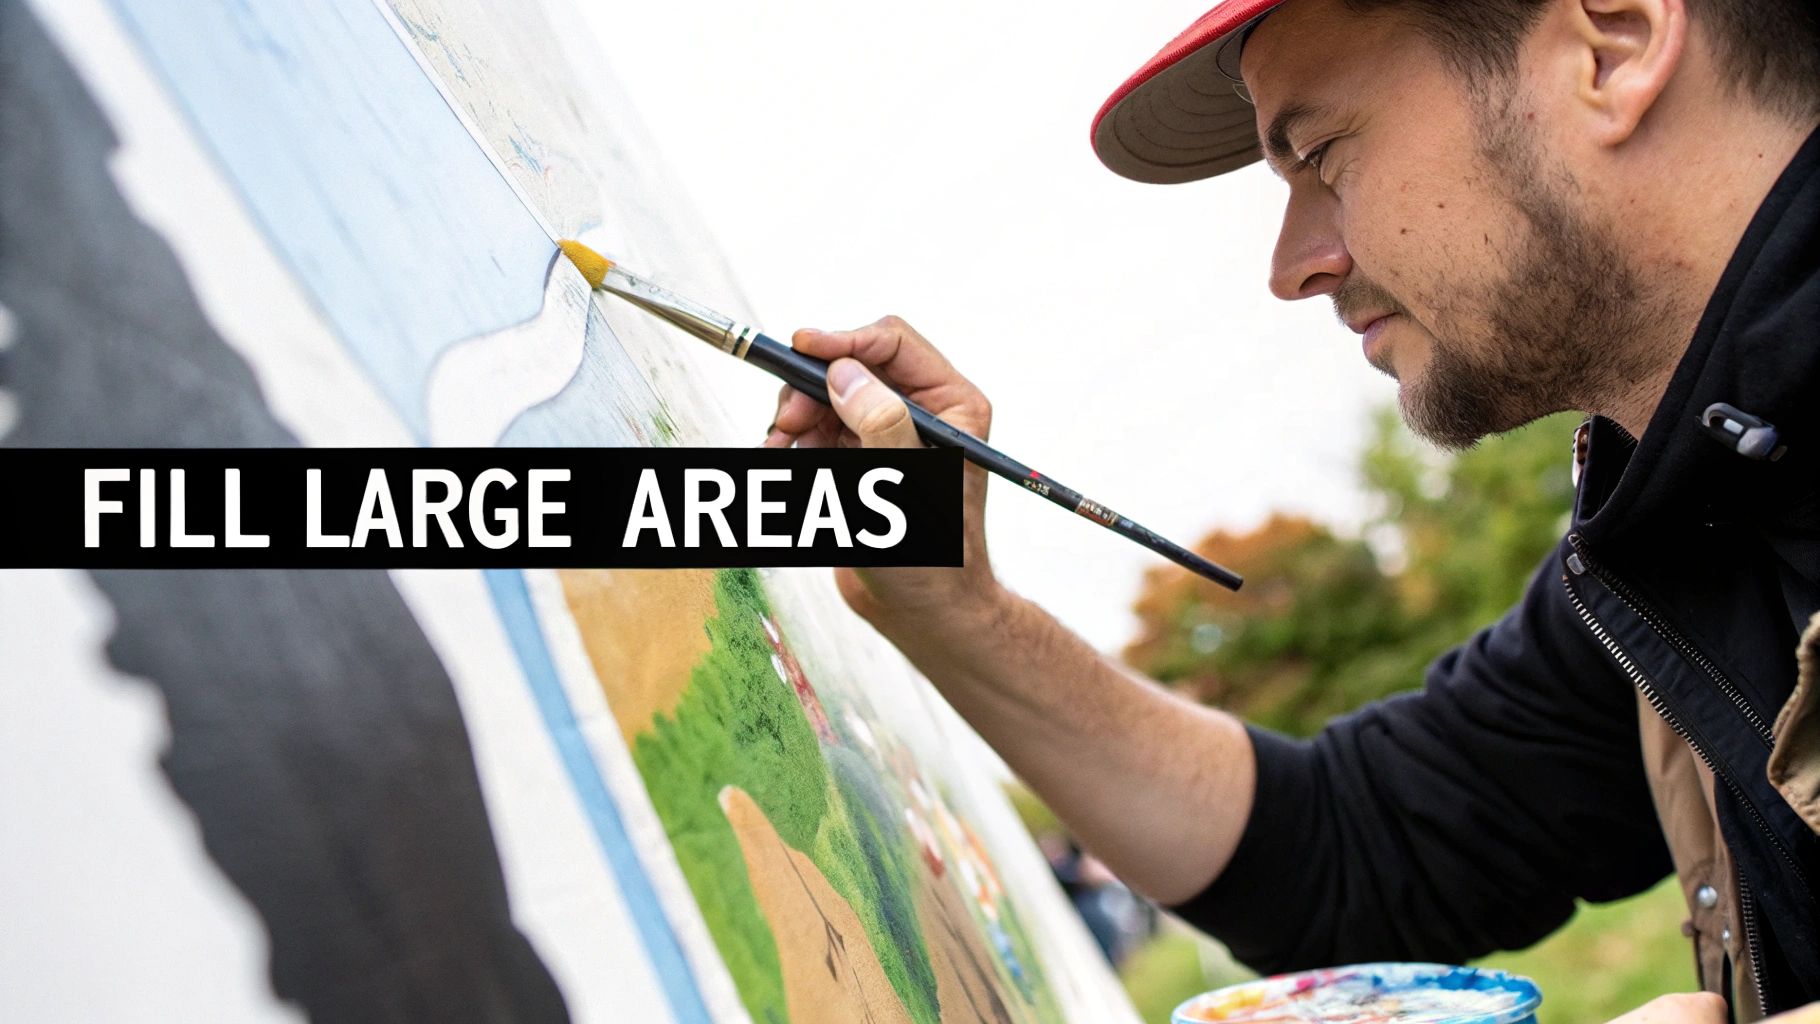
Ready to make your painting stand out? Let's dive into some of my favorite techniques.
Creating Seamless Gradients with Blending
One of the biggest giveaways of a standard paint-by-numbers piece is the hard lines between colors. While it can be a cool stylistic choice, softening those edges creates gorgeous, realistic gradients. This is a game-changer for things like sunsets, calm water, or soft, hazy backgrounds.
The trick is to work while the paint is still wet.
Here's my approach: Fill in two neighboring sections with their assigned colors, but don't let them dry. Then, give your brush a quick rinse and dab it on a paper towel. You want it clean and damp, not sopping wet.
Now, gently use the tip of that damp brush to pull the lighter color into the darker one, right along the boundary. Think soft, back-and-forth "feathering" strokes to blur that hard line. Imagine a sky that fades from a light blue (#1) to a slightly darker blue (#2). You'd paint both sections, then immediately soften the line where they meet.
Pro Tip: Don't panic if the paint dries too fast! It happens. Just apply a fresh, thin coat of both colors right on the edge and blend immediately. This re-wets the area and gives you a second chance to get that smooth transition.
Adding Texture with Dry Brushing
Dry brushing, sometimes called scumbling, is an amazing technique for adding a painterly texture. It's perfect for making clouds look fluffy, giving tree bark a rough feel, or hinting at the spray coming off an ocean wave. You're basically using a tiny amount of almost-dry paint to create the effect.
It’s simpler than it sounds:
- Dip just the very tip of a dry brush into your paint.
- Wipe nearly all of it off on a paper towel. Seriously, you want the brush to look almost clean.
- Lightly drag or skitter the bristles over the area you want to texture.
The pigment that's left will catch on the raised texture of the canvas, creating a broken, almost dusty look. For example, you could take a bit of white and dry brush it over the edges of a blue sky section to instantly create more convincing, wispy clouds. It's a small touch that adds a ton of realism.
Making It Your Own with Custom Details
Here's where you really get to be the artist. Remember, the kit is your guide, not a set of unbreakable rules. Feel free to add small details that aren't on the canvas to make the painting truly yours.
Look at your scene and think about what could make it better. Painting a landscape? Maybe use a fine-tipped brush to add a few tiny birds in the distance. Working on a floral piece? A few carefully placed dots of white paint can look just like dewdrops on the petals.
Here are a few ideas to get you started:
- Highlights: Add a tiny dab of white or a very light color where the light would naturally hit—the crest of a wave, the shiny part of a vase, or the edge of a leaf.
- Shadows: To deepen a shadow, mix a minuscule amount of black into a color to darken it, then apply it under an object to give it more weight.
- Personal Touches: If you're painting a custom portrait of your house, why not add the little flower pot you have by the front door? Those personal details are what make it special.
By combining blending, texturing, and your own creative impulses, you're no longer just filling in numbers. You're making art.
How to Seal and Frame Your Finished Artwork
You’ve put the final brushstroke on your canvas, and it looks amazing. Congratulations! But don't put everything away just yet. Taking a few extra minutes to seal and frame your piece will protect all that hard work from dust, fading, and discoloration, making sure it stays vibrant for years to come.
This is how you give your art a professional, lasting finish.
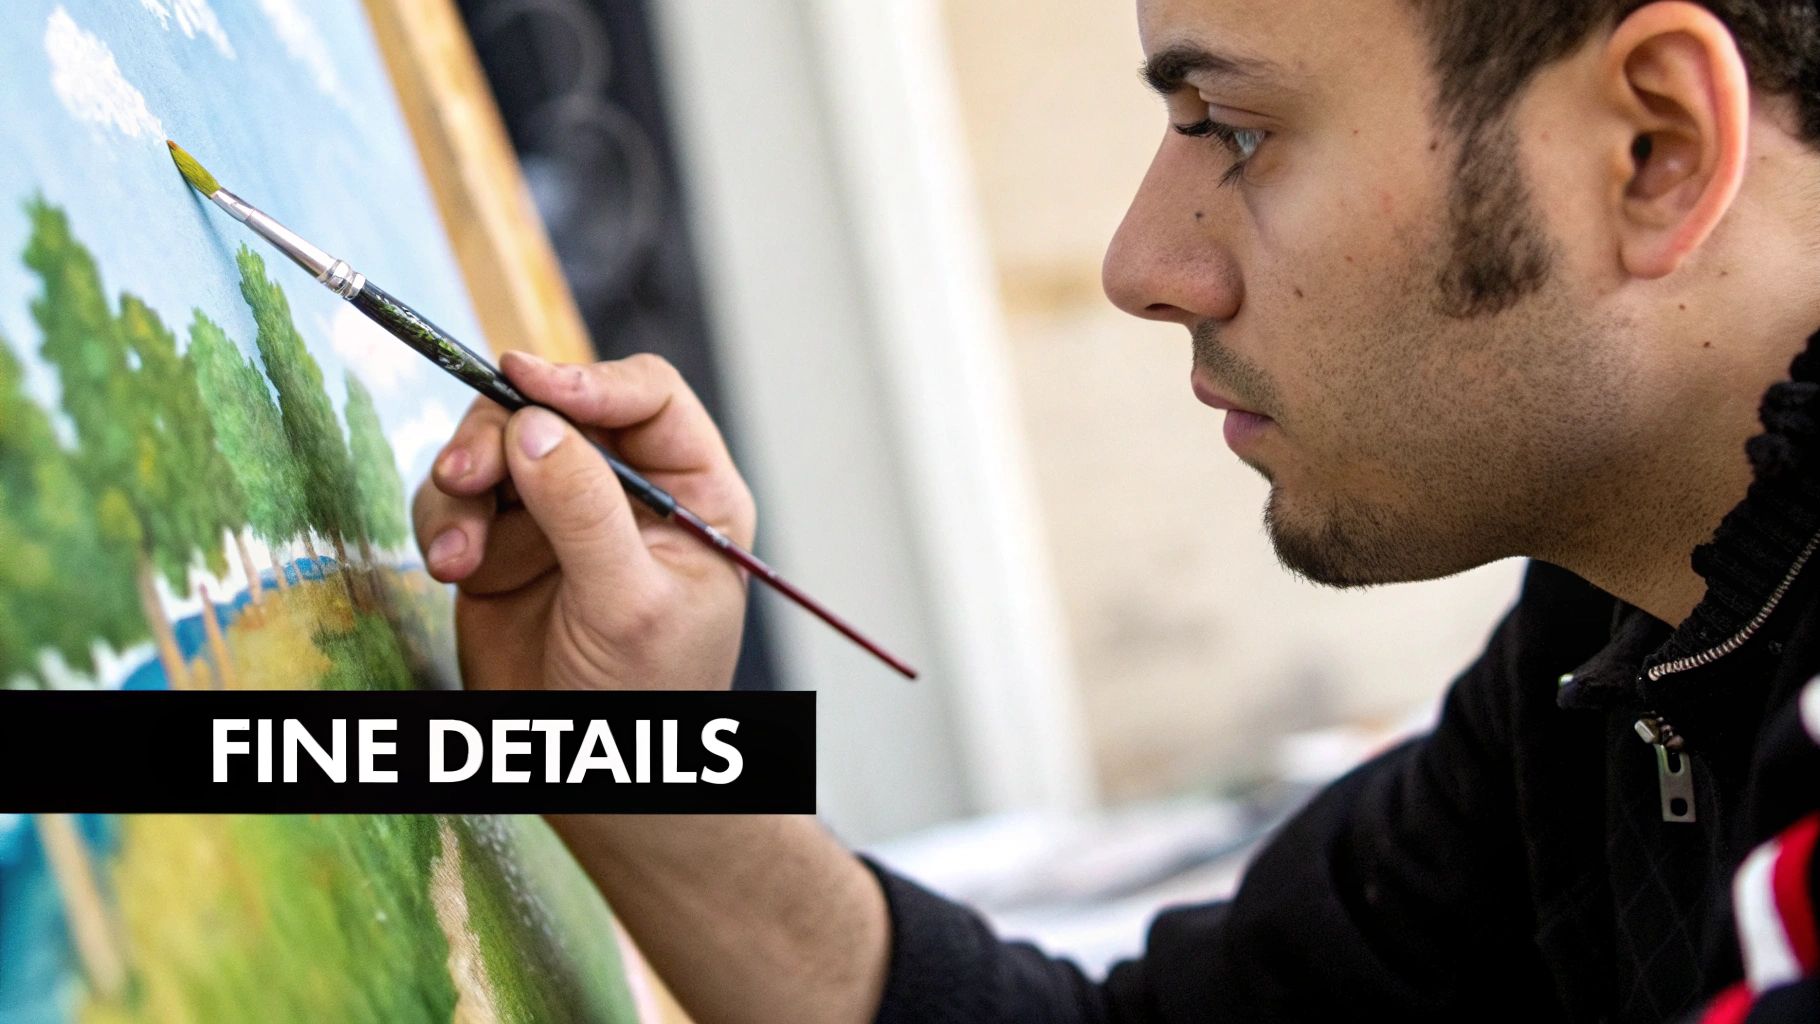
Sealing your painting is probably the single most important step for preserving it. An unsealed acrylic painting is like a magnet for dust, which can get trapped in the paint's texture. It’s also vulnerable to UV light, which will slowly but surely cause those brilliant colors to fade.
A good sealant, usually called a varnish, creates a protective shield over the paint. This gives you a smooth surface you can easily wipe clean and defends the pigments against sun damage.
Choosing Your Perfect Varnish Finish
Before you grab a brush, you need to decide on the finish you want. The two most popular options are gloss and matte, and your choice can completely change the final look of your painting. There’s no right or wrong answer—it all comes down to personal preference and the vibe you’re going for.
- A gloss varnish makes colors look richer and more saturated. It creates a shiny, reflective surface that can give your piece the deep, classic look of an oil painting.
- A matte varnish, on the other hand, gives you a flat, non-reflective finish. This is a great choice if you plan to hang your art in a brightly lit room, as it cuts down on glare and offers a softer, more modern feel.
If you’re stuck between the two, you can also find satin or semi-gloss varnishes that offer a nice middle ground.
To help you decide, here’s a quick rundown of what to expect from each finish.
Varnish Finish Comparison
| Finish Type | Visual Effect | Best For | Application Tip |
|---|---|---|---|
| Gloss Varnish | Shiny, reflective, enhances color vibrancy. | Making colors pop; creating a rich, traditional look. | Apply in thin layers to avoid a thick, plastic-like appearance. |
| Matte Varnish | Flat, non-reflective, soft appearance. | Reducing glare in bright rooms; achieving a modern, subtle finish. | Ensure it is well-mixed, as matting agents can settle at the bottom. |
Ultimately, the best way to know is to test them out on a spare corner or a practice piece to see which one you love.
Applying the Sealant Like a Pro
Applying varnish is pretty simple, but it does require a clean space and a little patience.
First things first: make sure your painting is completely dry. I can't stress this enough. Give it at least 24-48 hours after your last brushstroke before you even think about sealing it.
Lay your canvas flat on a surface free of dust and pet hair. Use a wide, soft-bristled brush that you keep just for varnishing—the last thing you want is a stray fleck of old paint messing up your clear coat.
Apply the varnish in a thin, even layer. Use long, smooth strokes all going in the same direction (say, horizontally). Let that dry for a few hours, then come back and apply a second coat, this time with your strokes going in the perpendicular direction (vertically). This cross-hatching method is a pro tip for getting perfectly even coverage.
Crucial Tip: Always apply varnish in a well-ventilated area. Even if the varnish is non-toxic, the fumes can be a bit much. Crack open a window or use a small fan to keep the air moving.
Selecting the Right Frame for Your Artwork
With your painting sealed and protected, it’s time for the final touch: the frame. Framing isn't just about looks; it also provides structural support that helps prevent the canvas from warping over time.
Choosing a frame is another creative step. You want something that complements both your artwork and the room where it will hang.
For a clean, modern look, you can't go wrong with a simple floater frame. This style creates a small gap between the canvas and the frame, which makes your artwork appear to "float" inside it. It’s a very cool effect.
If your painting has a more traditional or classic feel, a more ornate or decorative frame might be a better match. Don't be afraid to try different styles and colors to see what works! For more ideas, check out our guide on how to frame canvas paintings.
Your Top Paint by Numbers Questions, Answered
As you get into the rhythm of painting by numbers, you're bound to have a few questions. It’s totally normal to hit a small snag here and there. Think of this as your personal FAQ, ready with quick answers to get you right back to your masterpiece.
Trust me, any little issue you run into is something thousands of painters have already figured out. Let's tackle some of the most common ones together.
What Should I Do if I Paint in the Wrong Section?
This is probably the most common "oops" moment, and thankfully, the fix is a lot simpler than you'd think. The absolute worst thing you can do is try to wipe away wet paint. That almost always creates a smeared mess that’s way harder to fix.
The best approach? Just be patient. Let that little spot of wrong color dry completely.
The acrylic paints in your kit are opaque, which is great news for you. It means you can just paint the correct color right over the mistake once it's dry. If you're covering a dark color (like black or a deep blue) with a really light one (like white or pale yellow), you might need two coats. Just paint one thin layer, give it a few minutes to dry, and then go over it again. The mistake will disappear like it never even happened.
How Do I Keep My Paints from Drying Out?
Acrylic paint is a double-edged sword: it dries fast on the canvas (which is great!), but that also means it can dry out in the pots if you're not careful. Air is the enemy here.
Key Takeaway: The golden rule is to only open the paint pot you are actively using. When you switch colors or take a break—even for just a minute—snap that lid shut. You'll be amazed how much longer your paints last with this one simple habit.
If you find a paint is getting a bit thick or goopy, you can usually bring it back to life. Try adding a single drop of water and stir it in gently with a toothpick. Go easy—too much water will make the paint thin and less vibrant. For those long, marathon painting sessions, you can even create a "wet palette." Just put a damp paper towel in a shallow, airtight container to keep a small amount of your active colors workable for hours.
Are the Brushes in the Kit Good Enough to Use?
Honestly, for most beginners, the brushes that come with the kit are perfectly fine. They'll get the job done for your first few paintings. You'll typically get a few different sizes meant to handle everything from the big, sweeping sections to those tiny, detailed spots that require a steady hand.
That being said, as you get more into painting, you’ll start to get a feel for what you like. You might find a kit brush starts losing its fine point or shedding bristles, which can be really frustrating when you're trying to be precise.
If you ever feel like the brushes are holding you back, grabbing an inexpensive set of fine-detail acrylic brushes from an art store can be a total game-changer. Better brushes give you more control, hold their shape longer, and just make the whole experience feel smoother and more enjoyable. It’s a small upgrade that can make a huge difference in your final piece.
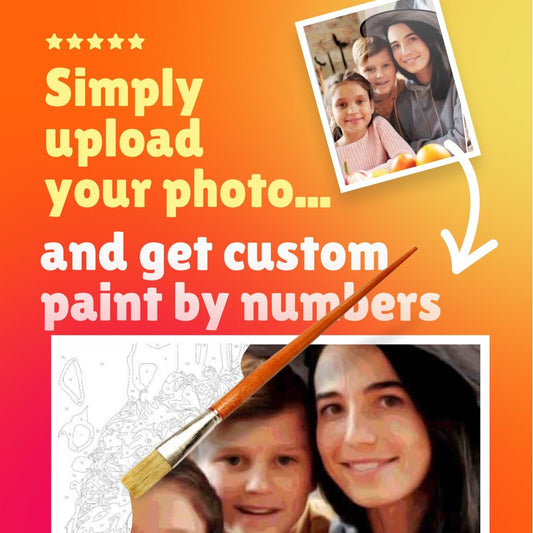
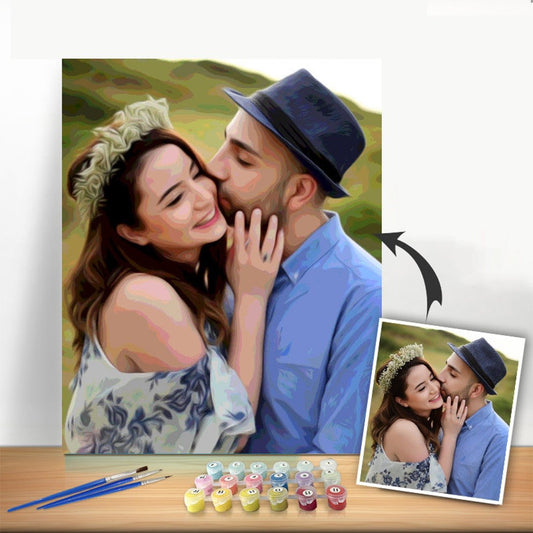
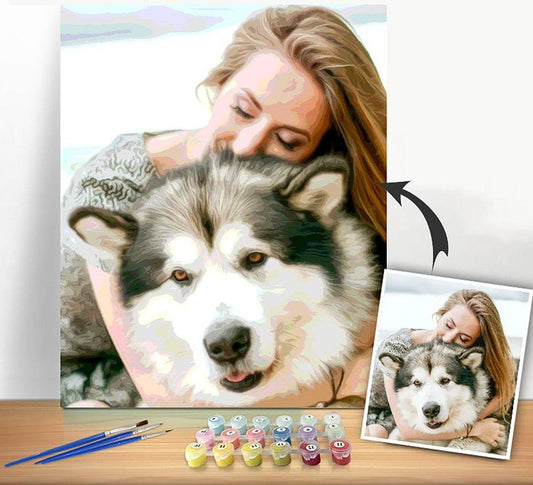
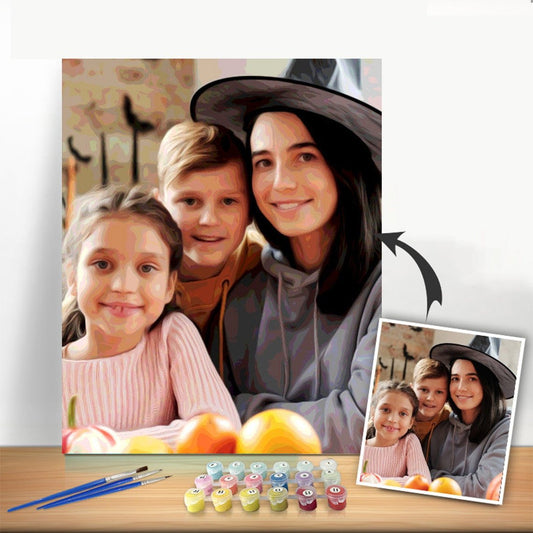
Ready to turn your favorite memories into a work of art? At Custom Paint By Numbers, we make it easy to create a personalized kit from any photo. Transform a picture of your pet, a family portrait, or a favorite vacation spot into a relaxing and rewarding painting project. Get started on your custom masterpiece today at https://paint-by-number.com.