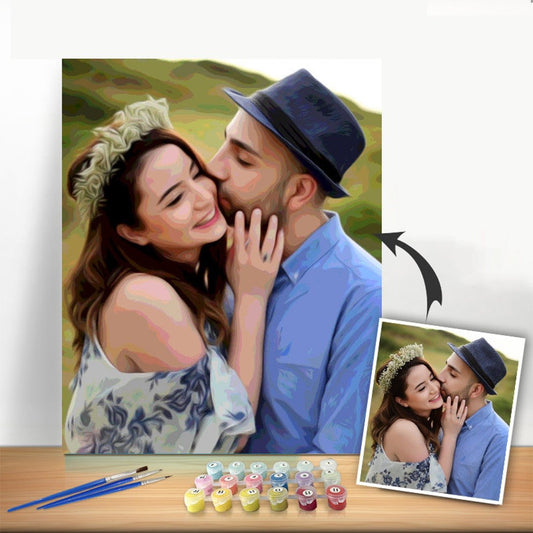
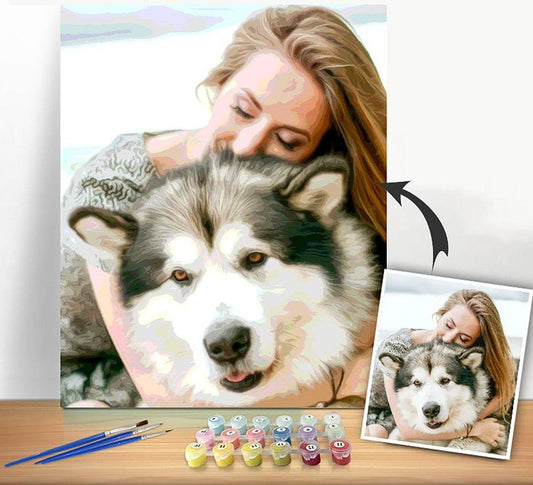
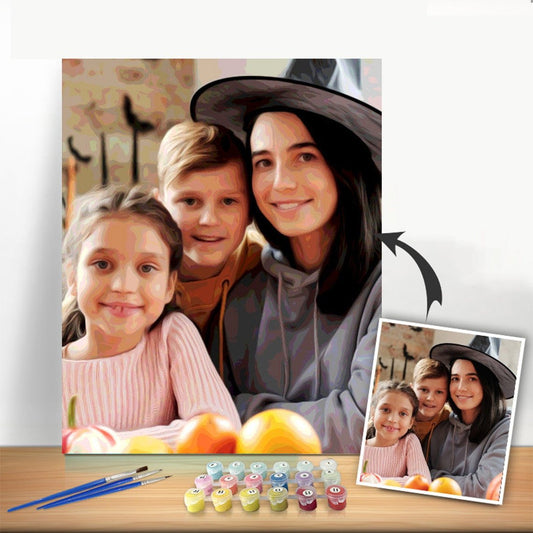
There’s nothing quite like the satisfaction of popping a finished canvas into a frame. It’s that final touch that transforms a personal project into a piece of art you’d be proud to hang on any wall.
Getting that polished look is all about choosing the right frame, making sure your canvas is prepped and stretched properly, and then securing it for display. I'll walk you through everything you need to know to get a flawless finish right at home.
Why Bother Framing a Canvas?
Turning a rolled-up or loose canvas into something truly special is a lot easier than it sounds. Framing does more than just make your art look fantastic; it’s a practical step that protects it from dust, humidity, and accidental bumps, helping your work last a lifetime. A good frame also gives the canvas structure and presence, turning a simple painting into a real focal point in your home.
We’re going to cover the three most common ways to frame a canvas painting:
- Stretching it Yourself: This is perfect for canvases from paint-by-numbers kits or any art that isn't already on a wooden frame. You'll create a tight, professional-looking surface that can be hung as-is or placed inside another frame.
- Using a Traditional Frame: Think of a classic picture frame with an inner lip (called a rabbet) that holds the canvas. This is a timeless, elegant option that works for almost any style.
- Mounting in a Float Frame: This modern style creates a cool "floating" illusion by leaving a small, visible gap between the canvas edge and the frame. It’s a great way to show off the entire painting, including the sides.
The Real Value of a Good Frame
People have been framing their hobby art for ages. When paint-by-numbers kits became a massive hit back in the 1950s, a frame was the go-to way to make a homemade piece feel like a "real" painting.
It’s not just about looks, either. A frame can dramatically change how people see a piece of art. Some studies in the home decor world suggest that a professionally framed artwork can increase its perceived value by as much as 300%. That’s a huge testament to how a simple border can elevate your work.
If you want to see how different frames can change the vibe of a piece, check out various display solutions like an A0 frame poster to get a feel for how scale and presentation make a difference.
Choosing Your Frame and Gathering Supplies
Before you even think about putting your canvas in a frame, a little prep work goes a long way. Getting your tools and the right frame sorted out first is the secret to a smooth, rewarding project instead of a frustrating afternoon.
Think of it this way: your choice of frame completely sets the mood for your artwork. Let’s look at the three most common options, because each one gives a totally different vibe and requires a slightly different game plan.
A Quick Look at Canvas Frame Styles
Not sure which frame is the right one for your piece? This quick comparison breaks down the three main styles to help you find the perfect match for your art and your aesthetic.
| Frame Type | Best For | Difficulty Level | Aesthetic |
|---|---|---|---|
| DIY Stretcher Frame | Rolled canvases, like those in paint-by-numbers kits. | Medium | Clean, minimalist, gallery-wrapped look. |
| Traditional Frame | Pre-stretched canvases or mounted art boards. | Easy | Classic, timeless, and defined. |
| Float Frame | Stretched canvases you want to show off. | Medium | Modern, sophisticated, "floating" effect. |
Each of these has its place. The float frame, for instance, is perfect for showing off the painted edges of your canvas, while a traditional frame offers that classic, polished finish that works almost anywhere.
Your Essential Tools and Supplies
Okay, you've got a frame style in mind. Now it's time to gather your gear. Having everything laid out and ready to go is a game-changer—it keeps you in the zone and helps you nail that professional look. For a deeper dive into picking the right size, our complete guide to choosing the right canvas dimensions is a great resource.
My Go-To Tip: I always lay down a soft blanket or a big piece of cardboard before I start. This simple step protects your table and, more importantly, keeps the front of your canvas from getting scratched up while you're working on the back.
Here’s a rundown of what you’ll probably need:
- Measuring Tape: Don’t eyeball it. Precision is your best friend here, so measure twice before you do anything permanent.
- Pencil: For making light marks on the back of your frame or canvas.
- Staple Gun: An absolute must-have if you're stretching a canvas yourself. If you plan on framing more than one piece, an electric staple gun will save your hands a lot of grief.
- Screwdriver: You'll need this for attaching mounting hardware, whether it's offset clips or the screws for a float frame.
- Mounting Hardware: This totally depends on your frame. For traditional frames, you'll likely use offset clips (those Z-shaped metal brackets). Float frames usually come with their own specific hardware.
It's amazing how much the art and craft materials market has grown—it's expected to hit USD 22.57 billion in 2024. This just shows how much we all love creating and displaying our own work. DIY stretcher frames, like the kind you often get in kits, are a huge part of that. They fit about 90% of standard sizes, can cost 60% less than professional framing, and can even increase a piece's resale value by 250%. You can see more on these trends in a Fortune Business Insights report on art materials.
Stretching Your Canvas on a DIY Frame
If you've ever gotten a Paint By Numbers kit with those loose wooden bars, you're already halfway to learning the most fundamental skill in framing: stretching your own canvas. This is how you transform a rolled-up painting into a taut, professional-looking piece of art. Don't be intimidated; it's much easier than it looks, and getting it right is the key to a great result, whether you hang it as-is or pop it into a float frame later.
The goal here is simple: create perfectly even tension across the entire surface, almost like a drum. The most common mistake people make is pulling unevenly, which leads to annoying sagging or ripples down the line. Luckily, there's a simple technique to avoid that completely.
The whole process breaks down into a few straightforward stages, from picking the right frame to putting it all together.
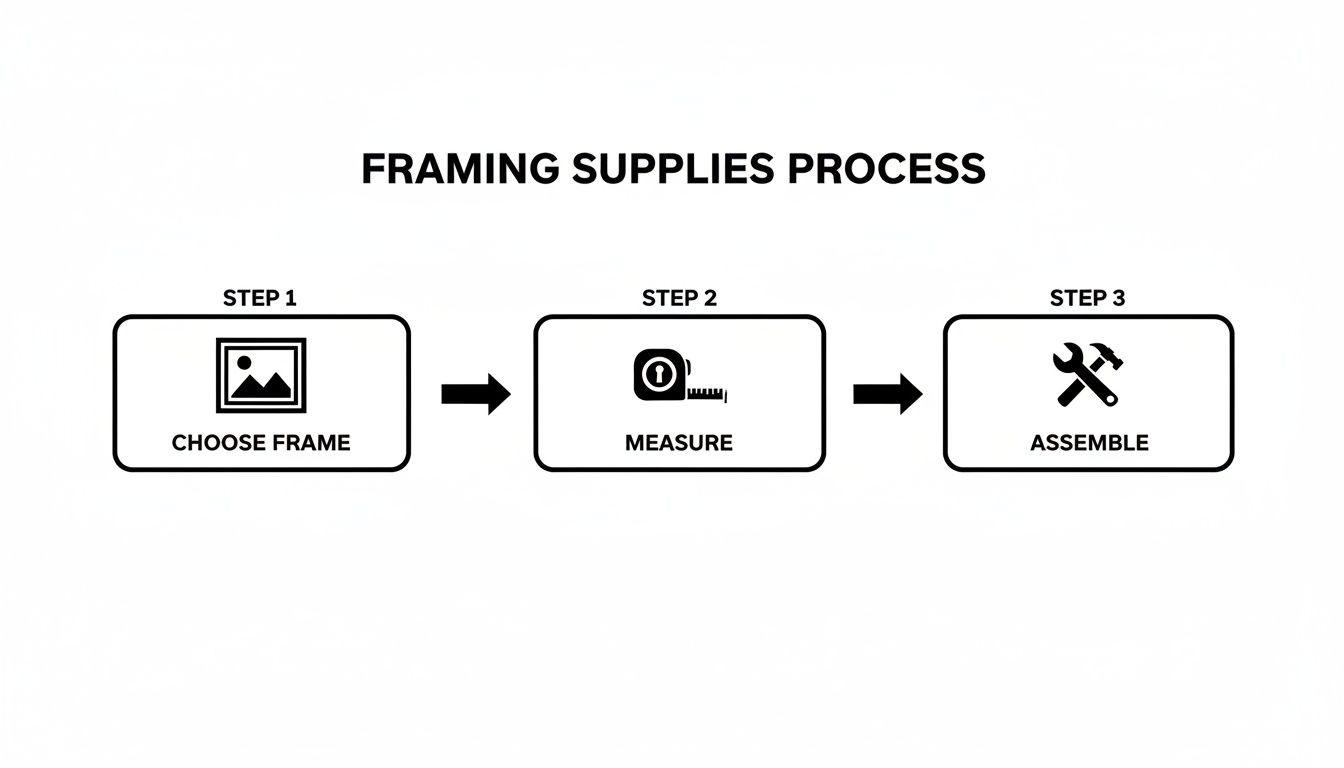
This diagram gives you a nice overview of the workflow. A little bit of methodical work goes a long way.
First, Assemble Your Stretcher Bars
Before the canvas even comes out, you need to build the wooden frame. The stretcher bars included in most kits are designed to slot together pretty easily at the corners.
Lay the four bars on a clean, flat surface. Make sure the side with the raised edge is facing up—this is crucial for keeping the canvas from touching the wood. Gently push the corners together until they form a solid rectangle. If a corner feels a bit wobbly, a tiny dab of wood glue can make it rock-solid, but you often don't need it.
Pro Tip: Always check if your frame is square. Once it's assembled, measure diagonally from corner to corner. Now measure the other diagonal. If those two numbers don't match, your frame is skewed. Gently nudge the longer corners toward each other until the measurements are identical.
Stretching for That Drum-Tight Finish
Alright, here’s the main event. Lay your painted canvas face down on a clean work surface. Place your assembled frame on top of it, this time with the raised edge facing down against the back of the canvas. Take a moment to center it perfectly, ensuring you have an equal border of extra canvas on all four sides.
The secret to perfect, even tension is this: always work from the middle outwards.
- Begin on one of the longer sides. Fold the canvas over the middle of the bar, pull it snug, and pop one staple right in the center.
- Now, go directly to the opposite side. Using canvas pliers (or just strong fingers), give the canvas a firm pull and put a staple directly across from the first one. Your canvas is now secured in the middle.
- Do the exact same thing for the two shorter sides. One staple in the middle of each, always pulling against the opposite staple.
From here, just keep adding staples, working from the center of each side out toward the corners. I like to space my staples about an inch apart for a secure hold. For a more detailed walkthrough, you can find great visual guides on how to stretch a painted canvas that show this technique in action.
Creating Those Perfect Gallery Corners
The corners are where the magic happens. As you staple your way out from the center, stop about two inches from each corner. To get that clean, professional-looking "gallery wrap," you’re going to fold the canvas just like you're wrapping a present.
Pull the very tip of the corner straight in towards the center of the frame. Then, neatly fold one of the adjacent sides over it, creating a crisp, 45-degree fold. Secure this fold with a few staples on the back of the stretcher bar. Do this for all four corners, and you're done! Your canvas is now perfectly stretched and ready to hang or frame.
Mounting Your Canvas in a Traditional or Float Frame
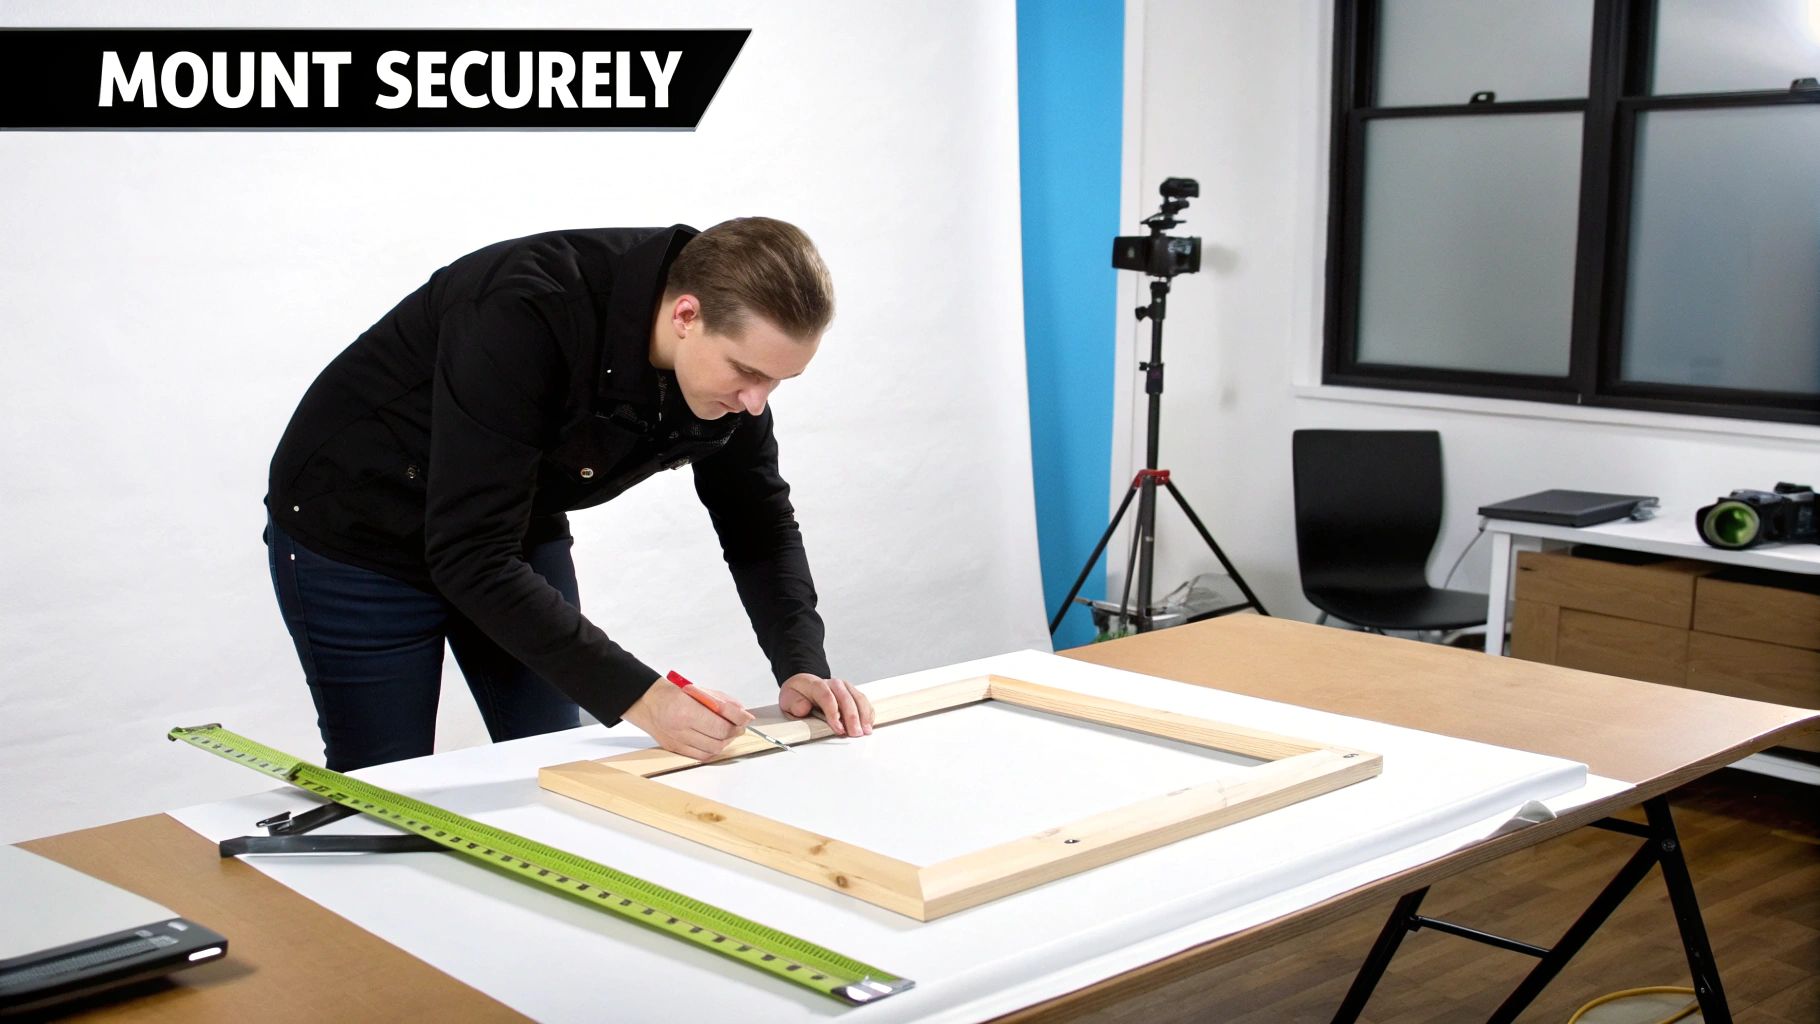
With your canvas perfectly stretched, you're on the home stretch. Now it’s time to secure it within its final frame, the step that truly brings the whole piece together. The process is a little different depending on whether you’re using a classic frame or a modern float frame, but both are totally manageable once you know the right approach.
Let’s start with the traditional method first, then we'll get into the specifics of float frames for that sleek, gallery-style look.
Securing a Canvas in a Traditional Frame
A traditional frame has an inner lip, called a rabbet, that the front of your canvas rests against. Your job is to hold the canvas snugly in place from behind. For this, your best friends are going to be offset clips or framer's points.
Offset clips are small, Z-shaped metal brackets. They’re brilliant for bridging the gap if your stretcher bars don't sit perfectly flush with the back of the frame.
- Choose the Right Size: Measure the depth difference between the back of the frame and the back of your canvas. The clips come in various offsets (like 1/8", 1/4", or 1/2") to match this gap perfectly.
- Installation: Simply position the clips so one screw hole is on the frame and the other is on the stretcher bar. For a small canvas, use at least four—one centered on each side. On larger pieces, you'll want to add a few more to distribute the pressure evenly.
If your canvas happens to sit flush with the frame's back, framer’s points are an even simpler solution. They're just small, rigid metal tabs that you push directly into the wood of the frame, holding the canvas tight.
A common mistake is cranking down on the clips too hard. You want the canvas secure, but not so tight that it warps the stretcher bars over time. The goal is a firm hold, not a death grip.
Creating the Float Effect in a Float Frame
A float frame gives your art a sophisticated, modern edge by creating a gap—or "float"—between the canvas and the frame’s inner wall. This is a fantastic way to show off the entire painting, including the painted sides of the canvas.
Most float frames come with pre-drilled holes in the back and the screws you’ll need. The whole game here is about careful, even positioning.
First, place your stretched canvas into the frame from the front. The trick is to get a perfectly consistent gap on all four sides. A standard shadow gap is typically around 1/4 inch, but feel free to adjust this to your liking.
Here’s a practical tip I use every single time:
- Cut a few small spacers from scrap cardboard or foam core to your desired gap width.
- Place the canvas inside the frame and wedge your spacers into the gap on all sides. This holds the canvas perfectly centered while you work.
- Carefully flip the entire assembly over onto a soft towel or blanket.
- Drive the provided screws through the pre-drilled holes in the frame and into the back of your stretcher bars. I always start with just one screw on each side, then remove the spacers to double-check the alignment before finishing up.
Knowing how to frame a canvas has become a must-have skill, especially with the boom in custom art. An estimated 70% of paint-by-numbers users end up framing their work, and studies show that framed art can boost a room's aesthetic appeal by 52%. It’s also a huge part of the $9.69 billion US personalized gifting market, where framed custom kits are a go-to for special occasions. To save money, about 45% of buyers choose DIY stretcher frames, cutting costs by 30-40% compared to professional services. You can dig into more data on the custom printing market for more insights.
Adding Professional Finishing Touches
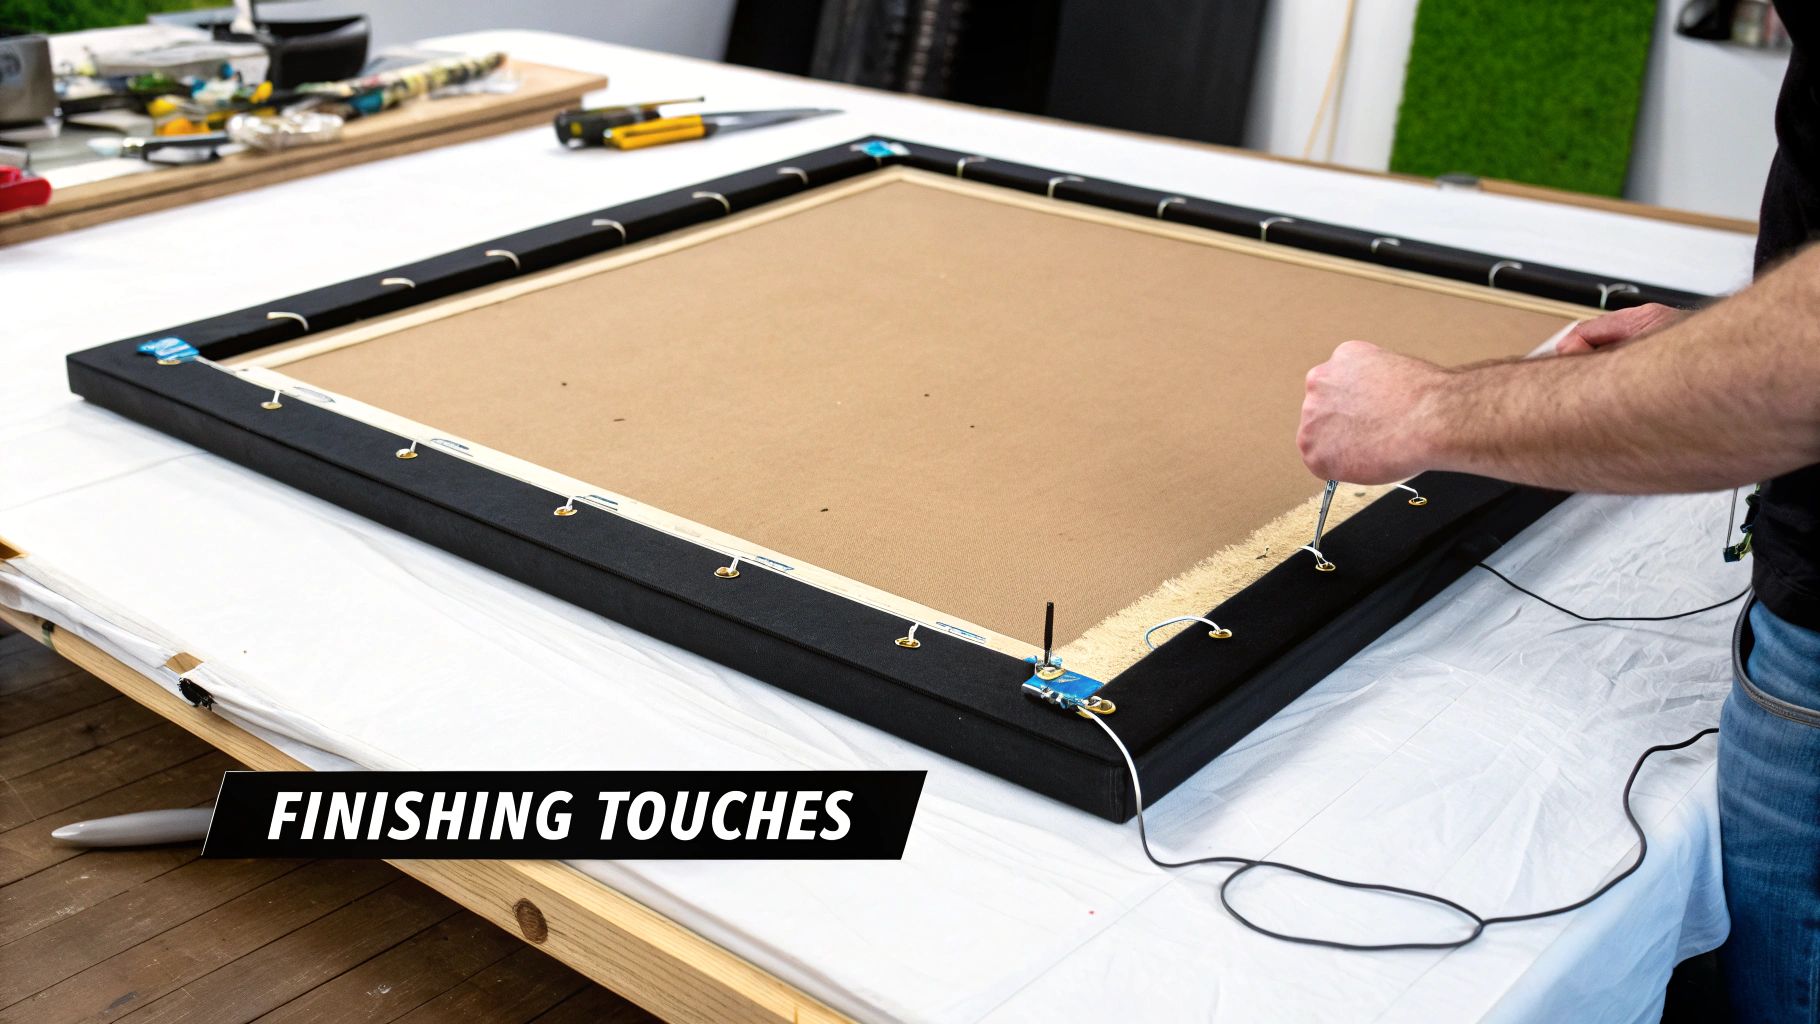
You’ve done the hard part—your canvas is securely in its frame, and it’s already looking fantastic. Now for the fun stuff: the final details that elevate your work from a nice DIY project to a truly professional-looking piece of art. These touches not only protect your work but also get it ready for its grand debut on your wall.
First up is adding a dust cover to the back. This isn't just for show. It's a crucial barrier that stops dust, moisture, and even insects from creeping inside the frame and damaging your canvas over time. It also gives the whole piece a clean, gallery-quality finish. A simple roll of brown kraft paper is all you need. Just cut a piece that’s slightly larger than your frame.
Applying the Dust Cover
Putting on the dust cover is pretty simple. Run a thin line of craft glue or double-sided framer's tape around the very back edge of the frame.
Lay your paper over the back, press it firmly onto the adhesive, and let it dry completely. Once it’s set, grab a sharp craft knife and carefully trim the excess paper away. Use the outer edge of the frame as your guide to get a perfectly clean line. Protecting your art is always the goal, especially with acrylics. For more on this, check out our guide on https://paint-by-number.com/blogs/learn-about-paint-by-numbers/how-to-seal-acrylic-paint-on-canvas.
Pro Tip: For a super polished look, lightly spritz the kraft paper with water before you stick it down. As the paper dries, it will shrink just enough to create a taut, drum-tight dust cover.
Installing Hanging Hardware
This is it—the final step before your masterpiece is ready for the wall. The most reliable method for canvases involves using D-rings and picture wire. This classic setup is the best way to make sure your art hangs level and stays put.
A good rule of thumb is to place your D-rings about one-third of the way down from the top of the frame. Measure this spot on both the left and right sides and make a small pencil mark.
- Position the D-Rings: Place a D-ring at each mark and screw it securely into the wooden frame. You'll want the "D" part of the ring to be angled slightly inward, toward the center.
- Attach the Wire: Cut a piece of picture wire that is about 6-8 inches longer than the frame's width. Thread the wire through one D-ring, loop it back on itself, and twist it tightly for a few inches to secure it.
- Get the Tension Right: Pull the wire across to the other D-ring. It should have just enough slack so that when you pull it taut at its center, the peak is a couple of inches below the top of the frame. Secure the other end of the wire the same way you did the first.
Now that your art is beautifully framed, you might want to photograph it to share online or add to your portfolio. If you're looking to display or sell your work, using a professional product photography lighting setup can make a world of difference in how your piece is perceived.
With the dust cover and hanging wire in place, your artwork is officially ready to hang. This final polish ensures your creation is protected, secure, and presented in the best way possible.
Common Framing Mistakes and How to Avoid Them
Even when you're careful, a few things can go wrong when framing a canvas for the first time. I’ve made my share of mistakes over the years, so let me help you sidestep some of the most common pitfalls. Getting these little details right is what separates a decent framing job from a flawless one.
One of the biggest culprits is over-stretching the canvas. We all want that perfectly taut, drum-tight surface, and it’s tempting to just pull as hard as possible. The problem is, too much tension can actually make the wooden stretcher bars bow inward. You might not notice it right away, but over time, this will create weird ripples and waves in your art.
The goal is firm, even tension—not brute force. The canvas should feel snug, but if you see the wood frame starting to bend, ease up. You’ve gone too far.
Staple and Hardware Headaches
Hardware issues can be a real headache, too. For instance, using staples that are too long for your stretcher bars is a classic rookie mistake. If they poke through the other side, they can easily press into the front of your canvas and leave a permanent dent or, worse, a tear.
Before you start, double-check that your staples are shorter than the depth of your stretcher bars. A 3/8-inch staple is usually a safe bet for most standard frames.
Spacing matters just as much. If you place your staples too far apart, the canvas can start to sag between them. As a rule of thumb, aim to place one staple every 1 to 2 inches for a secure, even hold all the way around.
When it comes to hanging hardware, precise placement is everything.
- Uneven D-Rings: If you attach your D-rings at slightly different heights—even by a quarter of an inch—your frame will hang crooked. No amount of adjusting on the wall will fix it. Always measure from the top edge of the frame to make sure they're perfectly level with each other.
- Wire Too High: Attaching the hanging wire too close to the top of the frame is a bad look. The hook on the wall will be visible, and the artwork will tilt forward awkwardly.
- Wire Too Low: Put the wire too far down, and the frame becomes unstable, leaning away from the wall at the top.
The sweet spot for D-rings is usually about one-third of the way down from the top of the frame. This creates a stable center of gravity that keeps your art hanging straight and flush against the wall.
Ignoring the Environment
Finally, think about where your finished piece is going to live. A canvas is more sensitive to its environment than you might think. Hanging it in a high-humidity spot, like a bathroom, without a protective varnish is an open invitation for moisture damage and mold.
Likewise, direct sunlight is the enemy of acrylic paint. The vibrant colors in your paint-by-numbers kit can fade surprisingly fast if they're blasted by the sun every day.
Take a moment to consider the final destination. A quick coat of UV-protective varnish and a spot with indirect light can make all the difference, preserving your hard work for years to come.
Your Canvas Framing Questions, Answered
Jumping into the world of canvas framing can feel a little daunting. A few common questions always seem to pop up, and getting them sorted out is the key to a project you'll be proud of. Let's clear up some of that confusion so you can get a flawless, professional finish every time.
Do I Really Have to Stretch My Canvas Before Framing?
I get this one a lot. Technically, can you skip it? Yes. Should you? Absolutely not, at least not if you want it to look good for years to come.
An unstretched canvas is just a piece of fabric. Over time, gravity and even small changes in humidity will cause it to sag, ripple, or buckle inside the frame. The result is a wavy, unprofessional look that really takes away from your hard work.
Stretching the canvas over a set of stretcher bars is the best way to go. It creates the perfect, even tension to keep the surface taut and completely flat. If stretching just isn't in the cards, your next best bet is to mount the canvas to a rigid, acid-free backing board. But for a truly durable, gallery-quality result, stretching is the gold standard.
What's the Difference Between a Float Frame and a Regular Frame?
The main difference is all about how the frame meets the artwork. It completely changes the final look.
- A regular frame has a lip on the inside, called a "rabbet," that covers the very edge of your canvas. This is the traditional look we're all used to, but that overlap can sometimes hide important details right at the edge of your painting.
- A float frame is built a bit differently. The canvas nestles inside it, leaving a small, deliberate gap all the way around. This creates a cool illusion that your art is "floating" within the frame, showcasing the entire canvas—painted edges and all—for a very clean, modern presentation.
What Are the Must-Have Tools for Framing at Home?
You don't need a professional workshop to get great results. A few key tools will get you most of the way there.
You absolutely can't work without a good measuring tape and a pencil. Accuracy is everything. A reliable staple gun is your best friend for stretching canvas, and a basic screwdriver will be necessary for almost any kind of mounting hardware.
To make life easier, a pair of canvas pliers is a game-changer for getting that super-tight, even stretch, though you can manage with just strong hands if you're patient. You'll also need the right hardware to secure the canvas, like offset clips for a traditional frame or the specific screws that usually come with a float frame.
My Advice: Don't cheap out on your staple gun. A flimsy manual one will make your hands ache and probably won't drive the staples in cleanly. If you think you'll frame more than one piece, an affordable electric model is an investment you won't regret.
How Do I Pick the Right Size Frame?
This all comes down to which type of frame you're using. First rule: always measure your actual stretched canvas. Don't just trust the size printed on the original packaging.
For a standard frame, it's simple. The frame size should match your canvas size. If you have a 16x20 inch canvas, you buy a 16x20 inch frame. The size listed on a frame refers to the opening on the back, not the outside measurement.
For a float frame, you have to factor in that cool "floating" gap. A common gap is about 1/4 inch on all sides. So, for that same 16x20 inch canvas, you’d be looking for a float frame with an internal opening of around 16.5 x 20.5 inches. Always double-check the manufacturer's specs to be sure.
Ready to create a masterpiece you can frame yourself? With Custom Paint By Numbers, you can turn any photo into a personal art project. Order a kit and you'll get everything you need, including a high-quality linen canvas and a DIY stretcher frame. Start transforming your memories into art today at https://paint-by-number.com.