

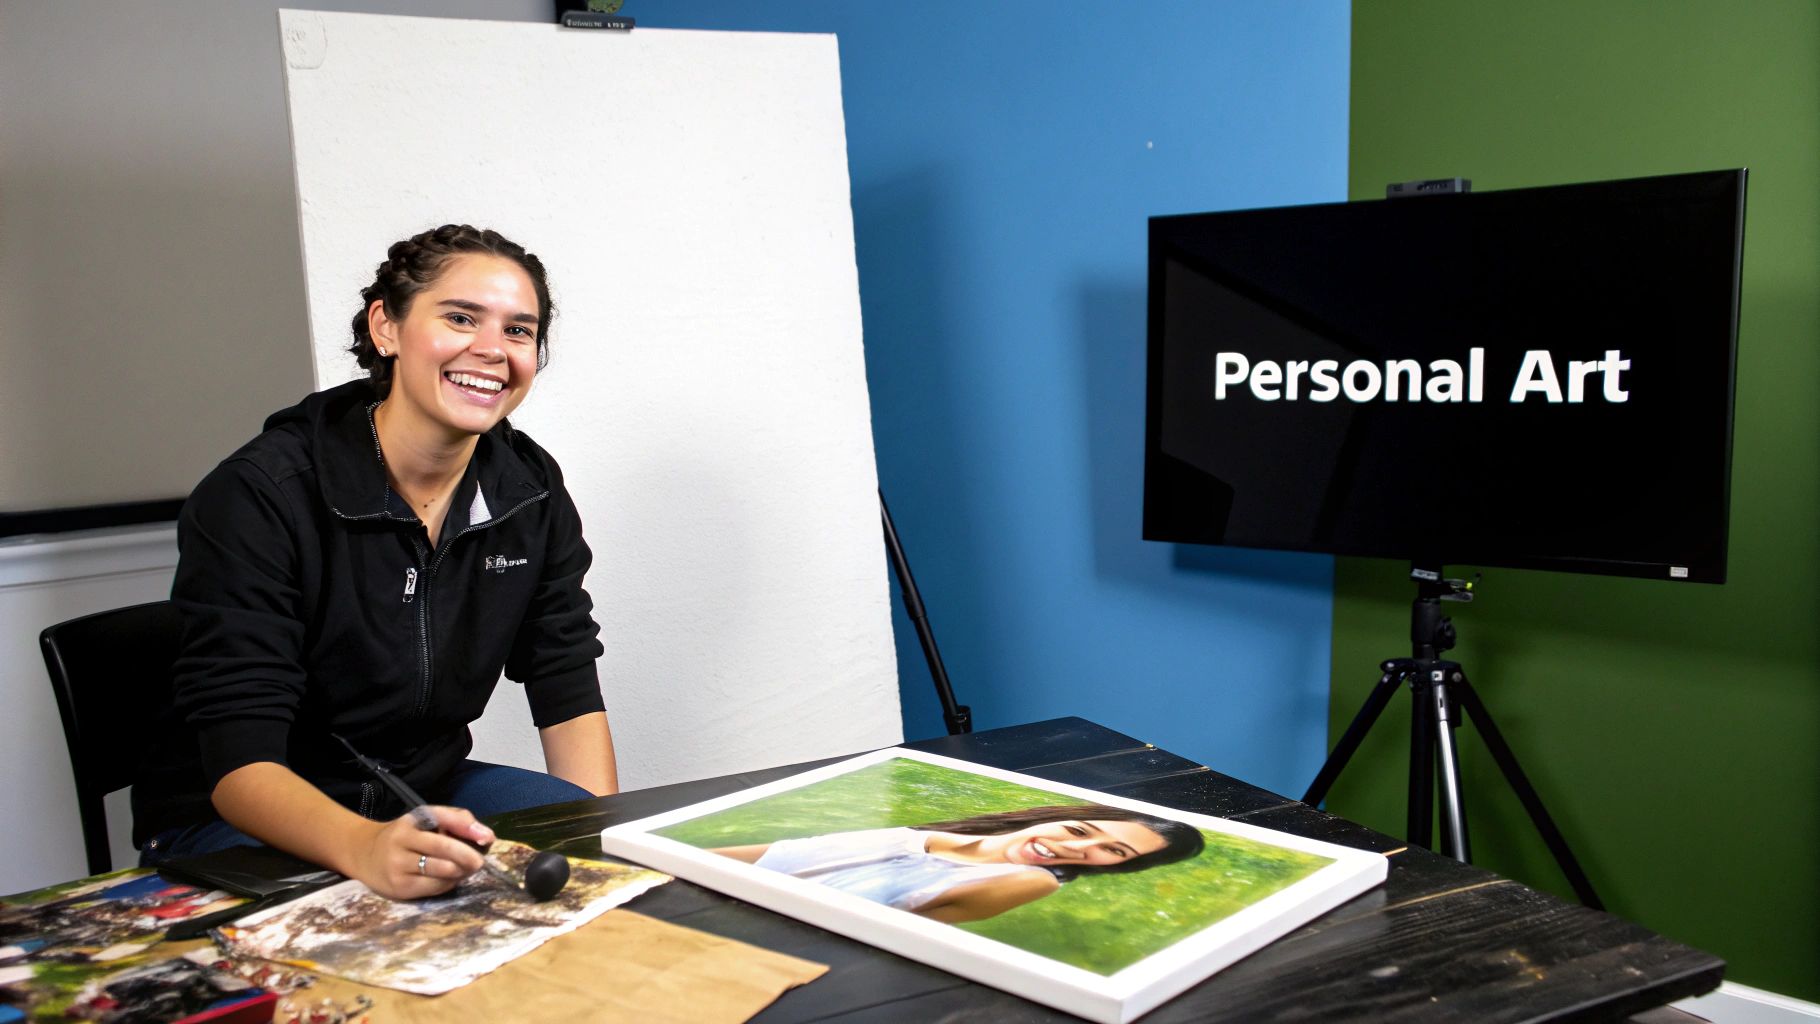
A paint by number custom picture kit is your ticket to turning a favorite photo into a canvas you can actually paint, complete with all the supplies you'll need. It’s an incredibly popular and rewarding way to transform cherished memories into one-of-a-kind art you've made yourself.
Turn Your Favorite Photos Into Personal Art
Think about that breathtaking vacation sunset, a goofy candid of your family, or a perfect portrait of your furry best friend. Now, imagine turning that image into a painting. That’s the magic of a custom paint by number project. It takes all the guesswork out of the artistic process, giving you a structured but deeply personal way to reconnect with your favorite moments.
This is an activity for everyone. It doesn't matter if you're a seasoned crafter or someone who hasn't picked up a paintbrush since grade school.
The real beauty of it is how it eliminates the fear of a blank canvas. Instead of getting bogged down by composition or color theory, you can just lose yourself in the simple, meditative act of filling in the numbered sections. It’s an accessible path to creating something you’ll be truly proud to hang on your wall.
The Rise of Personalized Art
This isn't just a niche hobby; it's part of a massive movement. The global paint-by-numbers kit market hit a staggering USD 1.56 billion in 2024, and a huge chunk of that growth comes from people just like you wanting to personalize their creative projects. Custom kits are leading the charge.
The whole process, from that initial photo to your final brushstroke, is surprisingly straightforward and can be broken down into three main stages.

As you can see, your journey starts with picking a photo that means something to you, then moves into getting your custom kit made, and finishes with the fun part—the actual painting.
Let's break down that journey into a simple overview.
Your Custom Painting Journey at a Glance
This table maps out the key steps you'll take, from selecting your image to putting the final touches on your masterpiece.
| Stage | Key Action | Why It Matters |
|---|---|---|
| 1. Photo Selection | Choose a high-quality, well-lit image. | A great photo is the foundation for a great painting. Clarity and good lighting translate best to the canvas. |
| 2. Kit Creation | The photo is converted into a numbered outline. | This digital magic turns your complex photo into a simple, paintable roadmap. |
| 3. The Painting Process | You fill in the numbered sections with paint. | This is the creative, hands-on part where your memory comes to life with color. |
Each stage is a simple step forward in creating a piece of art that is uniquely yours.
Beyond the Canvas
Diving into a hands-on project like this gives you more than just a piece of art for your wall. It’s a fantastic way to practice mindfulness and take a much-needed break from screens. There's something incredibly calming about the focused, repetitive motion of painting. It's a proven way to quiet your mind, reduce stress, and sharpen your focus.
For those who love working with their hands, you might also enjoy exploring creative clay activities for another kind of tactile, artistic outlet.
The real value of a custom paint by number picture isn't just the finished painting, but the experience of creating it. It’s about the time you dedicate to bringing a personal memory to life, brushstroke by brushstroke.
This guide will walk you through everything you need to know to make your project a success. We'll cover how to pick the perfect photo, find a high-quality kit, and get your space set up for a fun and seamless painting session.
Selecting a Photo That Guarantees a Great Painting
The real secret to a stunning custom paint-by-number isn't about your brush skills. It all comes down to the photo you choose. Seriously. The quality of your original picture directly impacts the final painting you'll create.
Think of the photo as the blueprint for your project. A fuzzy, poorly lit blueprint is only going to lead to a frustrating and messy-looking result. Not every picture, even the ones we love most, is a good candidate for a paint-by-number canvas.
Clarity and Focus Are Everything
The most important thing to look for is clarity. Your photo needs to be sharp, in focus, and high-resolution. When you zoom in on the picture, the details should stay crisp, not turn into a blurry, pixelated blob. The software that designs your kit needs this clear information to map out the numbered sections properly.
Let's look at two common examples I see all the time:
- The Perfect Photo: A close-up shot of your dog sitting on the grass in bright, even daylight. Your pet is the clear star, the background is simple, and the light picks up all the little details in their fur. A photo like this will translate into a beautiful kit with clean, easy-to-follow lines.
- The Problem Photo: A wide shot of the whole family standing on a busy beach at sunset. While it's a great memory, the people are small, the background is chaotic, and the dim lighting creates dark shadows that obscure everyone's faces. This kind of image will produce a confusing canvas with muddled, indistinct color patches.
Here's a solid rule of thumb: If the main subject isn't crystal clear in the original photo, it will be even less clear in the painting. The process simplifies details; it can't magically invent them.
To get the best possible result, you want your subject to fill a good portion of the frame. This ensures that important features—like faces, eyes, and expressions—are large enough to be broken down into distinct, paintable areas.
Nail the Lighting and Background
Good lighting is your best friend. Photos taken in bright, natural light without harsh shadows always work best. They give the kit-making software the most accurate color information to work with. Steer clear of pictures with strong backlighting, like someone standing in front of a sunny window, as it tends to blow out the details and create a silhouette effect.
Simple backgrounds are always the way to go. A cluttered background filled with patterns, other people, or random objects just competes for attention with your main subject. All that visual noise gets turned into dozens of tiny, frustrating color sections on the canvas, taking away from the part you actually want to paint.
But what if your favorite photo has a less-than-ideal background? Don't worry, you can often fix it with some simple editing.
- Crop It Out: Use any basic photo editor to crop the image aggressively. Zoom in and bring the focus tightly around your subject, cutting out all that distracting background noise.
- Boost the Contrast: Sometimes, just slightly increasing the contrast helps create a sharper edge between your subject and the background. This makes it much easier for the software to create a clean outline.
- Final Detail Check: After you've made your edits, zoom in one last time. Make sure the most important elements, like the eyes in a portrait, are still sharp and clear.
Choosing the right image is easily the most critical step in this whole process. By sticking with high-resolution photos that have a clear subject, good lighting, and a simple background, you're setting yourself up for a fantastic and rewarding painting experience from the start.
For a deeper dive into the technical side of things, check out our complete guide to convert photos to paint by numbers for more pro tips.
How To Choose A High-Quality Custom Kit

Okay, you've got the perfect photo picked out. Now comes the important part: finding a company that will actually do it justice. The market for a paint by number custom picture kit has exploded, but not all kits are created equal. The difference between a well-made kit and a cheap knockoff is huge, and it impacts everything from your painting experience to the final piece of art.
Spending just a few extra minutes vetting your options can save you from a world of frustration. A good kit should feel like a joy to work with, not a chore.
What Defines A Premium Kit
The first clue to a kit's quality is the materials inside the box. You aren't just buying a canvas with lines on it; you're buying a complete art experience.
Here’s what you should be looking for:
- A Pre-Stretched Linen Canvas: This is a big one. A quality canvas comes already stretched on a frame, providing a sturdy, professional surface that’s ready to paint and easy to hang. Cheaper kits often send a rolled-up, paper-like canvas that's creased and a pain to work on.
- Vibrant, Non-Toxic Acrylic Paints: Your kit should include a full set of pre-mixed, numbered acrylics. Good paints have rich, vibrant colors, provide great coverage, and are non-toxic, so they're safe for everyone to use.
- A Clear, Easy-to-Read Template: The numbers and lines on the canvas need to be crisp and legible. If the template is blurry or faded, you’ll be squinting and guessing, which completely ruins the relaxing vibe.
Remember, the whole point is to unwind and create something beautiful. A kit with flimsy brushes, dried-out paint pots, or a smudged canvas will only lead to disappointment.
Beyond The Physical Materials
What happens behind the scenes matters, too. The software a company uses to turn your photo into a paint-by-number template is a critical piece of the puzzle. Some sellers use basic, automated programs that spit out a very simple—and often inaccurate—color map.
The best companies, on the other hand, use more sophisticated algorithms (and sometimes a human designer's eye) to create a detailed, nuanced template. This means your finished painting will capture the subtle shading and detail of your original photo much more faithfully. A great way to check this is to look for customer galleries on their website. Seeing real, finished paintings from other buyers is the best proof you can get.
This is also the perfect time to weigh your options. We’ve put together a comprehensive review of the best custom paint by number kits to help you see how different brands stack up.
The boom in DIY hobbies has supercharged the art and craft tools market, which is projected to grow from USD 3.96 billion in 2025 to USD 6.39 billion by 2032. The painting and drawing segment, which includes all the goodies in your kit, led the market in 2024. That just goes to show how many people are discovering the joy of these projects!
By focusing on the quality of the canvas, the vibrancy of the paints, and the company's reputation, you can pick a kit that guarantees a fantastic result.
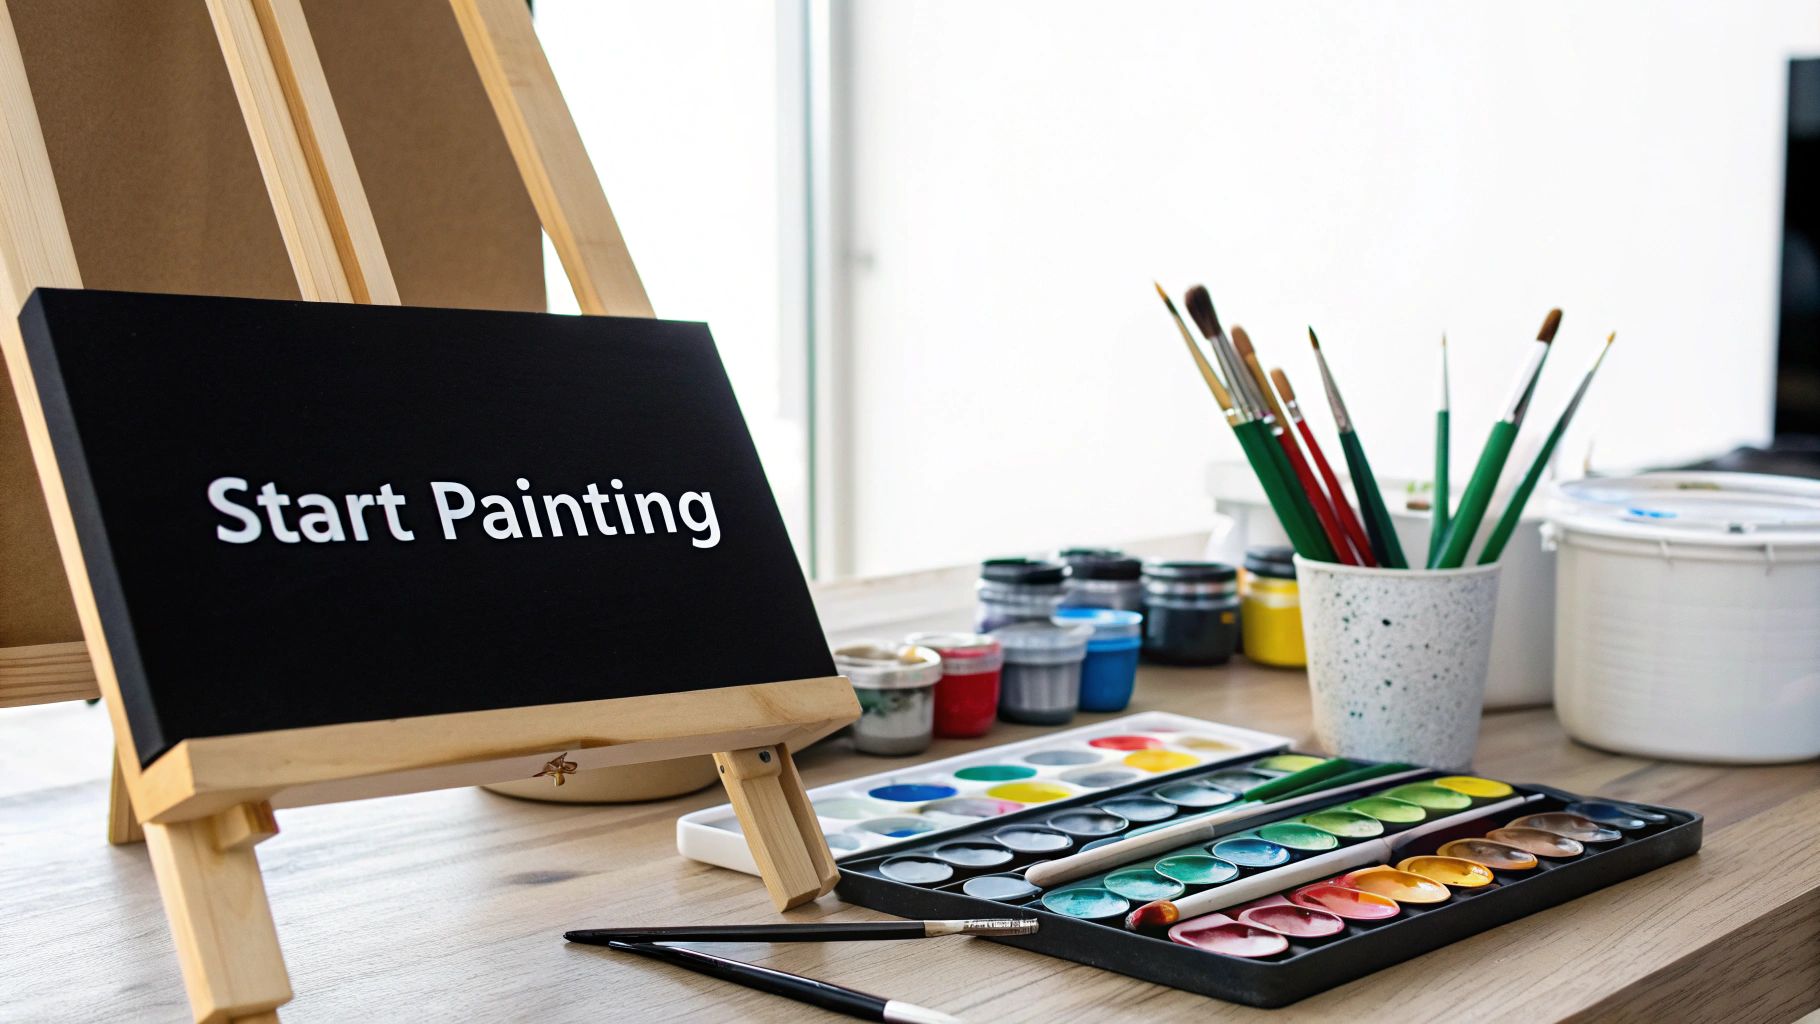
So, Your Kit Arrived! Here’s How to Actually Paint It
That moment when you unbox your custom paint-by-number kit is pure excitement. You’ve got your canvas, a rainbow of tiny paint pots, and a set of brushes—it’s time to turn that outlined canvas into a piece of art that’s uniquely yours.
Before you even think about dipping a brush in paint, let’s get your workspace sorted. You don't need a fancy art studio. A quiet corner with good light is perfect. Natural daylight is always best, but a decent lamp will do the trick for those late-night painting sessions. Trust me, good lighting is a game-changer for seeing those tiny numbers and avoiding eye strain.
Get everything organized first. Lay out your canvas, pop open the paint pots (I like to arrange them by number), and grab a cup of water for rinsing brushes and a paper towel for dabbing them dry. A little prep work now means you can just relax and paint later.
Finding Your Flow
There’s no secret formula for the "right" way to paint your canvas. It really comes down to what feels good to you. Some people love a methodical plan, while others just dive right in.
Not sure where to begin? Here are a few tried-and-true approaches:
- The One-Color-at-a-Time Method: This is my personal favorite. You pick one number—say, #7—and hunt down every single section with that number. It’s incredibly satisfying to watch that one color pop up all over the canvas before you move on to the next.
- The Top-Down Strategy: Simple but smart. Start painting at the top left and work your way down and across. If you're left-handed, just reverse it. This is the best way to avoid dragging your hand or sleeve through wet paint.
- Going Dark to Light: Some painters swear by starting with the darkest colors. This helps lay down the shadows and gives your image depth right from the start. Plus, it's usually easier to cover up a dark mistake with a lighter paint than the other way around.
The goal here is to find a rhythm that lets you zone out and just enjoy the process. Try one method for a bit, and if it's not working for you, switch it up! This is your project, your rules.
A Few Words on Brush Technique
Your kit probably came with a couple of different brushes, and they each have a job. Use the bigger brush to fill in those large, sweeping areas quickly. Save the tiny, fine-tipped brush for the really detailed spots that require a steady hand. Using the right tool for the job makes a world of difference in getting those crisp, clean lines.
Sometimes the paint can be a little thick right out of the pot. If it’s not flowing smoothly, just dip the very tip of your brush in water and stir a tiny bit into the paint pot. You only need a drop or two to get it to that perfect, creamy consistency.
When you get to those super small, intricate sections, try bracing your painting hand with your other hand to keep it from shaking. Take a deep breath and go slow. These little details are what will make your painting truly look like your photo. Don't stress about perfection—just have fun watching your picture come to life.
Applying Finishing Touches and Pro Techniques
So, you’ve filled in that last numbered section. Congratulations! While your paint by number custom picture is technically done, a few extra touches can elevate it from a fun project to a piece of art you’ll be proud to display. These final steps are easy, but they make a huge impact.
One of the best ways to soften the look of your painting is through blending. This little trick helps ease the hard edges between two different colors, which is perfect for creating smooth gradients in skies, water, or even the subtle shifts in a portrait’s skin tone.
To pull it off, just work with the paint while it's still wet. Dab a bit of each color next to the other, then grab a clean, slightly damp brush. Use it to gently pull the colors into one another right at the line where they meet. You're aiming for a soft, seamless transition, not a muddy mess.
Adding Vibrancy and Fixing Mistakes
Ever notice how some of the lighter colors, especially whites and yellows, can look a little see-through after one coat? That’s just the nature of acrylics. A quick second coat is all it takes to make them solid and vibrant, really making those highlights stand out.
And what if you paint outside the lines? It happens to the best of us. The fix is simple: let the mistake dry completely. Then, just go back over it with the correct color for that area. Using a fine-tipped brush here will give you the precision you need to clean it up perfectly.
The real artistry in a custom kit isn't just following the numbers; it's in the small, thoughtful touches you add at the end. These final steps are what make the painting truly yours.
It's no surprise that certain themes work especially well with these techniques. A recent analysis of paint-by-numbers market trends showed that landscape and floral kits are dominating sales, outselling other categories by an incredible 293% in average monthly sales. Why? Because natural scenes are forgiving and look amazing with a bit of blending and layering.
The Final Step: Sealing Your Artwork
This is arguably the most important finishing touch. Applying a coat of varnish does two key things: it protects your hard work from dust and UV light, and it really deepens the richness of the colors.
You’ll have to decide between a gloss or matte finish, and it really comes down to personal taste.
- Gloss Varnish: Gives your painting a shiny, vibrant look. This finish makes colors look deeper and almost wet.
- Matte Varnish: Provides a flat, non-reflective finish. This is great for reducing glare and gives your art a softer, more modern vibe.
Applying varnish is easy. First, make sure your painting is bone dry—I always give it at least 24 hours. Then, take a wide, soft brush and apply a thin, even coat over the entire canvas. For a more detailed walkthrough, you can follow our guide on how to seal acrylic paint on canvas. This final layer is your insurance policy, preserving your beautiful creation for years.
Answering Your Top Custom Paint by Number Questions
Jumping into your first paint by number custom picture is exciting, but it's natural to have a few questions pop up. From wrestling with stubborn paint to figuring out how long the whole thing will take, getting the right info upfront makes the experience way more fun. Let’s clear up some of the most common things people ask.
A frequent hang-up is paint consistency. You might open a pot and find the paint is a little too thick to glide on smoothly. Don't worry, this happens all the time and the fix is incredibly simple.
Just dip the very tip of your brush in some water and mix one or two drops into the paint. You're aiming for a creamy, smooth texture that flows easily but isn't watery.
So, How Long Will My Project Take?
This is the million-dollar question, and the honest answer is: it depends! The time it takes to finish your masterpiece is really tied to a couple of big things. The complexity of your photo is the main driver—a picture packed with tiny details is going to require more time than a simple one with big, open color areas.
Canvas size also makes a big difference. You might knock out a small 8x10 portrait in a few nights, but a sprawling 16x20 landscape could easily become a relaxing project you chip away at for a couple of weeks. Most painters find a nice groove, spending an hour or two here and there.
Here’s a quick breakdown of what influences the timeline:
- Detail Level: A close-up shot of your dog will be much quicker to paint than a crowded family reunion photo with a busy background.
- Canvas Size: Simply put, the bigger the canvas, the more painting there is to do.
- Your Personal Pace: Some of us paint with speed and focus, while others like to take it slow and really savor the process. There's no right or wrong way.
The most important thing to remember is that this isn't a race. The point is to relax and enjoy the creative journey, whether it takes you a weekend or a month to complete.
Dealing with Little Painting Hiccups
What happens if you paint a section with the wrong color? First off, don't panic! This is one of the easiest mistakes to fix. Just let the wrong color dry completely.
Once it's totally dry, you can go right over it with the correct paint. If you're covering a dark color with a lighter one, you might need a second coat to make the mistake disappear, but it will be completely invisible when you're done.
Another common question is what to do with all that leftover paint. Definitely keep it! Seal the pots up tight and store them somewhere cool and dark. You never know when you'll want to do a little touch-up later on.
Ready to transform that favorite photo into a personal work of art? At Custom Paint By Numbers, we give you everything you need to create a masterpiece from your own memory. Start your custom painting journey today!


