Painting by numbers is a fantastic way to create a stunning piece of animal art, even if you’ve never picked up a brush before. It’s a simple, guided process: you match numbered paints to the corresponding sections on a canvas. Piece by piece, you'll see a vibrant animal portrait come to life.
Start Your Animal Painting Adventure
Ever dreamed of painting a powerful lion, a brilliant macaw, or even a custom portrait of your own furry friend? Animal paint-by-number kits make that a reality for anyone. It's not just a craft; it's a creative journey that gives you the satisfaction of making something beautiful while enjoying a truly calming, mindful activity.
Think of it like a paint-by-color puzzle. Each number on the canvas is a tiny piece of the bigger picture. As you fill in the shapes, a complete image starts to emerge right before your eyes. This structured approach takes away all the intimidation of a blank canvas, which makes it perfect for beginners or anyone looking for a relaxing project.
More Than Just a Hobby
The magic here isn't just in the final painting. There's something incredibly therapeutic about the simple, focused motion of filling in the colors. It’s a great way to quiet your mind, reduce stress, and improve your focus. As you get lost in the details, the noise of the outside world just melts away.
The act of creating—whether it's painting, knitting, or woodworking—is incredibly powerful for your well-being. It gives you a real sense of accomplishment and a beautiful, tangible result for your effort. A simple pastime can easily become a restorative practice.
As you get ready to dive into your painting, it's cool to think about the wider positive effects of creative hobbies, like the mental health benefits of crafting.
What You Will Discover in This Guide
This guide is your all-in-one resource for mastering animal paint-by-numbers. We're going to walk you through everything, step-by-step, so you feel confident and ready to create a masterpiece you can't wait to hang on your wall.
Here’s a quick look at what we’ll cover:
- Choosing Your Kit: Learn how to pick the right design for you, considering things like complexity, size, and style.
- Essential Setup: We’ll show you how to set up your painting space so you can have a smooth, enjoyable, and mess-free session.
- Painting Techniques: Get the hang of key skills like blending and layering to give your artwork real depth and a professional look.
- Creating Lifelike Textures: We'll dive into more advanced tricks for painting realistic fur, feathers, and scales that will make your animal subjects pop.
- Finishing Touches: Discover the best ways to seal your painting to protect it and get it ready for display.
How to Choose Your Perfect Animal Kit
Picking your first animal paint-by-numbers kit is a lot like choosing a new book. Are you in the mood for a quick, lighthearted read or a deep, immersive epic? The right choice makes all the difference, so let's walk through the key things to consider to find a kit you'll absolutely love.
The popularity of these kits has exploded lately. They've become a go-to for anyone looking for a creative and relaxing hobby. Within the huge world of paint-by-numbers, animal designs are consistently a crowd favorite. You can see just how popular animal painting by numbers kits are on Accio.com.
This simple decision tree really shows how a hobby like painting can be a fantastic tool for focus and stress relief.
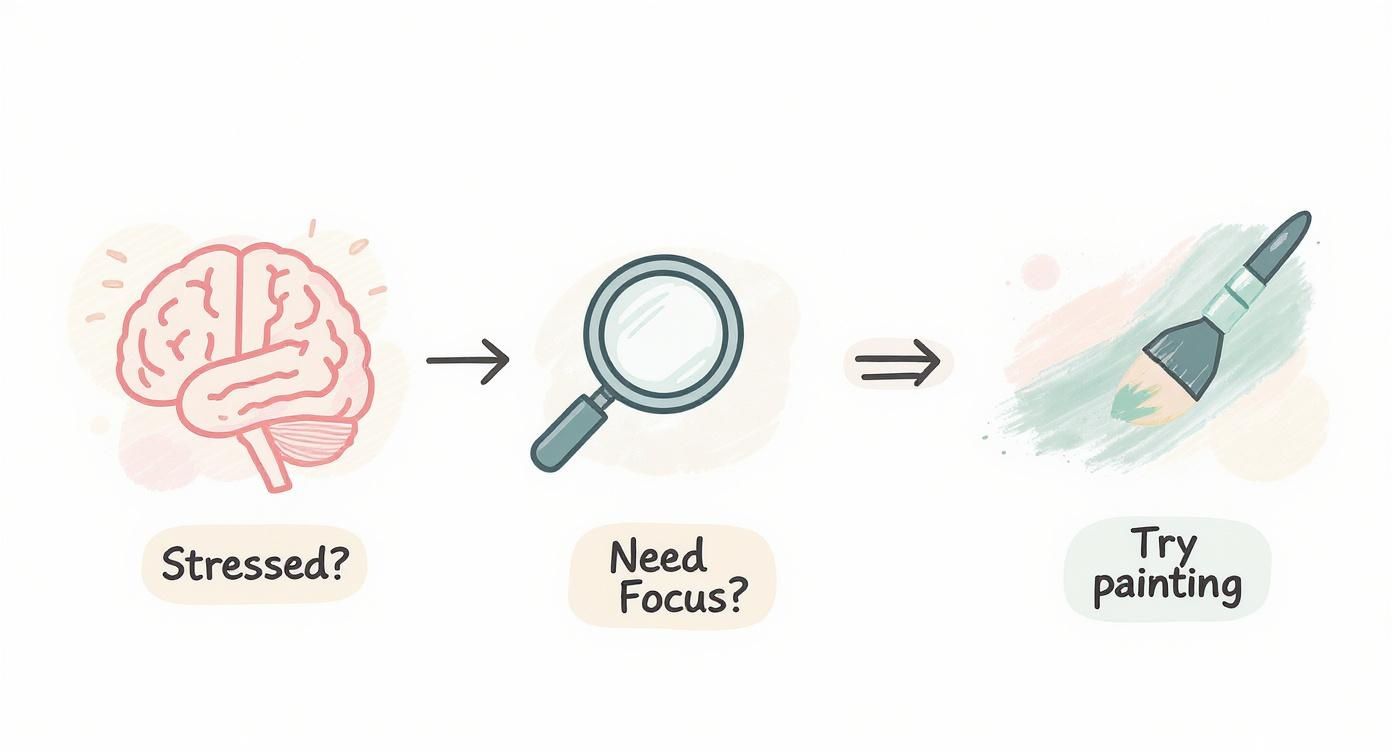
As you can see, when life gets a little chaotic, settling into a focused task like painting is a powerful way to quiet the noise and find a sense of calm.
Match the Complexity to Your Skill Level
First things first, you need to consider the kit's complexity. Most designs are clearly marked for different skill levels, which is really just about the size and number of the painted areas. A beginner kit will have larger, more forgiving sections, while an advanced one will have tons of tiny, intricate details that demand a steady hand.
Pro Tip: If this is your first time, do yourself a favor and start with something simple. Getting a quick, satisfying win will boost your confidence and make you excited for the next one. Diving into a super complex piece right away can feel more like a chore than a hobby.
Think of it like a jigsaw puzzle. A beginner puzzle might have 50 big pieces, but an expert one could have 1,000 tiny ones. Both create a beautiful picture, but the journey to get there is completely different.
To help you decide, here’s a quick breakdown of what to expect from each level.
Comparison of Animal Paint by Number Kit Types
| Feature | Beginner Kits | Intermediate Kits | Advanced Kits |
|---|---|---|---|
| Detail Level | Low. Large, simple shapes. | Medium. A mix of large areas and some smaller details. | High. Very small, intricate sections. |
| Number of Paints | Fewer colors (around 12-18). | Moderate number of colors (18-24). | Many colors and shades (24+). |
| Time Commitment | A few hours to a weekend. | A few weekends or several evenings. | Weeks or even months. |
| Best For | First-timers, kids, or a relaxing, quick project. | Painters with some experience looking for more detail. | Experienced painters seeking a true challenge. |
This table should give you a good idea of which category is the best fit for your current skill and the kind of experience you're looking for.
Check the Canvas and Material Quality
Not all kits are created equal. The quality of the canvas and paints really does affect both the painting process and the final look of your artwork.
You’ll generally find two types of canvas:
- Rolled Canvas: These are very common and affordable, but they often come with creases from being folded. You’ll need to flatten them out first, which is easy to do by laying heavy books on top for a day or so.
- Pre-Stretched Canvas: This is the premium option. The canvas is already mounted on a wooden frame, giving you a perfectly taut surface to paint on right away. It's fantastic if you want to hang your art as soon as it's dry.
The paint quality matters, too. Good acrylics will be rich and opaque, covering the numbers in a single coat. A decent kit should also come with at least three different brush sizes, helping you fill in the big spots and nail those tiny details.
Pick a Design and Size That Excites You
Now for the best part—choosing your animal! Do you feel a connection to a majestic wolf, a fluffy kitten, or a vibrant parrot? Styles range from simple, graphic illustrations to stunningly photorealistic portraits that will have your friends thinking you're a professional artist.
Don't forget to think about the size. A smaller canvas, like an 8x10 inch, is perfect for a quick project. A larger one, say 16x20 inches or more, makes a huge impact but also requires a bigger time investment. Try to picture where you might hang your masterpiece—that can help you choose the perfect dimensions.
By thinking through the complexity, materials, and design, you can pick an animal paint-by-numbers kit that guarantees a fun and rewarding experience from the very first brushstroke.
Setting Up Your Creative Workspace
Think of your painting area like a chef's kitchen. Everything you need should be organized and within easy reach. Getting your space prepped is the secret to a relaxing, mess-free session, letting you lose yourself in the process of bringing your animal portrait to life. A comfortable setup is the first real step to unlocking your creativity.
First things first: protect your furniture. Lay down some old newspapers, a plastic tablecloth, or even a flattened cardboard box to cover your table. This simple step gives you peace of mind, so you can paint freely without worrying about a stray drip or splatter.
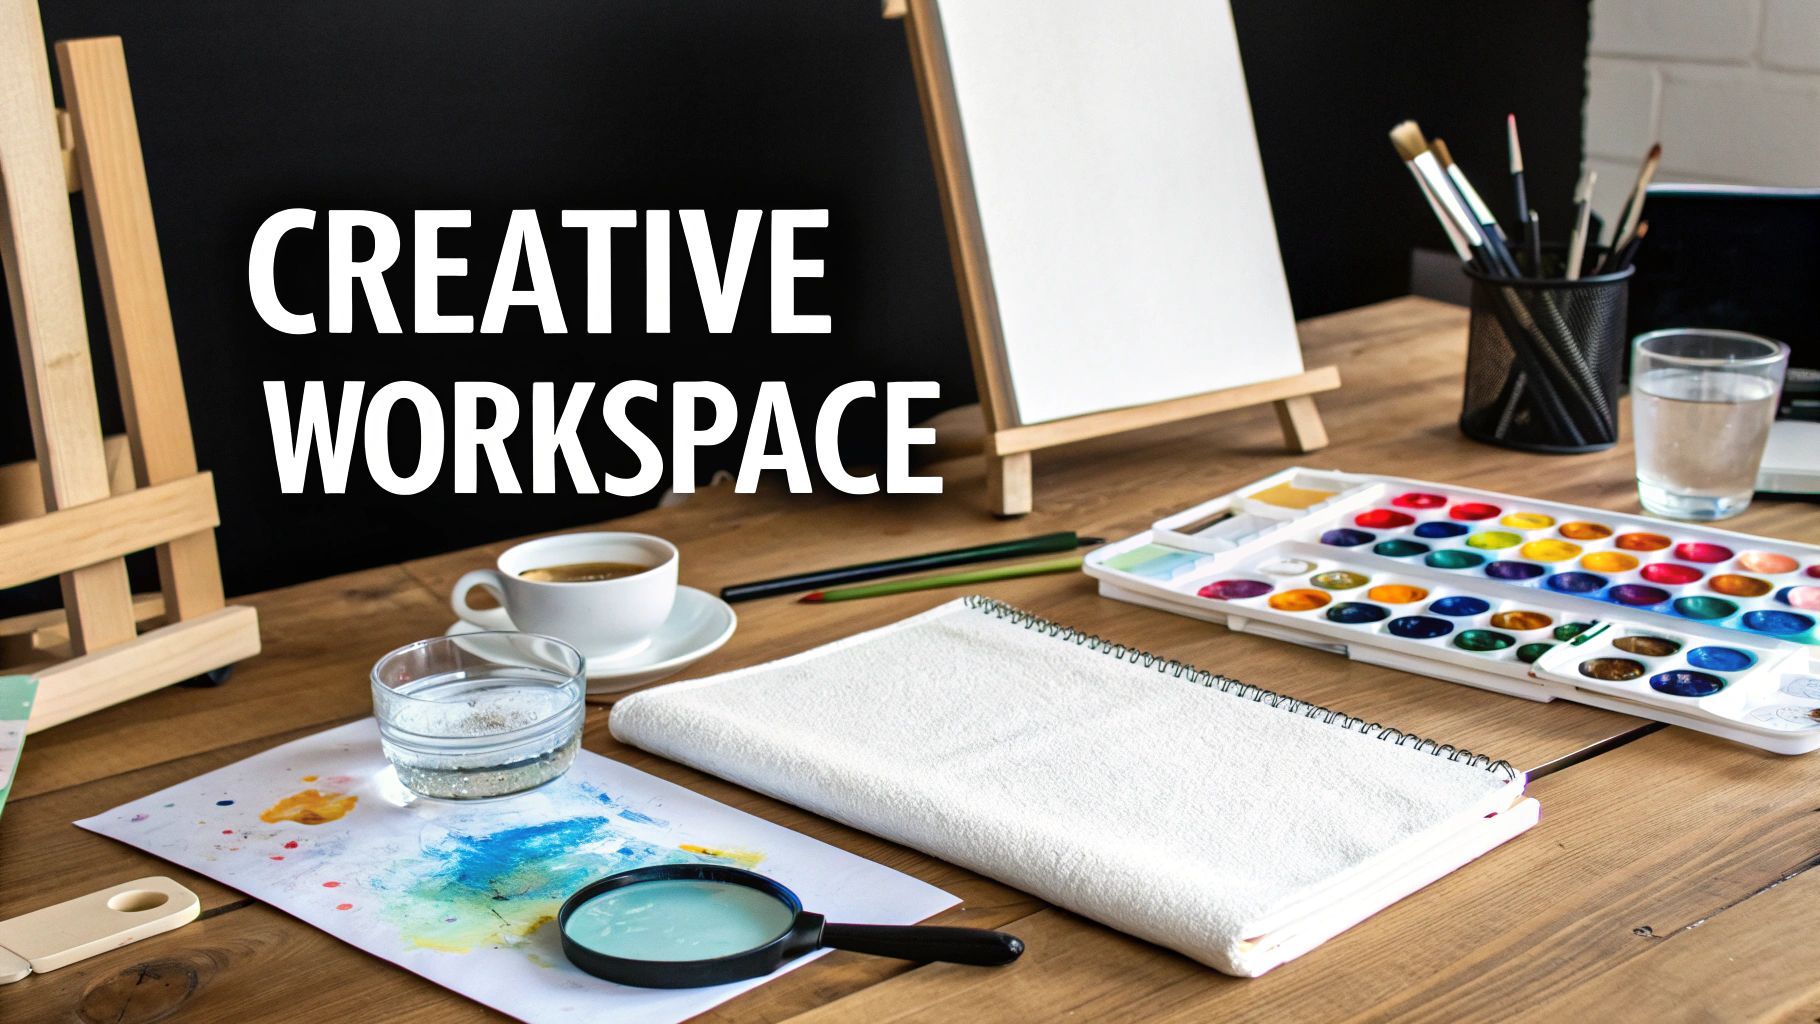
With your surface covered, let's talk about light. Good lighting is absolutely essential for painting by numbers animals. It helps you tell the difference between similar shades and see those tiny numbered areas clearly. Natural daylight from a window is perfect, but a bright desk lamp works just as well, especially if you're a night owl painter.
Preparing Your Canvas and Supplies
If your canvas came rolled up, it probably has a few stubborn creases. You'll want it completely flat for smooth, even brushstrokes. Just lay it on a clean, hard floor or table and place a few heavy books on top for about 24 hours. That gentle, consistent pressure will work out all the kinks.
A flat canvas is a happy canvas. Taking a moment to prepare it properly stops paint from pooling in the creases and lets your brush glide effortlessly—which is a huge deal when you're painting delicate animal fur.
Once your canvas is flat and ready, it's time to get your supplies in order. A little organization goes a long way in keeping your creative flow uninterrupted.
Here’s what your basic toolkit should look like:
- Arranged Paint Pots: Lay out your numbered paint pots sequentially. This makes grabbing the right color a breeze and turns the whole process into a smooth, satisfying rhythm.
- Cup of Water: Have a sturdy cup or jar of clean water on hand for rinsing your brushes between colors. Be sure to swap it out for fresh water once it gets murky to keep your colors looking crisp and pure.
- Paper Towels or a Rag: Keep some paper towels or an old cloth nearby. They're perfect for blotting extra water from your brush and cleaning up small spills before they become a problem.
Optional (But Super Helpful) Extras
While those are the must-haves, a few extra items can make the experience even better, especially when you're tackling a complex design with tons of tiny details.
- A Magnifying Glass: For those incredibly small sections you often find in realistic animal portraits, a magnifying glass is a game-changer. One with a built-in light is even better.
- Toothpicks: You'd be surprised how handy these are. Use them to stir any paint that has separated a bit or to apply a teeny-tiny dot of paint, like the glint in an animal's eye.
- An Easel: A small tabletop easel can do wonders for your posture. It gives you a much better painting angle, which helps prevent neck and back strain during those longer, more involved painting sessions.
Taking just 10-15 minutes to set up your workspace like this creates an organized, inviting environment. This little bit of prep work lets you dive right into the fun part—painting—with focus and pure enjoyment.
Mastering Core Painting Techniques
Now that your creative space is all set up, it’s time to bring that canvas to life. This is where we move beyond just filling in the lines and start learning the skills that will turn your numbered canvas into a piece you're proud of. Think of these techniques as your core artist's toolkit—each one makes the process smoother and adds a touch of polish to the final result.
One of the first habits many painters pick up is working with one color at a time. Instead of hopping around the canvas, just pick one paint pot and fill in every single section with that corresponding number. This is a game-changer for efficiency. It cuts down on constant brush cleaning and stops your little paint pots from drying out while they sit open.
A Strategic Approach to Color
A question I get all the time is, "Where do I even start?" A fantastic strategy is to paint from the darkest colors to the lightest. There's a practical reason for this: it helps prevent smudges and makes mistakes easy to fix. If a dark color accidentally bleeds into a lighter area, the lighter paint will cover it up no problem. Trying to do the reverse is a whole lot harder.
Working from the top of the canvas down to the bottom is another pro move. This simple trick helps you avoid dragging your hand or sleeve through wet paint as you work your way down the canvas. It keeps both your masterpiece and your hands clean.
Mastering your process is just as important as mastering your brushstrokes. By working systematically—one color at a time, dark to light, top to bottom—you create a relaxing rhythm that lets you focus on the art, not on fixing mistakes.
When you put all this together, you create a really solid workflow. You might start with the darkest color in the top-left corner (if you're right-handed) and work your way across and down. This ensures a clean, efficient, and honestly, a much more enjoyable painting session.
Achieving Smooth Blends and Rich Layers
While filling in the shapes is the heart of paint-by-numbers, two techniques can really take your painting by numbers animals artwork to the next level: blending and layering. These are the skills that create soft transitions and a real sense of depth, turning a flat image into something that feels alive.
-
Blending for Soft Transitions: Sometimes, two colors meet and create a hard, obvious line. To get a more natural look—perfect for an animal's soft fur or a gentle sky—you can blend them. While the paint in two neighboring sections is still wet, use a clean, dry brush to gently sweep back and forth over the line where they meet. This will blur the edge and create a beautiful, seamless gradient.
-
Layering for Depth and Vibrancy: Acrylics dry fast, which is a huge advantage for layering. If a color looks a little thin or see-through after the first coat, don't sweat it. Just let it dry completely and then go over it with a second, thin layer. This trick makes your colors pop, giving them a richer, more solid look while also completely hiding any pesky printed numbers and lines.
Mastering Your Brush Control
Your kit probably came with a few different brushes, and they all have a purpose. Using the right tool for the job makes a world of difference, especially when you're tackling detailed animal features like sparkling eyes, delicate whiskers, or the fine lines in feathers.
- The Broad Brush: Grab the biggest brush for filling in those large, open areas of a single color. Its wide tip lets you cover more canvas quickly and lay down a nice, even coat.
- The Medium Brush: This is your all-around workhorse. It’s perfect for most medium-sized sections where you need a good balance of speed and precision.
- The Detail Brush: Save that tiny, fine-tipped brush for all the intricate little spots. With a steady hand, this is the tool that lets you nail those fine details that truly bring your animal to life.
If you want to dive deeper into getting the most from your tools, check out our complete guide on brushes for paint by numbers. It's packed with tips on proper care and more advanced uses.
By getting comfortable with these core skills, you're building a strong foundation. This will give you the confidence to tackle the more advanced texture techniques we'll talk about next.
Creating Realistic Fur, Feathers, and Scales
This is where the real fun begins. You're about to transform those flat, numbered shapes into textures that feel so real you could almost touch them. With a few simple but powerful techniques, your painting by numbers animals can go from a fun hobby to a truly impressive piece of art.
The secret to making your animal look like it could leap off the canvas is creating the illusion of depth and texture. We'll walk through the best methods for tackling the most common animal features: soft fur, sleek feathers, and shimmering scales. Each one builds on the basic skills you already have, just adding a bit more artistic flair.
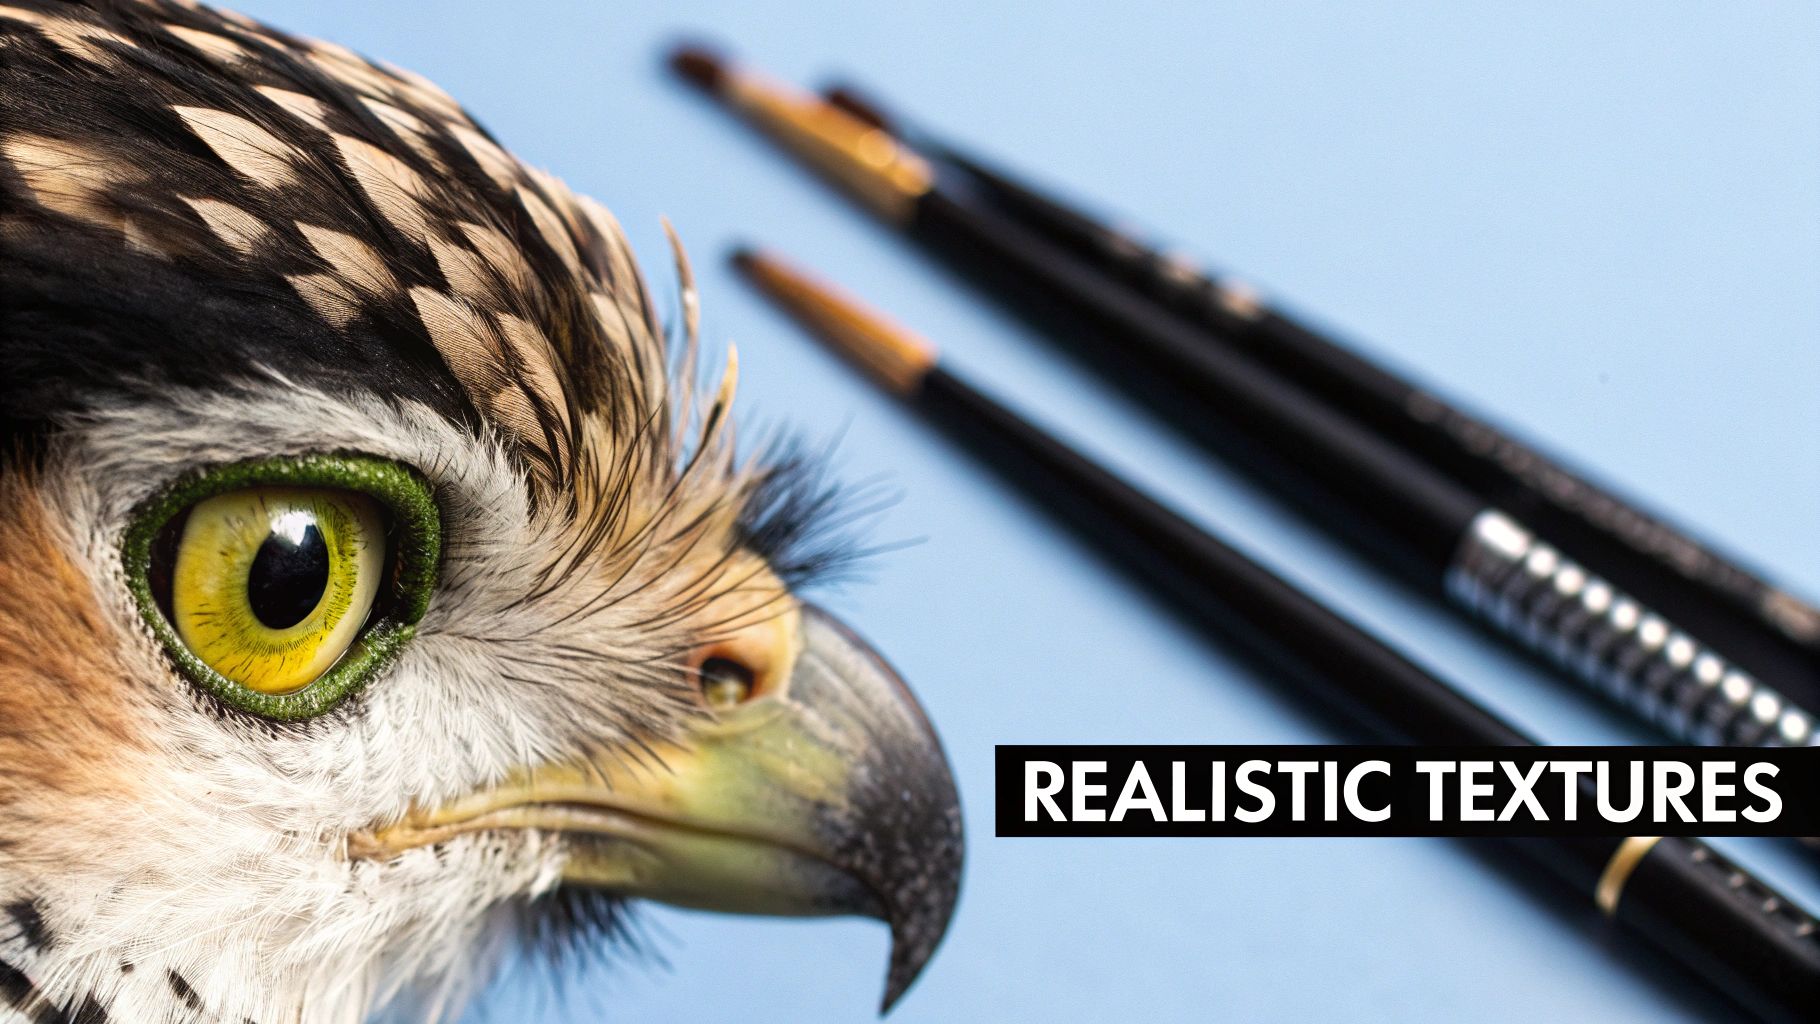
Painting Soft and Layered Fur
To get that believable fur effect, you need to think in layers. Hard, solid lines are the enemy here. Instead, the goal is to gradually build up texture using a couple of fantastic techniques that are surprisingly easy to learn.
Stippling for Fluffy Texture
Stippling is just a simple dabbing motion that creates a pattern of tiny dots. It’s absolutely perfect for mimicking the soft, fluffy fur on a kitten or a rabbit.
- Grab a small, fine-tipped brush and get just a tiny bit of paint on it.
- Gently dab the brush onto the canvas right where you want that soft, textured look.
- Vary your pressure and the spacing between dabs. This layering creates shadows and light, giving the fur a real sense of depth.
Dry Brushing for Fine Hairs
For longer, finer fur—like a lion's mane or a fox's tail—dry brushing is your best friend. This technique uses a brush with barely any paint on it to create delicate, hair-like strokes.
- Step 1: Dip the very tip of a flat brush into your paint.
- Step 2: Now, wipe almost all of it off on a paper towel. You want just a whisper of color left.
- Step 3: Use light, quick strokes, always painting in the direction the fur would naturally grow. These faint lines build on each other to create a beautiful, wispy effect.
Capturing the Sheen of Feathers and Scales
What do feathers and scales have in common? They both play with light. Nailing that glossy or iridescent quality is what makes birds and fish look so alive. The trick is all about smart color blending and adding highlights.
The real magic happens when you stop seeing individual numbers and start seeing how colors work together to create form. A tiny dot of white in the right place can transform a flat circle into a gleaming eye.
For feathers, smooth blending is everything. After filling in the base colors, you can use a wet blending technique to soften the edges between shades. This creates a seamless, natural-looking gradient. If you need a refresher, our guide on how to blend paint colors breaks it down perfectly.
To get that wet, shimmering look on fish scales, let the base color dry completely. Then, add a tiny dot of white or a very light shade to the top curve of each scale. This simple highlight instantly tricks the eye into seeing a shiny, curved surface reflecting light.
Bringing the Eyes to Life
The final, and arguably most important, touch for any animal portrait is the eyes. It's where the personality comes through, and a single speck of light is all it takes to make your creature look truly alive.
Once you’ve painted the iris and pupil, let them dry completely. Then, take your finest detail brush, dip it in white paint, and place one tiny dot on the upper part of the pupil. This is called a catchlight—it mimics the reflection of a light source and immediately adds incredible depth and vitality.
Finishing and Displaying Your Masterpiece
You've just put the final touch on your canvas. That incredible animal portrait is complete. But wait! Before you rush to hang it, there's one last, crucial step that takes your project from a finished painting to a genuine piece of art. It’s all about protecting your hard work and getting it ready to show off.
Think of a finishing coat—like a varnish or sealant—as an invisible shield for your artwork. It’s your best defense against dust, moisture, and the slow fade that comes from UV light. Beyond just protection, a good sealant can make your colors look deeper and more vibrant, giving the whole piece a professional, polished look.
This final touch is what ensures your painting by numbers animals piece stays as brilliant as the day you finished it.
Choosing the Right Finish
When you head to the art store or look online, you’ll see two main choices for sealants. Each one gives your animal painting a completely different vibe, so the right one just comes down to the look you're going for.
- Gloss Varnish: This is your go-to for a shiny, reflective surface that makes colors seriously pop. It’s a fantastic choice if you want to bring out the rich tones in an animal’s fur or the iridescent shine of a bird’s feathers.
- Matte Varnish: If you’re leaning toward a more modern, non-reflective style, a matte finish is perfect. It gives your art a soft, almost velvety appearance and cuts down on glare, making it easy to see from any angle.
Applying the sealant is pretty straightforward. For a full walkthrough, check out our guide on how to seal acrylic paint on canvas—it has all the steps you need.
Think of sealant as the frame for your picture before the actual frame. It pulls everything together, evening out the different sheens of the acrylic paints into one cohesive, protected surface.
Creative Ways to Display Your Artwork
Once your masterpiece is sealed and fully dry, it’s ready for its grand debut. How you display your painting can make a huge difference, turning it into a focal point that ties your whole room together. You've got so many more options than just a nail in the wall.
These kits are wildly popular, meaning thousands of amazing animal paintings are coming to life. In 2021, tracking data showed over 1,200 different paint-by-numbers products on the market, with animal kits consistently pulling in high consumer ratings between 4.4 and 4.8 stars.
Ready for some ideas? Here are a few ways to get your art on the wall:
- Classic Framing: You can't go wrong with a traditional frame. Try to pick one that complements both the painting and your room. A rustic wooden frame might be perfect for a wildlife scene, while a sleek black frame can give it a modern, gallery-like feel.
- Canvas Hanger Frames: For a minimalist and trendy look, check out magnetic wooden hanger frames. They simply clamp onto the top and bottom of the canvas, offering a super simple and stylish way to hang your art without a full frame.
- Create a Gallery Wall: Why stop at one? Group several of your finished paintings to create a stunning gallery wall. You can create a really dynamic and personal display by mixing different animal subjects and canvas sizes.
For even more inspiration, you can explore captivating display ideas for your finished pieces and adapt them for your own home.
Got Questions? We've Got Answers
As you get ready to start your animal paint-by-numbers adventure, you'll probably have a few questions. It's totally normal! Let's tackle some of the most common ones so you can feel confident and just focus on having fun.
The biggest fear for most beginners? Making a mistake. What if you accidentally paint over a line or grab the wrong color? Take a deep breath—it's no big deal.
Acrylic paint is incredibly forgiving. Just let the mistake dry completely, then paint right over it with the correct color. A darker slip-up might need a second coat to hide it, but it’s an easy fix.
Keeping Your Supplies in Top Shape
"What do I do if my paint is too thick or drying out?" This is a question we hear all the time.
Thankfully, the solution is simple. Add just a single drop or two of water to the paint pot and stir it gently with a toothpick. That’s usually all it takes to bring it back to a smooth, creamy texture.
Pro Tip: Get into the habit of sealing your paint pots tightly after every single use. Air is the enemy of acrylics, and this one simple step will keep your colors fresh for your entire project.
Don't forget about your brushes, either! Give them a good rinse in water when you switch colors, and gently reshape the bristles with your fingers before setting them out to dry.
And the dreaded "what if I run out of a color?" scenario? You've got options.
- Check for extras: Many kits come with a little more of the most common colors.
- Reach out to the seller: Most companies are happy to help and can often send you a replacement pot.
- Get creative: If you're feeling a bit daring, try mixing a few similar shades together to create a close match.
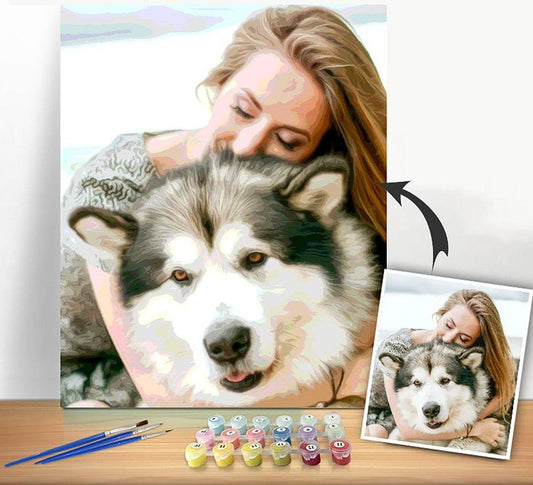
Ready to transform a picture of your own furry friend into a work of art? We make it simple to create your own Custom Paint By Numbers kit. Explore our designs or upload your photo today and let's get you painting