

Ever thought about painting a portrait of your pet but felt intimidated by a blank canvas? A "paint your pet by numbers" kit is the perfect solution. It takes your favorite photo and turns it into a guided painting project. You just upload a picture, and you get back a custom canvas with numbered sections and all the paints you need, matched to each number. It's a foolproof way for anyone to create a stunning piece of art that’s close to the heart.
Your Guide to Creating a Custom Pet Portrait

There's a unique magic in turning a photo you love into a real painting. It’s more than just art; it’s a celebration of your pet's quirky personality and the joy they bring into your life. Unlike a generic print, a custom portrait captures that one funny face, a sweet, sleepy moment, or a memory you both share.
The best part? You don't need any artistic experience. The numbers guide your brush, taking the guesswork out of color mixing and composition. This lets you relax and just enjoy the creative process. I find it’s a wonderfully calming activity that helps me tune out the noise of a busy day and just focus on bringing my furry friend to life on the canvas.
What Comes in the Kit
When you first open your kit, you'll see it’s a complete art studio in a box. Everything inside is specifically chosen for your unique portrait, so you can get started right away.
Here is a summary of the standard components included in most custom paint your pet by numbers kits.
What to Expect in Your Paint Your Pet Kit
| Component | Description | Why It's Important |
|---|---|---|
| Pre-Printed Canvas | A high-quality linen canvas with your pet's image outlined and divided into numbered sections. | This is your roadmap. The numbers make it easy to apply the right color in the right place, removing all the guesswork. |
| Numbered Acrylic Paints | A set of small paint pots, each with a number that corresponds to a section on the canvas. | Guarantees perfect color accuracy for your pet's portrait, so the final piece truly looks like them. |
| Three Paint Brushes | A trio of brushes in different sizes—typically a fine tip, a round tip, and a flat brush. | Gives you the right tool for every part of the painting, from filling in large patches of fur to capturing the tiny glint in their eye. |
| Reference Picture | A small, printed copy of what the finished painting should look like. | Acts as a helpful guide to visualize the final outcome and check your progress as you go. |
This all-in-one approach means you have exactly what you need, making the entire experience smooth and enjoyable from start to finish.
This guided approach ensures that every brushstroke contributes to a beautiful and recognizable portrait, boosting your confidence as you see the image come to life.
More Than Just a Hobby
Painting your pet is a really personal project that connects your creativity with your love for them. It's no surprise these kits have become so popular. With pet humanization on the rise, companies have seen a 35% increase in orders year-over-year. We're all looking for special ways to honor our animal companions, and turning a favorite photo into a hand-painted portrait is a beautiful way to do it.
And if you want to celebrate your pet in other ways, you could also look into things like custom pet jewelry. To get a closer look at what goes into these painting projects, check out our complete guide on custom paint by numbers kits.
Choosing the Perfect Photo for Your Painting
The secret to a stunning pet portrait? It all starts long before you ever unscrew a paint pot. The magic really begins with the photo you choose. A fantastic picture is the blueprint for your painting, and it’s what ensures the final piece truly captures your pet's one-of-a-kind personality.
Think of it like this: the kit’s software "reads" your photo, breaking down the colors and shapes into the numbered sections you'll paint. The clearer and more detailed the photo, the more accurate your canvas will be. This is why a high-quality photo with great lighting isn't just a suggestion—it's the most important ingredient for success.
When you're scrolling through your camera roll, make clarity your top priority. A blurry, out-of-focus image will only lead to a muddled, blob-like painting, and you'll lose all those little details you love, like the texture of their fur or the sparkle in their eyes.
What Makes a Great Portrait Photo?
After seeing thousands of these projects come to life, I can tell you the best photos all have a few things in common.
Good lighting is probably the biggest one. Natural, indirect sunlight is your absolute best friend. It softly illuminates your pet’s features without casting harsh shadows that hide all the good stuff. Try taking a photo near a bright window on an overcast day for that perfect, gentle light.
Avoid using a harsh flash at all costs. It tends to flatten your pet’s features and can cause that weird "red-eye" effect. Likewise, a photo that's too dark or has deep shadows across your pet’s face will make it impossible for the software to pick up the details you want to paint.
Next, consider the angle. I’ve learned that getting down on your pet’s eye level creates a much more intimate and engaging portrait. It captures their world from their perspective and helps their personality shine through in a way a shot from above just can't match.
My Two Cents: Your pet should be the star of the shot, filling up most of the frame. If they look like a tiny dot in a huge landscape, you won’t have enough detail to create a good painting. Zoom in and make them the hero!
A simple, uncluttered background also makes a world of difference. A busy background full of furniture, wild patterns, or other people just distracts from your furry friend. A solid-colored wall or a softly blurred patch of grass in the yard? Perfect. It lets your pet pop.
Common Photo Mistakes to Sidestep
To make sure your kit turns out as beautifully as you imagine, try to steer clear of these common photo pitfalls. These issues can really throw off the software that maps out the colors and lines for your canvas.
Here are a few things to watch out for:
- Blurry or Low-Res Photos: If the image looks grainy or pixelated on your screen, it's a no-go. It will look even worse on canvas.
- Deep, Dark Shadows: A photo where half your pet's face is lost in shadow means you're losing half the detail.
- Blocked Views: Make sure no furniture, toys, or even your thumb is covering up parts of your pet. We need to see their whole adorable face!
- Action Shots: While a picture of your dog catching a frisbee is fun, it's probably too blurry for a painting. A calm, posed shot where they're relatively still works best.
Choosing the right image is a huge part of the fun. If you’re curious about the technical side of things, you can learn more about how companies convert photos to paint by numbers and what they look for in a source image.
Trust me, taking a few extra minutes to find or snap that perfect shot is completely worth it. You’ll thank yourself when you’re proudly hanging your finished masterpiece.
Setting Up Your Creative Workspace for Success
Before you even think about dipping a brush into that first pot of paint, let's talk about setting up your space. Getting this right is the secret to turning your painting session from just a craft project into a genuinely relaxing escape. When you’ve got a well-organized and comfortable spot, you can lose yourself in the fun of creating, not waste time hunting for a specific color or stressing about spills.
Think of it as setting the stage for your artistic debut.
Good lighting is absolutely non-negotiable. You’ll be staring at tiny little numbers and lines, and the last thing you want is a headache from eye strain. If you can, find a spot near a window—natural daylight is always the best.
If that’s not an option, a bright desk lamp will be your best friend. Look for one with an adjustable neck and a neutral-toned bulb so it doesn't throw off your perception of the paint colors.
Preparing Your Painting Station
First things first: protect your table. You don't need anything fancy. I usually just spread out some old newspaper or a plastic tablecloth. This one simple step gives you permission to get a little messy without worrying, which is a huge part of the fun.
Now, let's get your supplies organized for a smooth workflow. I always line up my numbered paint pots in order. It seems small, but it makes finding the next color so much faster.
You'll also want two cups of water.
- One cup is for rinsing your brushes when you switch colors.
- The second cup should have clean water, which is perfect for slightly thinning out any paint that feels a bit too thick.
And don't forget a roll of paper towels! They’re essential for blotting your brushes and wiping up any little drips before they become a problem.
Pro Tip: If your canvas came rolled up, it can be a pain to paint on. Just lay it on a flat surface and place a few heavy books on the corners for a couple of hours. It'll relax and flatten right out, making your life much easier.
Creating a Calm Atmosphere
Setting up your workspace is more than just the physical stuff; it's about creating a little sanctuary for yourself. So put on a favorite playlist, catch up on a podcast, or simply enjoy the silence. Having a dedicated creative spot helps signal to your brain that it's time to switch gears and unwind.
And trust me on this one: a comfortable chair is a game-changer. You might be sitting for an hour or more, and good back support will keep you from getting stiff and sore. Taking just 5-10 minutes to get your area prepped ensures your journey to paint your pet is a joy, right from the very first brushstroke.
Getting Started With the Painting
Alright, you've got your space set up and you're ready to go. This is where the magic happens—turning that outlined canvas into a piece of art that truly captures your furry friend. It's more than just filling in shapes; it's about bringing your pet's personality to life, one color at a time.
Here’s a simple trick to avoid smudging your work: start at the top of the canvas and work your way down. It's a classic artist's move that prevents your hand or sleeve from dragging through wet paint. Think of it like reading a book—top to bottom, left to right. This keeps everything clean and your lines sharp.
I also find it’s way more efficient to paint one color at a time. Just pick a number, find that little paint pot, and fill in every single section with that corresponding number. This little system saves you from constantly washing your brushes and helps you get into a nice, steady rhythm.
Finding Your Groove
Once you start laying down the paint, you’ll get a feel for how it flows from the brush. The goal is to use just enough paint to cover the numbers and lines without leaving any thick, gloopy spots. You're aiming for a smooth, even coat.
Don't worry if some of the lighter colors look a bit transparent at first. Colors like white, yellow, or light grey sometimes need a second pass to fully cover the printed numbers. Just let the first layer dry completely before you go over it again. This little bit of patience pays off with a solid, vibrant color that makes your portrait look fantastic.
This visual guide lays out a great method to keep your painting process smooth and organized.
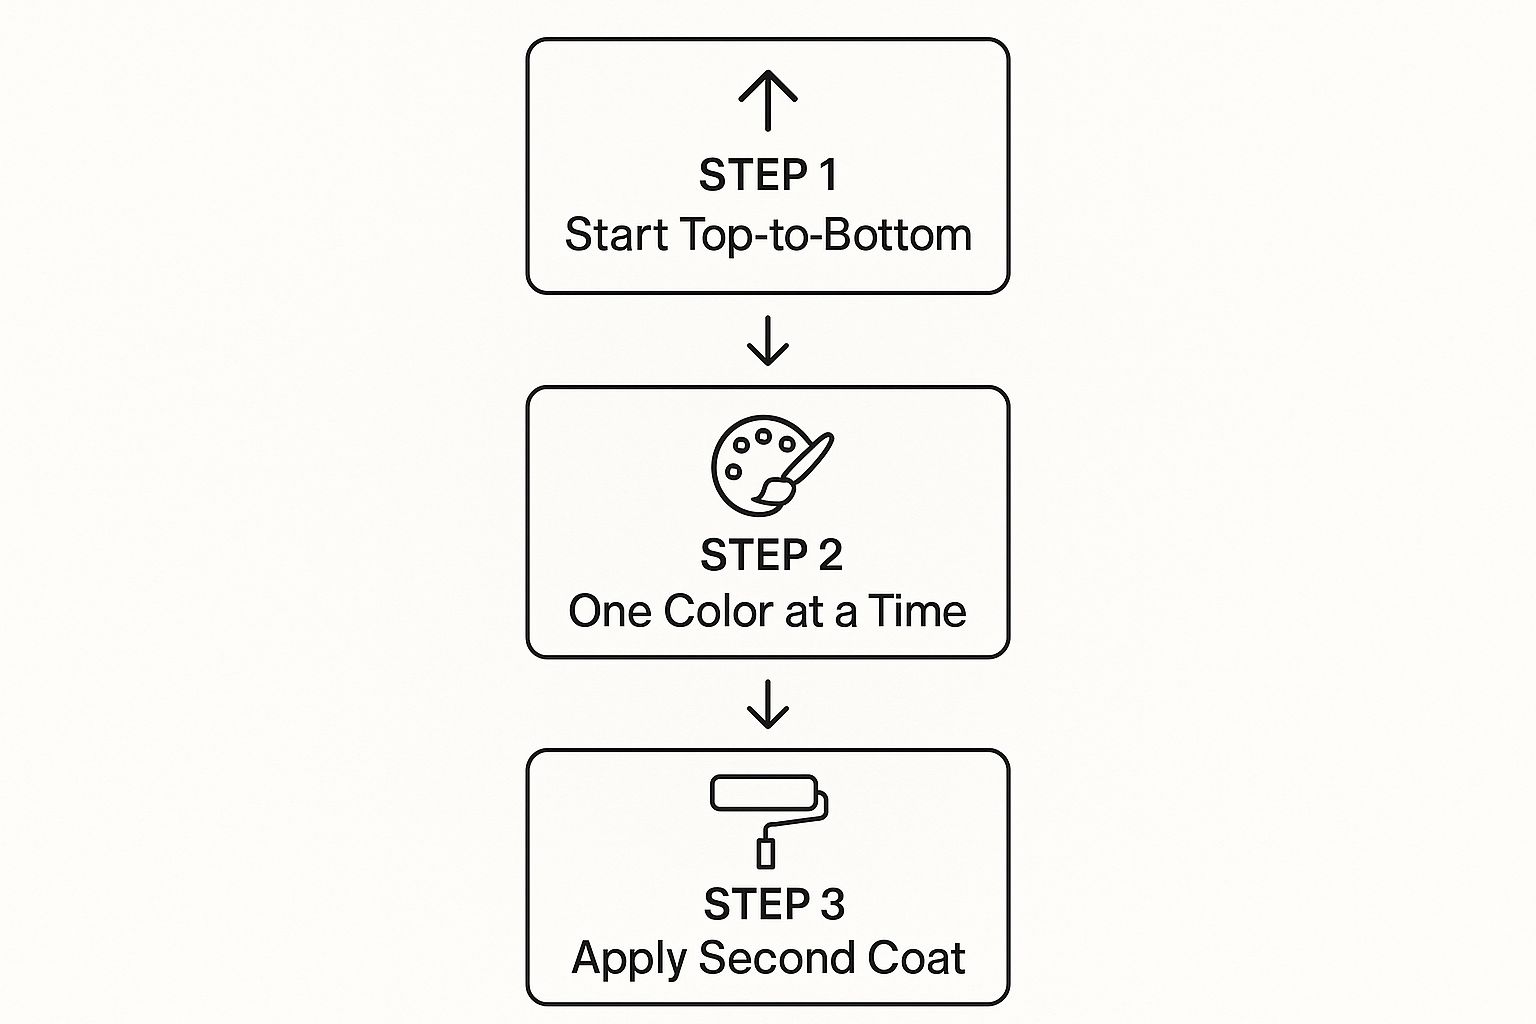
Following a sequence like this really helps keep your workspace tidy and lets you build up the colors in a way that looks much more professional in the end.
Nailing the Lifelike Details
The real heart of a pet portrait is in the details, especially the eyes and the fur. After all, their eyes hold so much of their personality!
- The Eyes: Grab your smallest, finest brush for this part. Carefully fill in the different colored sections. A tiny, well-placed dot of white paint can create that little glint of light, which instantly makes the eyes look alive and real.
- The Fur: To get that soft, fuzzy look, think about the way your pet’s fur grows. Use light, feathery strokes where two colors meet to blend them together naturally. This simple technique does wonders for mimicking the texture of a real coat.
If you want to get even more advanced, our guide on the best brushes for paint by numbers is packed with tips.
Take your time with these small details. Rushing through the delicate parts, like whiskers or the reflection in an eye, can make the difference between a good painting and a great one.
It's no surprise that creative, personalized projects like this are so popular. The global pet market was valued at around $261 billion in 2023 and is on track to hit over $350 billion by 2027. It's a huge market, and younger generations are a big part of that, always looking for unique products that let them be creative. You can see more about Gen Z's impact on pet product trends and how they're shaping the industry.
This really shows that a paint-your-pet kit isn't just a hobby. It's a meaningful way to celebrate the bond you have with your companion. Every brushstroke is a little act of love, and the final piece is something you can cherish forever.
Giving Your Artwork That Professional Polish
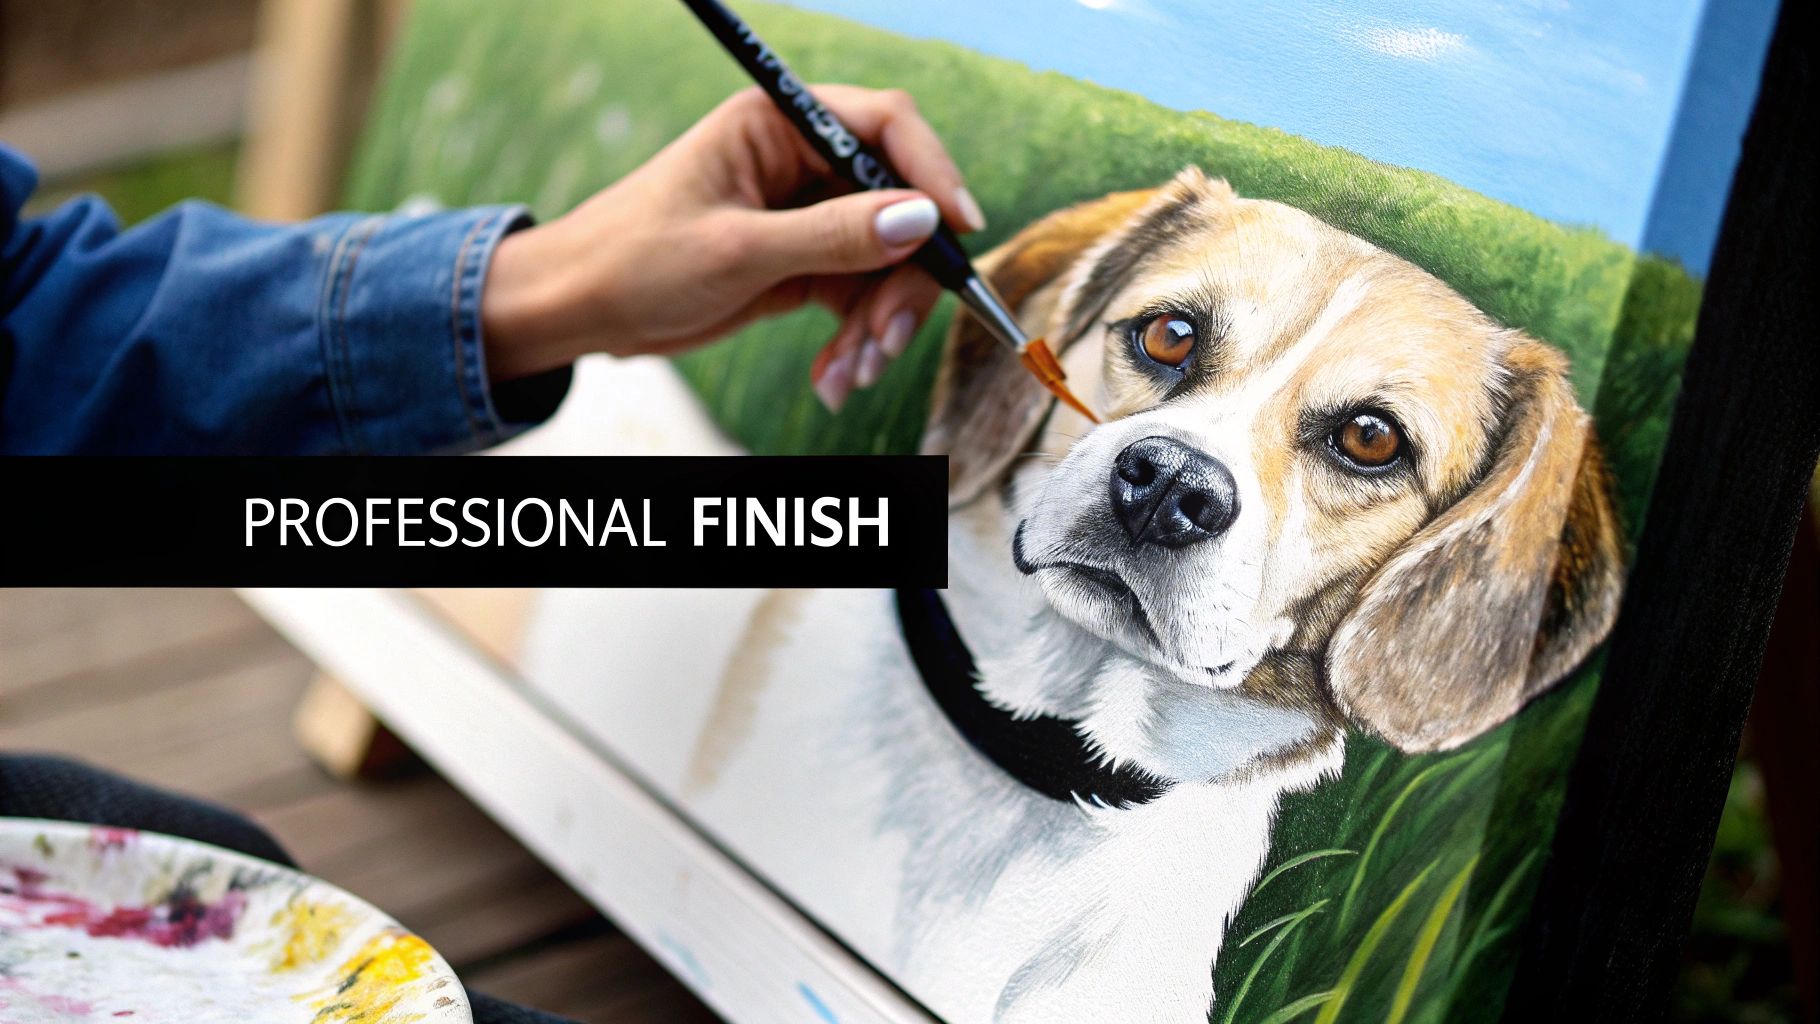
You’ve painted the last numbered section, stepped back, and your pet’s portrait is really starting to shine. But don't put those brushes away just yet. With a few simple tricks, we can take your painting from a fun project to a masterpiece you’ll be proud to hang on your wall.
These final touches are all about refining the details and protecting your hard work. Think of it as the step that separates a painting that looks like it came from a kit from one that looks like a custom piece of art.
Create Softer Fur by Blending
One of the biggest giveaways of a paint-by-numbers piece is the hard lines between colors. Your pet’s fur isn’t made of distinct shapes, so let's soften those transitions to make it look more realistic.
While the paint in one area is still a little wet, grab a clean, dry brush. Gently sweep it along the edge where two colors meet. Use light, feathery strokes to blur that line, creating a much more natural-looking blend. This little trick is a game-changer for capturing that soft, fluffy texture.
You can also dip your brush in a tiny bit of water to thin the paint right at the edge, helping it meld smoothly with the color next to it.
My Personal Tip: Less is more here. You don't need to blend every single line. Just focus on a few key areas, like where a light patch on their chest meets the darker fur on their back. A few well-placed soft edges create a fantastic illusion of depth.
Add Those Unique Final Details
This is your moment to add the little things that truly capture your pet’s personality—details that a template could never know.
- The Sparkle in Their Eye: Take your smallest brush and add a tiny dot of pure white paint in their eyes. It’s amazing how this one little touch instantly makes the portrait come alive.
- Whiskers and Wayward Hairs: Water down some black, white, or gray paint until it flows smoothly. Practice a few quick, confident flicks on a scrap piece of paper. Once you feel ready, add a few delicate whiskers or some stray fuzzy hairs around the ears.
- Sign Your Work: Don't forget to claim your masterpiece! Pick a corner and add your initials and the year.
This kind of personalization is a huge reason creative pet projects are so popular. It reflects a bigger trend in the pet industry, where the pet toys market alone was valued at $8.5 billion in 2023 and is projected to hit over $15.3 billion by 2032. We love activities that deepen our bond with our pets. You can dive deeper into these pet product market trends at Fortune Business Insights.
Seal and Protect Your Portrait with Varnish
The very last step is sealing your art. A coat of varnish is non-negotiable, as it does two very important things: it protects the paint from dust and fading, and it evens out the sheen, making the colors look incredibly rich and vibrant.
Look for a clear acrylic varnish, which you can find in matte, satin, or gloss finishes—it's totally up to you. Make sure your painting has had at least 24 hours to dry completely. Then, using a wide, flat brush, apply a thin, even layer across the entire canvas.
Let it dry, and that’s it! Your beautiful, personalized tribute to your pet is officially ready for its grand debut.
Have Questions About Painting Your Pet? Let's Talk.
Even with a numbered canvas, you're bound to run into a few little quirks along the way. That's just part of the creative process! Don't worry, though—every common hiccup has a simple fix. We've heard it all, so here are some answers to the questions we get most often to keep your painting experience fun and totally stress-free.
What To Do About Pesky Paint Problems
One of the first things you might notice is that your paint's consistency can vary. If you pop open a pot and the paint feels more like paste than, well, paint, the solution is simple.
Just add a single drop of water and give it a good stir with a toothpick. You’re aiming for a smooth, flowing texture. The key is to add water one tiny drop at a time—if you add too much, the paint can become watery and won't cover the numbers properly.
And what about paint that’s started to dry out? The best defense is a good offense: always snap those lids on tightly after you’re done. But if you do find a pot is a little crusty, you can sometimes bring it back to life with a product called an "acrylic flow improver," which helps restore that smooth-as-butter texture.
Pro Tip: Make a habit of wiping the rim of the paint pot before sealing it. This creates a tighter seal and is the single best way to prevent your paints from drying out between sessions.
How To Fix Those "Oops" Moments
It happens to the best of us. You’re in the flow, painting away, and suddenly realize you’ve put color #7 in a spot clearly marked for #8.
First thing's first: don't panic! Acrylic paint is incredibly forgiving, which is one of the reasons it's so great for these kits.
Just let the wrong color dry completely. Seriously, walk away and make a cup of tea. Once it's dry, you can simply paint right over it with the correct color. Because acrylics are opaque, the new layer will hide the mistake underneath. If you're trying to cover a dark color with a very light one, you might need two or three thin coats for a perfect finish. Just be sure to let each layer dry before adding the next.
"How Long Is This Actually Going to Take?"
This is probably the number one question we get asked. The honest answer? It depends! The time it takes to finish your custom pet portrait is different for everyone.
A few things will influence your timeline:
- The Size of Your Canvas: A smaller, simpler piece will obviously take less time than a large, intricate one.
- The Complexity of the Portrait: A close-up of your black lab will be a much quicker project than a detailed rendering of your calico cat with all her beautiful markings.
- Your Personal Pace: Some people love to work in quick, focused bursts, while others prefer to savor the process over many quiet afternoons.
As a rough guide, a smaller project might take you somewhere between 8 to 12 hours. A larger, more detailed piece could easily take 20 hours or more. My best advice is to forget the clock. Break your painting down into shorter, relaxing sessions and just enjoy watching your furry friend come to life.
The Final Touch: To Frame or Not to Frame?
So, you’ve placed the final brushstroke and signed your name. Now what? While framing isn't strictly necessary, I always recommend it.
A frame doesn't just give your artwork that polished, gallery-ready look; it also protects the canvas edges from getting bumped and damaged over time. It’s that final step that truly turns your project into a piece of art you can proudly display. Many kits come with an optional DIY wooden frame, or you could take it to a local frame shop to find something that perfectly matches your home's decor.
Ready to turn that favorite photo of your best friend into a work of art you created yourself? The journey is so rewarding, and it's just a few clicks away. At Custom Paint By Numbers, we make it easy to create a masterpiece that’s truly personal.


