Welcome to the world of paint by numbers, where creativity meets simplicity. While these kits provide a clear roadmap to a beautiful piece of art, a few expert secrets can elevate your project from a simple craft to a gallery-worthy masterpiece. This guide moves beyond the basic instructions, offering a curated collection of paint by number tips and tricks designed to refine your technique, enhance your colors, and ensure a flawless finish.
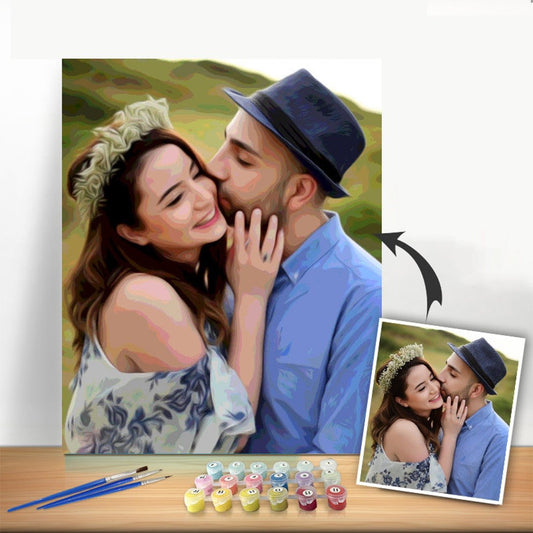
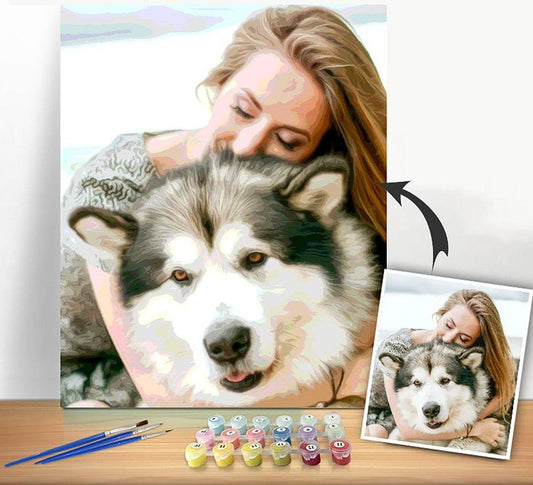
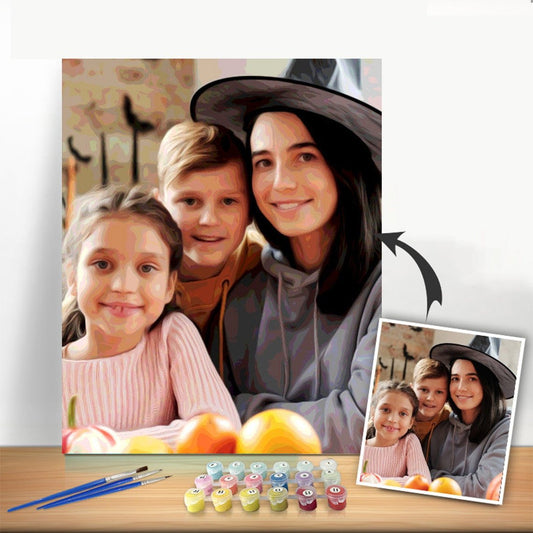
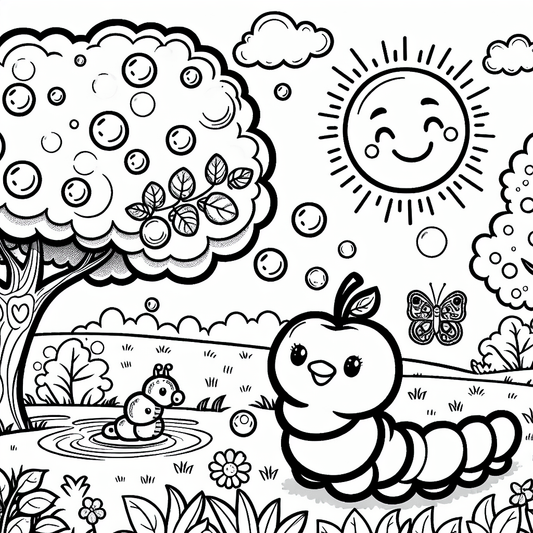
Whether you're working on a pre-made landscape or bringing a personal photo to life with a Custom Paint By Numbers kit, these actionable strategies will help you avoid common pitfalls and unlock your full artistic potential. We'll cover everything from prepping your canvas with a base coat to mastering advanced blending techniques for a professional look. For those just starting or looking for a fun warm-up project, you can explore creative challenges with delightful color by number butterfly pages to practice your skills before tackling a larger canvas.
This listicle is your go-to resource for practical advice that makes a real difference. Forget generic suggestions; each tip is crafted to give you a specific advantage, helping you paint with more confidence and precision. Prepare to transform your approach and create something you’ll be proud to display.
1. The Foundation: A Perfectly Organized Workspace
Before you dip your brush into the first pot of paint, the most crucial step is to create a clean, organized, and efficient workspace. A cluttered or poorly arranged area can lead to spills, wasted time searching for supplies, and a frustrating experience. Setting up your station thoughtfully is one of the most effective paint by number tips and tricks because it establishes a smooth workflow, allowing you to focus entirely on your art.
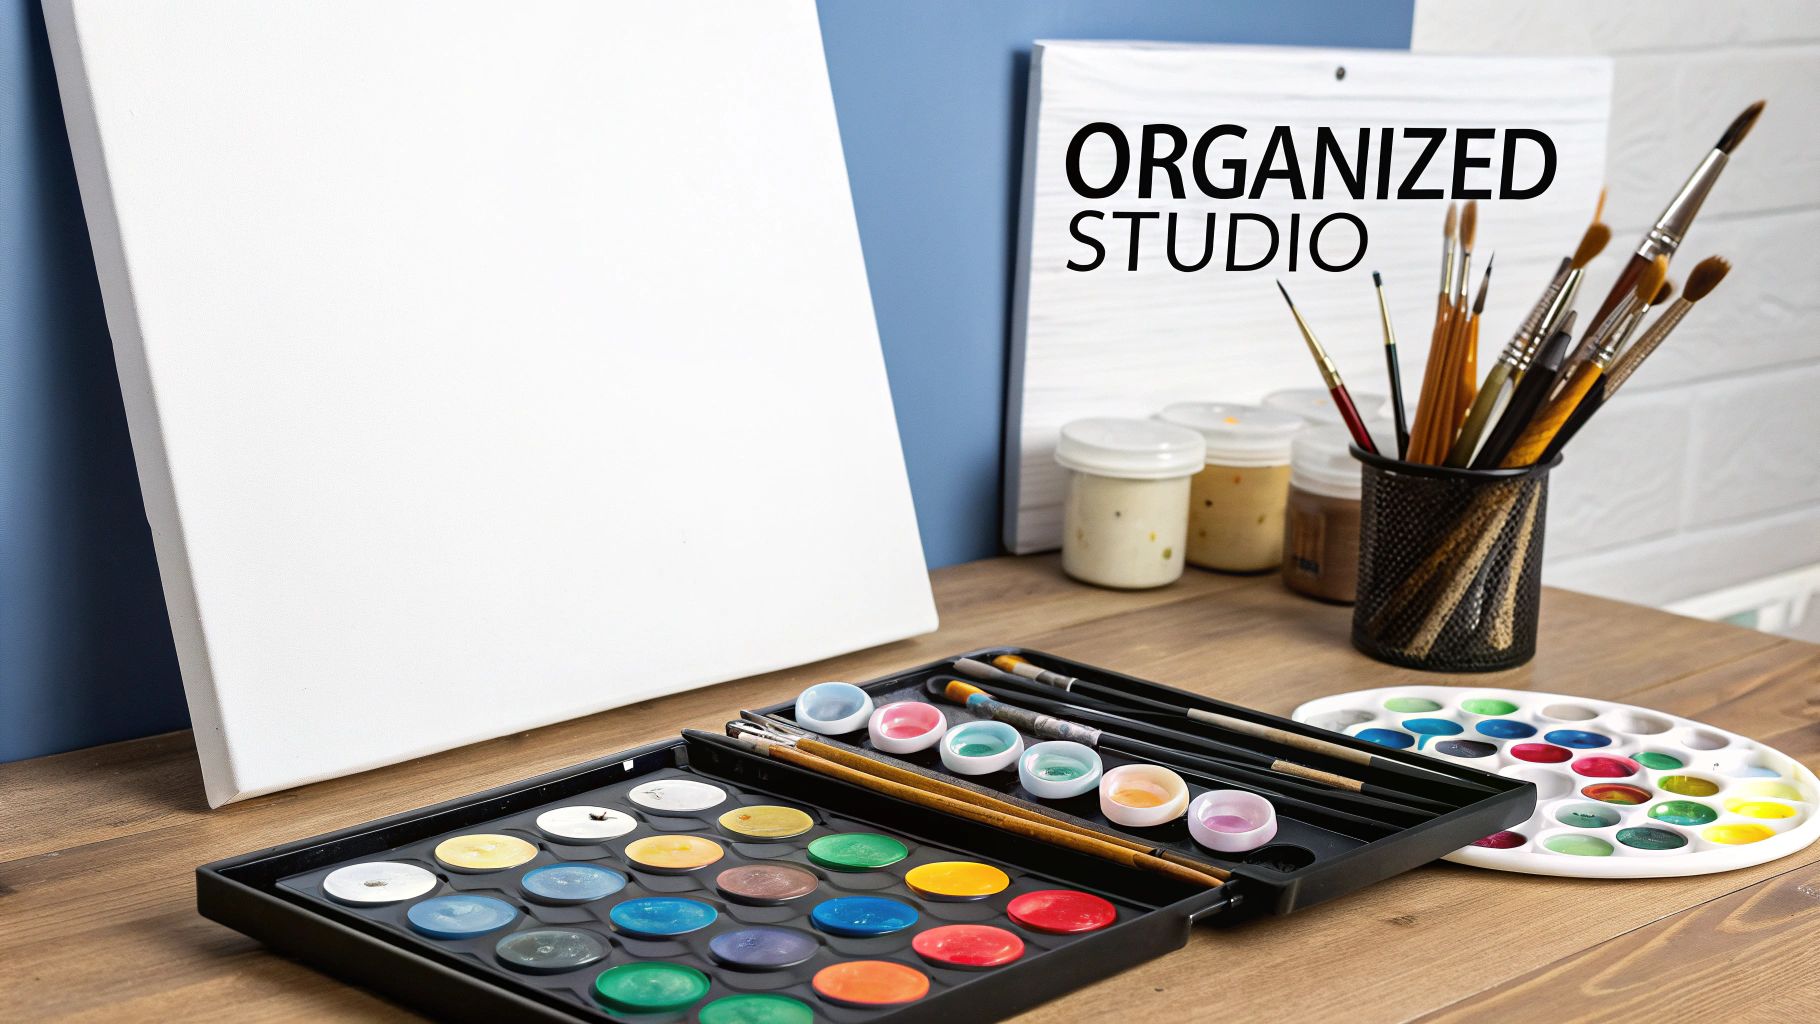
Think of your desk or table as a painter's cockpit. Everything you need should be within easy reach to prevent unnecessary movement and interruptions. This simple preparation prevents messy accidents and keeps your momentum going, making the entire process more relaxing and enjoyable.
How to Create Your Ideal Painting Station
A well-ordered setup directly translates to a better final painting. By arranging your materials logically, you can paint with greater precision and confidence. For instance, professional artists often arrange their palettes in a specific order, and you can apply the same principle to your paint by number kit.
Actionable Workspace Tips:
- Arrange Paints Numerically: Lay out your paint pots in numerical order (1, 2, 3, and so on). This makes finding the next color instantaneous, saving you from hunting through a jumble of containers.
- Use Two Water Cups: Designate one cup for the initial, dirty rinse to remove the bulk of the paint. Use a second, clean water cup for a final rinse. This prevents muddy colors and keeps your brushes in top condition.
- Optimize Your Lighting: Paint under a bright, neutral-colored LED light. Good lighting helps you see the numbers and lines clearly and ensures the colors you see are accurate, preventing eye strain during long sessions.
- Keep Paper Towels Handy: Have a roll of paper towels or a cloth nearby to blot excess water from your brush after rinsing. A brush that is too wet can cause the paint to run and bleed outside the lines.
By implementing these organizational strategies, you create an environment that supports your creativity rather than hindering it. If you're looking for more inspiration, you can learn more about how to organize art supplies on paint-by-number.com.
2. Start with a Base Coat or Primer
To elevate your painting from a simple hobby project to a more polished piece of art, consider preparing your canvas with a base coat. Applying a thin layer of primer, such as gesso, creates a smooth, uniform surface that improves how the paint adheres and appears. This foundational step is one of the most effective paint by number tips and tricks because it prevents the canvas from absorbing too much paint, making your colors appear richer and more vibrant.
Think of it as setting the stage for your masterpiece. Just as fine art painters prepare their canvases, priming your paint-by-number canvas ensures that every brushstroke counts. This simple preparation step helps cover the printed numbers and lines slightly, making them easier to conceal with lighter paint colors and resulting in a cleaner, more professional finish.
How to Properly Prime Your Canvas
A well-primed surface is the secret to achieving deep, saturated colors and smooth application. The primer acts as a barrier, allowing the paint to sit on top of the canvas rather than soaking into the fabric. This technique is especially useful for canvases that may have a rough texture or uneven absorbency.
Actionable Priming Tips:
- Choose the Right Primer: Use a clear or white acrylic gesso. A clear gesso is perfect if you are worried about completely obscuring the numbers, while white gesso provides a bright, clean base that makes colors pop.
- Apply a Thin, Even Coat: Use a wide, flat brush or a small foam roller to apply a very thin layer of primer across the entire canvas. The goal is to create a smooth surface, not to add thick texture.
- Let It Dry Completely: Patience is key. Allow the primer to dry thoroughly before you begin painting, which typically takes a few hours. For the best results, let it cure for up to 24 hours.
- Smooth the Surface (Optional): After the gesso is dry, you can lightly sand it with very fine-grit sandpaper for an ultra-smooth finish. Be gentle to avoid rubbing off the printed numbers and lines.
By adding this professional step to your process, you create an ideal foundation that enhances paint performance and gives your final artwork a more refined and enduring quality.
3. Paint Larger Areas First, Then Details
One of the most effective paint by number tips and tricks is to adopt a strategic painting sequence. By tackling the largest color sections first and gradually moving to the smaller, intricate details, you create a more efficient workflow. This "background-to-foreground" approach helps prevent smudging wet paint, ensures cleaner lines, and gives your painting a sense of depth and structure from the start.
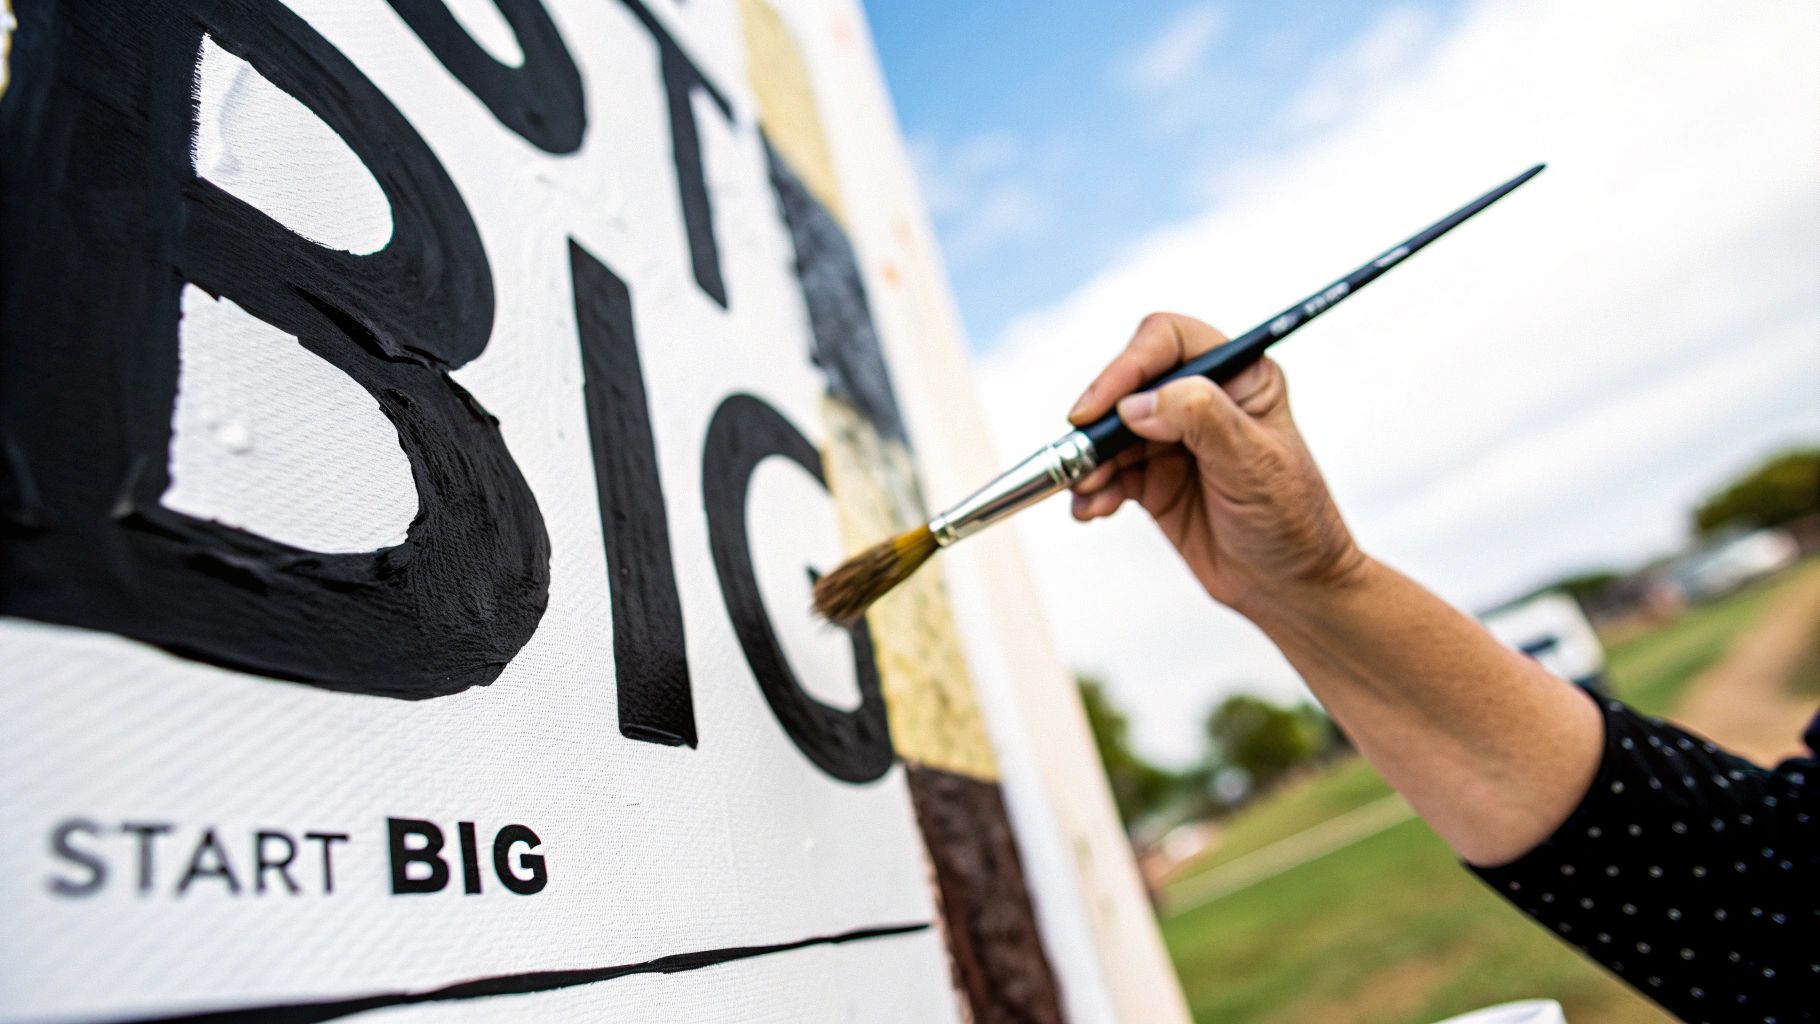
Think of it as building a house: you lay the foundation and erect the walls before adding windows and decorative trim. This method allows large areas to dry completely before you rest your hand on them to paint adjacent, smaller details, minimizing the risk of accidental smears and ensuring a professional finish.
How to Implement This Painting Strategy
Applying this technique is straightforward and transforms the painting process from a random coloring exercise into a methodical artistic practice. It gives you greater control over the canvas and helps you see the composition come together logically. For example, in a landscape, you would paint the sky and fields before adding the delicate petals on a foreground flower.
Actionable Sequencing Tips:
- Start with the Background: Identify the largest, most expansive color areas on your canvas, such as the sky, water, or a solid-colored wall. Paint these sections first to establish the overall scene.
- Move to Mid-Sized Elements: Once the background is complete, move on to the next largest objects. This could include elements like trees, buildings, or the main subject of your painting.
- Finish with the Finest Details: Save the smallest and most intricate sections for last. These are the final touches, like facial features, window panes, animal fur, or highlights that make the painting pop.
- Work from Dark to Light (or Vice Versa): Some artists prefer painting all the darkest colors first, while others start with the lightest. Either method works well with the "large-to-small" rule and helps create contrast and prevent colors from looking muddy.
By following this structured sequence, you build your painting in logical layers, which simplifies the process and dramatically improves the quality of your final artwork. This is a core technique that helps beginners achieve a much cleaner and more polished result.
4. Use Multiple Thin Coats Instead of One Thick Coat
A common mistake newcomers make is applying one thick, heavy layer of paint to cover the numbers and lines. A much more effective approach, and a cornerstone of professional painting, is to build up color with multiple thin coats. This layering technique provides superior coverage, a smoother finish, and more vibrant colors, making it one of the most transformative paint by number tips and tricks you can learn.
Think of it like polishing a car; you don't apply one thick coat of wax. Instead, you apply thin, even layers to build up a flawless shine. A single, globby coat of paint is prone to cracking, can obscure details, and often leaves visible brush strokes, while thin layers blend seamlessly into the canvas for a professional look.
How to Master the Layering Technique
Applying thin coats gives you far more control over the paint's opacity and texture. This method is especially crucial for lighter colors like white, yellow, and pastels, which often require two or three layers to completely hide the printed numbers and lines underneath. This technique was mastered by Renaissance artists who used thin glazes to achieve incredible depth and luminosity.
Actionable Layering Tips:
- Apply 2-3 Thin Coats: Instead of loading your brush with a large glob of paint, aim for two to three separate, thin applications. This ensures the numbers are fully covered without creating a lumpy texture.
- Allow Proper Drying Time: Wait at least 15-30 minutes between coats. Applying a new layer before the previous one is dry can cause the paint to lift and become muddy.
- Use a Slightly Damp Brush: Dip the very tip of your brush in water and blot it on a paper towel before dipping it in the paint. This helps the paint flow more smoothly and thinly across the canvas.
- Don't Overload Your Brush: Only dip the first third of your brush bristles into the paint. This prevents excess paint from accumulating and gives you more precise control over your application.
By adopting this patient, layered approach, you will see a dramatic improvement in the quality of your finished artwork. The colors will appear richer and the overall texture will be smoother and more refined, elevating your project from a simple craft to a piece of art you can be proud of.
5. Maintain Clean Brushes and Proper Brush Technique
Your brushes are the most important tools connecting you to your canvas, and proper care is non-negotiable for achieving a professional-looking result. Keeping your brushes clean and using the correct handling techniques prevents colors from becoming muddy, ensures smooth paint application, and extends the life of your tools. This is one of the most impactful paint by number tips and tricks because your brush control directly influences the crispness of your lines and the vibrancy of each color.
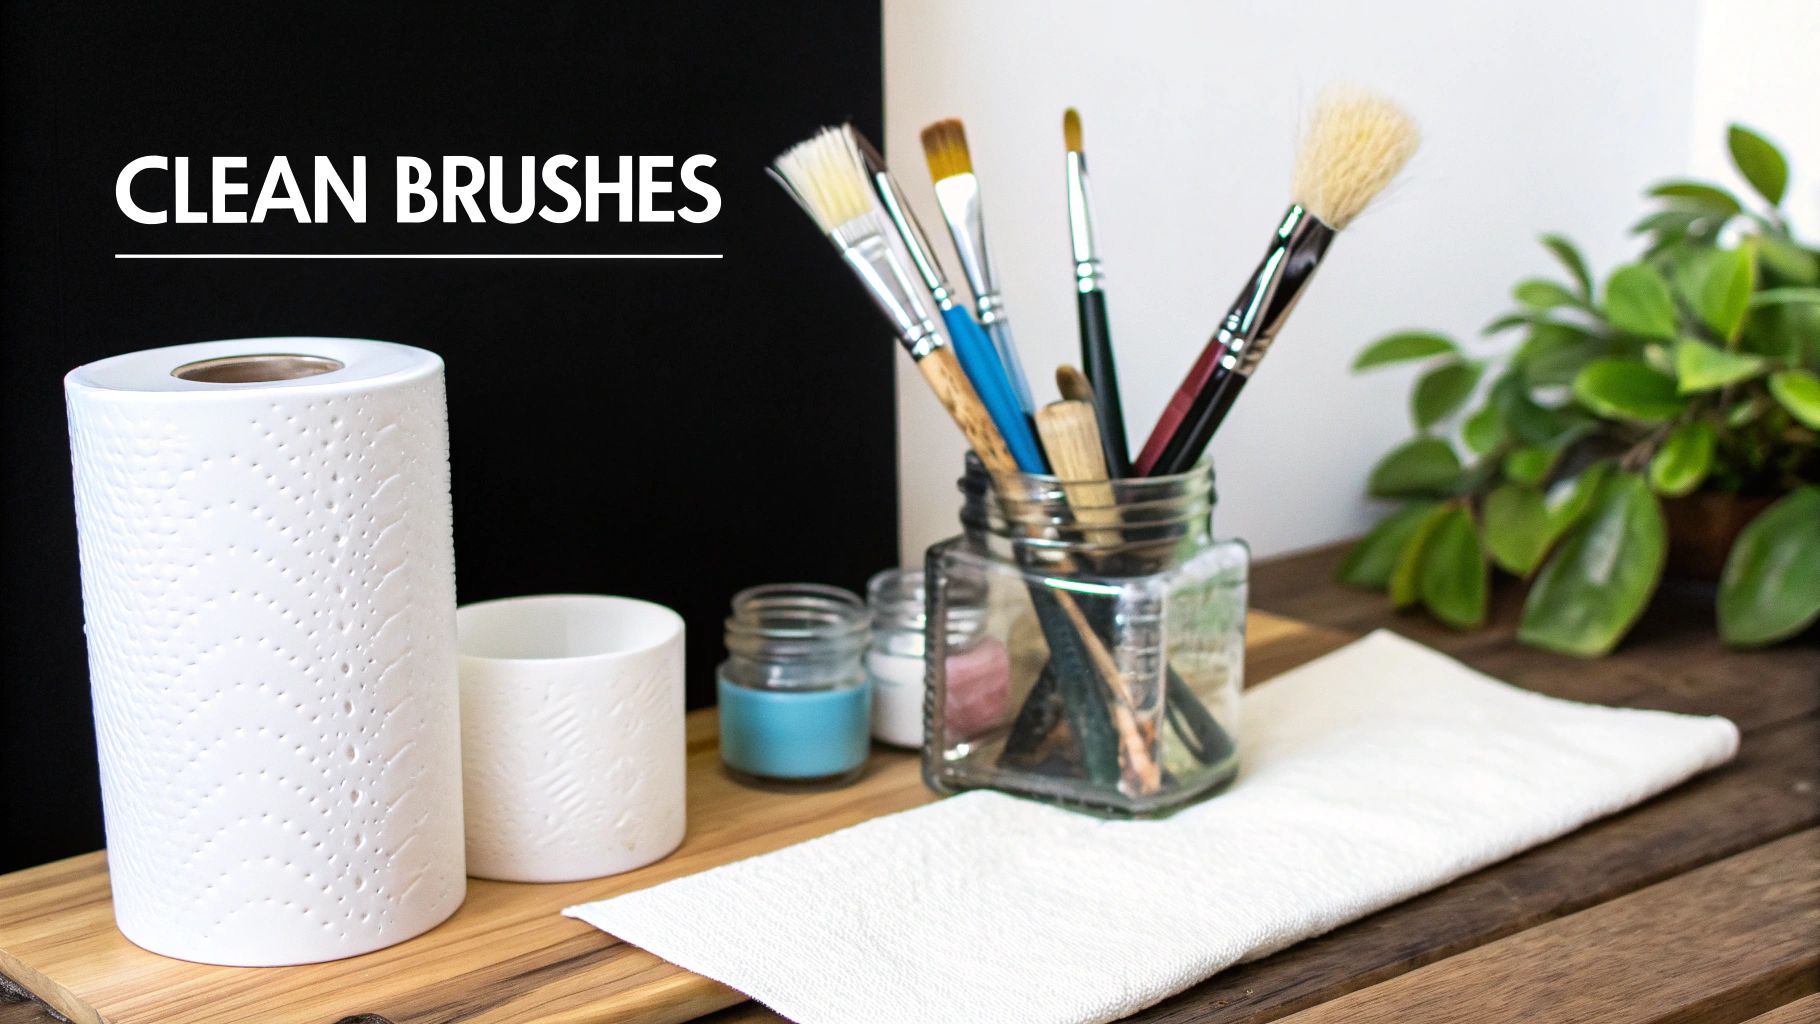
Think of each numbered section on your canvas as a unique zone. If you carry residue from a dark color into a light-colored area, it can contaminate the pigment and dull the final appearance. Just as fine art painters like Bob Ross emphasized a clean brush for every new color, applying this discipline to your paint by number kit will elevate your artwork significantly.
How to Master Your Brushwork
Proper brush maintenance and technique aren't just about cleaning; they're about control. By adopting a few simple habits, you can paint with greater precision, making it easier to stay within the lines and create a polished, clean finish. This practice ensures that every color you apply is pure and true to the kit's design.
Actionable Brush Tips:
- Rinse Thoroughly Between Colors: Always rinse your brush in clean water when switching paints. Swirl the bristles gently at the bottom of your water cup until no more color comes off.
- Dry Before Dipping: After rinsing, gently pat the bristles on a paper towel to remove excess water. A waterlogged brush will dilute the acrylic paint, making it runny and transparent.
- Paint with the Tip: For detailed areas, use only the very tip of the brush. This gives you maximum control for filling in small, intricate shapes without going over the lines.
- Follow the Shape's Contours: Use brush strokes that follow the natural curves and angles of each numbered area. This creates a more organic and fluid look rather than sharp, disconnected dabs of paint.
- Store Brushes Properly: While painting, rest your brushes bristle-up in a jar or holder. Never leave them sitting in water, as this can bend the bristles and damage the ferrule (the metal part).
By treating your brushes with care, you ensure they remain a reliable tool throughout your project. If you want to dive deeper into maintenance, you can find more information about how to clean your paint brushes on paint-by-number.com.
6. Identify and Correct Mistakes Early
Even the most careful painter makes mistakes, but the key to a polished finish is catching and correcting them early. Addressing errors immediately, while the paint is still wet or shortly after it dries, prevents a small slip-up from becoming a permanent flaw. This proactive approach is one of the most valuable paint by number tips and tricks because it simplifies the correction process and maintains the integrity of your artwork.
Think of it like proofreading a document as you write. It is much easier to fix a typo in the moment than to find it later in a finished chapter. By regularly reviewing your work, you ensure that any smudges, wrong colors, or out-of-line strokes are fixed seamlessly, leaving no trace behind.
How to Become a Master of Mistake Management
Developing a habit of frequent checks and having the right tools on hand will make corrections feel less like a chore and more like a natural part of the painting process. Professional artists often step back to view their work from a distance or photograph it to spot inconsistencies, a technique you can easily adopt.
Actionable Correction Tips:
- Wipe Wet Paint Immediately: Keep a damp cotton swab or a fine-tipped, clean brush nearby. If you paint outside a line or use the wrong color, you can gently lift the wet acrylic paint off the canvas before it has a chance to set.
- Use a Magnifying Glass: For detailed areas, use a magnifying glass to inspect your work up close. This helps you spot tiny errors that might be invisible to the naked eye but could detract from the final look.
- Cover Dried Mistakes: If a mistake has already dried, don't panic. Apply a thin layer of white acrylic paint or gesso over the incorrect area. Let it dry completely, then paint over it with the correct color.
- Review Your Progress Often: Pause every 10 to 15 minutes to compare your canvas to the reference image provided in your kit. This regular comparison helps you catch color discrepancies or missed sections early on.
By integrating these quick correction methods into your painting routine, you maintain control over the final outcome and ensure your finished piece looks clean, professional, and precise.
7. Blend Colors and Create Gradients for Depth
To elevate your artwork from a simple numbered painting to a more dynamic piece, you can move beyond the strict boundaries of the printed canvas. Blending adjacent colors and creating smooth gradients adds incredible depth, realism, and a professional touch. This is one of the most transformative paint by number tips and tricks because it turns a segmented image into a seamless, flowing work of art.
Instead of a hard line between two shades of blue in a sky, a soft transition creates a more natural look. This technique is particularly effective in paintings with sunsets, water, or soft backgrounds, where colors melt into one another. It's a simple way to make your finished project look less like a kit and more like a custom painting.
How to Blend Like a Pro
Mastering blending involves softening the edges where two colors meet. The key is to work while the paints are still wet, allowing them to mix directly on the canvas. This technique gives you the creative freedom to add highlights, shadows, and a sense of dimension that isn't pre-defined by the numbers.
Actionable Blending Tips:
- Work While It’s Wet: Apply the two adjacent colors you wish to blend. While both are still wet, use a clean, slightly damp brush to gently feather the line where they meet, pulling one color into the other until the edge softens.
- Use a Dry Brush: For a more subtle, textured blend, apply your colors and then use a completely dry, clean brush. Lightly drag the bristles back and forth across the color boundary to create a soft, hazy transition.
- Create Gradients in Large Areas: To make a gradient from dark to light, paint the darkest shade at one end and the lightest at the other. Fill the middle with a mix of the two and then blend all three sections together for a smooth transition.
- Practice First: Before attempting to blend on your canvas, experiment on a piece of scrap paper. This helps you get a feel for how much water to use on your brush and how the paints will interact.
By adding gradients and blended transitions, you are no longer just filling in spaces but are actively shaping the look and feel of your artwork. For a deeper dive into this technique, you can discover more about how to blend paint colors on paint-by-number.com.
8. Use Quality Materials and Choose the Right Paint Type
While most paint by number kits are all-inclusive, upgrading your materials can dramatically elevate the quality of your finished artwork. The paints, brushes, and canvas provided are often basic, and investing in higher-grade supplies is a powerful trick that gives you greater control, richer colors, and a more professional-looking result. This ensures your hard work translates into a piece you'll be proud to display for years.
Think of it like cooking: a talented chef can make a decent meal with average ingredients, but premium ingredients create a truly exceptional dish. The same principle applies here. Better materials don't just improve the final look; they make the entire painting process smoother and more enjoyable, preventing common frustrations like streaky paint or shedding brushes.
How to Select the Best Supplies for Your Project
Choosing the right materials depends on your experience level and desired outcome. For most paint by number kits, acrylics are the standard, but understanding your options opens up new creative possibilities. A small investment in a better brush set or higher-pigment paints can be one of the most effective paint by number tips and tricks for achieving a polished finish.
Actionable Material Tips:
- Start with Acrylics: If you're a beginner, stick with acrylic paints. They are water-soluble, dry quickly, and are very forgiving, making them perfect for the paint by number format.
- Invest in Better Brushes: The brushes included in kits can be of low quality. Purchase a small set of artist-grade brushes with various tip sizes for more precise application and smoother strokes.
- Consider Oil Paints for Advanced Projects: For a richer, more luminous finish with longer drying times for blending, experienced painters can purchase a separate set of oil paints to match the kit's colors.
- Check Your Canvas: Most kits use pre-primed cotton canvas, which is ideal. If your canvas feels thin or absorbent, applying an extra layer of clear gesso before you start can prevent the paint from soaking in and appearing dull.
By being selective with your tools, you move beyond the basic kit and gain the ability to produce artwork with superior depth, vibrancy, and longevity.
8-Point Paint-by-Number Tips Comparison
| Item | 🔄 Implementation Complexity | ⚡ Resource Requirements | 📊 Expected Outcomes | 💡 Ideal Use Cases | ⭐ Key Advantages |
|---|---|---|---|---|---|
| Organize Your Workspace and Materials | Low to moderate — initial setup time and layout | Basic organizers, good lighting, possible small purchases | Faster workflow, fewer mistakes, better focus | Beginners and group/kitted projects | Reduces errors and saves time ⭐⭐⭐ |
| Start with a Base Coat or Primer | Moderate — requires prep and drying periods | Primer (gesso), roller/brush, extra drying time | Uniform surface, improved color vibrancy and adhesion | Uneven or unprimed canvases, premium projects | Enhances color and longevity ⭐⭐⭐⭐ |
| Paint Larger Areas First, Then Details | Moderate — needs planning and sequencing discipline | Standard brushes and paints, reference guide | Cleaner edges, better depth, controlled progression | Landscapes, portraits, staged workflows | Prevents overlap and builds depth ⭐⭐⭐ |
| Use Multiple Thin Coats Instead of One Thick Coat | High — more steps and patience required | More paint, drying time, sanding tools optional | Smoother finish, richer color depth, fewer brush marks | High-finish pieces and textured canvases | Superior color accuracy and finish ⭐⭐⭐⭐ |
| Maintain Clean Brushes and Proper Brush Technique | Moderate — frequent interruptions for cleaning | Water/cleaner, towels, brush storage | Color purity, smoother application, longer brush life | All projects, crucial for multi-color work | Prevents muddying and extends tools ⭐⭐⭐⭐ |
| Identify and Correct Mistakes Early | Moderate — requires vigilance and quick fixes | Correction paint, cloths, magnifier or camera | Prevents cascading errors, preserves final quality | Long or detailed projects, collaborative reviews | Saves time later and maintains quality ⭐⭐⭐ |
| Blend Colors and Create Gradients for Depth | High — skill and practice needed | Extra brushes, practice surfaces, time to experiment | More realistic, polished, and artistic results | Advanced painters aiming for fine-art look | Adds dimension and transforms results ⭐⭐⭐⭐ |
| Use Quality Materials and Choose the Right Paint Type | Moderate — requires research and investment | Higher-cost paints, better brushes, proper canvases | Better vibrancy, durability, and user experience | Serious hobbyists, sale/display works, gifts | Superior long-term value and results ⭐⭐⭐⭐ |
Your Masterpiece Awaits: Putting These Tips into Practice
You've just unlocked a comprehensive toolkit of paint by number tips and tricks designed to elevate your creative experience from a simple pastime to a genuine artistic pursuit. Moving beyond the basic instructions in your kit is the first step toward creating something you’ll be truly proud to display. The journey from a blank, numbered canvas to a finished, vibrant painting is a rewarding one, and now you have the strategies to make it even more successful.
We’ve covered the entire process, from the foundational importance of organizing your workspace to the final, professional-looking touches. Remember, preparation is not a chore; it's the groundwork for a smoother, more enjoyable painting session. Applying a base coat of gesso or a light acrylic wash isn't just an extra step, it’s a professional technique that prevents the paint from soaking in and makes your colors pop.
Key Takeaways for Your Next Project
As you embark on your next paint-by-number adventure, keep these core principles at the forefront of your mind:
- Patience in Layers: The secret to rich, even color lies not in a single, thick application but in building up multiple thin coats. This technique eliminates streaks and gives your painting a smooth, professional finish.
- Technique is Everything: From how you hold your brush to how often you clean it, your technique directly impacts the final result. A clean brush ensures crisp lines and true colors, while proper handling gives you control over every detail.
- Embrace Blending: Don't be afraid to soften the lines between numbered sections. Learning to blend colors and create subtle gradients is the single most effective way to add depth, realism, and a personal touch to your work.
- Mistakes are Opportunities: Spills and smudges are part of the creative process. The key is to address them quickly while the paint is still wet or use corrective techniques once it's dry. Every correction is a learning experience.
Mastering these concepts transforms you from someone just filling in shapes to an artist who understands how to manipulate paint to achieve a desired effect. The goal is not just to complete the painting but to relish the mindful, step-by-step process of creation. Each number you cover is a small victory, bringing you closer to the final reveal. This collection of paint by number tips and tricks is your guide, but your own creativity is the final ingredient. Choose your next project with confidence, knowing you have the skills to not only complete it but to make it uniquely yours.
Ready to apply these new skills to a project that’s truly meaningful? Transform your favorite photo into a unique work of art with a kit from Custom Paint By Numbers. We provide everything you need to turn a cherished memory into a stunning, hand-painted masterpiece. Visit Custom Paint By Numbers to start your personalized artistic journey today