

Ever wondered how you could turn a favorite photo into a real painting? A custom paint-by-numbers kit does exactly that. You send in a picture you love, and in return, you get a canvas with a numbered outline and a set of paints to match. It's a fantastic way to create something personal and artistic, even if you've never picked up a paintbrush before.
Turn Your Memories Into Meaningful Art
Think about that one photo you always come back to—the one from a family vacation, a candid shot of your pet, or a stunning sunset you captured. Now, imagine transforming that memory into a piece of art you painted yourself. That’s the real magic behind a custom paint-by-numbers project. It's less about the craft and more about the connection, turning a fleeting moment into something you can hang on your wall.
The process itself is a great way to unwind and focus. Whether you’re making it for your own home or as a thoughtful gift for someone special, the finished piece will always feel deeply personal.
A Growing Trend in Personal Expression
Creating one-of-a-kind art from personal photos is more than just a passing fad. It’s part of a bigger shift toward finding unique ways to celebrate our lives and memories. This trend is a huge part of the art reproduction market, which hit a value of USD 50.62 billion in 2024 and is only expected to climb. This surge is powered by DIY creators and gift-givers who want to turn their digital photos into something real and meaningful. For a deeper dive into this market, check out the data on ibisworld.com.
Key Takeaway: A custom paint-by-numbers kit is more than just a creative hobby. It's a way to engage with a cherished memory, making the final painting a powerful reminder of a person, place, or moment you hold dear.
Painting your memories is a wonderful way to create a keepsake, and it's just one of many options for personalized photo gifts that bring your favorite moments to life.
This guide will show you exactly how to get started, making the journey from photo to finished canvas easy and fun. These kits are perfect for commemorating all kinds of special occasions, like:
- Weddings
- Anniversaries
- Birthdays
- Memorials
Choosing the Right Photo for Your Painting
The secret to a stunning custom painting isn't in the brushstrokes—it starts way before you even open the first pot of paint. It all comes down to the photo you choose. A great picture is the foundation for everything, ensuring your final artwork has the detail and life you're hoping for.
Think of it this way: a high-quality photo gives the design software a perfect blueprint to work from. It can accurately map out colors and create clean, distinct sections for you to paint. If you start with a blurry or dark image, you'll likely end up with a design that feels muddy and lacks the definition that makes a painting pop.
Resolution and Clarity Are Non-Negotiable
The absolute first rule of thumb is to go for high resolution. A sharp, clear photo is packed with the digital information needed to create a clean paint-by-numbers pattern. This is what allows the software to tell the difference between the texture of a pet's fur and the sofa it's sitting on, or to capture the subtle smile on a loved one's face.
So, where do things go wrong? Low-resolution photos are the main culprit. These are often the images you save from social media or that have been sent through messaging apps, which compress them and strip out crucial detail. When you try to blow one of these up to canvas size, it just becomes a pixelated mess, making a detailed painting impossible.
Pro Tip: Always track down the original file from the camera or smartphone. If a friend or family member took the picture, ask them to email it to you using the "actual size" or "original quality" setting. This simple step bypasses compression and saves the detail.
Good lighting and strong contrast are just as crucial. A photo taken in good light shows the true colors and shapes within your subject, which is exactly what you want to replicate with paint. Try to avoid pictures with harsh shadows or those taken in dimly lit rooms, as these conditions tend to swallow up the very details that bring a painting to life. A nice, clear contrast between your subject and the background will also result in a more dynamic and engaging piece.
Thinking about why you're making this painting can also steer you toward the right photo. This decision tree can help you narrow it down.
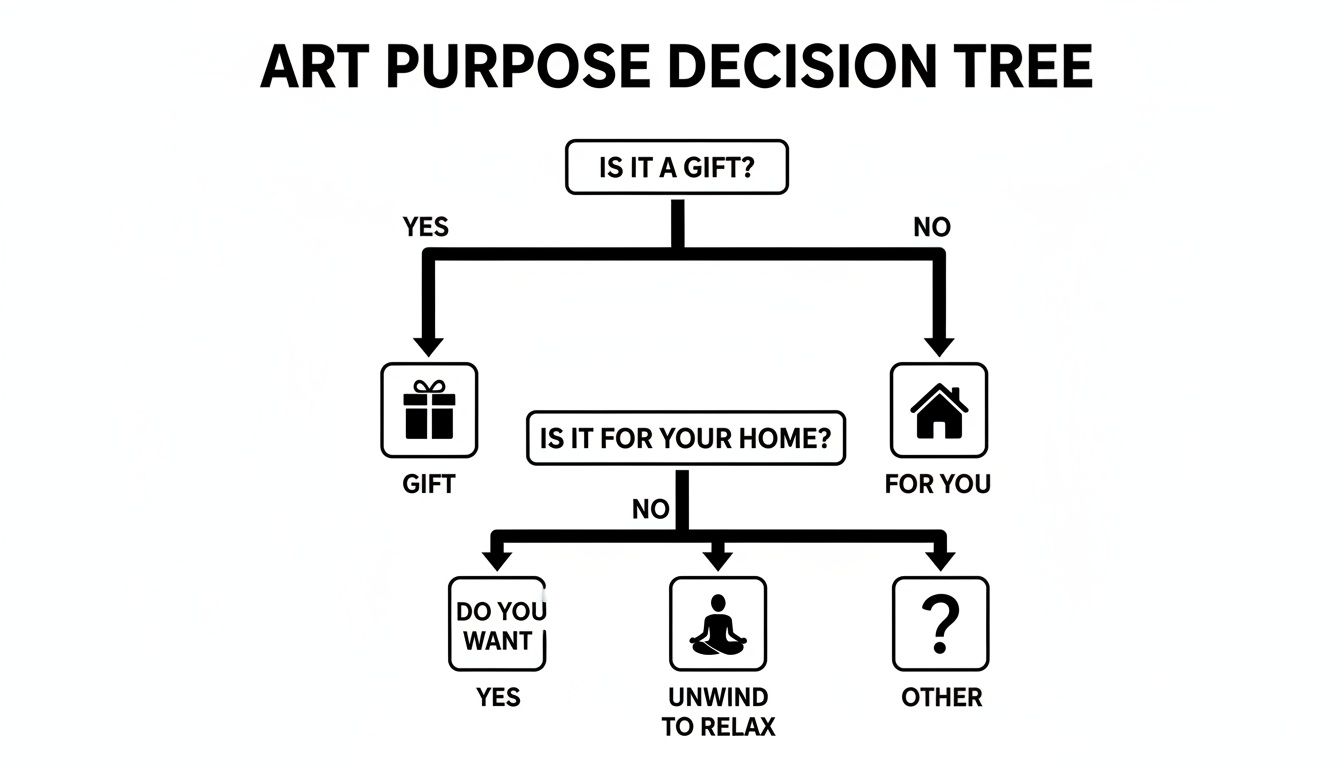
Whether it’s a personal project to unwind, a piece of decor for a specific room, or a deeply personal gift, your goal will often point you to the perfect image.
Photo Selection Checklist for Best Results
Not sure if your photo has what it takes? Run it through this quick checklist. Evaluating your image against these points is the best way to predict whether it will make a great painting.
| Attribute | What to Look For | What to Avoid |
|---|---|---|
| Resolution | Original, high-quality digital files. Crisp and clear when zoomed in. | Screenshots, social media downloads, or blurry/pixelated images. |
| Lighting | Bright, natural, and even light. Clear distinction between light and shadow. | Dark or dimly lit scenes, harsh backlighting, or heavy shadows on faces. |
| Composition | Subject is the main focus, close up, and fills most of the frame. | Subject is too far away, tiny, or lost in a busy background. |
| Background | Simple, uncluttered, or out of focus. Complements the main subject. | Busy, chaotic backgrounds with too many small, competing details. |
| Color | Rich, vibrant colors with good contrast between different elements. | Washed-out colors, photos with heavy filters, or monochrome images. |
Ultimately, a photo that checks all the "What to Look For" boxes is almost guaranteed to give you a fantastic painting experience and a beautiful result.
Ideal Photos Versus Those to Avoid
From my experience, some types of photos are practically foolproof and lead to incredible results. If you need a little spark of inspiration, you can explore diverse photographic styles to see how composition and lighting work together.
Here are a few types of photos that are top candidates for a custom kit:
- Close-Up Portraits: Head-and-shoulders shots are perfect. They capture so much emotion and detail in the face, which translates beautifully into a painting.
- Pet Photos: Who doesn't love a painting of their furry companion? A clear photo of your pet, especially against a simple background, always makes for a heartwarming piece of art.
- Vibrant Landscapes: Think bold sunsets, dramatic mountains, or colorful seascapes. Images with big, distinct shapes and strong colors are fantastic for this medium.
On the other hand, some photos are just not a good fit. I'd recommend staying away from overly cluttered pictures with tons of small details or chaotic backgrounds, as they tend to look confusing when converted. Similarly, if your main subject is just a tiny speck in the distance, all those important features will be lost.
If you're curious about the more technical side of this, you can learn more about how to convert photos to paint by numbers to understand why these choices are so important. Taking a few extra minutes to choose wisely at the start is the single biggest step you can take toward creating a painting you'll be truly proud of.
Making Your Custom Paint By Numbers Kit Your Own
Once you’ve found that perfect photo, it’s time for the fun part: customizing your kit. This is where you get to make the decisions that will truly shape your final painting. The choices you make now—from canvas size to paint colors—will dictate how detailed and true-to-life your finished piece will be.
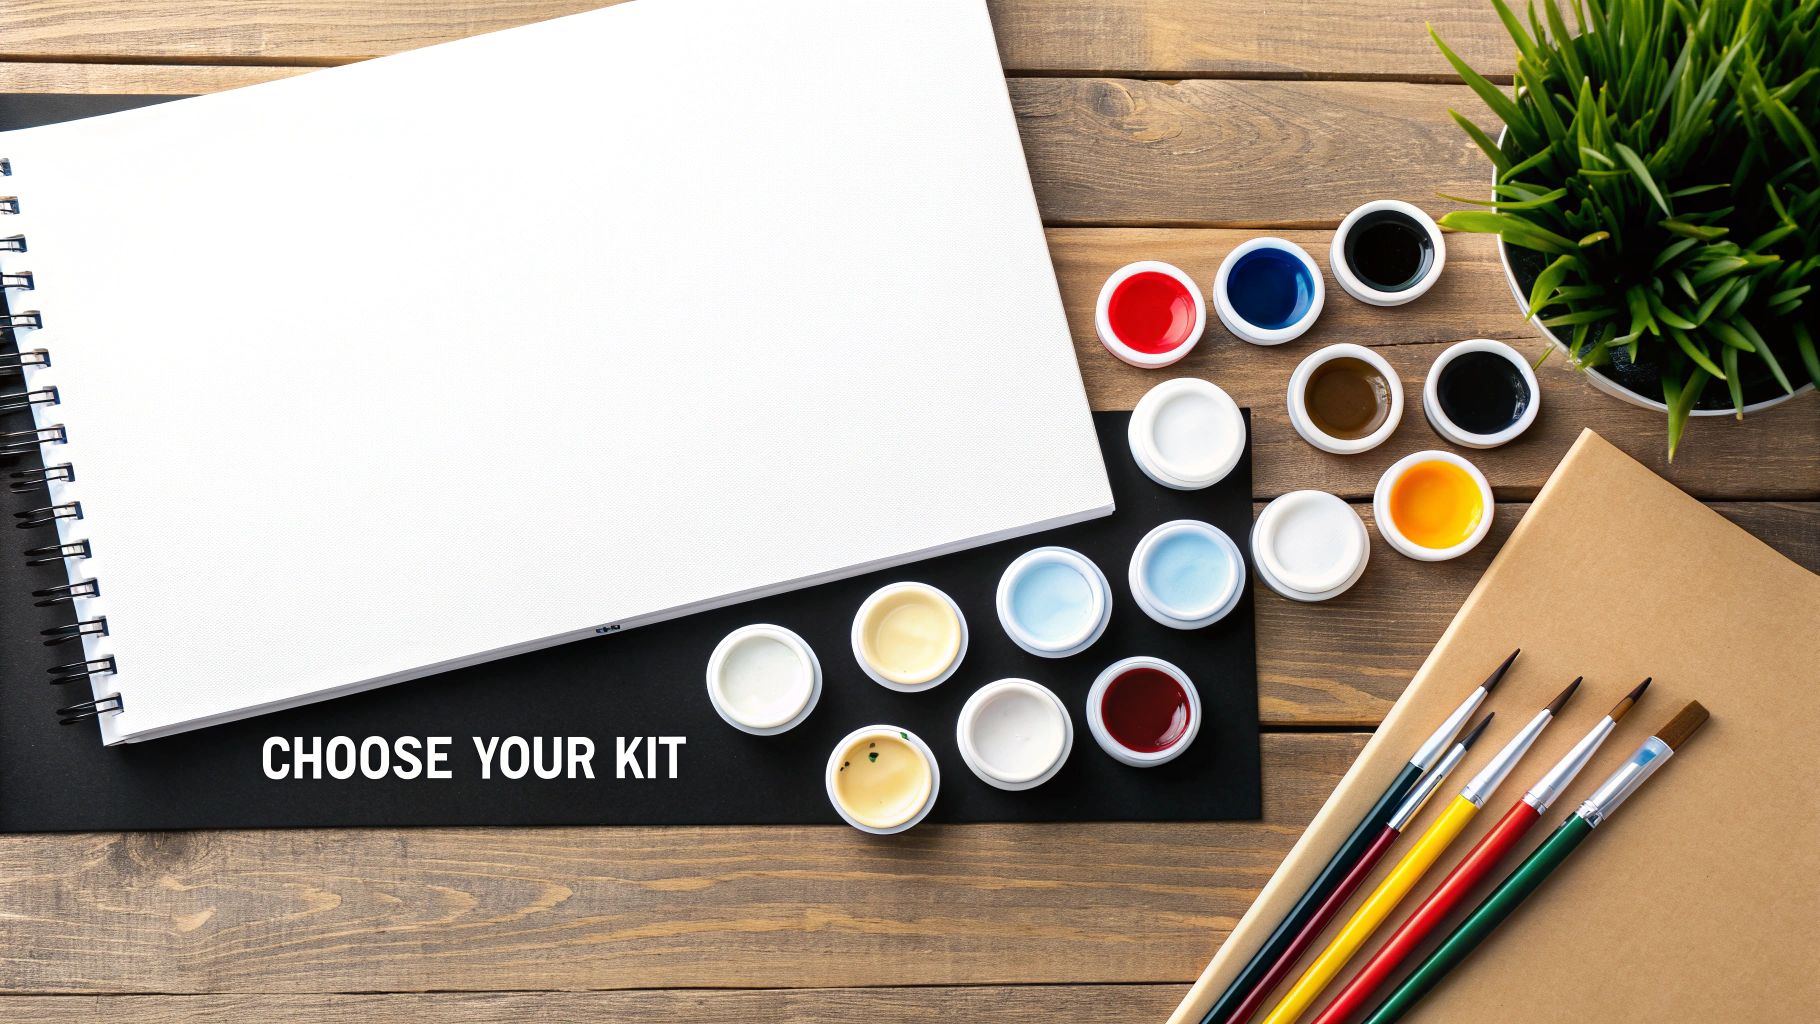
Think of these options as your creative controls. Each selection helps translate your digital image into a physical work of art, so it pays to understand how each one affects your project.
Choosing Your Canvas Size
Canvas size isn't just about how big the final painting will be on your wall; it directly affects the level of detail you'll be able to capture. It's simple, really: a larger canvas offers more room for all the little numbered areas, which is a game-changer for complex photos.
A detailed portrait with subtle expressions, for example, really comes to life on a bigger canvas. The extra space allows the design software to map out smaller, more precise color segments, giving you a much sharper, more realistic result. On a small canvas, those tiny details often get merged into a single splotch of color. If you want to dig deeper into how dimensions affect your art, our canvas sizing guide is a fantastic resource.
The Importance of Paint Color Count
This might be the single most important decision you make. Most companies will offer a few tiers, usually 24, 36, or 48 colors. It’s all about finding that sweet spot between simplicity and detail.
- 24 Colors: This option is perfect for simpler images. Think cartoons, bold logos, or photos with big blocks of solid color. It gives your painting a more graphic, stylized feel.
- 36 Colors: This is the go-to for most people, and for good reason. It strikes a fantastic balance, giving you enough shades to capture plenty of detail in landscapes and pet portraits without becoming overwhelming.
- 48 Colors: When detail is absolutely everything—like a close-up family portrait or a complex floral scene—this is your best bet. The expanded color palette allows for incredibly subtle shading and smooth gradients, pushing your painting toward true realism.
Think about a photo of a sunset. It might have hundreds of tiny shifts between orange, pink, and purple. A 48-color kit can capture those soft transitions beautifully. A 24-color kit, on the other hand, would have to simplify them into more distinct, solid bands of color.
To Frame or Not to Frame
Your last big choice is whether to add a DIY stretcher frame. This is a simple wooden frame you assemble yourself to stretch the canvas over. It gives your artwork that classic, taut look you see in galleries.
Getting a frame from the get-go means you can paint on a tight, flat surface, which a lot of painters find much easier than working on a rolled-up canvas. Plus, your masterpiece is ready to hang the second it’s dry. But if you're on a budget or want to pick out a fancy decorative frame later, you can definitely skip it. Painting on a rolled canvas is totally fine—just be sure to tape the corners down to a flat surface so it doesn't curl up on you while you work.
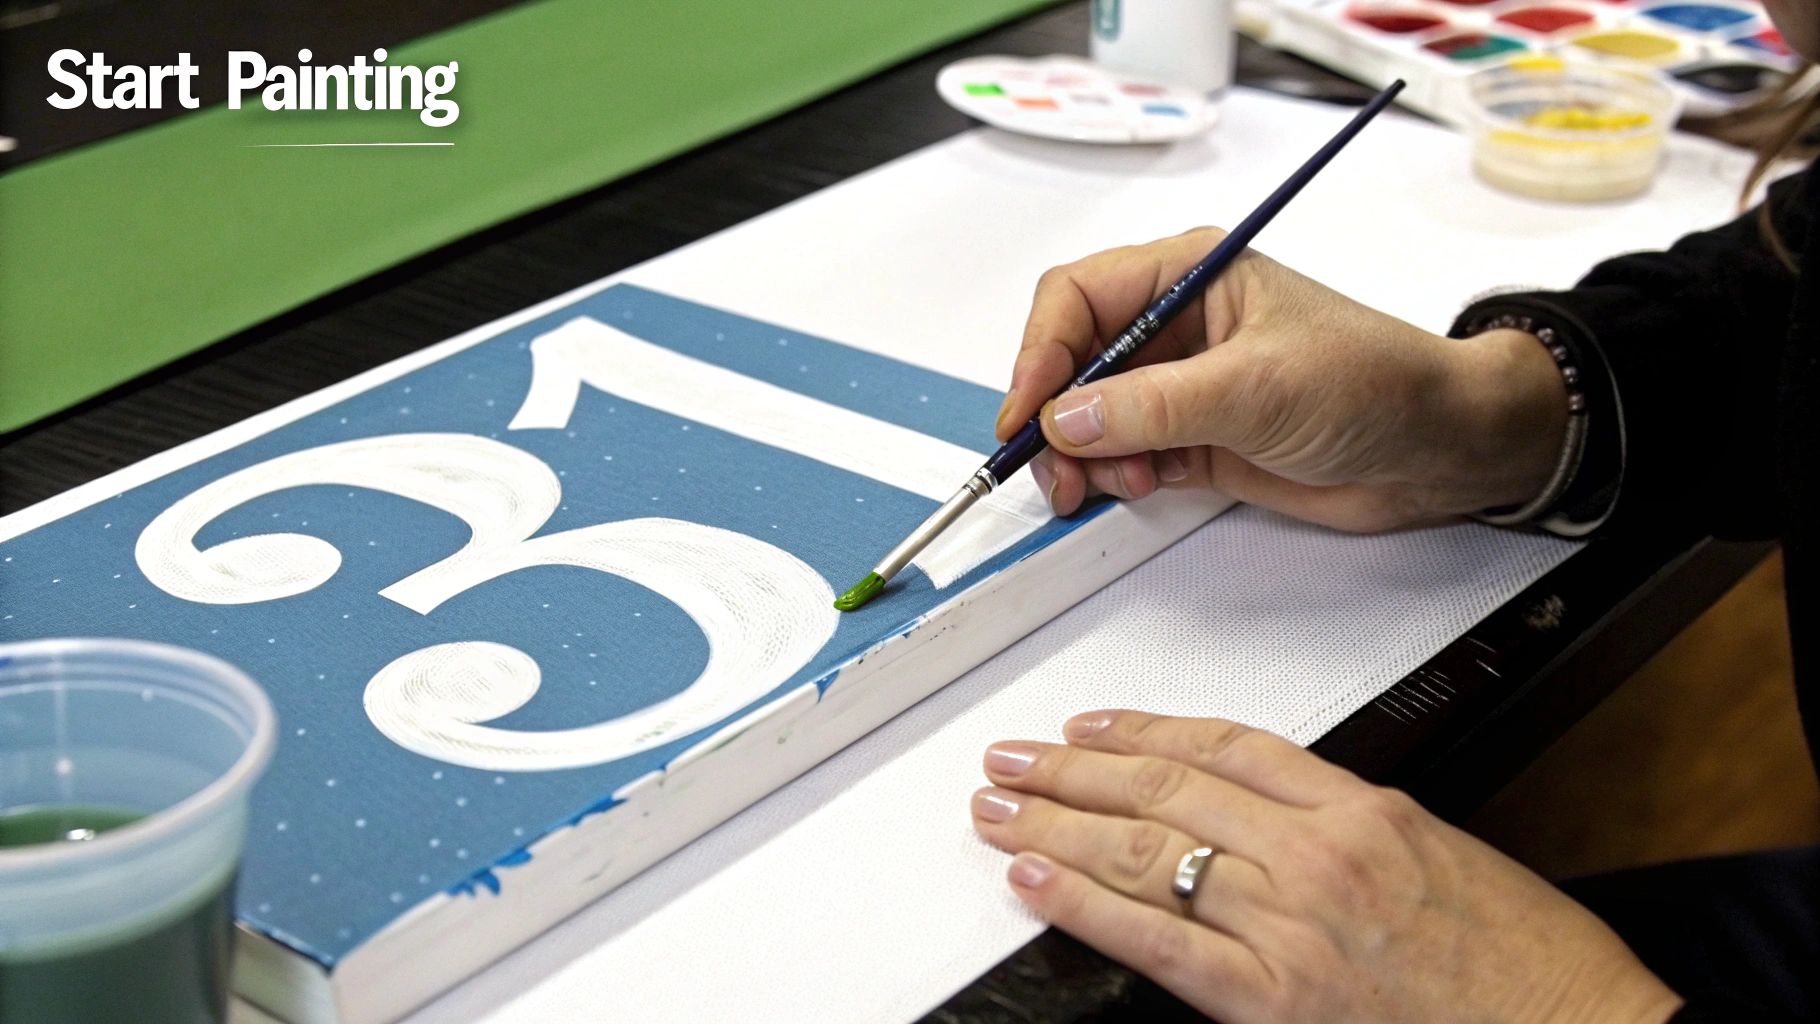
Bringing Your Custom Picture to Life
Your custom kit has arrived, and the real fun is about to begin. That moment you unbox the canvas, line up the little paint pots, and hold the brushes is when your photo truly starts its transformation into a piece of art. Here’s how to make the painting process a breeze and get a result you’ll be proud of.
Before you even think about dipping a brush in paint, get your area set up. You'll want a well-lit spot, some newspaper to protect your table, and a small cup of water for rinsing your brushes. Trust me, a little prep makes for a much more relaxing painting session.
Painting Strategies for Beginners
Everyone finds their own groove, but a few tried-and-true methods can help you get a clean, professional-looking result, especially if this is your first paint by numbers custom picture. There’s no right or wrong way, but these two approaches are popular for a reason.
-
Go number by number. This is my favorite way to stay focused. Just pick a number, find the matching paint, and fill in every single section with that number. It’s super efficient and saves you from constantly washing your brushes.
-
Start dark and go light. Another great strategy is to tackle the darkest colors first and work your way to the lightest. Dark acrylics are forgiving and can easily cover up any little slip-ups into lighter areas. If you save the whites and pastels for last, they’ll stay pure and bright, which really makes the finished piece pop.
Whichever path you take, the key is to be methodical. You’ll build momentum and get that amazing feeling of watching your image slowly emerge from the canvas.
Pro Tip: Keep a damp paper towel nearby. It's perfect for blotting your brush after rinsing and for quickly wiping away any little mistakes before the paint has a chance to dry.
Achieving Clean Lines and Caring for Your Tools
The secret to a polished-looking painting is creating crisp, clean lines between the colors. It really comes down to using the right amount of paint—not too much and not too little. I've found it helps to load just the tip of your brush and carefully trace the border of a section before filling in the middle. It takes a steady hand but makes a huge difference.
Good brush care is also a must. Rinse your brushes thoroughly in water as soon as you're done with a color. Once the water runs clear, gently reshape the bristles with your fingers so they dry nicely. Whatever you do, don't let paint dry on the bristles—it can ruin them for good.
The acrylic paints in these kits are designed to last, which is a big reason why the art paint market is booming. It's a huge industry, projected to grow from USD 3.09 billion in 2026 to USD 5.31 billion by 2035. Acrylics lead the charge because they're so vibrant and durable. You can learn more about these art paint market trends on globalgrowthinsights.com.
Finishing Touches for a Lasting Masterpiece
Once your painting is completely dry (I recommend waiting at least 24 hours), it's time for the final touches. To protect all your hard work, I always suggest applying a sealant. A clear acrylic varnish will shield your art from dust and UV rays, keeping the colors looking fresh for years. Just apply a thin, even coat with a wide, soft brush.
If you ordered a DIY stretcher frame, this is its moment to shine. Lay your canvas face down on a clean surface and place the assembled frame on the back. Gently fold the canvas edges over the frame and secure them with thumbtacks or a staple gun. Start in the middle of each side and work your way toward the corners, pulling the canvas taut as you go for that smooth, professional look.
Displaying and Gifting Your Finished Artwork
You did it. You’ve turned a blank canvas into a personal masterpiece, and that final brushstroke feels incredible. But the journey isn't quite over. Now comes the best part: deciding how to show off your work or who to share it with.
This isn’t just a finished project; it's a story you’ve personally brought to life, and it deserves to be seen.
Hanging your art is about more than just finding an empty nail. Think about how your new painting can truly become a part of your home. A paint by numbers custom picture makes a fantastic anchor for a gallery wall, especially when it’s surrounded by other photos that tell the same story.
For a more relaxed vibe, you could prop it on a decorative easel on a bookshelf or mantel. It's a simple touch that adds a huge pop of personality to the room.
Creative Ways to Display Your Art
The key is finding a spot that fits both your decor and the memory behind the painting. Stuck for ideas? Here are a few to get you started:
- The Gallery Wall Anchor: Make your painting the star of the show. Arrange smaller photos and prints around it to create a beautiful, cohesive display.
- Bookshelf Beauty: A small or medium canvas resting on an easel adds an artistic flair to any shelf, fitting in perfectly next to your favorite books and mementos.
- The Unexpected Spot: Don't forget those overlooked corners! Brighten up a hallway, a home office, or even a cozy breakfast nook. Art in an unusual place is always a delightful surprise.
Your hand-painted piece holds a personal connection that mass-produced prints simply can't match. When you display it, you're not just decorating; you're sharing a piece of your own story and effort, making your home's decor uniquely yours.
If you’re looking for framing ideas, our guide on how to frame canvas paintings is packed with helpful tips.
The Art of Heartfelt Gifting
There are few gifts more personal than a custom painting. It’s a gift that says you invested your time, thought, and care to turn a special memory into something they can hold onto forever. Honestly, the look on someone's face when they unwrap a hand-painted version of a favorite photo is priceless.
Think about it: a painting of a newlywed couple's best wedding photo for their first anniversary. Or a tribute to a friend's beloved pet who has crossed the rainbow bridge. These aren't just presents; they're treasured keepsakes that honor love, friendship, and those moments we never want to forget.
Every brushstroke is filled with your intention, making a paint by numbers custom picture one of the most meaningful gifts you can give.
Common Questions About Your Custom Kit
So you’ve decided to turn one of your favorite photos into a work of art—that’s fantastic! As you get started with your paint by numbers custom picture, it's totally normal for a few questions to pop up. Think of us as your creative guide; we've heard them all and have the answers right here.
Knowing what to expect helps make the whole process relaxing and fun, which is exactly what it should be.
How Long Will My Painting Take to Complete?
This is the big one, and the real answer is, it depends! Think of it less like a project with a deadline and more like a puzzle you get to solve at your own pace. How long it takes really comes down to a few things.
- The Size of Your Canvas: It makes sense—a bigger canvas simply has more ground to cover and will naturally take longer than a smaller one.
- The Level of Detail: A kit with 48 colors is going to have a lot more tiny, intricate sections than a simpler one with 24 colors. More detail means more time.
- Your Personal Painting Style: Are you someone who loves to get lost in painting for a whole afternoon? Or do you prefer to unwind with a quick 30-minute session after a long day? There's no right or wrong way to do it.
All that said, most people find they spend somewhere between 12 to 20 hours bringing their painting to life. My best advice? Don't watch the clock.
Remember: This isn't a race. The whole point is to relax and enjoy the process of creating something that's uniquely yours. Let it be your go-to activity for de-stressing, whether it takes you a single weekend or a few peaceful weeks.
What Happens If I Make a Mistake?
First off, take a deep breath. A stray brushstroke is going to happen, and it's not a big deal! In fact, one of the best things about the acrylic paint in your kit is how forgiving it is.
If you catch the mistake while the paint is still wet, just grab a damp cotton swab or the corner of a paper towel and gently wipe it away. Easy.
If the paint has already dried, it's an even simpler fix. Just let it be, and once it's fully dry, paint right over it with the correct color. You might need to apply a second coat if you're covering a dark splotch with a light color, but no one will ever know it was there.
What if I Run Out of a Certain Paint Color?
We pack our kits with more than enough paint, so running out is pretty rare. It usually only happens if you're applying the paint very thickly or have had to cover a few mistakes along the way.
If you notice a color is getting low, try to be a little more sparing with it, especially in larger, less-detailed areas. But if you do run out completely, don't worry! Just get in touch with the company's customer service team. Let them know your kit details, and they can usually send a replacement pot right out to you. We want to make sure you can finish your paint by numbers custom picture down to the last perfect detail.
Ready to see your own photo transformed into a masterpiece you can proudly display? At Custom Paint By Numbers, we've made it incredibly easy to create a stunning, high-quality kit from any picture you love.


