

So, you've placed the final brushstroke on your acrylic painting. It's done, right? Not quite. The last step—sealing your canvas—is often overlooked, but it's what separates a piece that lasts for a season from one that lasts for generations.
Think of it this way: sealing is like applying a protective topcoat. You'll choose a varnish with the right finish for your piece (gloss, satin, or matte), make sure your masterpiece is bone dry and dust-free, and then carefully apply the sealer. This one final step is your painting's best defense against the world.
Why Sealing Your Painting Is Not an Optional Step
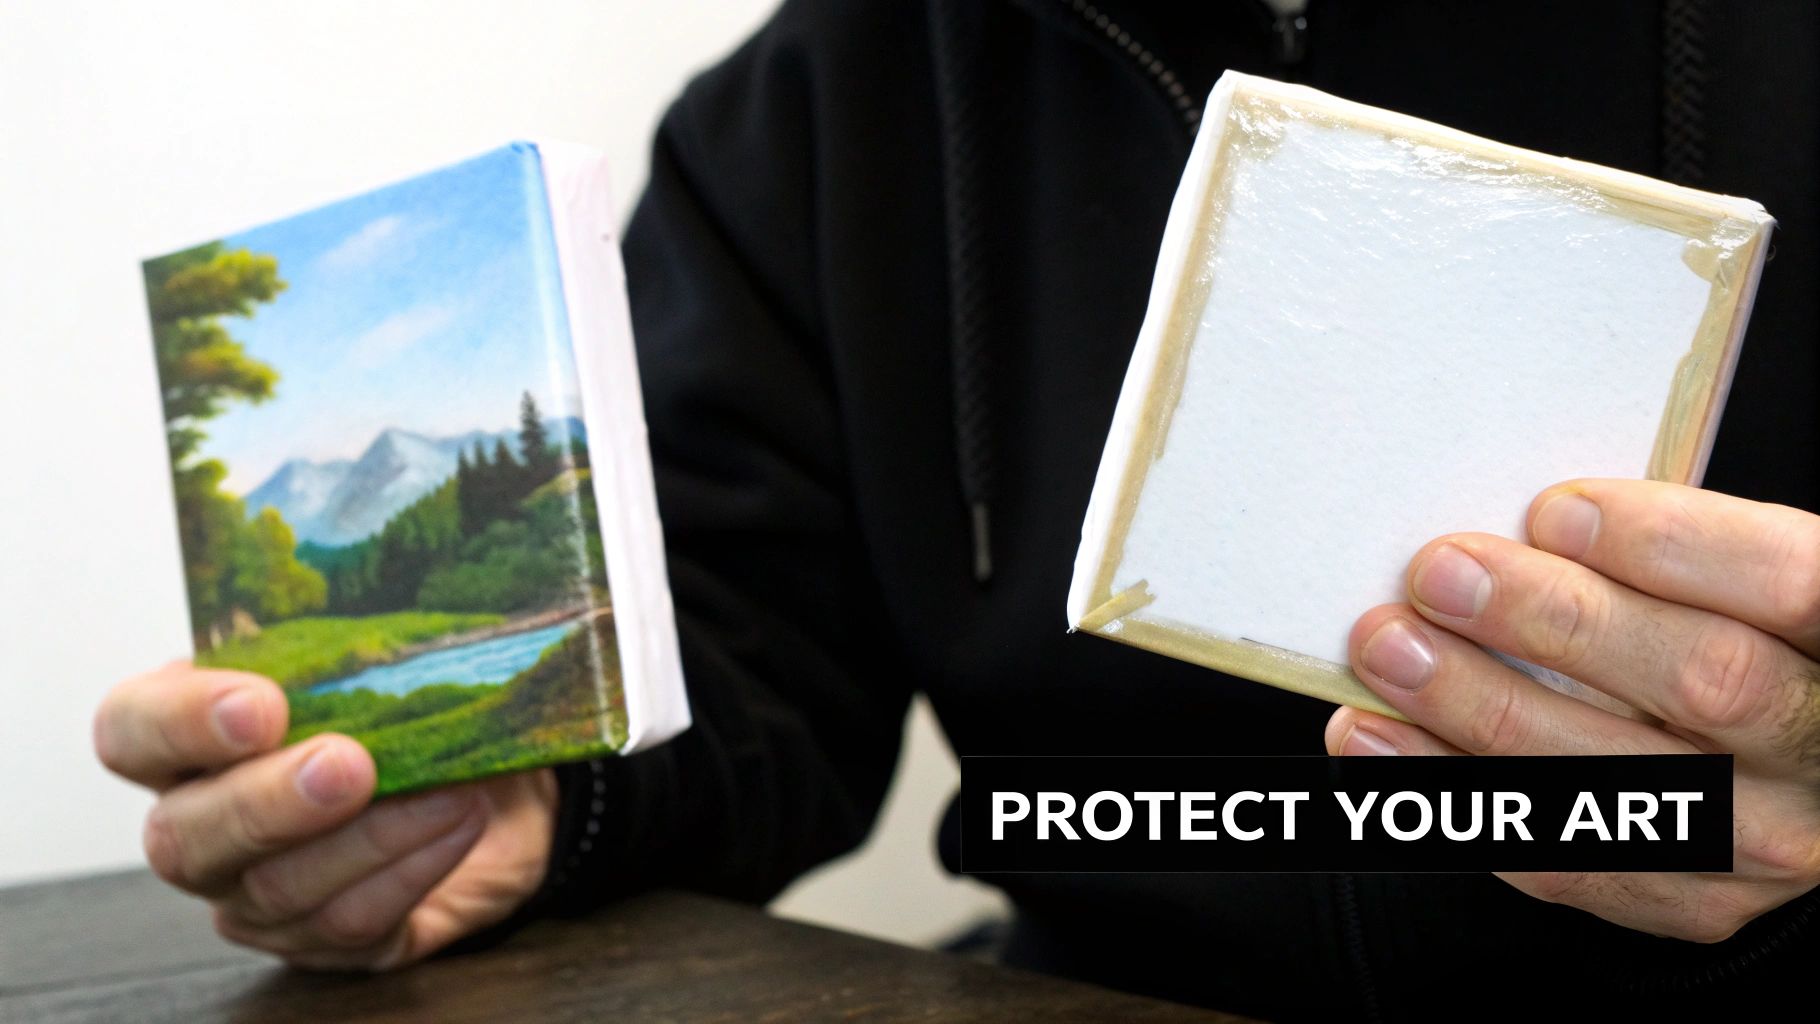
After all the hours you've poured into a painting, it’s tempting to call it finished and hang it up. But skipping the sealing process is a mistake I see too often. Varnishing isn't just a fussy extra step; it’s about preservation and giving your art a professional, finished look.
A good sealer acts as an invisible shield for your canvas, and it does a few critical jobs:
- UV Protection: Ever see a vibrant painting fade to a shadow of its former self in a sunny room? That's UV damage. Varnish acts like sunscreen for your art, shielding those brilliant colors from the ultraviolet light that causes fading and yellowing.
- Dust and Debris Defense: The surface of a dried acrylic painting is porous, making it a magnet for dust and grime. A sealed surface is smooth and non-porous, so you can easily wipe it clean without ever touching—or damaging—the paint itself.
- Moisture Resistance: Varnish creates a barrier against humidity and accidental spills. Without it, moisture can lead to a warped canvas or, even worse, mold.
Unifying the Final Sheen
Protection aside, varnishing is also about aesthetics. Have you ever noticed how different acrylic colors can dry with slightly different sheens? Your blacks might look matte, while your reds have a bit of a gloss. This can make the finished piece look a little uneven and distracting.
Applying a final coat of varnish pulls everything together. It gives the entire surface one consistent, intentional finish. Whether you go for a high-gloss, a subtle satin, or a completely flat matte, the result is a polished piece that looks like it belongs in a gallery.
Taking the time to seal your work properly is the mark of a serious artist. It's a key reason for the 80-90% satisfaction rate among artists who make varnishing a standard part of their process. You can dig deeper into the importance of sealing paintings on PamelaGroppe.com.
Choosing the Right Varnish for Your Artwork
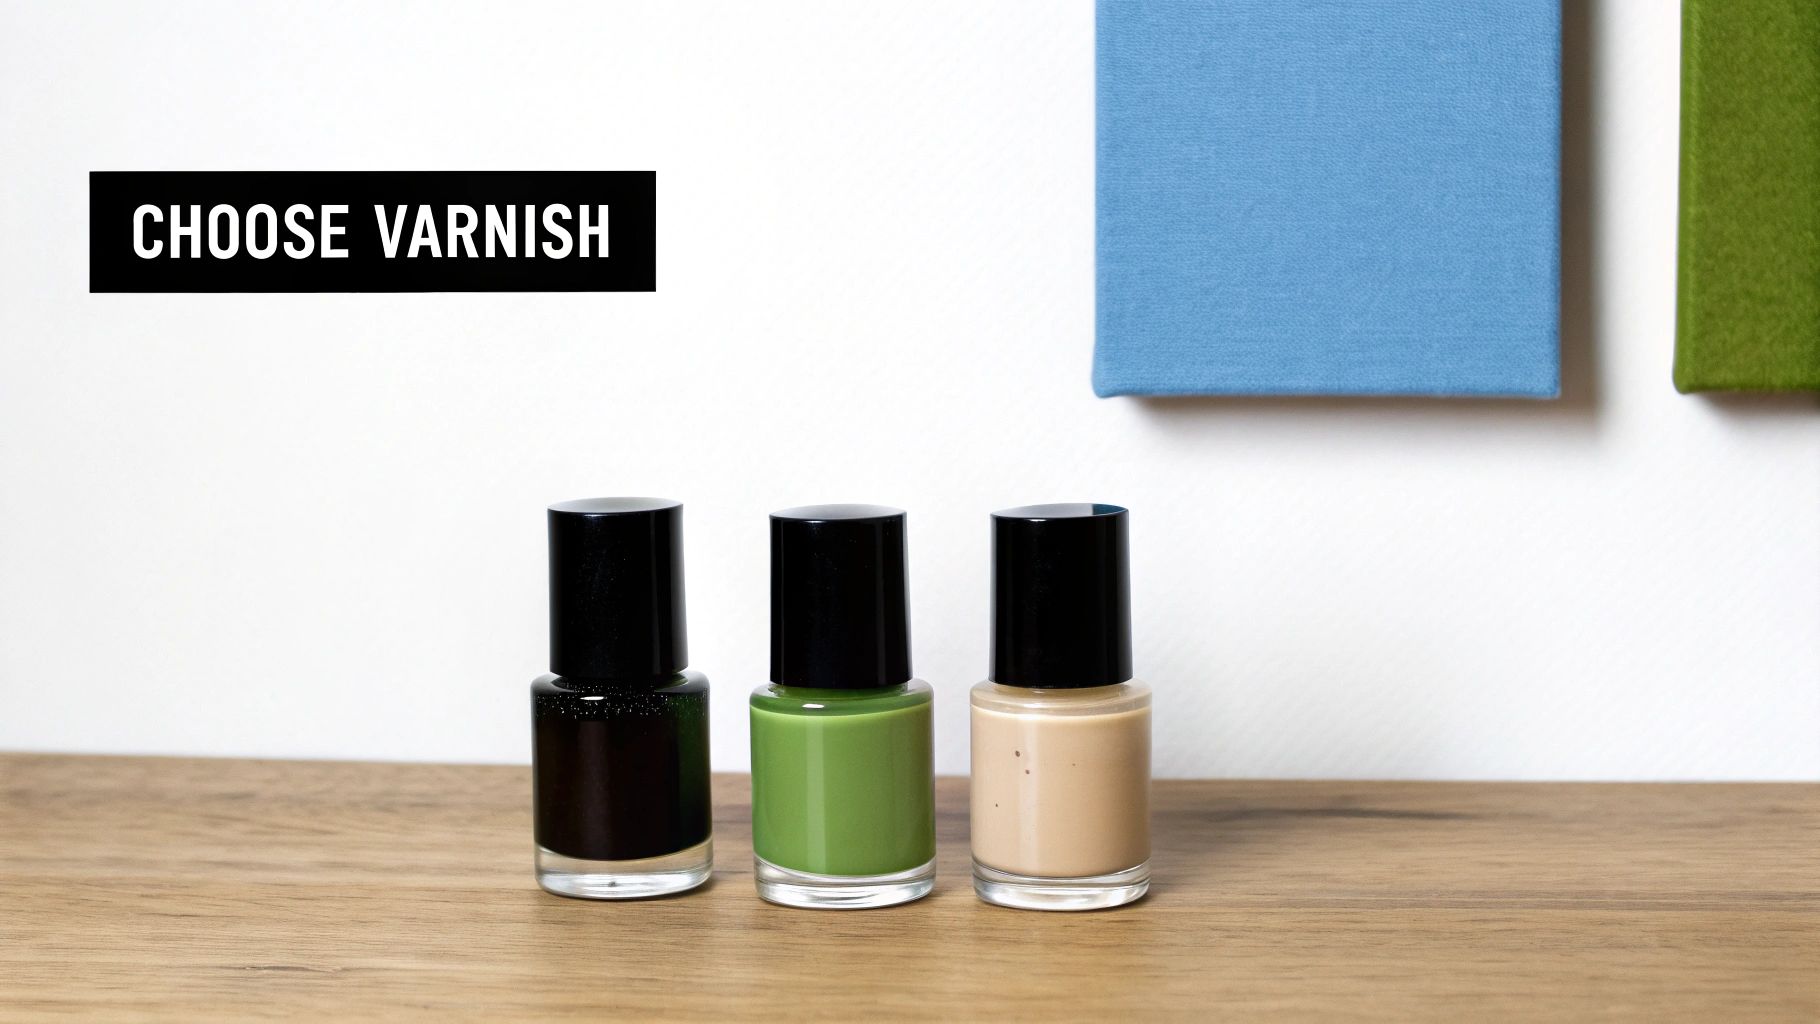
Picking a varnish can feel just as artistic as mixing your paint colors. The right sealer does more than just protect your hard work—it's the final touch that defines the entire piece. Your decision really boils down to two key factors: the type of varnish and the kind of finish you want.
Polymer vs. Solvent-Based Varnish
Most artists working with acrylics will encounter two main options: water-based polymer varnishes and mineral spirit acrylic (MSA) varnishes.
For everyday studio work, a polymer varnish is almost always the best bet. It’s what I use for the vast majority of my paintings. The cleanup is simple soap and water, the odor is low, and it provides solid protection for standard acrylic canvases. It’s reliable and easy to work with.
MSA varnishes are a bit more heavy-duty. Since they're solvent-based, you’ll need mineral spirits to thin them and to clean your brushes. The trade-off? You get an incredibly hard, durable finish that’s great for artwork in high-traffic areas or environments with fluctuating conditions. Just be warned—the fumes are potent, so a well-ventilated space isn't a suggestion, it's a requirement.
Finding Your Perfect Finish
Okay, so you've picked a type. Now for the fun part: the finish. This choice has the biggest impact on how your painting will look hanging on a wall. There are three classic sheens, and each brings something different to the table.
To make this choice easier, here’s a quick breakdown of how each finish behaves and where it shines.
Varnish Finish Comparison Guide
| Finish Type | Visual Effect | Best For | Potential Downsides |
|---|---|---|---|
| Gloss | High-shine, reflective, wet look. Deepens and saturates colors. | Vibrant, colorful abstracts; dark, moody pieces; making colors "pop." | Can create significant glare under direct lighting, making it hard to view. |
| Matte | Flat, non-reflective surface. Gives a soft, contemporary feel. | Artwork displayed in brightly lit rooms; pieces with subtle textures; portraits. | Can slightly dull or "frost" very dark colors, reducing their depth. |
| Satin | A subtle, low-sheen luster. The middle ground between gloss and matte. | Virtually any style; it enriches colors without creating harsh reflections. | It's a compromise, so it won't offer the maximum pop of gloss or the total lack of glare of matte. |
Ultimately, the best way to choose a finish is to think about the painting's final destination and the mood you want to create.
A gloss varnish is my go-to for pieces with deep blacks or vibrant colors, as it makes them feel incredibly rich and luminous. The high shine gives the painting an almost wet appearance that can be truly stunning. Just be mindful of where it will hang, as that beautiful shine can turn into a distracting glare under a poorly placed spotlight.
On the other end of the spectrum, a matte varnish offers a completely flat, non-reflective surface. This is perfect for artwork that needs to be viewed from all angles without any glare, like in a sunny entryway or a gallery with tricky lighting. It gives the piece a soft, contemporary feel, though it can sometimes make very dark colors look slightly less intense.
Can't decide? That's where satin varnish comes in. It really is the best of both worlds, offering a gentle luster that enhances color without the mirror-like reflections of gloss. It's the most popular choice for a reason—it's incredibly versatile and looks great on almost anything.
Pro Tip: Don't be afraid to create your own custom sheen! As long as you stick with the same brand, you can mix different varnish finishes. Combining equal parts gloss and matte will result in a beautiful satin, giving you complete control over the final look.
Think about your piece. Do you want it to be bold and brilliant, or soft and subtle? Your answer will point you straight to the perfect varnish.
Getting Your Painting and Workspace Ready
A perfect, glass-smooth finish doesn't start with the varnish—it starts with prep. Honestly, getting your painting and your space ready is the secret to avoiding all those frustrating little things like dust specks, bubbles, and other blemishes that can mess up your hard work. This is where a little patience goes a long, long way.
The biggest mistake I see artists make? Sealing their work way too early. It's so important to get the difference between a painting that’s 'dry to the touch' and one that's 'fully cured.' Sure, the surface might feel dry in a couple of hours, but the paint underneath is still in the process of hardening and releasing moisture.
Let Your Painting Fully Cure
If you trap that moisture under a coat of sealer, you're asking for trouble. It can create a cloudy, hazy look or, even worse, cause the paint to break down over time. So, how long do you need to wait?
- For pieces with thin layers of paint, give it a minimum of 72 hours.
- If you've built up thick, impasto textures, you'll need to be much more patient—think anywhere from one to three weeks.
Trust me, this isn't just busywork. Properly sealing a fully cured painting can boost its durability by as much as 40% compared to one that was sealed too soon. There's a great breakdown of drying vs. curing times at FeelingNifty.com if you want to dive deeper.
Create a Clean Environment
Once your painting is good and cured, it's time to prep your surface and your workspace. Your number one enemy here is airborne dust. It loves to settle on a wet, tacky varnish coat.
Start by gently wiping your canvas with a soft, lint-free cloth. Don't grab a paper towel, as it'll just leave behind tiny fibers that will get trapped in the sealer.
Next, find a good spot to do the varnishing. You'll want a clean, well-lit, and well-ventilated room, preferably somewhere people aren't walking through constantly. And if you have pets, make sure they're out of the room so their hair doesn't end up as a permanent part of your artwork. Having all the right tools ready is also a game-changer; our guide on essential beginner acrylic painting supplies has you covered. And for your next project, remember that a great finish often starts with the right foundation, which includes things like choosing custom canvas sizes that fit your vision perfectly.
Workspace Checklist: Your ideal setup is dust-free, has great overhead light so you can spot any issues, and has enough airflow to handle the fumes—but without any drafts that might kick up debris.
Time to Varnish: Your Final Flourish
You've let your canvas cure, and your workspace is ready. Now for the best part—applying the varnish. This is the moment your painting gets that final, protective sheen that makes the colors pop.
The secret to a flawless finish? Don't slop on one thick coat. You’ll want to apply several thin, even layers. This is the pro move to avoid drips and build up a truly durable, glass-like surface.
Before a single drop hits your canvas, give the varnish a gentle stir with a clean stick. Whatever you do, never shake the bottle. Shaking creates a storm of tiny air bubbles that will end up on your painting, leaving you with a bumpy, textured mess you can't fix.
This quick visual guide shows the simple but essential prep work that leads up to the main event.
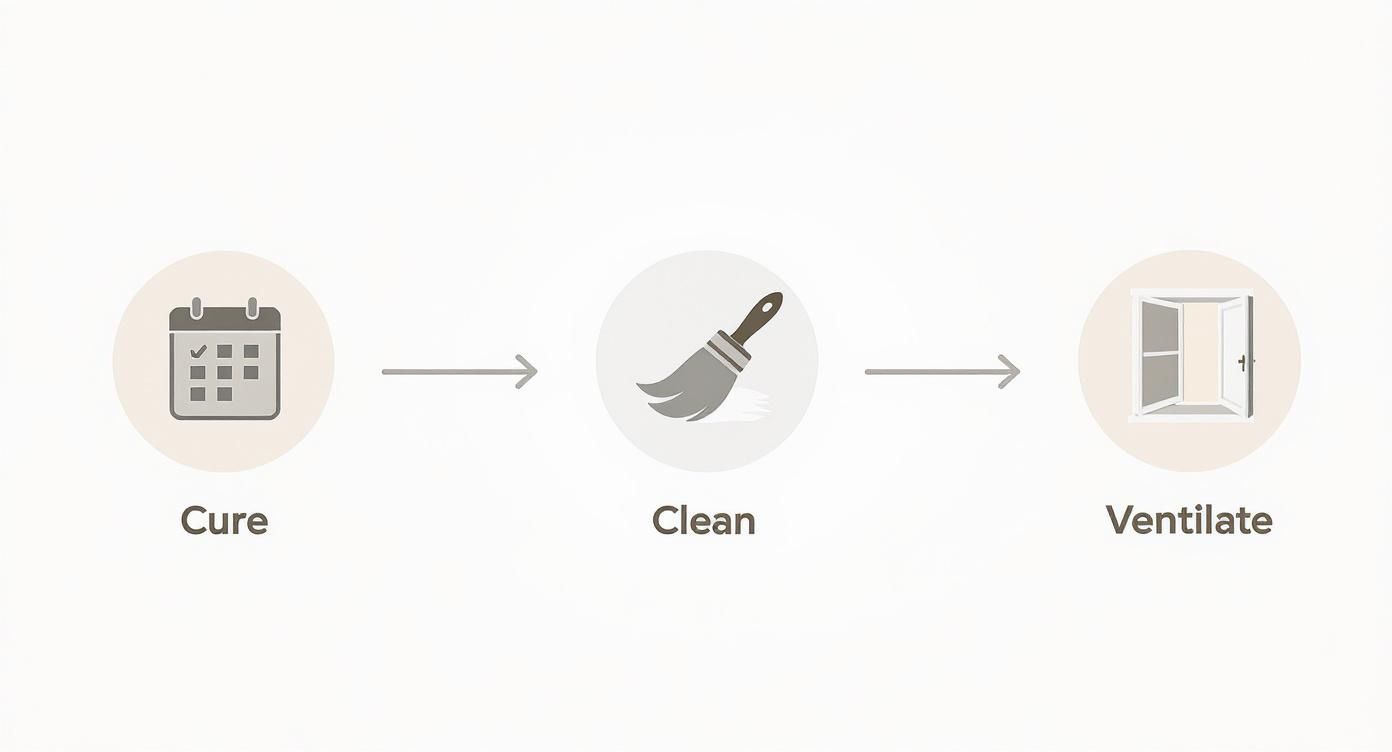
As you can see, letting the paint fully cure, cleaning the surface, and working in a well-ventilated space are the absolute must-dos before you even think about sealing your work.
Applying Varnish With a Brush
If you're going the brush-on route, grab a good quality, wide, flat brush. Soft bristles are your friend here; a cheap, stiff brush will only leave ugly streaks behind. Pour a little varnish into a separate shallow dish—this keeps your main bottle free of any dust or debris.
Dip the tip of your brush in and glide it across the canvas in long, even strokes. Work from one side to the other, slightly overlapping each pass to ensure you don't miss a spot. The most important thing is to resist the urge to fuss with it. Once an area is covered, leave it be. Going back over a section that’s already started to dry will just pull and mar the finish.
And, of course, good tools are everything. Keeping your brushes pristine is key, so check out our guide on how to clean paint brushes properly.
Applying Varnish With a Spray
For paintings with a lot of texture, a spray varnish is a lifesaver. It gives you a beautiful, even finish without a single brushstroke. The key here is all about distance and movement.
Hold the can about 10-12 inches from your canvas. Start spraying just off the edge of the painting, sweep across in a steady motion, and stop spraying only after you've passed the other side. This simple trick prevents those heavy, drippy spots from forming where you start and stop.
Pro Tip: Whether you brush or spray, always aim for two to three thin coats. Let each layer dry completely (check the label, but it’s usually a few hours) before adding the next. For an extra-level, professional seal, apply the second coat in the opposite direction—if your first coat was horizontal, apply the next one vertically.
Taking It to the Next Level: Archival-Quality Sealing
When you're creating a piece that you want to last for generations, the standard sealing process just won't cut it. To really protect your work, you’ll need to adopt the same preservation standards used by museums and galleries, right in your own studio. This means going beyond a simple top coat and adding a crucial step for long-term conservation.
The secret weapon in this advanced process is what's called an isolation coat. Think of it as a permanent, clear barrier that you apply after your paint has completely cured but before you put on the final varnish.
So, why is this a non-negotiable step for serious artists? Your final varnish layer is actually designed to be removable. Over many decades, that top layer of varnish will inevitably collect dust and grime, and it might even start to yellow. When that happens, a professional art conservator can safely remove the old, dirty varnish without ever touching your original paint. The isolation coat acts as a permanent shield, standing guard underneath. This single step dramatically increases the lifespan and protective quality of your acrylic paintings.
Choosing a Professional-Grade Varnish
Once you have a proper isolation coat in place, you can move on to professional varnishes. Products like Gamvar or an MSA (Mineral Spirit Acrylic) varnish are fantastic options. They offer much better UV protection and a harder, more durable finish that's perfect for gallery displays or commissioned work. You can find more information about these advanced finishing techniques at CanvasEtc.com.
For anyone serious about the longevity of their art, learning to use an isolation coat is a game-changer. It’s the ultimate insurance policy for your artwork.
This professional method is the best way to ensure your creative legacy is protected for years and years to come. To explore even more ways to safeguard your finished pieces, check out our guide on how to preserve acrylic paintings.
Burning Questions About Sealing Your Artwork
Even when you know the steps, that final coat of varnish can feel a little intimidating. It’s totally normal to have a few last-minute questions before you commit. Let's walk through some of the things that artists ask me all the time about sealing acrylic paint on canvas. Getting these details straight is the key to that perfect, professional finish.
How Long Should I Actually Wait Before Varnishing?
This is, without a doubt, the most important question. The answer comes down to one crucial word: curing. Your painting might feel dry to the touch in just a few hours, but that's a bit deceiving. Underneath the surface, the acrylic paint is still slowly releasing water and solvents as it hardens into a solid film.
If you jump the gun and seal it too early, you're trapping that moisture inside. This can lead to a cloudy, hazy finish down the road, or worse, create a breeding ground for mold.
- For thin, flat layers of paint: Give it a bare minimum of 72 hours.
- For thick, textured work (impasto): You have to be patient. Plan on waiting 1 to 2 weeks, and sometimes even longer in humid climates.
Rushing the curing time is the single biggest mistake I see artists make. Giving your painting that extra time ensures the varnish bonds properly and protects your hard work for decades to come.
Can I Just Use Mod Podge to Seal My Canvas?
I get this one a lot, especially from crafters. While Mod Podge is a fantastic tool for many projects, it’s not the right choice for sealing a fine art painting. At its core, it's a water-based glue, not a true archival varnish.
Over time, a Mod Podge finish can turn yellow, and it often stays slightly tacky, which means it becomes a magnet for dust and pet hair. It also lacks the UV filters that a professional varnish has, leaving your vibrant colors vulnerable to fading. For a piece you care about, stick with a varnish made specifically for acrylics.
Help! My Varnish Has Bubbles and Streaks! What Do I Do?
Don't panic! Seeing little imperfections after all your hard work is frustrating, but it's usually correctable. Bubbles are almost always caused by shaking the varnish bottle before use—a classic mistake. Instead, gently stir it to avoid creating air pockets.
Streaks typically happen when the varnish is applied too thinly or if you go back over an area that has already started to dry.
If the varnish is already dry and you're not happy with it, you can often fix it by applying another very thin, even coat right over the top. This can help level out the finish and hide minor streaks. If you used a removable varnish, a professional conservator can sometimes take off the flawed layer so you can try again.
Ready to turn a cherished photo into your next masterpiece? At Custom Paint By Numbers, we send you everything you need to create a personalized painting, from a high-quality canvas to all the acrylic paints. Explore our custom kits today.


