Want to blend acrylic paint on canvas? The trick is to work fast while the paint is still wet. You can also use a special medium to slow down that drying time, giving you more wiggle room.
The basic idea is simple: lay down two or more colors side-by-side. Then, with a clean, damp brush, you gently work the area where they touch to create a soft, seamless transition. It's all about learning to control your paint's consistency and open time.
The Secret to Smooth Acrylic Blends
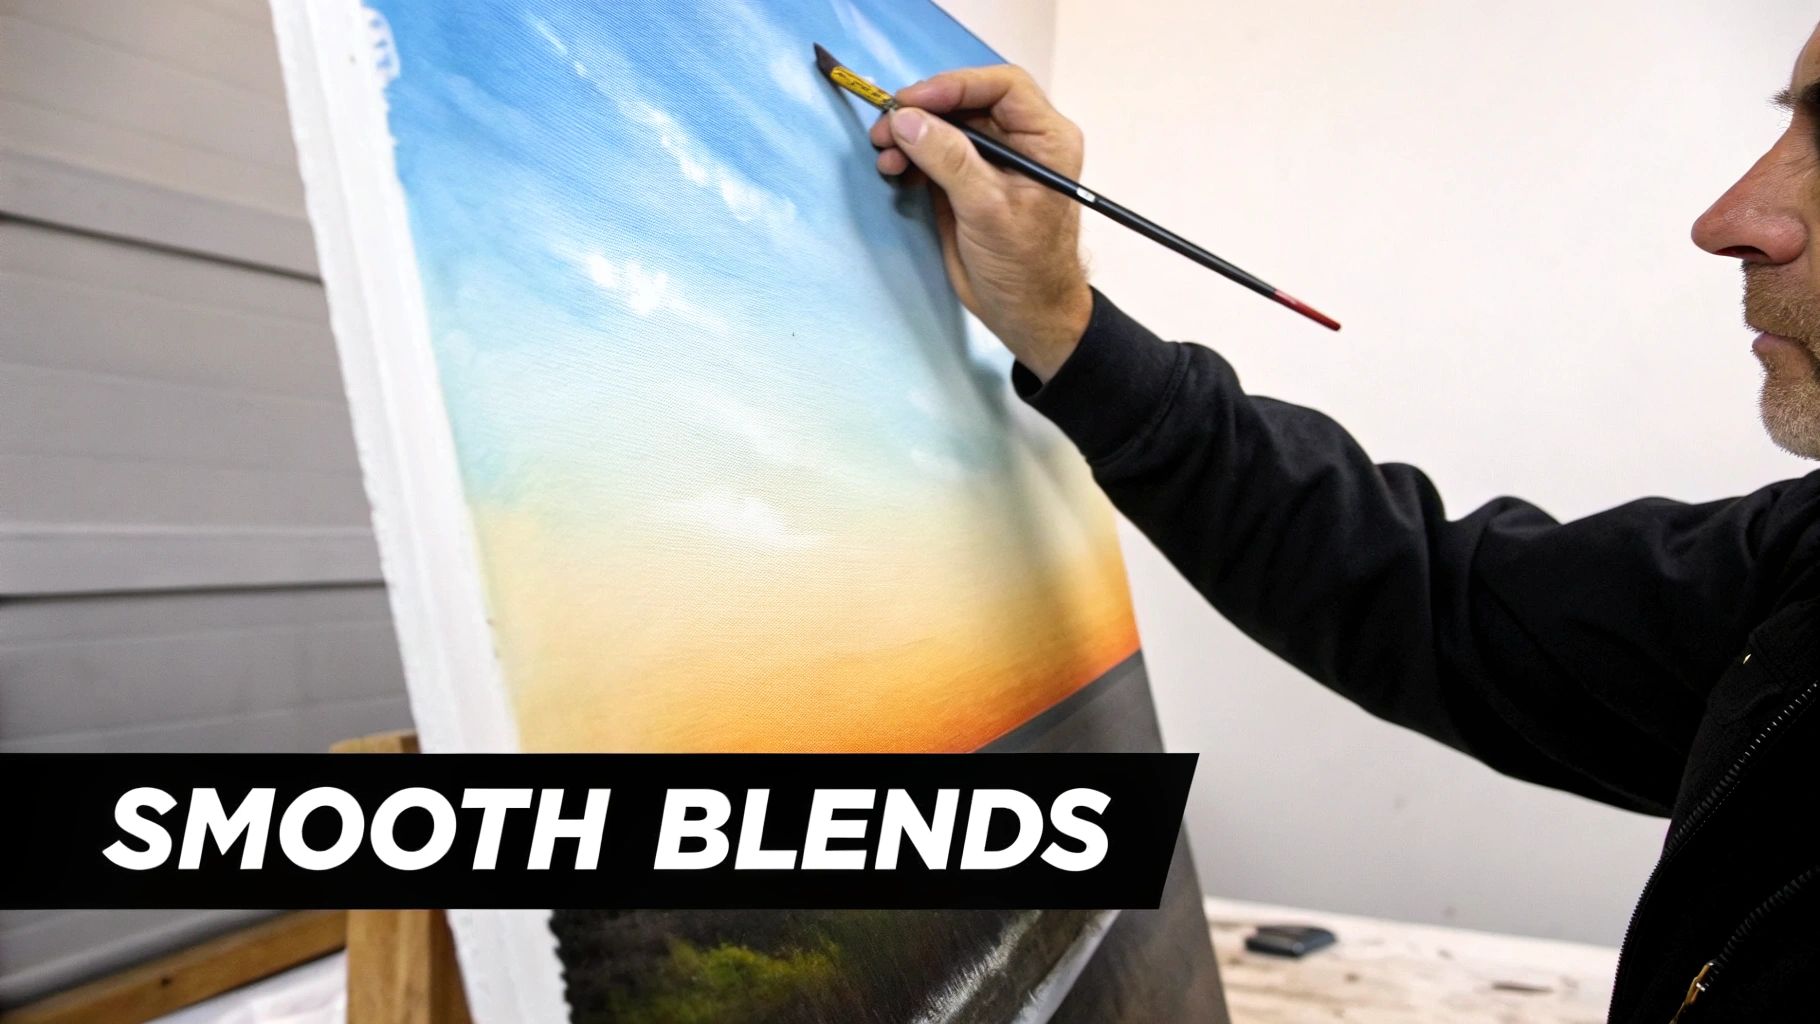
If you've ever felt frustrated by how quickly acrylics dry, you're in good company. That fast-drying nature is the biggest hurdle for any artist trying to get those smooth gradients and soft edges. It often leads to streaks, mud, and a painting that just looks overworked.
Here's the thing: blending acrylics isn't about fighting against the paint. It's about learning to work with it. Once you know how to manage the drying time and use the right techniques, that "problem" becomes one of your greatest creative strengths.
Why Blending Matters
Good blending is what breathes life, realism, and atmosphere into a painting. It’s the magic behind a hazy sunset, the soft turn of a cheek in a portrait, or the subtle shadow that gives an object a real sense of form. Without it, paintings can feel flat, almost cartoon-like, with hard, jarring lines between colors.
This guide is all about getting you past those hard edges. We’ll jump into practical advice that will give you the confidence to create professional-looking blends on any canvas. You’ll learn exactly how to:
- Control the paint's drying time so you have a comfortable window to work in.
- Pick the right technique for the job, whether you're painting a soft sky or a textured rock.
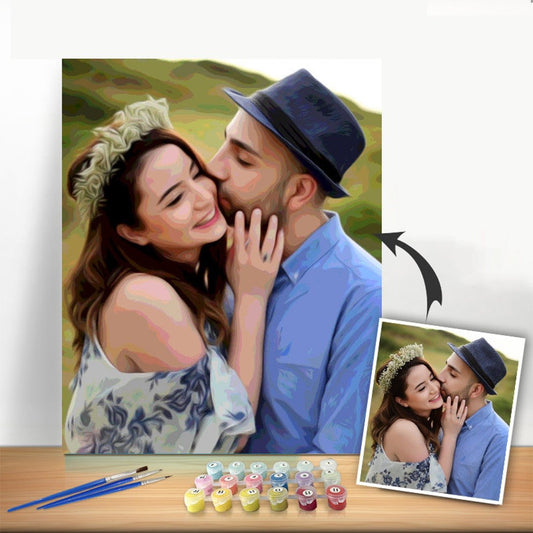
- Apply these skills to any project, from a blank canvas to a Custom Paint By Numbers kit.
By the time you finish this guide, you’ll realize that blending acrylics isn't as tough as you thought. With a few key tricks up your sleeve, you can transform your canvas with polished, beautiful gradients. Forget the myth that only oil painters can achieve these effects—you can do it with the acrylics you have right now.
Gathering Your Essential Blending Tools
Having the right supplies won't magically blend the paint for you, but it sure makes the process a whole lot easier and more fun. Think of it like cooking: a sharp knife doesn't make you a chef, but it's a huge help when you're trying to chop vegetables. Your tools are there to support your technique, not replace it.
The main goal here is to pick supplies that help you deal with acrylic’s biggest challenge—its incredibly fast drying time. Everything from your brushes to your palette can be chosen strategically to buy you a few extra precious moments to work the paint.
Choosing the Right Brushes for Blending
Your brush is your direct link to the canvas, so getting it right is a big deal. For those soft, seamless blends we're all after, you'll want to reach for brushes with soft bristles.
- Soft Synthetic Brushes: Keep an eye out for brushes labeled "taklon" or other soft synthetics. Their fine, flexible bristles are perfect because they lay down paint smoothly without leaving harsh grooves, which makes creating a seamless transition between colors much easier.
- Filbert and Round Brushes: A filbert brush, with its oval shape, is an absolute blending powerhouse. That curved edge naturally helps to soften lines as you work. For smaller, more detailed blending, a soft round brush is another fantastic choice.
The basic brushes in a paint-by-number kit will get you started, but investing in even one or two dedicated soft blending brushes can change everything. You can learn more about how different shapes affect your work in our guide on detailing paint brushes.
Your Palette and Essential Mediums
Beyond brushes, a couple of other items are non-negotiable for getting those pro-level blends. First up is a stay-wet palette. I can't recommend this enough; it's a total game-changer. This special palette uses a sponge and permeable paper to keep your paints moist and workable for hours, sometimes even days.
This is also where acrylic mediums come in to save the day. These are special additives you mix into your paint to change its properties without weakening the color pigment, which is exactly what happens when you use too much water.
Acrylic mediums are the secret weapon for artists who want the smooth, luxurious blends of oil paints without the long drying times and harsh solvents. They give you control and open up new creative possibilities.
To make it easier to choose, here's a quick breakdown of the most common mediums that will help you master blending.
Acrylic Mediums for Better Blending
| Medium Type | Primary Use | Effect on Drying Time | Best For |
|---|---|---|---|
| Glazing Liquid | Thins paint for transparent layers | Slows it down significantly | Creating luminous, subtle color transitions with the wet-on-dry technique. |
| Retarder | Extends the "open" time of paint | Slows it down dramatically | Wet-on-wet blending where you need maximum time to work the colors together. |
| Flow Improver | Reduces paint surface tension | Minimal effect on its own | Helps paint absorb into the canvas for staining effects; not for slowing drying. |
| Gel Medium | Adds body and transparency | Varies (some slow drying) | Building texture while maintaining transparency; good for impasto blending. |
Ultimately, a glazing liquid or a retarder will give you the most bang for your buck when you're focused purely on achieving smooth gradients.
A fascinating poll of 10,000 artists found that 74% use techniques inspired by oil painting to get that professional smoothness, with acrylic glazing liquid being their go-to tool. This one medium can extend your paint's workability by up to 300%, giving you plenty of time to perfect your gradients. Mastering these tools can truly transform your acrylic painting experience from a frantic race against the clock to a controlled, creative flow.
4 Core Blending Techniques Every Acrylic Artist Should Master
Alright, you've got your gear sorted. Now for the really fun part—getting that paint onto the canvas and making it do what you want. There isn't just one way to blend acrylics; there are several, and each gives you a totally different look. Figuring out which technique to pull out of your back pocket is what separates a good painting from a great one.
We’re going to walk through four of the most essential techniques you'll use time and time again. I'll break them down with real-world examples, so you can see exactly how they work in practice. This isn't just about theory; it's about giving you the skills to paint a fiery sunset, a softly focused portrait, or anything in between.
This diagram shows the key tools you'll be working with. Getting these right is the first step to a great blend.
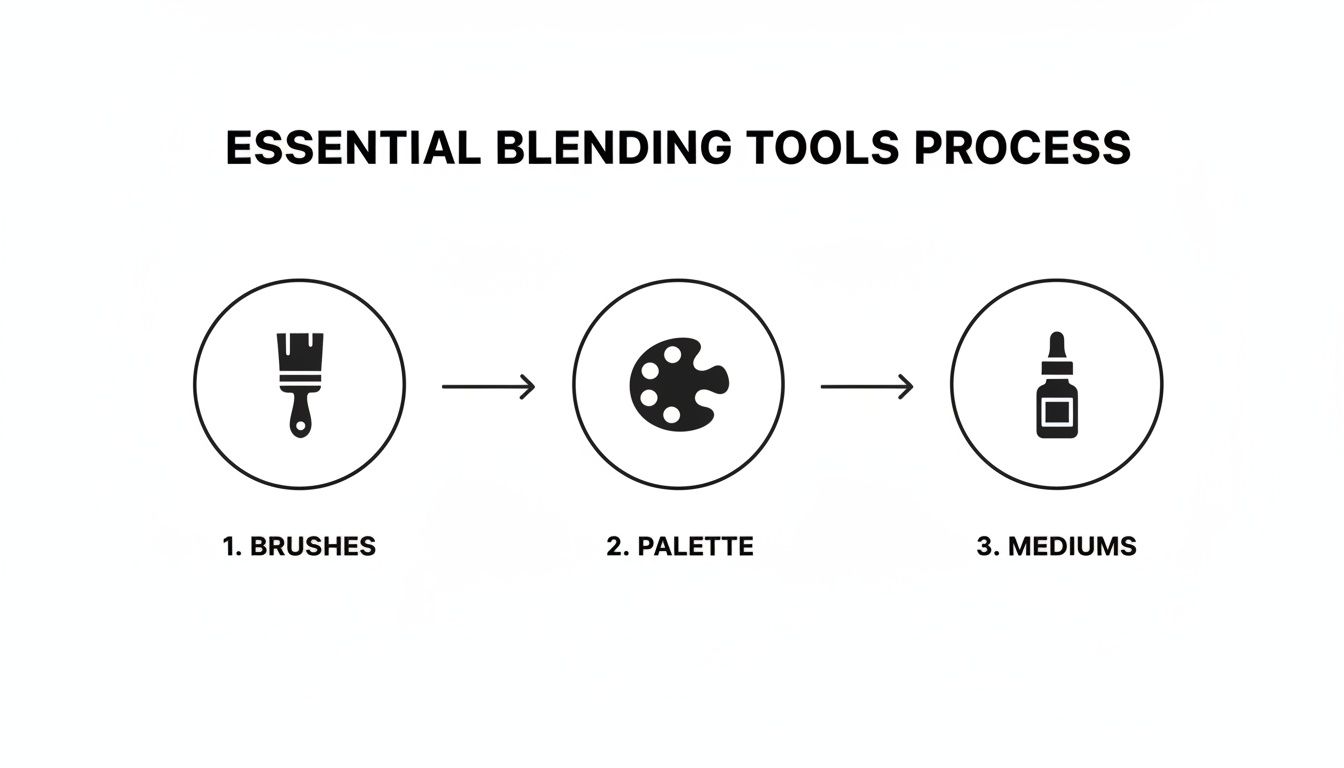
Starting with the right brushes, palette, and mediums sets you up for success before you even lay down the first stroke.
Technique 1: Create Smooth Gradients with Wet-on-Wet Blending
The wet-on-wet technique is the most straightforward and intuitive way to blend. It's exactly what it sounds like: you apply wet paint right next to or on top of another layer of wet paint, then mix them together directly on the canvas.
This is your go-to for creating those seamless, gradual transitions of color.
Let's imagine you're painting a vibrant sunset. You need that perfect, smooth shift from a deep orange at the horizon to a soft yellow higher up in the sky. Here’s how you’d do it:
- First, lay down a solid band of orange paint across your canvas. Don't be shy with the paint.
- While that orange is still completely wet, quickly apply a band of yellow paint right above it. Make sure they’re touching.
- Now, grab a clean, damp brush (a soft filbert works wonders here) and gently work back and forth where the two colors meet. Use light, feathery strokes to pull the yellow down into the orange and the orange up into the yellow until you get that beautiful, smooth gradient.
A quick bit of history: This technique has been around forever, but when Liquitex introduced the first artist acrylics in 1955, painters had to adapt it from their oil painting practice for a much faster-drying medium. Today’s wet-on-wet approach can reduce harsh edges by up to 90% compared to dry brushing, making it a true cornerstone of acrylic work.
Technique 2: Build Luminous Layers with Wet-on-Dry Glazing
Glazing is a more patient and controlled method. It’s all about applying a very thin, transparent layer of paint over an area that's already completely dry. This is how you build up rich, complex colors and create incredibly subtle shifts in tone.
Think of it like layering sheets of colored glass.
Let's say you've painted a green apple and you want to add a soft, rounded shadow to one side. A flat, opaque blob of dark paint would look completely wrong. Instead, you can use glazing.
Mix a tiny amount of dark paint (like burnt umber or even a touch of black) with a glazing medium to make it transparent. Then, gently brush this mixture over the dry green surface of the apple where the shadow should fall. Let it dry completely. You can build up the intensity of the shadow with more layers, letting each one dry in between. The result is a shadow that looks like it truly belongs to the apple.
Technique 3: Add Texture and Atmosphere with Scumbling
Scumbling, often called "dry brushing," is a fantastic technique for adding texture and a sense of atmosphere to your work. It involves using a tiny amount of thick paint on an almost-dry brush, then lightly dragging or scrubbing it over a dry surface.
The paint only catches on the raised texture of the canvas, creating a broken, hazy color effect that’s hard to get any other way.
Think about painting misty clouds in the sky or the weathered texture of old wood. For clouds, you'd dip just the tips of a stiff, dry brush into a bit of white paint, then wipe most of it off on a paper towel. Lightly skim the brush over your dry blue sky, and you’ll get a wispy, translucent effect that looks just like a real cloud.
Struggling to get the right consistency? For a deep dive into getting your paint just right, check out our guide on how to mix acrylic paint colors.
A Few Pro Tips for Flawless Transitions
Once you've got the basic techniques down, a few small habits can take your blending skills from pretty good to downright professional. These are the little workflow adjustments I’ve learned over the years that give you way more control and time to nail those smooth, seamless transitions.
Honestly, one of the best tools you can have on hand is a simple misting bottle. A quick, light spritz of water over your canvas and palette every few minutes works wonders. It stops that annoying "skin" from forming on the paint, keeping your colors workable for much longer.
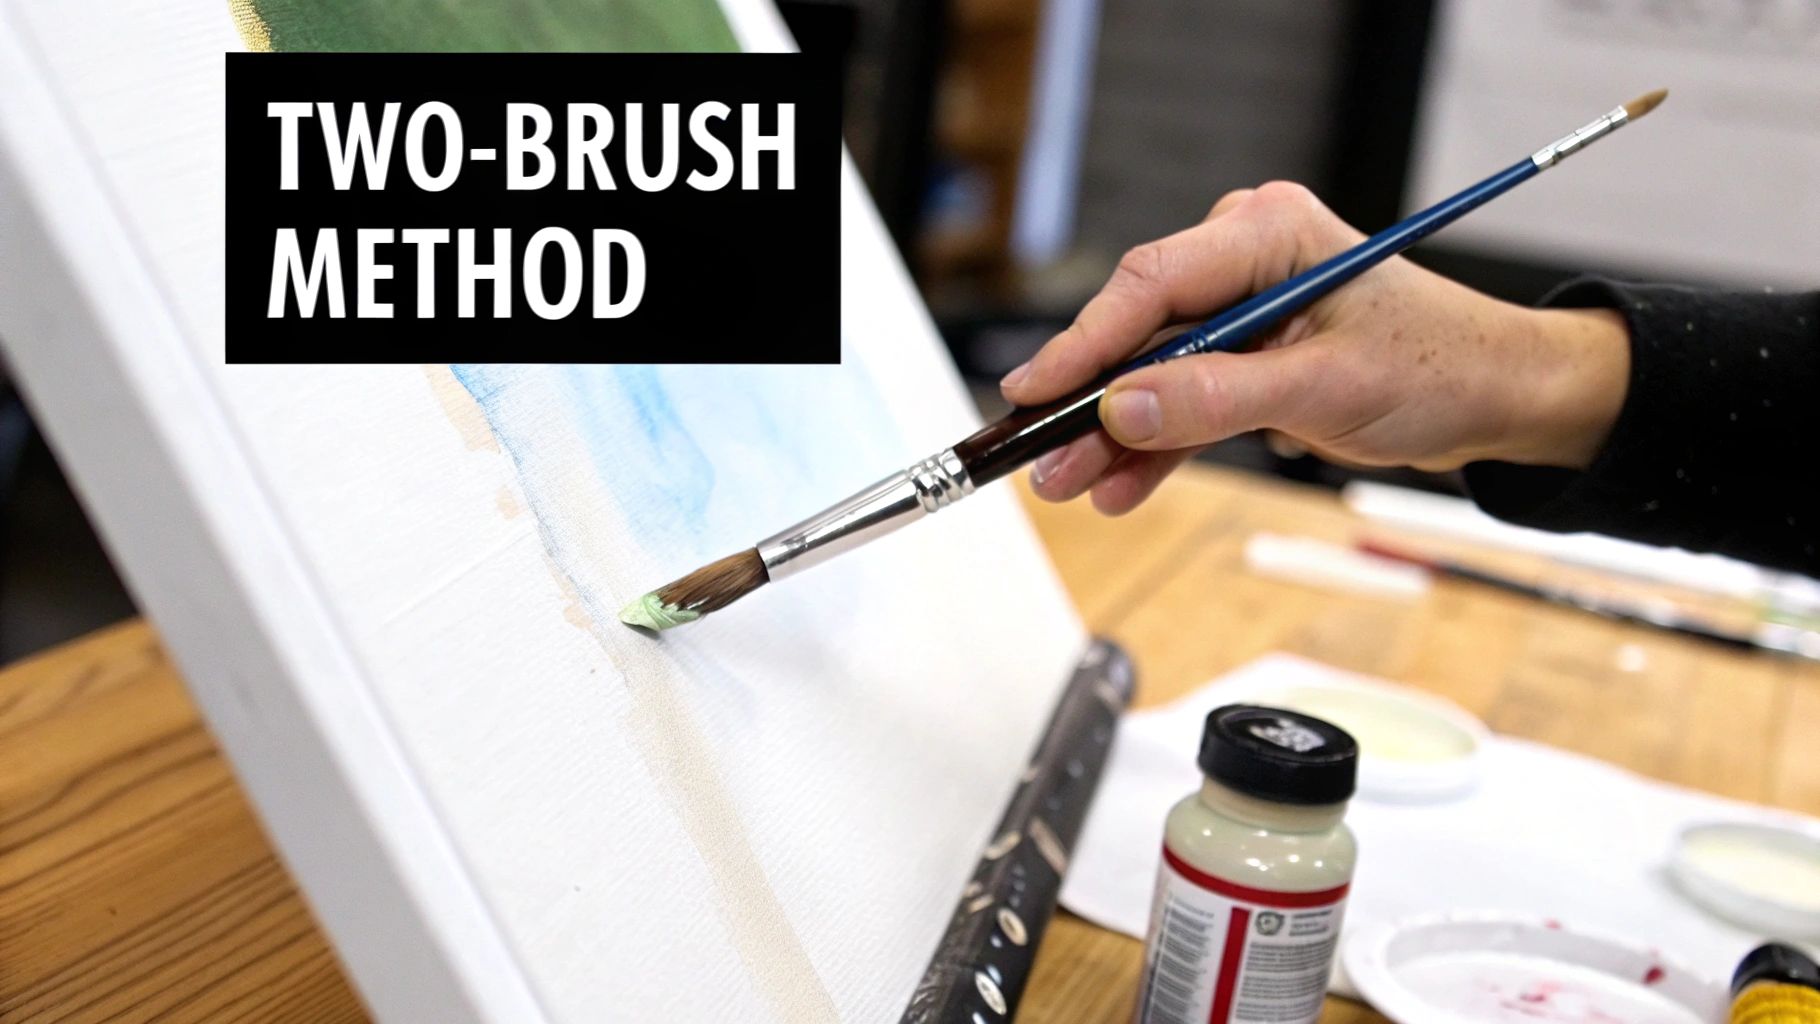
The Two-Brush Method for Cleaner Blends
This is a total game-changer, especially if you struggle with muddy colors. Instead of trying to do everything with one brush, you dedicate one for applying paint and another just for blending. This little separation of duties makes a huge difference in how clean your transitions look.
Here’s the breakdown:
- Brush #1 (The Applicator): This is your workhorse. Use it to lay down the initial blocks of color on the canvas.
- Brush #2 (The Blender): This is your specialist. Keep a separate, clean, and slightly damp brush on hand. It never touches the paint blobs on your palette; its only job is to soften the edges where your colors meet on the canvas.
Once your colors are down, you’ll take your damp blending brush and gently work back and forth over the seam. Since it isn't loaded with paint, it won’t add new color or create harsh streaks. All it does is soften and fuse the two colors together.
My Advice: Your blending brush needs to be damp, not soaking wet. Too much water will just thin the paint into a watery mess and can even lift it right off the canvas. I always keep a paper towel nearby to blot the brush before I start blending.
Mix a "Bridge" Color First
Here's another trick: do some of the heavy lifting on your palette before you even start painting. By pre-mixing a color that sits halfway between your two main colors, you create a natural "bridge" that makes the final blend on the canvas much easier.
Let's say you're blending a dark blue into a light blue. On your palette, mix a medium blue. Then, on the canvas, lay down your dark and light blues and pop a little strip of that medium blue right in between them. This gives the blend a head start, making it faster and far more convincing.
This principle of keeping colors clean is a big reason why many artists use multiple brushes. The popular "dry wash" technique you see in tutorials is built on this. In fact, many YouTube blending tutorials have millions of views because simple tricks like using 3-5 dry brushes to feather out strokes can eliminate 95% of harsh lines for a beginner. You can see this in action in Greg Lowman's fantastic blending acrylics tutorial on YouTube.
Common Blending Mistakes and How to Fix Them
Every artist runs into moments where the paint just refuses to cooperate. It happens to professionals and beginners alike. When you're first learning how to blend acrylics on canvas, these little struggles can feel like huge roadblocks. But they aren't—they're just part of the process.
The trick is learning to spot the common pitfalls before they happen. Even better, knowing how to fix them gives you the confidence to paint freely, because you'll realize that almost any "mistake" is completely reversible.
Why Do My Colors Look Muddy?
This is easily the biggest frustration I hear from new painters: muddy colors. It happens when you overwork the paint on the canvas, blending and blending until your beautiful, distinct colors collapse into a dull, brownish mess. It’s an easy trap to fall into when you're aiming for that perfectly smooth gradient.
You’ll find this happens most often with complementary colors—those opposite each other on the color wheel, like red and green. When they mix too much, they neutralize each other and create mud. The secret is to blend with a light, confident touch and, most importantly, know when to walk away.
The Fix: The second you see mud forming, stop. Don't add more paint, don't keep scrubbing. Just let it dry completely. Go grab a coffee. Once it's totally dry, you can paint right over it with fresh, opaque layers of your original colors. Problem solved.
The best advice I ever got was to treat blending like a quick chat, not a long argument. Get in, soften the edge, and get out. Overthinking and over-blending are the fastest ways to kill your colors' vibrancy.
How Do I Get Rid of Unwanted Brushstrokes?
Nothing ruins the illusion of a soft, seamless blend faster than a bunch of streaky brushstrokes. This problem almost always comes down to two culprits: your brush is too stiff, or your paint is too thick and already starting to dry.
A coarse, bristly brush will literally carve little grooves into the paint. At the same time, thick, sticky paint won't level out properly. Both issues stop the colors from melting together, leaving you with a textured, unfinished look.
The Fix: First, swap out your brush. Grab a soft-bristled synthetic one, like a taklon filbert—it's designed for smooth application. Next, check your paint's consistency. You're aiming for something like melted ice cream. If it feels more like toothpaste, mix in a little glazing medium or even a few drops of water to help it flow better. This allows the paint to settle into a smooth, even film.
What Can I Do About These Hard Edges?
You're blending away, but a stubborn hard line between two colors just won't disappear. This is the tell-tale sign that your paint is drying too quickly. By the time you start working the two colors together, the edge of the first one has already started to form a skin, making a soft transition impossible.
This is the central challenge of working with acrylics, but it's also one of the easiest to manage once you know how.
The Fix: The solution is to work faster and in smaller sections. Instead of trying to paint an entire sky and then blend it, work in a smaller, more manageable patch. Get that blended, then move to the next section and blend it into the still-wet edge of the last one.
A retarder or glazing medium is also your best friend here. Adding a bit to your paint extends its "open time," giving you those crucial extra minutes you need to create a truly seamless blend.
Got Questions About Blending? We've Got Answers
Even with the best instructions, you're going to have questions when you start blending acrylics. It happens to everyone! I’ve pulled together some of the most common things beginners ask, so you can get clear answers and feel more confident before you even dip your brush.
Think of this as a little cheat sheet to get you past those last few sticking points.
Can I Blend the Paints from My Kit?
You absolutely can. The acrylics that come in your paint-by-number kit will work just fine for blending. The biggest challenge you'll face is the same one all acrylic painters deal with: they dry fast.
My advice is to work in small, manageable areas. Instead of trying to blend an entire sky at once, just focus on the line where two colors meet. A quick spritz of water from a spray bottle can also be a lifesaver, giving you a few extra seconds to soften that edge between numbered sections.
How Do I Stop My Colors from Looking Muddy?
Ah, the dreaded muddy colors. This is probably the most common frustration I hear about, and it usually boils down to two things: you're either overworking the paint or you're mixing too many colors on the canvas—especially complementary colors like red and green.
The trick is to use a light hand. Blend just enough to blur the edge, and as soon as it looks smooth, stop. Seriously, step away from the canvas! And always, always use a clean brush when you bring a new color into the mix.
Quick Fix: If a spot does go muddy, don't sweat it. Just let the area dry completely. Once it's dry, you can paint right over it with a fresh, clean layer of your original colors. It's one of the best things about acrylics—mistakes are rarely permanent.
What Is the Easiest Beginner Blending Technique?
If you're just starting, I always recommend the wet-on-wet technique. It’s the most straightforward way to get a feel for how the paint moves, and the results are instant and really satisfying.
Just lay down two blocks of wet color right next to each other. Then, with a clean, slightly damp brush, gently pull the colors back and forth where they meet. That simple motion is all it takes to create a nice, soft gradient. It's a fantastic skill to build on.
How Much Water Should I Use for Blending?
Water is your friend, but you have to use it wisely. A good rule of thumb is to never add more than 30% water to your paint. If you add too much, you risk breaking down the acrylic binder—the "glue" that holds the pigment together. This can leave you with a chalky finish or paint that flakes right off the canvas when it dries.
For much better results, grab an acrylic medium like a Glazing Liquid or Retarder. They’re made specifically to extend the paint's working time without weakening it.
And once your masterpiece is finished and cured, don’t forget to protect it! Learning how to properly seal acrylic paint on canvas with a good varnish will keep it looking vibrant for years.