To master the art of blending paint, you first need to assemble the right toolkit.
Gathering Your Essential Blending Toolkit
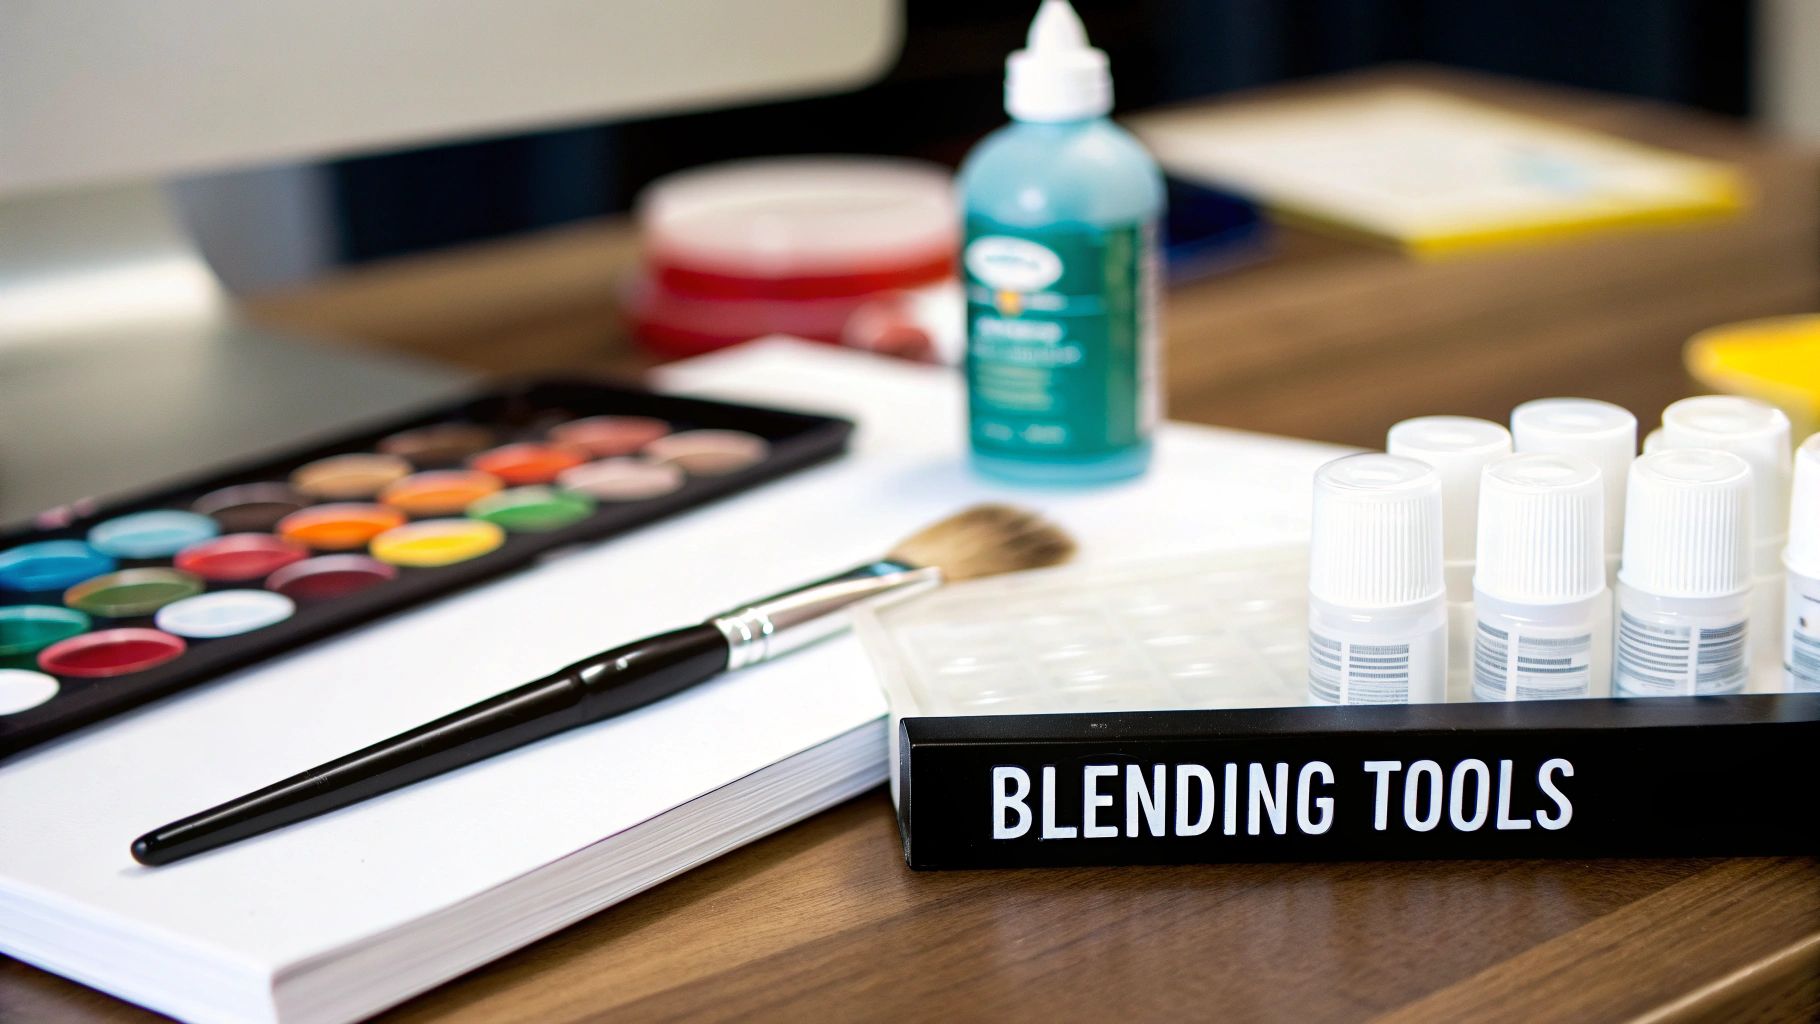
Before your brush ever touches the canvas, having the right supplies ready to go makes all the difference. Honestly, knowing how to blend paint is less about some hidden secret and more about just being prepared. When everything you need is within arm's reach, you can get lost in the creative flow instead of fighting with your materials.
The cornerstone of your toolkit is, of course, the paint itself. While oil paints are famous for their long drying time (which is fantastic for blending), acrylics are the beginner's best friend. They’re water-based, dry quickly, and are so much easier to clean up. This guide focuses on acrylics, but you can absolutely adapt these principles to other paints.
Your Core Blending Supplies
Let's talk brushes. You really don't need a huge collection to start—just a few key shapes that do different blending jobs well. The goal is to find brushes that help you create those smooth, seamless transitions you're aiming for.
- Soft Filbert Brush: This is my go-to. Its curved edge is perfect for creating soft, natural gradients without leaving harsh lines. Think skies, gentle shadows, or rounded surfaces.
- Flat Brush: A good flat brush is a workhorse for feathering edges and blending larger areas. That straight edge gives you great control for pulling one color cleanly into another.
- Round Brush: While you might think of it for detail work, a small, soft round brush is surprisingly great for blending in tight corners and other tricky little spots.
Beyond the brushes, certain additives called "mediums" can completely change your blending game. These are what you mix into your paint to alter its consistency and drying time without watering down the color.
Blending is a time-honored artistic skill. Historically, the Renaissance masters perfected it with oil glazes. In fact, analysis shows that 65% of their works have endured over 500 years partly due to these stable, layered blending methods.
The Unsung Heroes of Blending
Two mediums are particularly valuable for anyone learning how to blend acrylics. A retarder is a liquid you mix into your paint to slow down that notoriously fast drying time. This gives you a much longer window to work the colors together, making it a must-have for techniques like wet-on-wet blending.
A glazing medium does something different—it increases the paint's transparency. This allows you to build up thin, luminous layers of color, which creates incredible depth. It's a pro-level technique that's actually very easy to learn.
Finally, think about your palette. A simple ceramic plate works in a pinch, but a stay-wet palette is a true game-changer for acrylic painters. It uses a damp sponge and special paper to keep your paints workable for hours, if not days. No more wasted paint or frantic mixing!
To help you get started, here's a quick rundown of the essentials.
Your Essential Blending Supplies at a Glance
This table breaks down the must-have tools and why they're so important for achieving smooth blends.
| Tool | Primary Use in Blending | Pro Tip |
|---|---|---|
| Acrylic Paints | The color medium. Fast-drying nature requires specific techniques. | Start with student-grade paints. They're affordable and perfect for practice. |
| Soft Brushes | Applying and physically mixing colors on the canvas. | Synthetic bristles work great with acrylics and are easier to clean than natural hair. |
| Retarder Medium | Slows down the drying time of acrylics, giving you more time to work. | Add just a few drops at a time! A little goes a very long way. |
| Glazing Medium | Increases paint transparency for building thin, layered blends. | Mix it with your color on the palette before applying it to the canvas. |
| Stay-Wet Palette | Keeps paints moist and workable for extended periods. | You can make a DIY version with a lidded container, a sponge, and parchment paper. |
With these key items in hand, you'll be well-equipped to tackle any blending challenge that comes your way.
For a complete checklist of what you might need to get your studio set up, take a look at our guide on essential beginner acrylic painting supplies.
Mastering the Wet-on-Wet Blending Technique
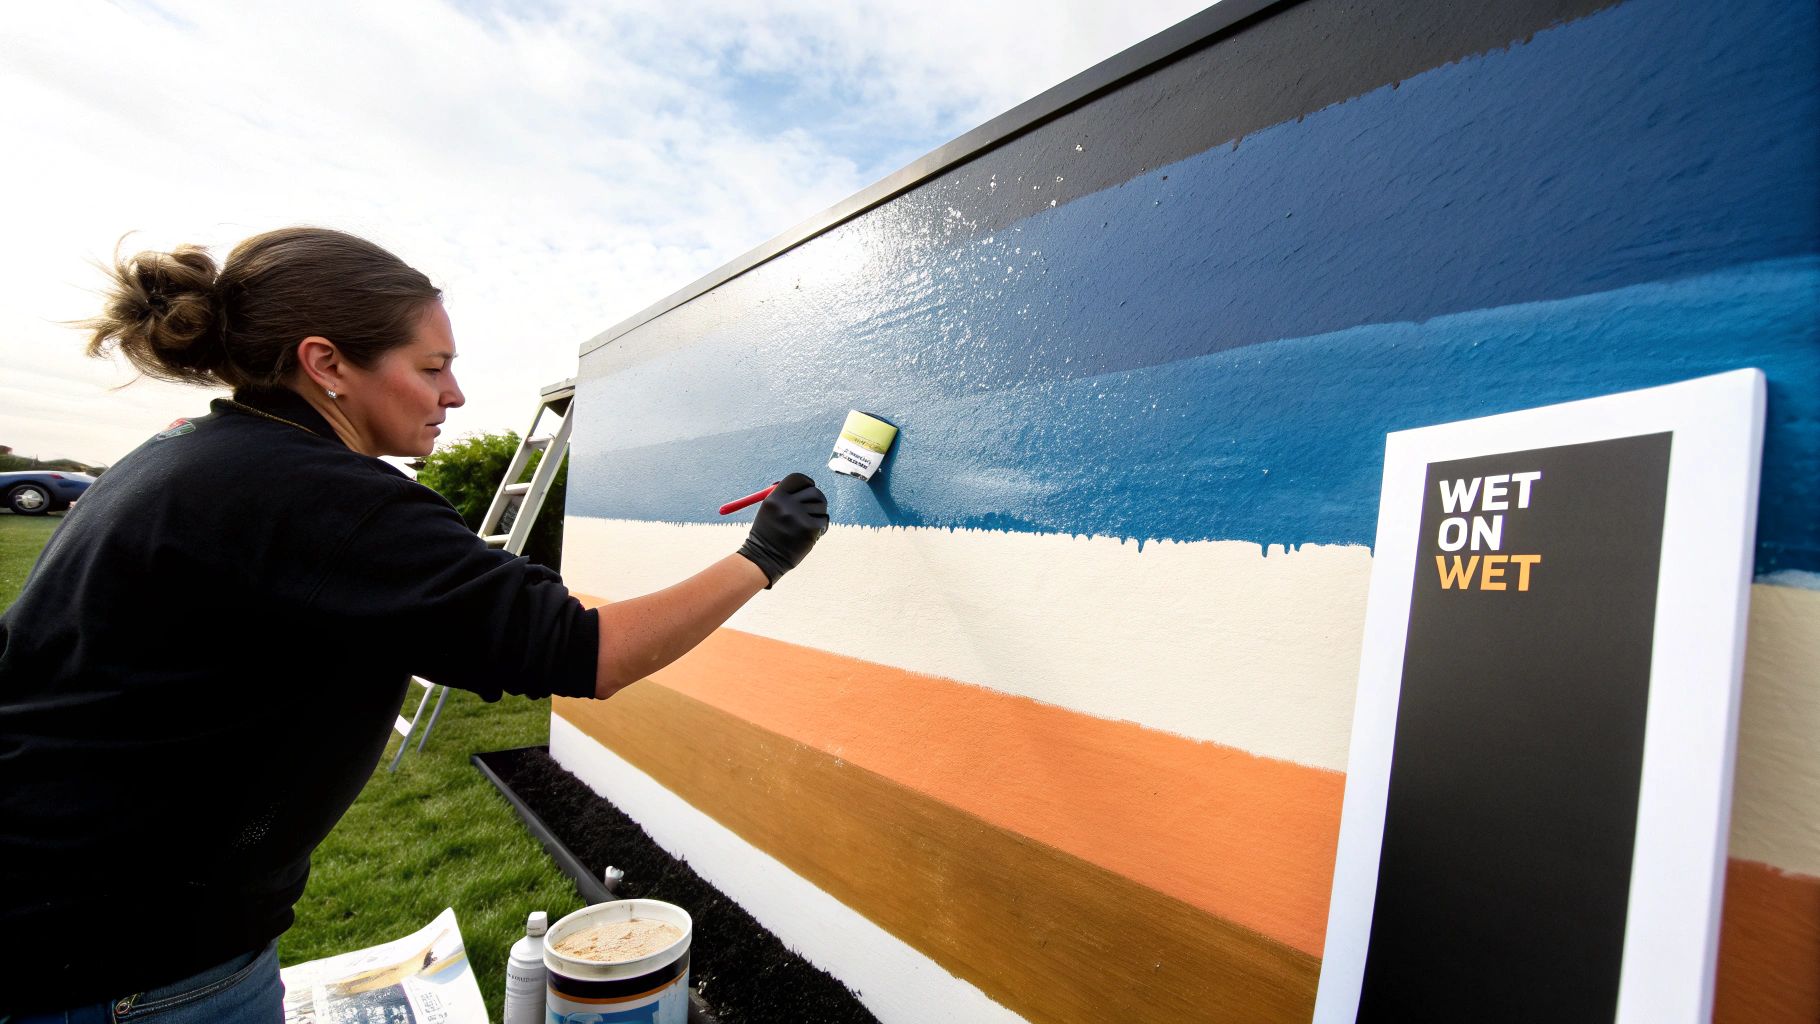
If you've ever admired a painting with a soft, misty landscape or a beautifully graded sunset sky, you've likely seen the wet-on-wet technique in action. It's a cornerstone of blending for a reason—it creates some of the most natural, seamless transitions possible. The concept is straightforward: you lay down two or more wet colors right next to each other on the canvas and then gently coax them together where they meet.
The real trick, especially with acrylics, is beating the clock. Acrylics dry fast. A little prep work here makes all the difference. I always give my canvas a light misting of water before I begin. That bit of surface dampness buys you precious extra minutes to work the paint before it starts to set up.
The Blending Motion in Action
Let's imagine you're painting a simple sunset. You have a band of deep blue at the top and a strip of vibrant orange just below it. Now, grab a clean, slightly damp brush. A soft filbert is my go-to for this.
Start right at the line where the blue and orange touch. With a very light touch, gently sweep your brush back and forth along that seam. You're trying to pull a whisper of blue down into the orange and, in the other direction, a little orange up into the blue. The key is to be gentle; if you press too hard, you'll just end up scraping paint away.
The point of wet-on-wet blending isn't to create a whole new, single color on the canvas. It's about creating a soft, gradual fade where one color melts into the next.
This technique is a game-changer, largely thanks to modern paint chemistry. What used to take oil painters weeks can now be done in a single session. Acrylics set in just 10-30 minutes, which is a massive 95% time-saver compared to old-school oils. This speed is a direct result of their 20th-century development, growing from a lab creation into a global art supply market now worth over $2.5 billion. You can dive deeper into the history and evolution of acrylic paint on youtalent.com.
Tips for Clean Wet-on-Wet Blends
To keep your colors from turning into a muddy mess, keeping your blending brush clean is non-negotiable. After just a few passes, get in the habit of wiping the excess paint off on a paper towel. This simple step prevents you from dragging too much of one color into the other, keeping your transition bright and clean.
Here are a few more tips from my studio:
- Work in Sections: Don't try to blend a huge area all at once. Break your canvas down into smaller, more manageable zones. This ensures your paint is always wet where you're working.
- Use a Retarder: A drop of acrylic retarder medium mixed into your paints on the palette is like a magic potion. It slows down the drying time significantly, giving you more freedom to play.
- Keep Your Brush Damp: A dry brush is your enemy here—it will drag and lift the paint right off the canvas. Keep your blending brush slightly damp (but not dripping!) for the smoothest results.
If you're working with a paint-by-number kit, this technique is absolutely perfect for softening those hard lines between color sections. It can elevate your finished piece from looking segmented to looking like a truly fluid painting. You can find more specific advice on how to blend acrylic paint on canvas in our detailed guide.
Ready to move beyond basic blending? Once you've got the hang of wet-on-wet, you can start playing with techniques that bring incredible depth and texture to your work. Two of my favorites for this are glazing and scumbling.
These are a bit more advanced. Instead of just merging wet edges, you’re layering colors to build up some really complex and professional-looking effects. They can seriously transform a flat painting.
Creating Depth with Glazing
Think of glazing like layering colored glass over your canvas. You're applying a super thin, transparent layer of paint over a surface that's already bone dry. It’s the perfect way to subtly shift a color or deepen a shadow without muddying up the details you already painted underneath.
This isn't a new trick, by the way. Artists have been obsessed with blending and layering for centuries to get that pop of realism. The idea goes all the way back to Ancient Greece in the 5th century BCE. But it was the masters like Jan van Eyck in the 15th century who really perfected layering with slow-drying oils, which is the direct ancestor of the glazing we do today. This rich history is what led to the amazing creative projects we get to tackle, from our own canvases to those fun custom paint-by-number kits. You can actually read a lot more about the long history of paint mixing on Wikipedia if you want to geek out on it.
To make a glaze, you'll need to mix a tiny bit of your acrylic color with a whole lot of glazing medium. You're aiming for a watery, see-through consistency. I usually start with a ratio of about one part paint to four parts medium, but you'll have to play with it to get it just right.
Let's say you've painted a bright yellow lemon, but it looks a little flat. To give it that warm, sun-kissed glow, you could mix a pinprick of red or orange paint into your glazing medium. Then, just brush that transparent layer over one side of the lemon. The yellow underneath will still shine through, but it will mix with the red glaze to create this luminous, rich orange that looks so much more natural than if you'd just mixed an orange on your palette.
Key Takeaway: Glazing is all about transparency. It’s how you build up color in subtle layers to create a depth you just can't get with a single, flat coat of paint.
Adding Texture with Scumbling
If glazing is the smooth, subtle technique, scumbling is its wonderfully textured cousin. For this, you use a stiff, dry brush with just a whisper of opaque paint on it. The idea is to lightly drag or scrub the brush over a dry surface so the color underneath peeks through the broken, scratchy brushstrokes.
It’s basically the anti-blend. Scumbling is fantastic for creating textures that feel real. I use it all the time for things like:
- Wispy, see-through clouds against a solid blue sky
- The rough, uneven surface of a stone wall
- Sunlight dappling through tree leaves
- A light mist rising off a field in the morning
To do it right, grab a stiff-bristled brush—honestly, an old, worn-out one is often your best friend here. Load a little paint on it, then wipe almost all of it off on a paper towel until the brush is nearly dry. Then, using a light, scrubbing motion, just graze the surface of your canvas. The raised weave of the canvas will catch the tiny bits of pigment, creating a delicate, textured effect that instantly adds character and life.
Perfecting Your Palette and Color Transitions
Some of the most beautiful blending happens before your brush ever touches the canvas—it starts right on your palette. While mixing colors directly on the canvas has a certain spontaneous charm, pre-mixing a series of transitional shades gives you an incredible amount of control. Honestly, it’s the secret to getting a cleaner, more professional result.
This approach helps you avoid that overworked, muddy look that can happen when you're frantically trying to blend on the canvas. Instead of just smooshing two colors together and hoping for the best, you’re creating a "color bridge" with several in-between shades. This planned approach is a game-changer for smooth gradients and keeping your colors vibrant.
Building a Color Bridge on Your Palette
Let's say you want to blend a fiery red into a bright yellow. Here's how you'd set yourself up for success on the palette.
First, squeeze out a dollop of your red and your yellow, leaving some space between them. These are your anchors. Next, pull a little bit of each color to the side and mix them together. This gets you a true orange—the perfect halfway point between your two starting colors.
Now for the magic. Mix a little of that new orange back into your original red to create a reddish-orange. Then, do the same with the orange and the original yellow to get a yellowish-orange.
Just like that, you have a beautiful five-step gradient ready to go: Red → Red-Orange → Orange → Yellow-Orange → Yellow. This systematic process is a foundational skill that pays off big time. Having a solid grasp of color theory really helps here; you can even see how principles from mastering home design color can inform your artistic choices.
This diagram shows how artists build depth using different techniques, like the thin layers in glazing or the textured application of scumbling.
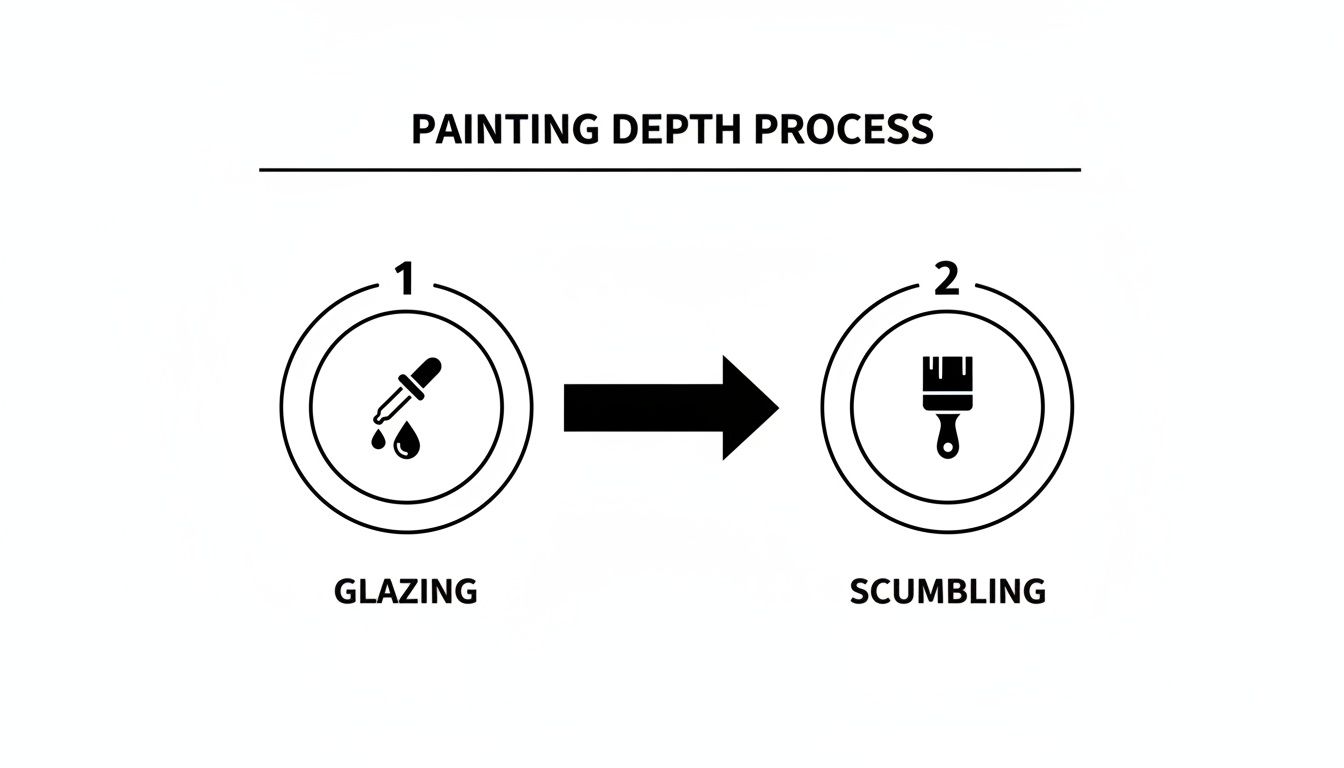
While the methods are different, they both rely on a controlled application of paint—much like how palette mixing gives you total control over your color transitions.
Applying Your Pre-Mixed Gradient
With your transitional colors all mixed and waiting, applying them is a much calmer and more deliberate process. Lay down each color on the canvas in neat bands, right next to each other, following the sequence you created.
Once they're all down, grab a clean, slightly damp brush. Gently soften the seams where each color strip meets the next. You don't need a heavy hand here—just use light, feathery strokes to blur the lines. Because the shades are already so close in value, it takes very little work to create an exceptionally smooth blend.
By doing the hard work on the palette, you give yourself the freedom to focus on the physical act of blending on the canvas. It turns a race against drying time into a calm, controlled process.
This method will give you pristine results almost every time. For even more detailed guidance on getting your colors just right before you start, check out our comprehensive guide here: https://paint-by-number.com/blogs/learn-about-paint-by-numbers/acrylic-paint-mixing-guide.
How to Fix Common Paint Blending Problems
Even the most experienced artists hit a snag now and then, so don't get frustrated if your blends aren't perfect right out of the gate. Honestly, learning how to blend is really just learning how to fix the little things that go wrong along the way. The good news? Most of these common headaches have surprisingly simple solutions.
The Problem of "Muddy" Colors
One of the first frustrations for almost every painter is creating what we call "mud." This is what happens when you get a little too enthusiastic with your mixing right on the canvas. It's especially common when you’re working with complementary colors—think red and green, or blue and orange. When they get overworked, they cancel each other out and create a dull, brownish, lifeless gray.
To sidestep this, the single best habit you can build is to keep your brushes clean. It sounds almost too simple, but it's a game-changer. After just a few passes between two colors, give your brush a quick wipe on a paper towel before dipping it back into a pure color. This tiny step prevents you from dragging one color into the other and contaminating your beautiful, clean paint.
Getting Rid of Harsh Lines and "Tide Marks"
Ever step back from your painting only to see a hard, ugly line where two colors were supposed to meet seamlessly? We call those "tide marks" or hard edges, and they're a classic sign that your paint dried faster than you could blend it. Acrylics are famous for this, but it's a completely fixable issue.
Your main goal is to give yourself more "open time" before the paint starts to set. Here are a few ways I like to do that:
- Add a Retarder: Mix a little bit of acrylic retarder medium into your paints on the palette. This stuff is designed to slow down the drying process, buying you precious extra minutes to work the blend.
- Mist Your Canvas: Keep a small spray bottle filled with clean water on your table. A quick, light spritz over your blending area will keep the paint surface damp and workable for much longer.
- Work in Smaller Patches: Don't try to blend a massive sky or a huge background all at once. Break it down into smaller, more manageable sections. This lets you perfect one transition before the paint in the next section even has a chance to start drying.
By keeping the paint wet just a little longer, you create the perfect window to feather out those edges into a smooth, buttery gradient.
Dealing with Unwanted Brushstrokes
Another classic problem is leaving behind streaky brushstrokes when you were aiming for a perfectly smooth surface. Sometimes that texture is exactly what you want, but when you’re going for a flawless gradient, it can be maddening. This usually boils down to two things: the tools you're using and your technique.
First, take a look at your brush. A stiff, wiry bristle is going to dig grooves into your paint. For silky-smooth blending, you really want a soft-bristled brush, like a sable or a soft synthetic filbert. It makes a world of difference.
Pro Tip: The pressure you use is everything. You need an incredibly light, feather-like touch to blend effectively. If you press down hard, you’re just scraping paint off the canvas and creating streaks instead of smoothing them out.
Think of it as gently coaxing the colors to mingle, not forcing them together. With the right brush and a light touch, you'll see a massive improvement in your transitions.
Even with the best techniques, things can still go sideways. Here’s a quick-glance table to help you diagnose and solve the most common blending hiccups you'll encounter.
Common Blending Issues and Their Solutions
| Problem | Likely Cause | Quick Fix |
|---|---|---|
| Muddy Colors | Over-mixing complementary colors directly on the canvas. | Clean your brush frequently between colors and avoid excessive back-and-forth strokes. |
| Harsh Lines | The paint is drying too quickly, creating a hard, defined edge. | Use a retarder medium or lightly mist the canvas with water to keep the paint workable. |
| Visible Brushstrokes | Using a stiff-bristled brush or applying too much pressure while blending. | Switch to a soft-bristled brush and use a very light, feather-like touch. |
Remember, every "mistake" is just an opportunity to learn what your paints and brushes want to do. Keep this guide handy, and you'll be troubleshooting like a pro in no time.
Got Questions About Blending? Let's Get Them Answered
Even with a roadmap, you're bound to hit a few bumps or have questions pop up while you're in the middle of a painting. That's just part of the process! Learning to blend paint is all about experimenting and figuring out what works for you. Here are some quick answers to the questions I hear most often from artists just starting to explore smooth transitions.
What’s the Absolute Easiest Blending Technique to Start With?
If you're just dipping your toes in, I always recommend starting with palette mixing. It's by far the most straightforward and forgiving method. You do all the color-mixing work on your palette before a single drop of paint hits the canvas, which takes a ton of pressure off.
Think of it this way: you create your "in-between" colors ahead of time. So, if you have a dark blue and a light blue, you'll mix a medium blue right on the palette. Then, you just lay them down on the canvas side-by-side and use a clean, damp brush to gently blur the lines. It’s a fantastic way to build your confidence and get a feel for how colors work together without battling the clock.
How Do I Keep My Acrylics From Drying So Fast?
Ah, the age-old struggle with acrylics. Their biggest pro is also their biggest con: they dry in the blink of an eye. But don't worry, there are some great tricks to buy yourself more time.
- Acrylic Retarder: This is a lifesaver. Just a tiny amount mixed into your paint slows the whole drying process way down, giving you plenty of time to blend.
- The Trusty Spray Bottle: Get a small bottle that produces a fine mist. A quick, light spritz over your canvas (and your palette) every few minutes keeps the paint workable.
- A Stay-Wet Palette: This is a game-changer. It's a special tray with a damp sponge and a unique paper on top that keeps your paints wet for hours, sometimes even days. No more wasted paint!
I also suggest working in smaller, bite-sized sections. Focus on blending one area completely before moving on. This way, you won't find yourself trying to blend paint that's already turned to plastic.
Your main goal is to extend the "open time" of your paint. I find that a little retarder mixed in, combined with a light misting now and then, gives you the ultimate control. It makes achieving those buttery smooth blends so much less stressful.
Can I Use These Blending Tricks on My Paint-by-Number Kit?
Yes, you absolutely should! This is my favorite tip for taking a paint-by-number from looking like a coloring book to a genuinely beautiful piece of art. Blending is the secret to making it look less "by-the-numbers" and more like a fluid painting.
For example, when you're painting a big open area like a sky or a lake, try the wet-on-wet technique. Lay down the two different colors in their numbered spots, then take a clean, damp brush and just gently scrub back and forth where they meet. It will soften those hard edges and make the whole thing look more natural and professional. It’s a small step that makes a huge difference.
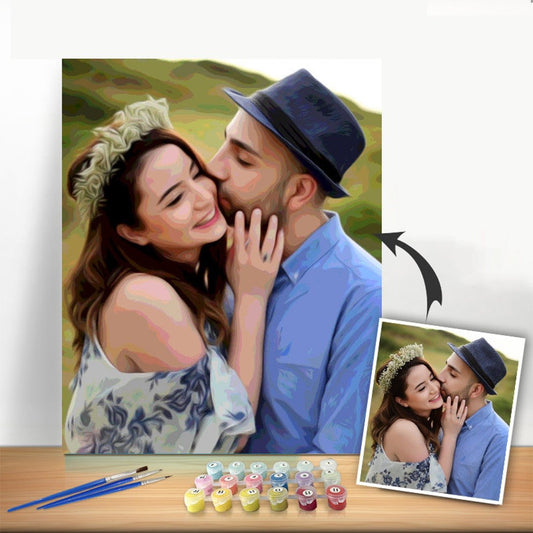
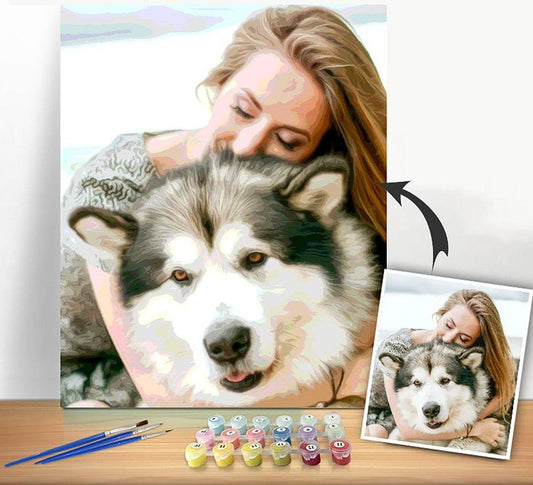
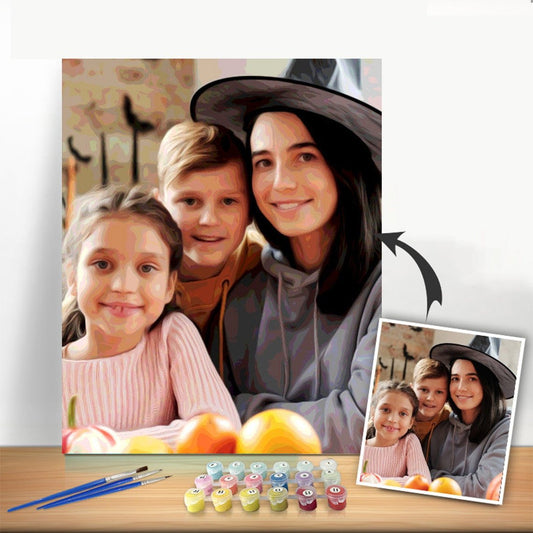
Ready to turn your favorite photos into a masterpiece? With Custom Paint By Numbers, you can create a personalized art project that’s perfect for relaxing or gifting. Transform your memories into art today!