

When you first crack open a new paint-by-number kit, you'll find a fresh canvas, a set of little paint pots, and usually a small handful of paint-by-number brushes. This little trio of tools is all you need to bring your numbered design to life. They've been picked out to handle everything from big, sweeping background colors to the tiniest, most precise details.
Your First Set of Paint By Number Brushes
Opening that kit for the first time is always exciting. Inside, you'll find the brushes designed to get you started right away. They might look simple, but these included brushes are surprisingly capable and work perfectly with the acrylic paints in your set. The first step to getting a clean, professional-looking result is just figuring out what each brush is for.
Each brush has a job to do. That tiny, pointy one? It’s for all those impossibly small areas that require a steady hand. The medium one is your workhorse—it'll handle the bulk of the painting. The wider, flatter brush is perfect for knocking out those large blocks of color quickly.
Using the right tool for the right section isn't just about following the rules; it's about making the whole process easier and way more fun.
What’s Typically Included in Your Kit
Most paint-by-number kits will give you a standard set of synthetic brushes. Synthetics are great for acrylics because they're tough, hold their shape well, and are a breeze to clean.
You can usually expect to find:
- A Fine Detail Brush: This is your precision tool. Use its sharp point for crisp lines and all those tiny, intricate spots.
- A Round All-Purpose Brush: This is the Goldilocks of your set—just right for a huge variety of shapes and sizes. You'll probably use this one the most.
- A Small Flat Brush: Grab this one for filling in larger, open areas of a single color. It helps you get smooth, even coverage without a lot of streaking.
Before you dive in, make sure your painting spot is set up for success. Good lighting is non-negotiable for seeing those tiny numbers and lines, so you might want to ensure adequate lighting with a portable lamp to save yourself from squinting.
To help you get familiar, here’s a quick rundown of what you’ll likely find in your kit.
Your Standard Paint By Number Brush Kit
| Brush Type / Size | Common Appearance | Best Used For |
|---|---|---|
| Fine Detail | Thin handle, very fine and pointed bristles | Tiny numbered areas, sharp lines, and intricate details. |
| Round All-Purpose | Medium-sized handle, bristles form a rounded tip | Most general painting, filling in small to medium areas. |
| Small Flat | Wide, flat ferrule (metal part), squared-off bristles | Covering larger background sections and achieving smooth blocks of color. |
These three brushes are truly all you need to complete a fantastic-looking painting.
Lots of new painters are surprised by how much they can accomplish with just these three standard brushes. The real trick is to play around with them—hold them at different angles and vary your pressure to see how it changes your brush strokes.
Beyond the Starter Set
While the included brushes will absolutely get the job done, many painters eventually decide to expand their collection. It's a popular hobby, after all—the global paint brush set market was valued at an impressive USD 2.1 billion in 2023.
You don't need to buy a massive, expensive set. Just adding a few specialized brushes can make a huge difference in your control and the final look of your work.
For anyone ready to level up their toolkit, our guide on beginner acrylic painting supplies is a great next step. It’s a small investment that can give your finished paintings a much more polished and precise appearance.
Matching The Brush To The Number
Every numbered cell on your canvas is a tiny puzzle piece, and picking the right brush is how you solve it. This isn't just about grabbing whatever's closest; it’s about strategically matching the brush's shape and size to the specific area you're painting. When you get the right match, the paint just seems to flow effortlessly.
Think about it this way: you wouldn't use a tiny little brush to paint the vast, open sky in a landscape piece. You'd be there for hours, and the end result would likely be a streaky, uneven mess. For big sections like that, a broader, flat-tipped brush is your best friend.
This simple decision tree can help you figure out where to start.
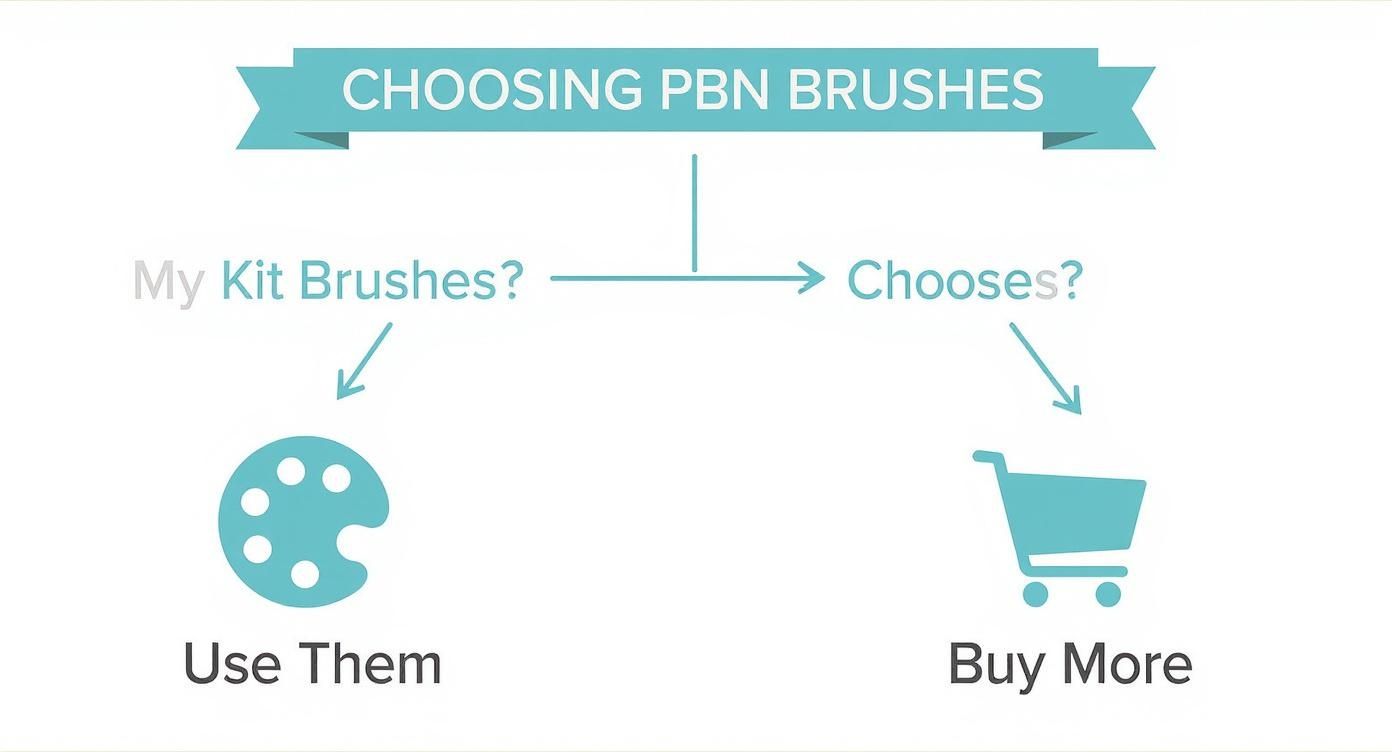
It really boils down to either mastering the tools your kit provides or expanding your collection for more specialized work. Both paths lead to a great painting.
Selecting Your Brush For The Area
Most kits come with three core brush types: round, flat, and a liner (sometimes called a detail brush). Each one has a job it’s perfect for. The real secret to a polished-looking painting is knowing when to put one down and pick up another.
Let’s get into some real-world painting scenarios.
-
For Tight Corners and Sharp Edges: Got an intricate pattern on a piece of clothing or the sharp corner of a window frame? You need that liner or detail brush. Its super-fine point lets you lay down crisp lines and fill in those tiny, tricky spots without accidentally going over the lines.
-
For Medium-Sized, Rounded Shapes: Painting something like a plump apple or the soft petals of a daisy? The round brush is your go-to. It has a pointed tip for good control while outlining, but the fuller body of the bristles fills in the shape quickly and smoothly.
-
For Large, Open Backgrounds: When it's time to tackle that big patch of blue sky or a wide-open field, grab your flat brush. The wide, square tip covers a lot of canvas at once, helping you lay down a smooth, even coat of paint without any annoying streaks.
The trick is to let the brush do the heavy lifting. Trying to jam a big brush into a tiny space will only lead to messy edges. On the flip side, using a tiny brush for a huge area will give you a patchy, overworked look.
Practical Brush Selection In Action
Let's imagine you're working on a painting of a cat. To get those delicate, thin whiskers, you'd absolutely reach for the finest liner brush in your set.
Then, when you move on to the larger patches of fur on the cat's back, switching to a small flat brush will help you cover that area efficiently with a nice, even coat.
Finally, for the rounded shapes of its eyes and nose, the versatile round brush is perfect. It gives you just the right balance of detail and coverage.
By taking a moment to choose the right tool for each numbered section, you gain so much more control. This simple, deliberate habit can turn frustrating parts of a painting into the most satisfying ones, leaving you with clean lines and beautiful, solid color every single time.
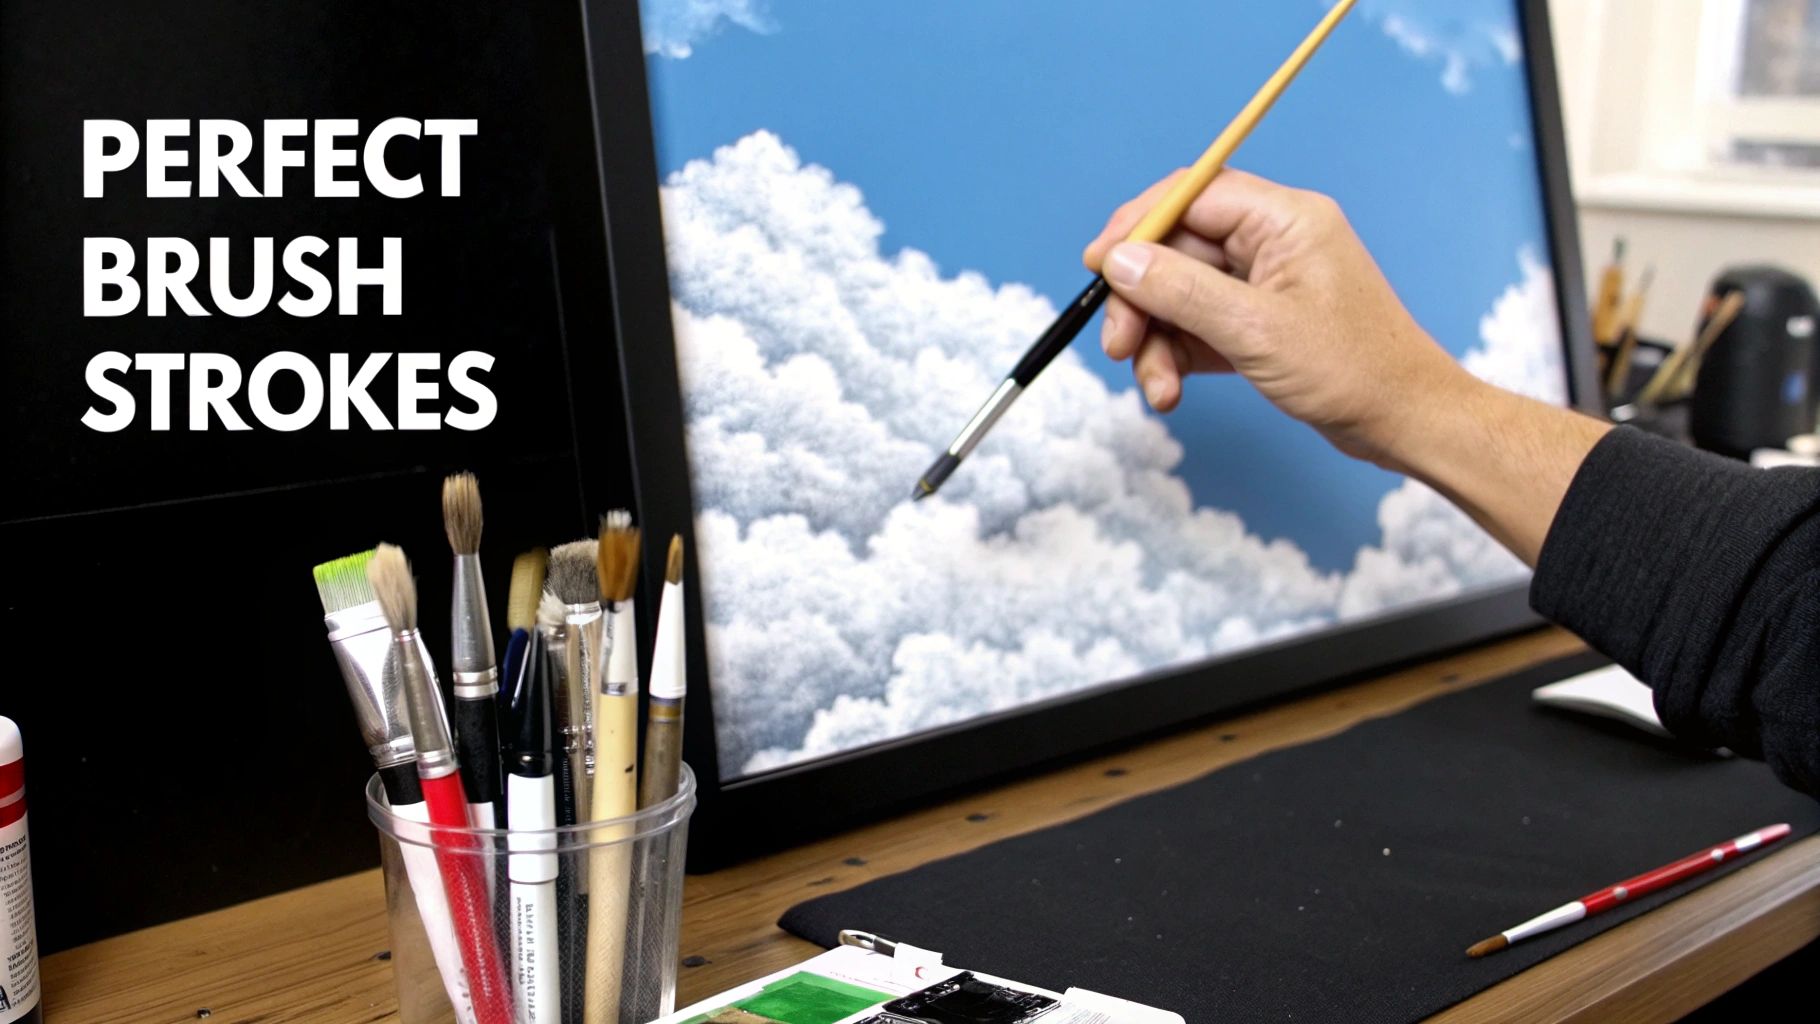
Mastering Your Brush Stroke Techniques
The real magic in a paint-by-number isn't just about staying in the lines—it's how you put the paint on the canvas. Your brush strokes are what give the painting life, turning a flat, numbered outline into something with texture and personality. Learning just a few simple techniques can completely change your finished piece.
It all starts with loading your paint by number brushes correctly. A super common mistake is scooping up way too much paint, which ends up as a thick, gummy blob on your canvas. Instead, just dip the very tip of the bristles into the paint, then gently wipe the excess off on the inner rim of the pot.
That one little move gives you so much more control. It stops the paint from flooding small areas and helps you get a smooth, even coat every time.
Controlling Your Strokes for Better Detail
Think of the angle and pressure you use as your two secret weapons. A tiny change in how you hold the brush can be the difference between a razor-sharp line and a soft, blended edge. It’s a subtle skill, but it makes a huge impact.
Next time you sit down to paint, give these adjustments a try:
- For Crisp Lines: Hold your brush straight up, almost like you’re holding a pencil. Use just the very tip to trace the edges of a numbered section for a clean, defined border.
- For Broader Coverage: Angle the brush lower to the canvas so more of the bristle's side makes contact. This is your go-to move for filling in the middle of larger shapes without leaving streaks.
- Varying Line Thickness: Play around with pressure. A feather-light touch gives you a delicate, thin line. A bit more pressure creates a thicker, bolder stroke. This is perfect for making things like tree branches or blades of grass look more natural.
Here's a pro tip: paint with your whole arm, not just your wrist. This leads to more fluid, confident strokes and helps keep your hand from getting tired during a long painting session. Let the brush glide instead of forcing it.
Adding Texture with Simple Techniques
Once you get the hang of your basic strokes, you can start having some fun with texturing. These techniques are surprisingly simple and can add a professional-looking dimension to your art, breaking up flat areas of color and making the whole thing more interesting to look at.
Two of the easiest and most effective techniques are stippling and scumbling.
Stippling is basically making a picture out of tiny dots. Instead of stroking the brush, you just gently dab or tap the tip onto the canvas. It's fantastic for creating textures like sand, a starry sky, or the soft look of a wool sweater. A small, round brush works best for this.
Scumbling is where you take a mostly dry brush with a tiny bit of paint and scrub it lightly over the canvas in a circular motion. This creates a soft, hazy effect that’s perfect for painting clouds, misty forests, or fluffy bushes. An older brush with slightly frayed bristles actually works great for this.
These skills are really just the starting point. If you’re excited to learn more, our guide on acrylic painting techniques for beginners is packed with more ways to bring your canvas to life. By practicing these simple strokes, you'll find the confidence to make every painting your own.
So, When Should You Upgrade Your Brush Set?
The brushes that come in your paint-by-number kit are a great starting point. Honestly, they’re designed to get the job done and let you dive right in. But after you’ve got a few projects under your belt, you’ll probably start to notice their limits. Maybe the bristles are starting to look a little frazzled, or you find yourself holding your breath trying to fill in a microscopic detail, wishing you had something finer.
That feeling right there—the one where you know a better tool would make things easier—is your cue. It’s time for an upgrade. Investing in a dedicated set of paint-by-number brushes is hands-down one of the simplest ways to level up your painting experience and the look of your finished piece.
Why Material and a Good Grip Really Matter
Once you start shopping around, you’ll see two main players in the bristle game: natural and synthetic. Natural bristles, which usually come from animal hair, are fantastic for certain types of paint, but they just don't play well with the acrylics in your kit. Acrylic paint is heavy and will wreck those delicate natural hairs in no time.
This is why synthetic bristles are the way to go. Made from materials like nylon or taklon, they’re tough enough to handle thick acrylic paint, they keep their shape beautifully, and they’re a breeze to clean. You get that perfect mix of stiffness for control and flexibility for a nice, smooth laydown of color.
But don't just stop at the bristles—think about the handle. Hours can fly by when you're in the zone, and a clunky, uncomfortable brush handle is a surefire way to get a hand cramp.
A lot of painters, myself included, swear by brushes with ergonomic, triangular-shaped handles. It sounds like a small thing, but that different grip can make a world of difference in reducing fatigue, letting you stay focused on those tiny details for much longer.
Dipping Your Toes into Specialty Brushes
Upgrading isn't just about replacing what you have; it's about expanding your creative toolkit. Specialty brushes open up a whole new world of textures and effects that the basic brushes in your kit just can't replicate. You don't need them, but they can make certain tasks so much easier and more fun.
And it's not just us—people everywhere are investing in better tools for their hobbies. The global paintbrush market is expected to hit a whopping US$6.48 billion by 2032. If you're curious, you can explore more data on the paint brush market and see how the demand for quality tools is growing.
Ready to explore? Here are a couple of specialty brushes worth looking into:
- Filbert Brush: Think of this as the lovechild of a flat and a round brush. Its oval tip is incredibly versatile, perfect for creating soft, rounded edges on things like flower petals or for blending colors seamlessly.
- Fan Brush: Just like it sounds, the bristles on this one fan out. It’s a secret weapon for creating realistic textures with minimal effort. A few quick dabs and you've got blades of grass, animal fur, or the needles on a pine tree.
Seriously, even a small, affordable set of quality synthetic brushes can be a total game-changer. You’ll gain more precision, feel less frustrated, and end up with artwork that looks noticeably more polished and professional.
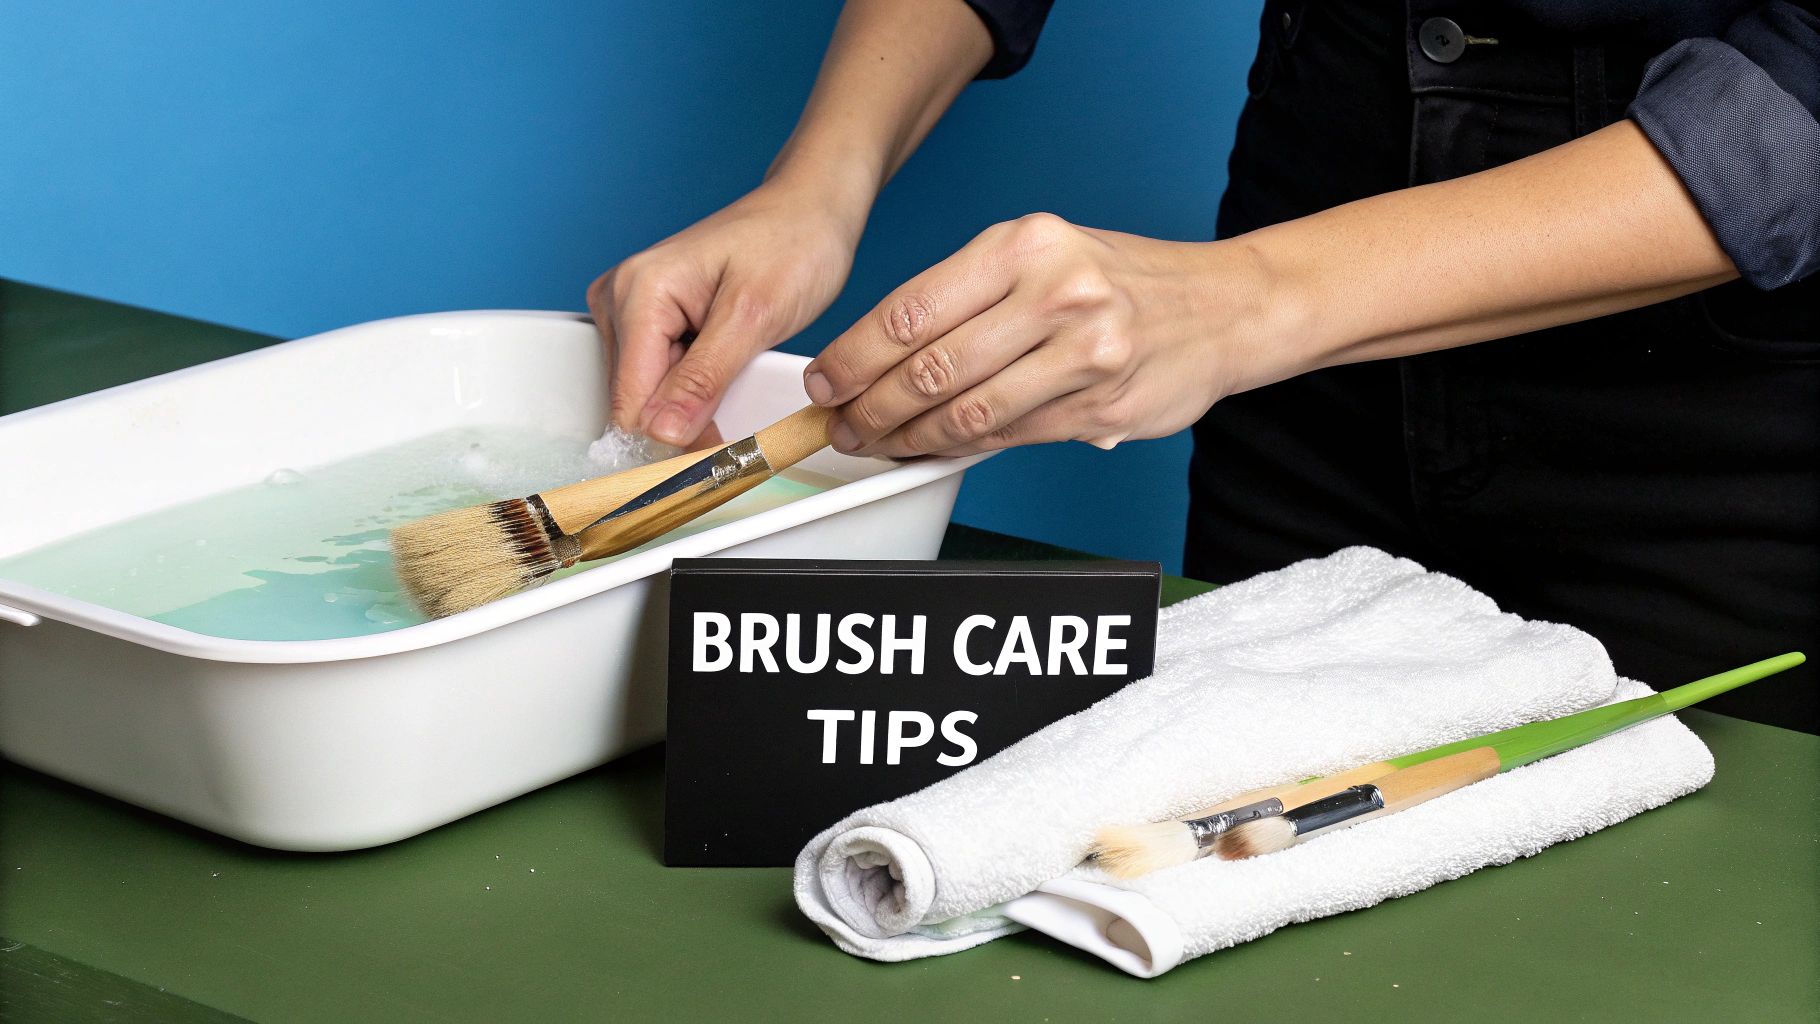
Simple Brush Care To Make Them Last
There's nothing more frustrating than trying to paint a crisp line with a brush that’s all crusty and splayed out. Investing in good paint by number brushes is smart, but making them last is even smarter. It’s all about building a simple habit that will save you money and keep your tools in perfect shape.
The best part? You don't need any fancy cleaners. For the acrylic paints that come in your kit, all you really need is a little mild soap and some lukewarm water. The whole idea is to gently work the paint out of the bristles without being too rough on them.
The Cleaning Process Step-By-Step
First off, get the brush under some lukewarm running water. Use your fingers to gently coax the paint out of the bristles. Next, put a tiny drop of mild soap (dish soap is perfect for this) into the palm of your hand and swirl the damp brush in it until it gets a little sudsy.
Now, rinse it again until the water runs completely clear. Don't rush this part—any soap left behind will dry out the bristles and make them brittle over time.
One of the biggest mistakes I see people make is letting water get into the ferrule—that’s the metal bit holding the bristles to the handle. Water seeps in and weakens the glue, which is why you’ll start to see bristles falling out. To avoid this, always keep your brush angled downwards while rinsing.
Taking care of your tools to make them last is a pretty universal concept, whether you're talking about brushes or something else entirely. It's interesting to see how these general product care principles apply across different hobbies and items.
Reshaping and Drying Your Brushes
Once the brush is squeaky clean, these last couple of steps are what will really keep it performing like new. Seriously, don't skip this!
- Gently squeeze out the extra water with your fingers or a soft cloth. Whatever you do, don't twist or yank on the bristles.
- Use your fingertips to carefully nudge the bristles back into their original shape, whether that’s a sharp point or a neat flat edge.
- Lay your brushes flat on a paper towel to dry, or even better, hang them with the bristles pointing down. The one thing you should never do is stand them upright in a jar to dry. That just lets water run right down into the ferrule, which is exactly what we’re trying to prevent.
If you want to get really into the details, we have a complete guide right here on how to clean paint brushes with even more tips. Honestly, this whole routine only takes a minute or two after you’re done painting, but it will make a massive difference in how long your brushes last. They'll be ready to go with sharp tips and smooth performance for your next project.
Got Brush Questions? We’ve Got Answers.
No matter how long you've been painting, questions are bound to pop up. When it comes to the tools of the trade—your paint-by-number brushes—getting good answers can be the difference between a fun, relaxing session and a frustrating one. Let's walk through some of the most common issues painters run into.
Right off the bat, one of the biggest questions is about swapping tools. Can you just grab any old brush and get to work? The short answer is, probably not.
Can I Use Watercolor Brushes For My Acrylic Kit?
I get this question all the time, and it's a definite "no." Using your delicate watercolor brushes with an acrylic paint-by-number kit is a recipe for disaster. Acrylic paint is thick, heavy, and contains binders that are incredibly harsh on the soft, natural hairs of a typical watercolor brush.
The paint will quickly gunk up and ruin those fine bristles, making them brittle and causing them to snap. The brushes that come with your kit are almost always made from synthetic materials like nylon or taklon for a reason. They’re tough, hold their shape against heavy-bodied paint, and are a breeze to clean. Do yourself (and your brushes) a favor and stick with synthetics.
Think of it this way: watercolor brushes are built to absorb and release large amounts of water for flowing washes. Acrylic brushes are engineered for control—stiff enough to push thick paint exactly where you want it. Using the wrong one is like trying to spread peanut butter with a feather.
My Brush Bristles Are Splitting! How Can I Fix This?
Ah, the dreaded splayed brush tip. It’s a classic problem, but don't throw that brush away just yet! This usually happens for one of two reasons: either there’s dried paint caked up near the base (the metal part called a ferrule), or the brush was left sitting in water for too long, which dissolves the glue holding it all together.
First, give it a really good, deep clean with a proper brush soap. Work the soap gently into the base of the bristles, rinse it out, and then use your fingers to pinch the tip back into its original shape while it's still damp.
For a surprisingly effective home remedy, try a little hair conditioner.
- After cleaning, work a small amount of conditioner into the damp bristles.
- Let it sit for about a minute before rinsing thoroughly with lukewarm water.
- Gently reshape the tip and let it dry completely.
And a pro tip: always dry your brushes lying flat or hanging with the bristles pointing down. This keeps water from seeping into the ferrule and causing the same problem all over again.
How Many Brushes Do I Really Need?
Honestly, the three or four brushes that come in a standard kit will absolutely get the job done. You usually get a fine-point for details, a medium round for general use, and a small flat brush. They cover the bases.
But, if you ask any seasoned painter, they'll tell you that having a few extra brushes makes the whole process so much more enjoyable. It’s not strictly about needing more; it’s about workflow.
Grabbing a super-fine liner brush for those tiny, numbered spaces or a larger flat brush for big background areas can be a game-changer. It means less time spent constantly stopping to wash out a single brush and more time in that creative flow state.
Ready to turn your favorite memories into a masterpiece? At Custom Paint By Numbers, we provide everything you need—from a high-quality canvas to a complete set of paints and brushes—to create a personalized work of art. Create your custom kit today!


