

Welcome to the vibrant world of paint by numbers! This isn't just a hobby; it's a journey into mindfulness, creativity, and the joy of watching a masterpiece emerge from your own hands. Whether you're unboxing your very first kit or you're a seasoned artist looking to refine your technique, you've come to the right place. Many guides offer the same basic advice like 'paint inside the lines' or 'have fun', but we're going deeper.
We are providing you with a curated list of specific, actionable painting by numbers tips that address the real challenges artists face. Forget the generic advice; these are the techniques that will help you control your brush, manage your paint, and conquer those tiny, intricate sections with confidence.
You will learn how to work with light and dark colors strategically, organize your workspace for maximum efficiency, and master the brush techniques essential for a clean finish. We'll also cover how to achieve the perfect paint consistency and tackle those challenging, small details with precision. Let's unlock your inner artist and turn that numbered canvas into a stunning, gallery-worthy creation.
1. Start with Light Colors and Progress to Dark
One of the most foundational yet effective painting by numbers tips is to work from your lightest colors to your darkest. This strategic approach involves identifying all the sections with light numbers (like whites, pale yellows, and light blues) and painting them first before moving on to the mid-tones and, finally, the deep, dark shades. This method mirrors techniques used by professional artists and offers practical benefits for a clean, vibrant final piece.
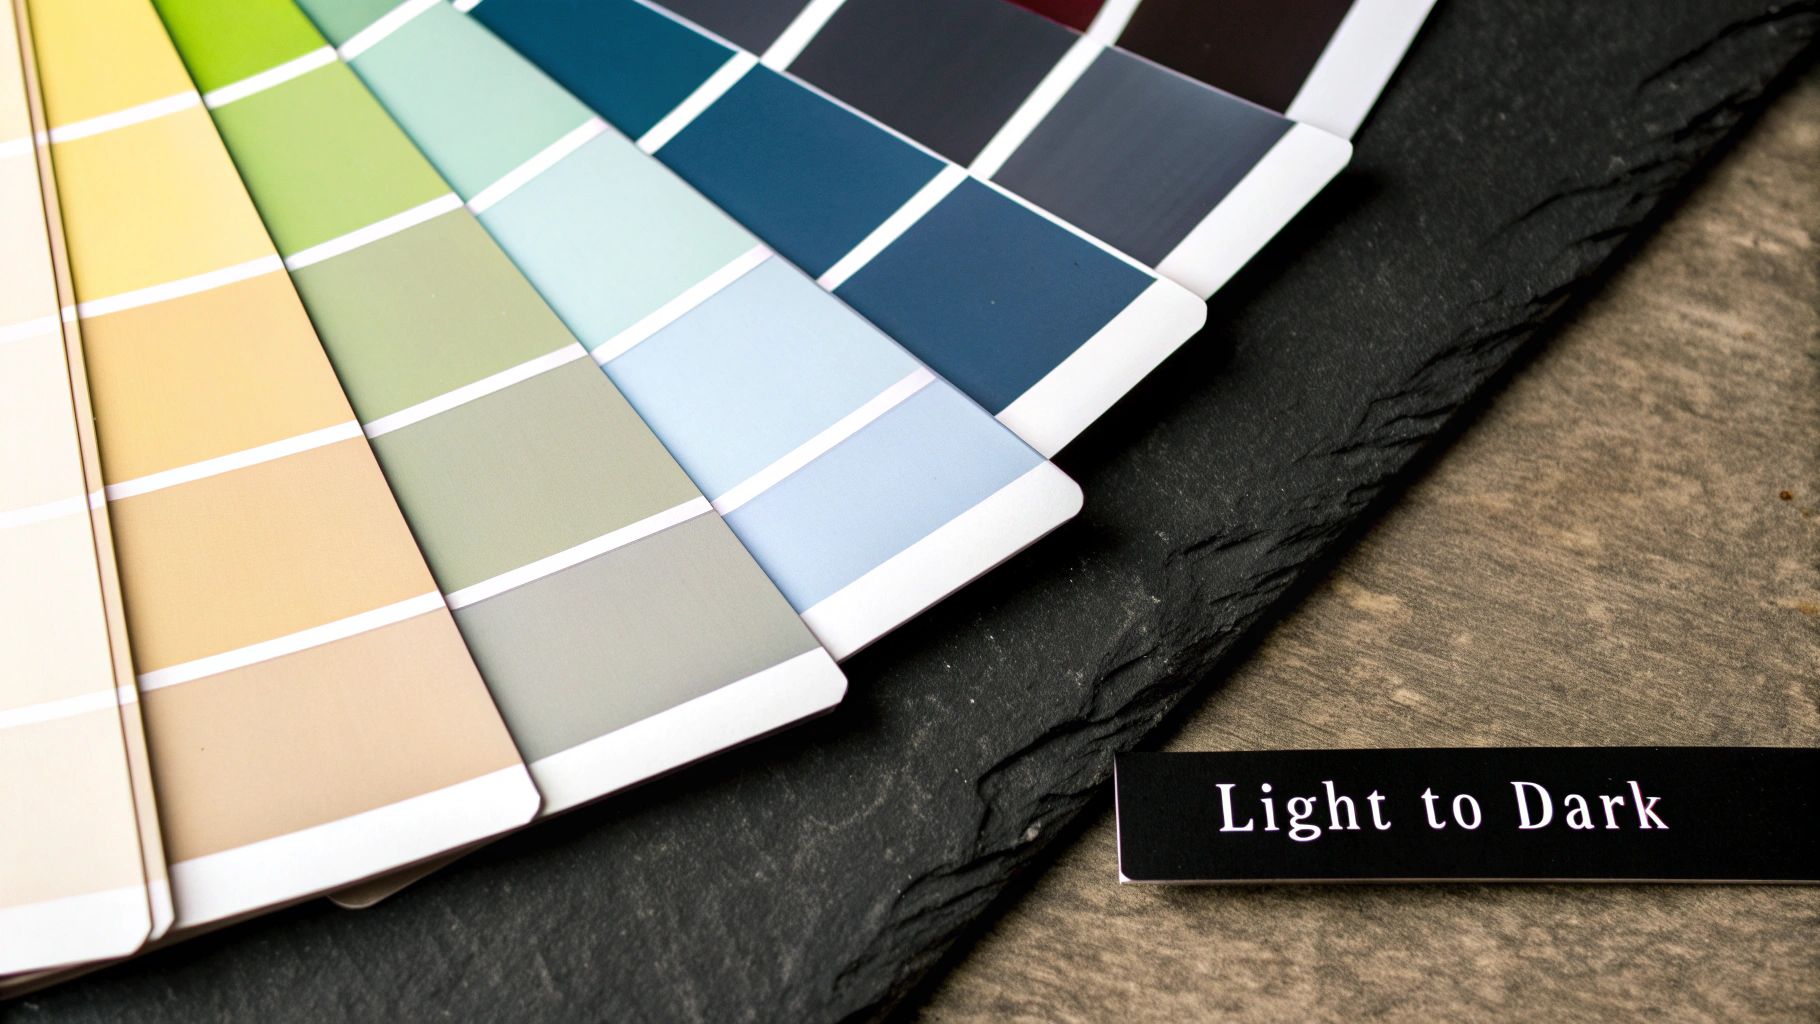
The primary reason for this sequence is forgiveness. Light-colored paints are generally more transparent and less potent than dark pigments. If you accidentally paint outside a line into an adjacent, darker area, the darker paint will easily cover the mistake. Conversely, trying to paint a light color over a dark smudge is much more difficult and often requires multiple thick layers, which can create unwanted texture on your canvas.
Why This Method Works Best
Starting with light shades helps maintain the purity and brightness of each color. Dark pigments can easily muddy lighter ones if your brush isn't perfectly clean or if colors bleed together while wet. By completing the light sections first and allowing them to dry, you create a safe boundary for applying your more dominant, darker colors later. This method simplifies the painting process and reduces the chances of frustrating mistakes.
Practical Implementation
To put this into practice, scan your canvas before you begin. Mentally group the numbers by shade or start with the pot labeled #1 (if your kit organizes colors by lightness).
- Landscapes: Paint the pale blue sky and wispy white clouds before tackling the dark green trees or deep brown mountains.
- Portraits: Fill in the light skin tones and highlights on the face before adding the darker hair, shadows, or bold clothing colors.
- Florals: Complete the bright white and pastel pink petals before moving on to the darker green stems and leaves.
Key Takeaway: Painting from light to dark is a preventative measure. It gives you an easy way to correct small errors and ensures your colors remain crisp and distinct, which is essential for a professional-looking result. This simple sequencing habit is one of the most valuable painting by numbers tips for achieving a clean finish.
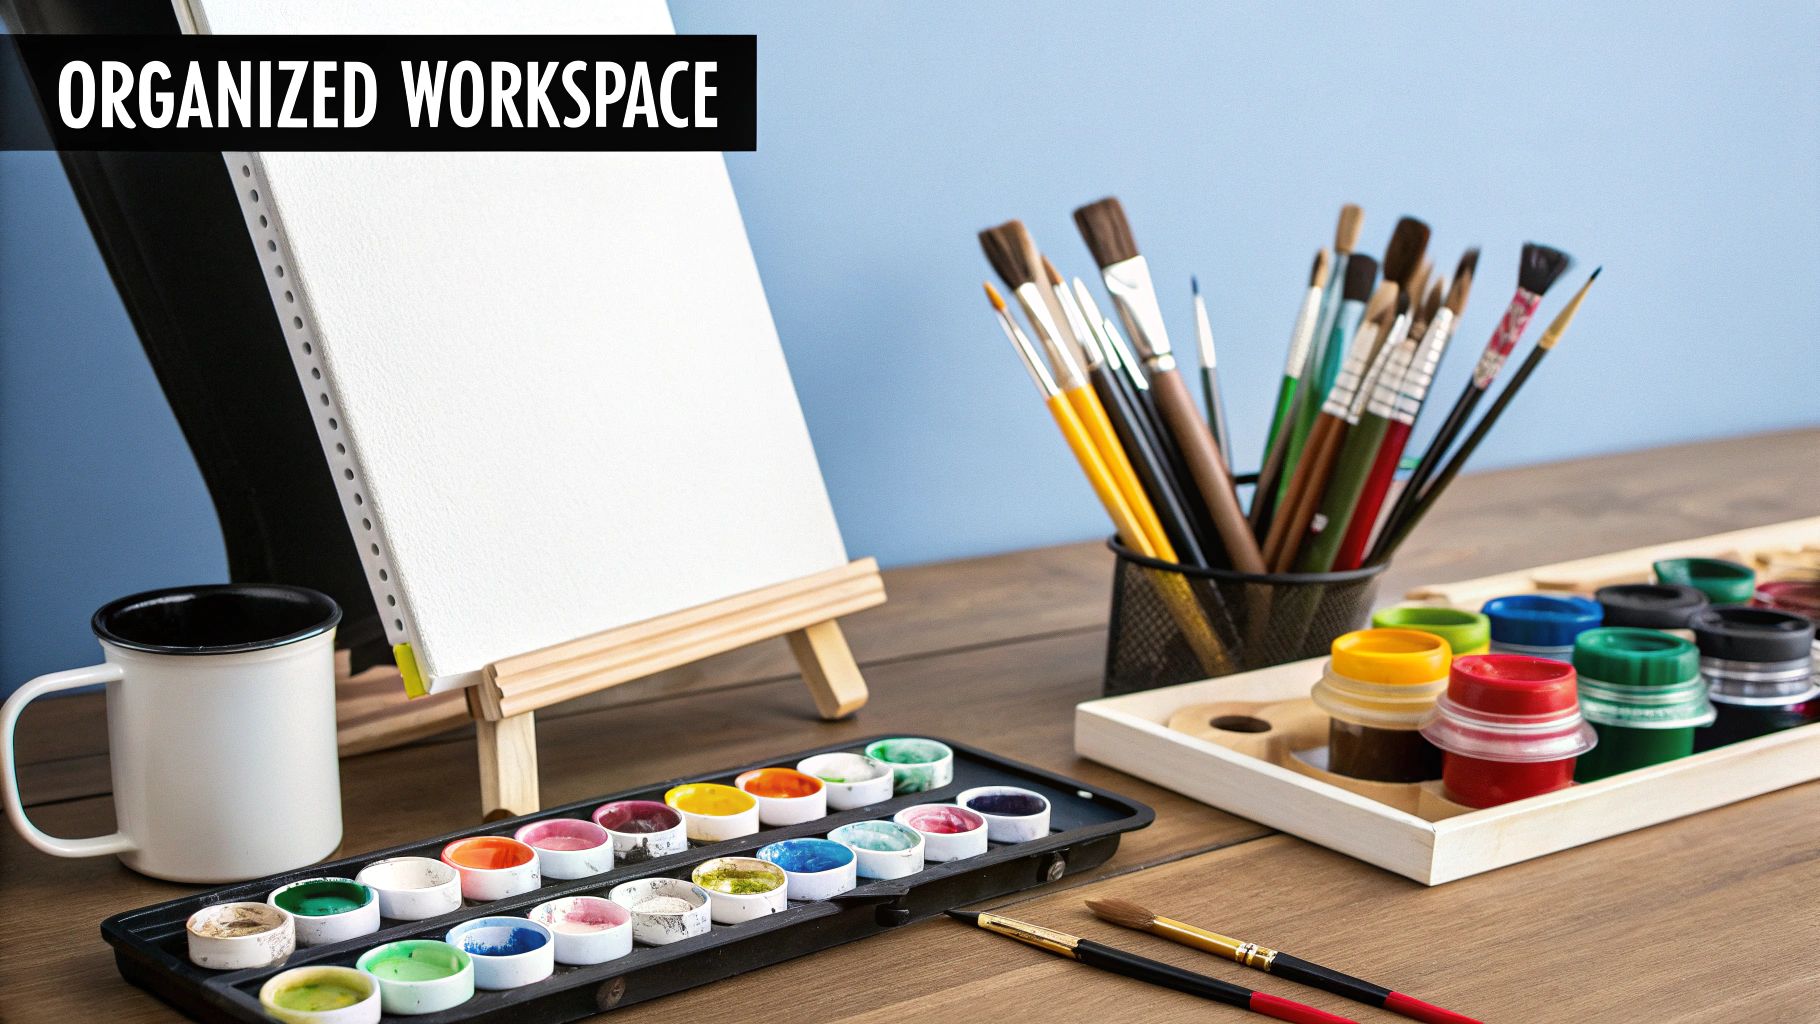
2. Organize Your Workspace and Materials Properly
A cluttered and disorganized workspace is a common source of frustration that can derail an otherwise relaxing painting session. Creating an efficient, well-organized setup is one of the most practical painting by numbers tips for ensuring a smooth, enjoyable process. This involves everything from arranging your paints for easy access to setting up proper lighting, all designed to minimize interruptions and prevent simple mistakes.
The primary reason to organize your area is efficiency. When your paints, brushes, and water are in a predictable, easy-to-reach spot, you can focus all your mental energy on the creative task at hand. You won't waste time searching for the right color pot, accidentally dip your brush in your drinking glass, or strain your eyes under poor lighting. A streamlined setup makes the entire experience more meditative and less chaotic.
Why This Method Works Best
An organized workspace directly translates to better painting quality. Good lighting prevents you from misreading numbers or painting over lines, while having your materials laid out logically reduces the chance of spilling paint or knocking over your water cup. By establishing a system before you even open the first pot of paint, you set yourself up for success and can immerse yourself fully in the artistic flow without constant, preventable distractions.
Practical Implementation
Setting up an effective painting station is simple. Find a flat, stable surface with enough room for your canvas and all your supplies. For an in-depth guide, you can learn more about how to organize art supplies on paint-by-number.com.
- Lighting: Use a bright desk lamp with an adjustable arm. Position it on the opposite side of your dominant hand to eliminate shadows cast by your arm and brush.
- Paint Pots: Arrange your paint pots in numerical order (1, 2, 3, etc.) so you can grab the next color instantly. You can also use an egg carton or an ice cube tray to hold the small pots securely.
- Canvas & Brushes: Use a small desktop easel to position your canvas at a comfortable 15-30 degree angle, reducing neck strain. Keep a paper towel and two cups of water handy: one for initial rinsing and a second for a final, clean rinse.
- Comfort: Keep your water cup on the side of your non-dominant hand. This simple trick dramatically reduces the risk of accidentally knocking it over as you reach for paints or brushes.
Key Takeaway: A well-organized workspace is your command center. Taking just five minutes to set up your materials properly before you start painting prevents common errors, saves time, and transforms the activity into a more relaxing and mindful experience.
3. Use Proper Brush Techniques and Maintenance
Mastering how you handle and care for your brushes is one of the most impactful painting by numbers tips for elevating your artwork from amateur to accomplished. Proper technique ensures smooth, even paint application, while routine maintenance preserves your tools for future projects. This dual focus on technique and care prevents streaking, ensures crisp lines, and ultimately gives you greater control over your final result.
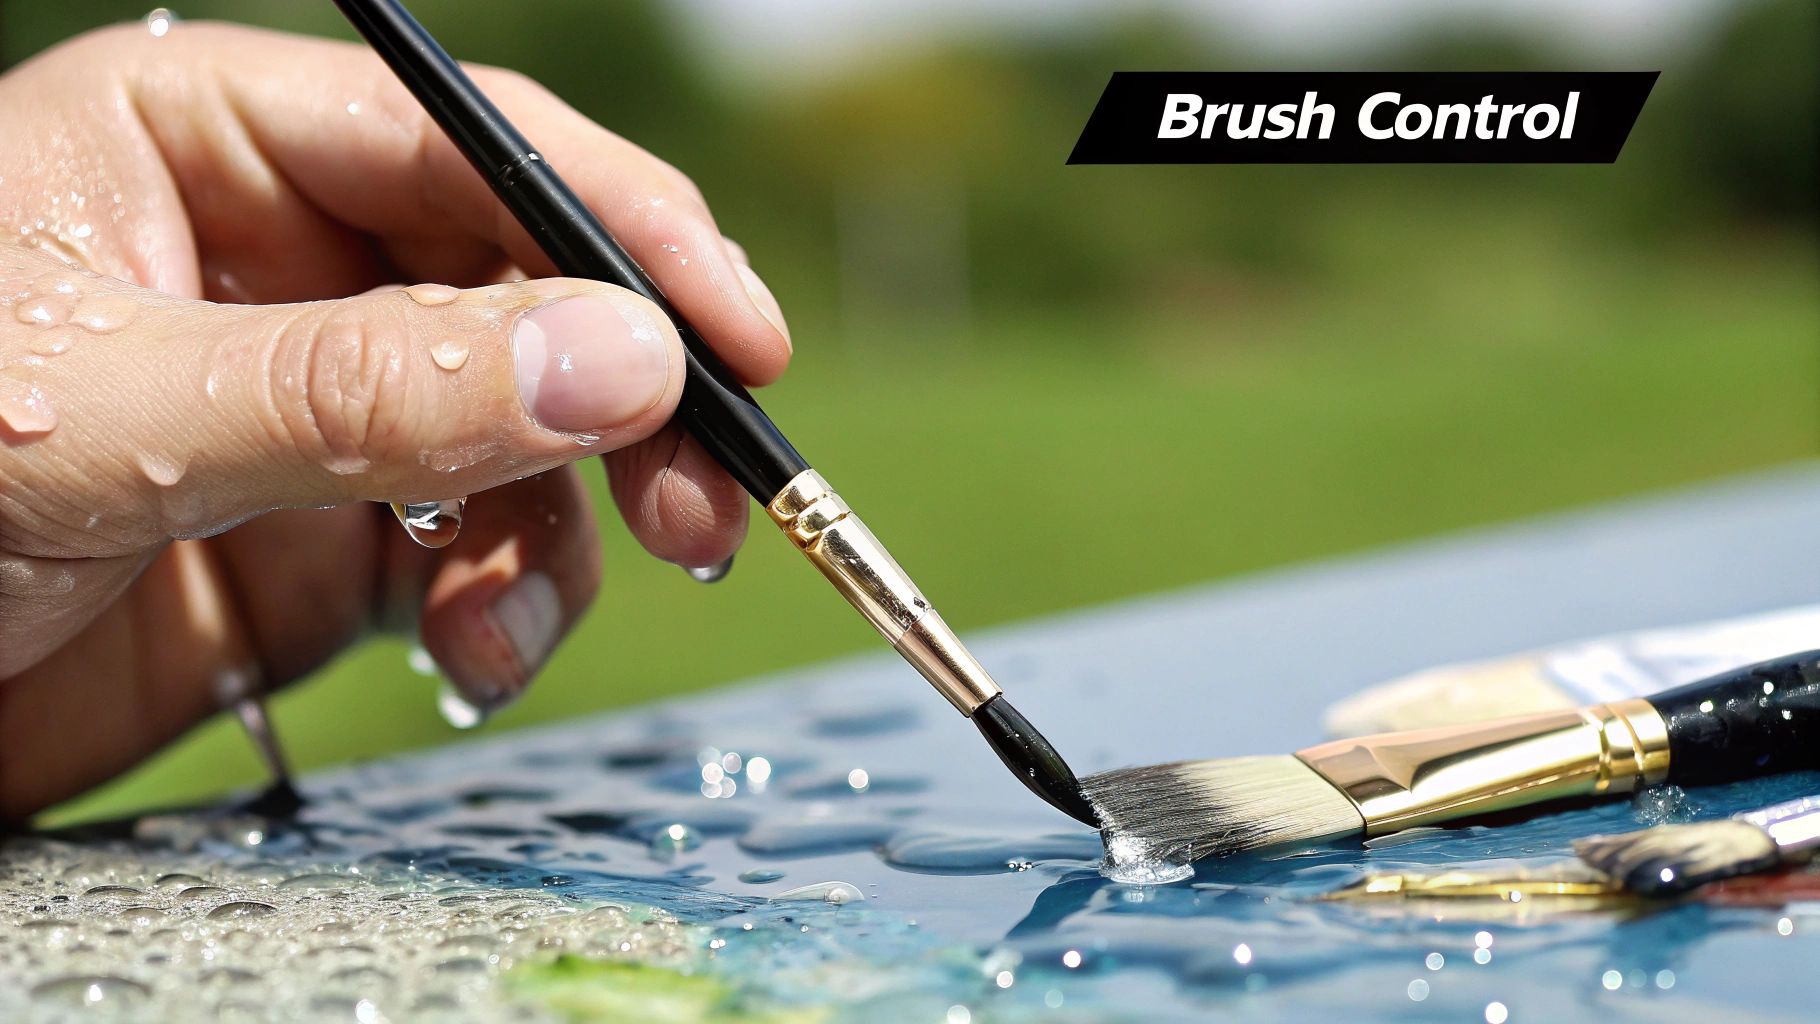
The core principle here is control. The brushes included in your kit are your primary tools for translating the numbered guide into a work of art. How you load them with paint, the pressure you apply, and the direction of your strokes all directly influence the texture and neatness of each section. Similarly, keeping brushes clean and well-shaped prevents color contamination and ensures they perform as intended from the first number to the last.
Why This Method Works Best
Good brush habits directly combat common painting by numbers frustrations like streaky coverage and fuzzy borders. When you use the right amount of paint and apply it with consistent, controlled strokes, you achieve an opaque finish that cleanly covers the numbers and lines. Proper cleaning is equally critical; letting paint dry in the bristles will ruin a brush, making it stiff and unusable. By adopting these professional habits, you make the entire process smoother and more enjoyable.
Practical Implementation
Incorporate these techniques into your painting routine from the very start. Pay attention to how you interact with your paints and brushes during each session.
- Loading the Brush: Gently dip only the tip of your brush into the paint pot. Avoid getting paint up into the metal part (the ferrule), as it’s difficult to clean and can damage the bristles over time.
- Applying the Paint: Use short, even strokes, and try to paint in the same direction within each numbered area. This creates a uniform texture. Apply gentle pressure for a thin, controlled line and slightly more for filling in larger spaces.
- Cleaning Your Brushes: Clean your brushes immediately after you finish with a color, even if you plan to use it again soon. Swirl the brush in a cup of lukewarm water, gently press it against the bottom to work out the pigment, and wipe it on a paper towel until it comes away clean. Never let paint dry on the bristles. For a deeper clean after your session, you can use a mild soap or a specialized brush conditioner.
Key Takeaway: Treat your brushes as precision instruments, not just applicators. Conscious control over your strokes and a commitment to immediate, thorough cleaning will dramatically improve your painting quality and extend the life of your tools. For more in-depth advice, you can learn more about how to clean paint brushes on paint-by-number.com.
4. Master Paint Consistency and Mixing Techniques
Achieving the right paint consistency is a game-changer for a smooth, professional finish. The acrylic paints included in most kits can sometimes be too thick, too thin, or may even dry out. Understanding how to properly manage and mix your paints ensures even coverage, prevents visible brush strokes, and makes staying within the lines significantly easier. This skill transforms the painting process from a simple coloring exercise into a more refined artistic practice.
The ideal consistency for paint by numbers is similar to that of flowing cream or melted honey. If the paint is too thick, it will be difficult to spread, leave clumps, and may obscure the numbers on the canvas. If it’s too thin, it will appear transparent and may require multiple coats, risking a streaky finish. Learning to adjust the viscosity gives you complete control over your medium.
Why This Method Works Best
Proper paint consistency allows the pigment to flow smoothly from your brush onto the canvas, filling each segment with a solid, opaque layer of color. This control is fundamental for creating crisp lines and uniform color fields. Additionally, some advanced kits require you to mix colors to create gradients or shades not provided in separate pots. Mastering basic mixing is essential for these projects, allowing you to create seamless transitions and add depth to your artwork. For a deeper dive, you can explore the basics of how colors interact with our guide to color theory for beginners.
Practical Implementation
Before applying paint to the canvas, always test its consistency on a spare piece of paper or a corner of the canvas border.
- Thinning Thick Paint: If your paint is goopy or stiff, add one drop of water or an acrylic flow improver at a time. Mix thoroughly with a toothpick or the back of a brush and test again. It's much easier to add more water than to fix overly diluted paint.
- Reviving Dry Paint: For completely dried-out paint pots, a few drops of acrylic medium or paint thinner can sometimes reactivate the pigment. Work the liquid in slowly and break up the hardened paint until it reaches a usable consistency.
- Mixing Colors: When blending two colors, start with the lighter shade on a palette and gradually add tiny amounts of the darker color. This gives you more control over the final hue. Use a palette knife or a separate brush for mixing to avoid contaminating your main paint pots.
Key Takeaway: Controlling your paint's consistency is a critical skill that directly impacts the quality of your finished painting. A few moments spent adjusting your paints before you begin will save you from the frustration of clumps, streaks, and poor coverage, ensuring a smooth and enjoyable experience.
5. Work in Strategic Sections and Sequences
Developing a systematic approach to your canvas is one of the most impactful painting by numbers tips for ensuring a smooth, enjoyable process. Instead of painting random areas, this strategy involves planning which sections to complete first based on factors like size, location, and color. Working strategically prevents smudging, reduces mental fatigue, and provides a clear path from a blank canvas to a finished masterpiece.
The core principle behind this method is efficiency. A planned sequence minimizes wasted movement and time, such as repeatedly cleaning brushes or waiting for adjacent areas to dry. By tackling the canvas in a logical order, you create a more organized workflow, which is especially helpful for complex designs with many small, intricate sections. This prevents you from accidentally resting your hand on wet paint, a common mistake that can ruin hours of careful work.
Why This Method Works Best
A strategic sequence simplifies the complex task of filling in hundreds of numbered shapes. For example, working from the top down is a classic artist technique that ensures your hand and arm never have to pass over a freshly painted area. Similarly, completing the background before the foreground details gives your painting depth and makes the main subject pop. This structured approach builds momentum and gives you a satisfying sense of accomplishment as each section is completed.
Practical Implementation
Before you begin, decide on a sequence that makes sense for your specific painting and your dominant hand. Here are a few popular strategies:
- Top-to-Bottom: This is the most common approach. Start at the top-left corner if you are right-handed, or the top-right corner if you are left-handed. This keeps your hand clear of wet paint as you move down the canvas.
- Background to Foreground: Paint the sky, distant mountains, or background walls first. Once these larger areas are dry, you can add the finer details of the trees, people, or objects in the foreground without fear of smudging.
- One Color at a Time: For maximum efficiency, complete all the sections for a single color before moving to the next. This minimizes the need to clean your brush and ensures color consistency across the painting. Start with the color that covers the largest area to see quick progress.
Key Takeaway: Adopting a strategic sequence transforms your painting session from a chaotic activity into a mindful, organized process. This simple planning step is a game-changer for preventing smudges, improving your painting speed, and achieving a more polished, professional-looking result.
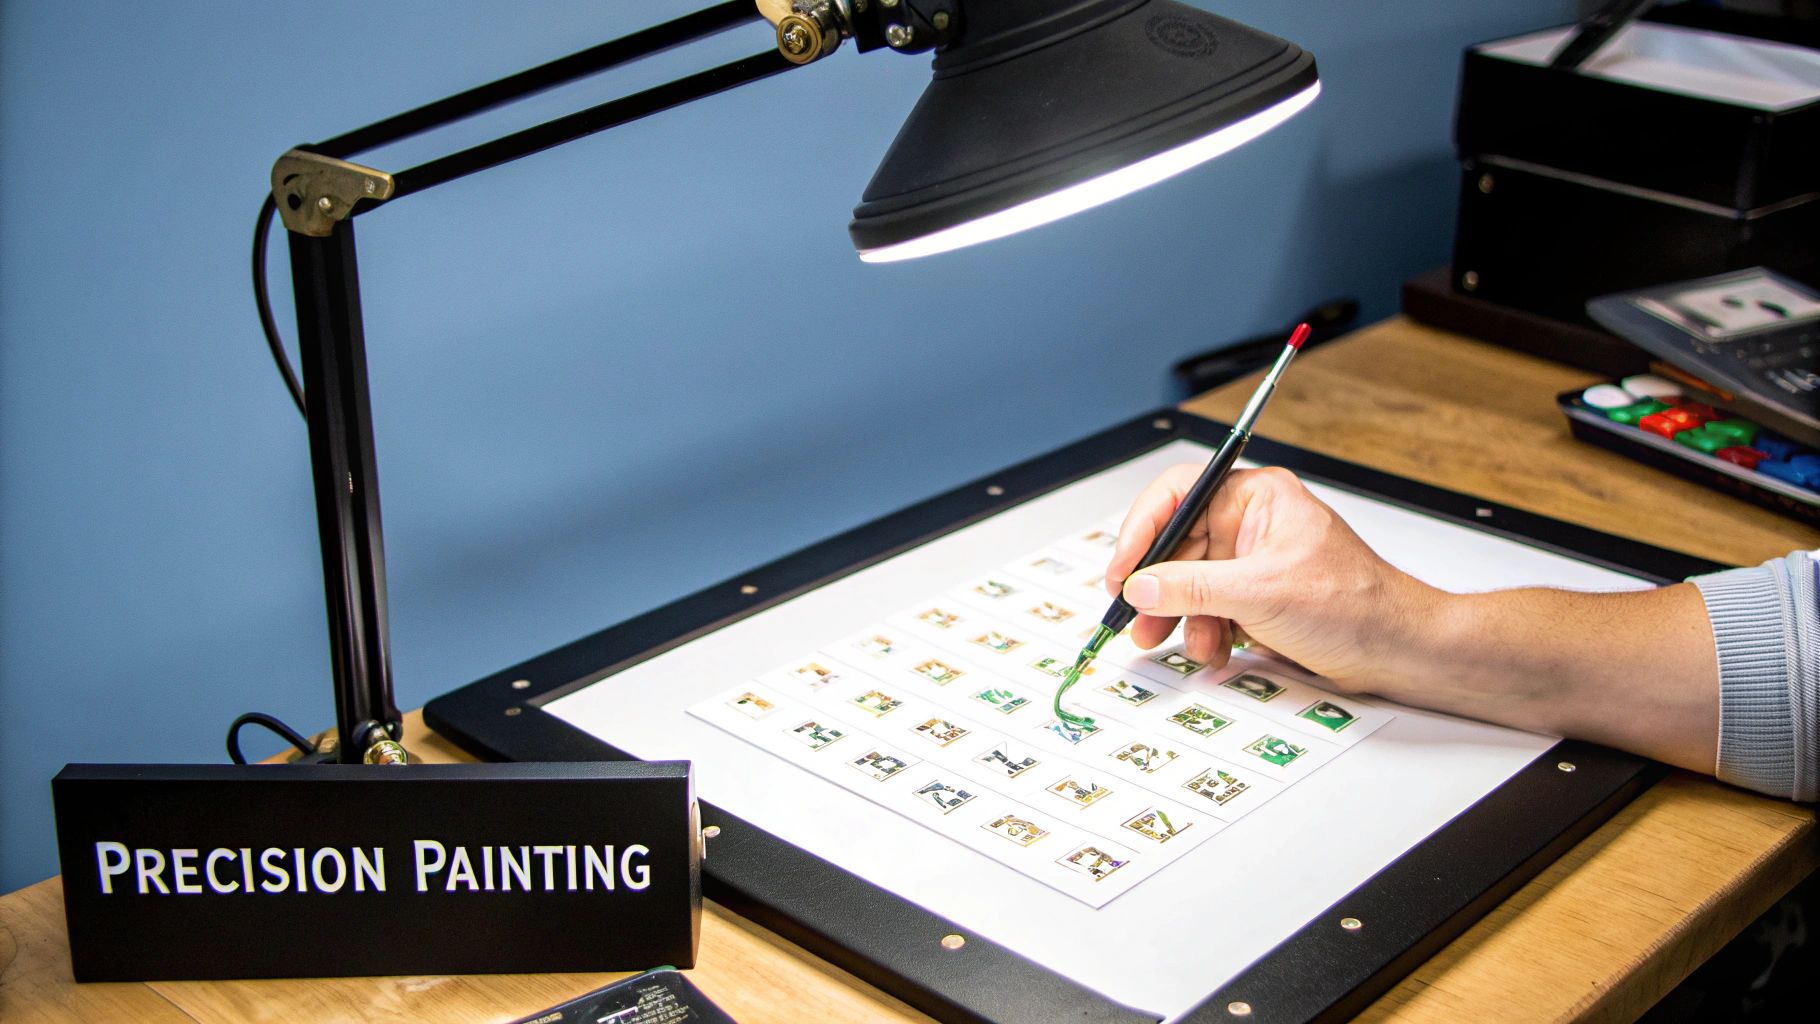
6. Handle Fine Details and Small Numbers with Precision
Tackling the tiny, intricate sections of a paint by numbers canvas is often what separates a good result from a great one. These small areas demand a level of precision beyond what’s needed for larger fields of color. This advanced tip focuses on the specific tools and techniques required to master these details, ensuring your final piece looks sharp, clean, and professionally executed.
The primary goal here is control. Small, numbered areas, often less than a few millimeters wide, are unforgiving. A single slip of the brush can obscure adjacent numbers or blur critical lines. By adopting techniques used by miniature painters and professional illustrators, you can approach these challenging spots with confidence and skill, turning a potential source of frustration into a satisfying part of the process.
Why This Method Works Best
Focusing on precision for fine details ensures that the most expressive and defining parts of your painting stand out. Elements like the glint in an eye, the delicate edge of a flower petal, or distant architectural features rely on clean lines and accurate color placement. Without careful attention, these areas can become muddy and indistinct, detracting from the overall impact of the artwork. A steady hand and the right tools are essential painting by numbers tips for achieving a high-definition finish.
Practical Implementation
To effectively manage tiny sections, you need to enhance your vision, stabilize your hand, and use the right tools for the job.
- Portraits: Use an ultra-fine 000 or 0000 brush for painting individual eyelashes, the highlights on lips, or the subtle shadows that define facial features.
- Landscapes: Employ a magnifying lamp to clearly see and paint distant figures, the intricate branches of a far-off tree, or the texture on small rocks.
- Detailed Patterns: Brace your painting hand against your non-dominant hand or the edge of the table to create a stable pivot point, preventing tremors when filling in complex geometric or floral designs.
Key Takeaway: Mastering fine details is about having the right setup. Good lighting, magnification, and a stable hand transform a difficult task into a manageable one. Dedicate your freshest, most focused energy to these sections and don't hesitate to use specialized tools; they are the key to achieving a polished, high-quality painting.
6 Key Tips Comparison for Painting by Numbers
| Technique | Implementation Complexity 🔄 | Resource Requirements ⚡ | Expected Outcomes 📊 | Ideal Use Cases 💡 | Key Advantages ⭐ |
|---|---|---|---|---|---|
| Start with Light Colors and Progress to Dark | Medium - Requires planning and patience | Basic paints, brushes, time | Cleaner color transitions, error correction | Landscapes, portraits, floral designs | Easier fixes with light colors, professional look, less waste |
| Organize Your Workspace and Materials Properly | Low to Medium - Initial setup time | Lighting, storage tools, brushes | Faster process, fewer errors, less fatigue | All paint by numbers projects | Reduces errors, speeds workflow, improves comfort |
| Use Proper Brush Techniques and Maintenance | Medium - Practice and routine needed | Multiple brushes, cleaning supplies | Smooth coverage, brush longevity | Projects needing fine control and smooth finish | Professional finish, less paint waste, faster painting |
| Master Paint Consistency and Mixing Techniques | Medium to High - Knowledge and supplies needed | Medium additives, palette knife, mixing containers | Even coverage, color customization | Detailed or nuanced color projects | Smoother paint, extends paint life, custom shades |
| Work in Strategic Sections and Sequences | Medium - Planning and discipline | Minimal additional resources | Efficient progress, reduced smudging | Complex or large canvases | Prevents smudging, maintains motivation, efficient drying |
| Handle Fine Details and Small Numbers with Precision | High - Requires skill and patience | Fine brushes, magnification tools, lighting | Professional-quality detail, high accuracy | Miniature sections, intricate detail work | Precise results, prevents color bleeding, enhanced clarity |
Your Artistic Journey Continues
You’ve now explored a comprehensive collection of painting by numbers tips designed to elevate your craft from a simple pastime to a true artistic endeavor. By moving beyond the basic instructions, you have unlocked the secrets to creating smoother, more vibrant, and professional-looking artwork. The journey from a blank, numbered canvas to a finished masterpiece is filled with small decisions and techniques that, when combined, make a significant impact on the final result.
From Good Habits to Great Art
The power of these strategies lies in their synergy. A well-organized workspace, as discussed in our second tip, is the foundation upon which all other techniques are built. It allows you to focus purely on your art without distraction. From there, mastering the sequence of painting, starting with light colors and working towards dark, ensures that your colors remain crisp and clean, preventing accidental smudges that can muddy your beautiful work.
Similarly, treating your brushes with care and learning proper techniques for both broad strokes and fine details will drastically improve your control. This technical skill, combined with an understanding of paint consistency, allows you to apply paint smoothly, eliminating streaks and achieving a polished finish. These aren't just isolated painting by numbers tips; they are interconnected habits that build upon one another, transforming your entire creative process.
The Most Important Takeaways
As you move forward, keep these core principles at the forefront of your mind:
- Patience is a Virtue: Rushing through sections or skipping steps will show in the final product. Embrace the meditative pace of the process.
- Technique Over Speed: Focusing on how you apply the paint is more important than how quickly you finish. Proper brush control and paint management are key.
- Embrace the Process: Every canvas is a new opportunity to learn and refine your skills. Don't be discouraged by small mistakes; they are part of the artistic journey.
The true value of mastering these concepts is not just about creating a single beautiful painting. It’s about building a foundation of artistic skill and confidence that you can carry into every future project. You are no longer just filling in numbers; you are making conscious artistic choices. You are learning to control your medium, understand color dynamics, and appreciate the patience required to create something truly special. This newfound expertise transforms a simple hobby into a fulfilling and repeatable creative outlet, offering a reliable way to de-stress, practice mindfulness, and produce art you are proud to display. Your next canvas awaits, and you are now better equipped than ever to bring it to life with precision and passion.
Ready to apply these advanced painting by numbers tips to a project that is deeply personal and unique? Transform your most cherished memories into a work of art with a kit from Custom Paint By Numbers. Visit Custom Paint By Numbers to turn your favorite photo into a personalized canvas and put your new skills to the ultimate test.


