

Ever wondered how some people create stunning paintings without any formal art training? The secret might just be a paint-by-number kit. It's a brilliant concept that takes the intimidation out of a blank canvas and replaces it with a simple, numbered guide. You get to create something beautiful with absolutely zero prior experience. It’s the perfect blend of a structured hobby and creative freedom, offering a deep sense of accomplishment when you see the final piece.
What Is a Paint by Number Kit?
Think of it as a complete art studio packed neatly into a box. It’s designed to get you painting right away, without any of the usual fuss or guesswork. The core idea is simple: you get a canvas that's pre-printed with an image, but the image is broken down into dozens, or even hundreds, of tiny numbered shapes.
Each of those numbers corresponds to a specific pot of paint included in your kit. Your job is to simply match the paint to the number and fill in the shape. One color at a time, you watch a complex image emerge from the canvas, brought to life by your own hand.
The real genius here is how it breaks down a complicated picture into easy, manageable steps. This isn't just about painting; it's a fantastic way to practice mindfulness. Focusing on each little section helps to quiet a busy mind, melt away stress, and sharpen your concentration. It’s a calming, expressive outlet for all ages, much like the therapeutic benefits of colouring emotions to support your child.
What’s Inside the Box?
So, what exactly do you get? While the quality and contents can differ a bit between brands, every standard kit is designed to give you a smooth, frustration-free experience from start to finish.
Let's take a look at the essential components you'll find in almost every kit.
| Component | Description | Purpose |
|---|---|---|
| Numbered Canvas | A pre-printed linen or cotton canvas with the design clearly outlined and divided into numbered sections. | Your artistic roadmap, guiding where each color goes. |
| Numbered Paints | A set of small, pre-mixed acrylic paint pots, each labeled with a number. | The colors you'll use to fill in the corresponding numbered sections on the canvas. |
| Set of Brushes | Usually a pack of three brushes in different sizes (small, medium, large). | Allows you to tackle both broad areas and tiny, intricate details with ease. |
These core items are everything you need to dive in and start creating your masterpiece the moment you open the box.
A Surprising History of Creativity
This hobby isn't a new trend; it actually has a fascinating backstory. Paint-by-number kits exploded in popularity in the early 1950s, becoming a post-war sensation. A company called Palmer Paint, led by Max Klein and artist Dan Robbins, launched the Craft Master brand in 1951, and it took the world by storm.
Believe it or not, by 1954, they had sold an incredible 12 million kits! At their peak, they were churning out 50,000 kits every single day. Today, this classic pastime has evolved, and you can now even turn your own photos into custom paint-by-number projects, making the experience more personal than ever before.
How To Choose Your Perfect Kit
Finding the right paint-by-number kit is where the fun really begins. Think of it like picking the perfect recipe—you want something that matches your taste, skill level, and how much time you have. It's not just about finding a pretty picture; it's about setting yourself up for a genuinely enjoyable and rewarding experience.
Whether you're after a simple project to unwind with over a weekend or a detailed masterpiece you can get lost in for weeks, there's a kit out there for you. You just need to know what to look for.
Getting a Feel for Image Complexity
The first thing to consider is how complex the image is. This really boils down to two things: the number of colors and the size of the little numbered areas you'll be painting.
A kit with fewer colors and bigger, blockier sections is going to be much more forgiving and faster to finish. It’s a great way to dip your toes in. On the flip side, a design with tons of colors and tiny, intricate spaces will demand more patience and a steadier hand, but the payoff is a stunningly detailed and realistic piece of art. If you're just starting out, I always recommend going with a simpler design to build your confidence.
Pro Tip: A quick way to judge a kit's difficulty is to check how many paint pots are included. A kit with 24 paints is a great starting point, while one with 36 or 48 is a heads-up that you’re in for a more detailed adventure.
To make this even clearer, here’s a simple table to help you find your sweet spot.
Kit Complexity Level Guide
| Level | Typical Number of Colors | Detail Level | Best For |
|---|---|---|---|
| Beginner | 18 - 24 | Low | First-timers, kids, or anyone wanting a quick, relaxing project. |
| Intermediate | 24 - 36 | Medium | Those with a steady hand or who have completed a kit before. |
| Advanced | 36 - 48+ | High | Experienced painters looking for a detailed, immersive challenge. |
This little guide should help steer you toward a kit that feels just right, ensuring you have a great time without feeling overwhelmed.
Canvas Size and What It’s Made Of
Once you have a sense of the complexity you want, it's time to think about the canvas itself. Kits come in all sorts of sizes, from small 8x10 inch canvases that are easy to manage to big 20x24 inch ones that make a real statement. Think about where you plan to paint and where you might hang your finished work.
The type of canvas matters, too. You'll generally find two options:
- Rolled Canvas: This is exactly what it sounds like—a flat sheet of canvas that comes rolled up. It’s easy to store and you can tape it down to any flat surface to work on. You'll have to frame it yourself once it's dry if you want to hang it.
- Stretched Canvas: This canvas comes already stretched over a wooden frame, just like a professional artist's canvas. The big advantage here is that it's ready to hang the moment you finish painting, no extra framing needed.
This flowchart can help you visualize that first big choice between a pre-made design and a custom one.

As you can see, it really comes down to whether you want to start with a beautiful design someone else created or turn one of your own memories into art.
The Magic of Custom Paint-By-Number Kits
If you want to create something truly personal, a custom paint-by-number kit is the way to go. This is where you get to be the artist and the inspiration. You can upload any photo you love—a cherished family portrait, a stunning vacation sunset, a goofy picture of your pet—and we'll turn it into a one-of-a-kind paint-by-number canvas.
This transforms a relaxing hobby into a deeply meaningful project. Just imagine painting a favorite wedding photo as an anniversary gift, or bringing a picture of your childhood home to life with your own hands. Each brushstroke is a step back into a treasured memory, creating a unique piece of art that tells your story. To see how it's done, check out our guide on how to order custom paint by numbers kits.
A Simple Step-by-Step Painting Guide
https://www.youtube.com/embed/oQZGQxX__oo
Alright, you've picked out the perfect design. Now you’re staring at a blank, numbered canvas, ready to be brought to life. This is where the real fun begins. Having a clear plan not only makes the process more enjoyable but also helps make sure your finished piece looks like it was done by a pro.
Think of these next few steps as your creative roadmap. We'll walk through everything from setting up your space to that very last brushstroke, breaking it all down into simple, easy-to-follow actions. With just a little prep and a few good tips, you'll be well on your way to creating a masterpiece you can’t wait to show off.
Setting Up Your Creative Space
Before you even think about dipping a brush in paint, getting your workspace organized can make a world of difference. When your area is calm and prepared, you can lose yourself in the art without scrambling for supplies.
First things first, find a flat, well-lit spot where you can comfortably sit for a while. Natural daylight is always best, but a good desk lamp works just fine. Throw down some old newspaper or a plastic tablecloth to protect your surface from any stray drips.
Next, get your materials organized. Lay out your canvas, brushes, and numbered paint pots so everything is easy to grab. You'll also want a small cup of water for rinsing brushes and a paper towel or an old rag for dabbing them dry.
A simple but surprisingly helpful trick is to line up your paint pots in numerical order. This one small step saves a ton of time hunting for the right color when you're in the zone.
Preparing Your Brushes and Paints
Your tools are what connect your vision to the canvas, so spending a moment to get them ready will pay off with smooth, clean lines.
Start by gently fanning out the bristles of each brush with your fingers to loosen them up. It's also a good idea to give them a quick rinse in water and a dab dry before their first use—this gets rid of any stray fibers left over from the factory.
As for your acrylic paints, pop open each pot and give it a gentle stir with a toothpick. The pigment can sometimes separate a bit during shipping, and this ensures it’s perfectly mixed. Just remember to wipe the toothpick clean before moving to the next color!
Keeping your acrylics from drying out is crucial. Here’s how to keep them fresh:
- One at a Time: Only open the paint pot for the color you're actively using.
- Seal Them Tight: Listen for that little "snap" when you close the lid. That’s how you know it's sealed properly.
- Add a Drop of Water: If a paint feels a little thick, a single drop of water and a quick stir will bring it right back.
The Painting Process Step by Step
With your station all set, it’s time to bring that image to life. There are plenty of ways to tackle a paint by number canvas, but following a smart, structured method is the best way to avoid common frustrations like smudging.
This approach keeps your work clean and helps you find a nice rhythm as you see the picture start to emerge. If you want to dive even deeper, our complete guide on how to paint by numbers is packed with more detailed advice.
Here’s the sequence we recommend for a smooth and satisfying painting session:
- Start from the Top Down: Begin painting the numbered areas at the top of the canvas and slowly work your way down. This is a game-changer for both righties and lefties because it keeps your hand from dragging across wet paint.
- Paint One Number at a Time: Choose a color and fill in every single section with that number. This "batching" method helps you get into a flow and means you aren't constantly stopping to clean brushes. A good tip is to start with either the darkest or the lightest color and get all of its spots done first.
- Let Layers Dry: Don't sweat it if you can still see a number or line after one coat. This is totally normal, especially with lighter colors like white or yellow. Just let the first layer dry completely, then go back and apply a second thin coat.
- Master Your Brush Control: Your kit comes with different-sized brushes for a reason! Use the biggest brush to fill in large, open areas quickly and save the tiniest brush for all those intricate details that need a steady hand. For the best control, hold your brush just like you would a pencil.
Following these steps creates a workflow that's both efficient and incredibly relaxing. You can just focus on the simple joy of filling in each shape, watching as a collection of random patches magically comes together into a beautiful image. This methodical process is exactly what makes paint by number kits such a mindful and rewarding hobby for everyone.
Common Painting Mistakes and How to Fix Them
Even the most focused artist has a "happy little accident" every now and then. When you're settling in with a paint-by-number kit, remember that small mistakes are just part of the journey. They're not a reason to get frustrated—they're how you learn and get better.
Most of the common hiccups you'll run into have surprisingly simple fixes. Whether you’ve accidentally used the wrong color or found your paint isn't cooperating, there's almost always a way to get back on track and make sure your artwork turns out beautifully. Let's look at a few frequent challenges and how to solve them.
Reviving Dried or Thick Paint
So, you've opened your kit, ready to start, but one of the paint pots is thick, clumpy, or a little dry. Don't worry, this happens all the time and it’s an easy fix! The acrylic paints in your kit are water-based, which makes them incredibly forgiving.
These modern acrylics are a big improvement on the paints used back in the 1950s and 1960s, which were loved for how fast they dried. That quick-drying quality is what made paint by number kits so great for mass production and perfect for artists of any skill level. You can read more about the history of paint by numbers on bestpaintbynumbers.com to see how far they've come.
To bring your paint back to life, just add a single drop of warm water to the pot. Grab a toothpick and stir it in gently until the paint gets back to that smooth, creamy consistency you're looking for. The key is to add water very slowly—too much at once will make the paint thin and see-through.
Correcting a Color Mix-Up
It’s a classic mistake: you reach for pot #12 but accidentally grab #21 and start filling in a section. Take a deep breath! The solution just depends on whether the paint is still wet or has already dried.
If the paint is still wet:
- Wipe it away: Use a clean, damp cotton swab or the corner of a paper towel to gently lift the wrong color off the canvas.
- Clean the area: A fresh, damp swab can help remove any leftover paint.
- Let it dry: Give the spot a few minutes to dry completely before you go in with the right color.
If the paint is already dry:
- Paint over it: The simplest fix is to just paint the correct color right on top. Acrylics are great at covering what's underneath.
- Use a primer: For a flawless fix, especially if you're covering a dark color with a light one, paint a thin layer of white paint or gesso over the mistake first. Once that's dry, you'll have a fresh surface ready for the correct color.
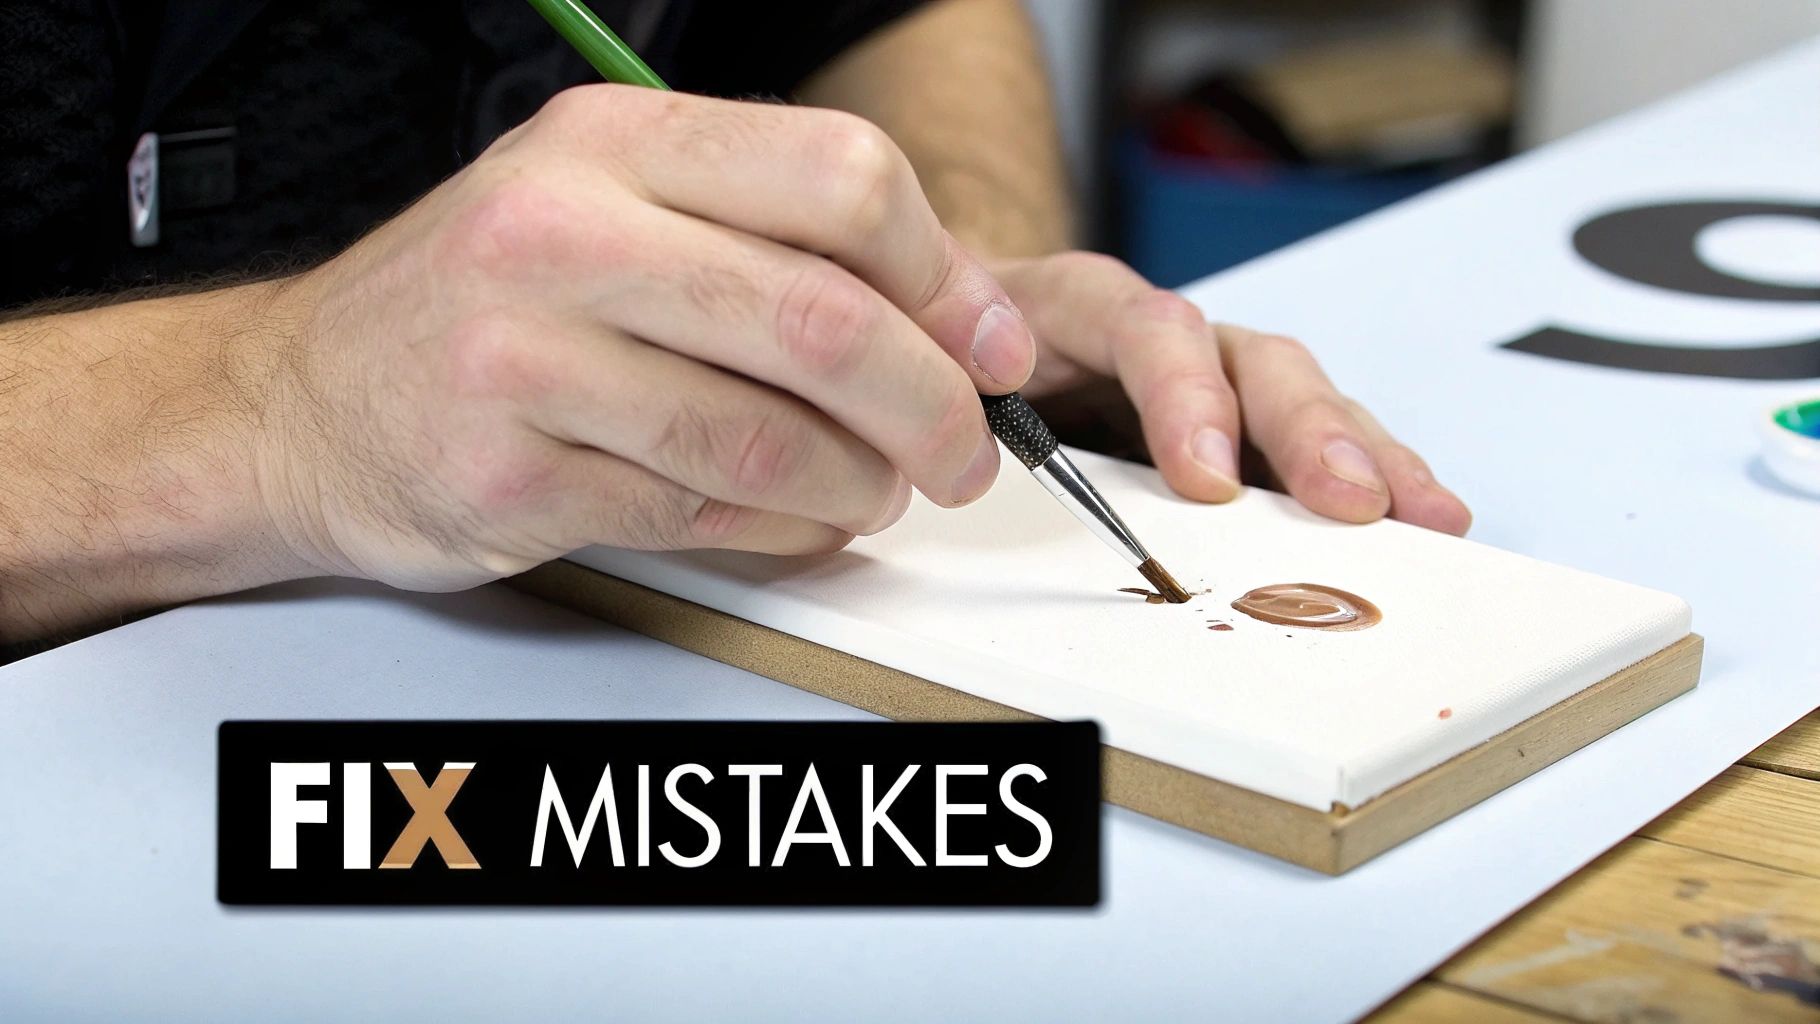
Fixing Smudges and Messy Lines
Staying perfectly within the lines can be tough, especially in those tiny, detailed sections. If you smudge some wet paint or color outside the lines, how you fix it depends on the colors involved.
If you smudge a dark color into a light area, let it dry completely. Trying to fix it while it’s wet will just smear the paint and create a bigger mess. Once it's dry, the correct lighter color will easily cover it up.
When your lines aren't quite as crisp as you'd like, a fine-tipped brush is your secret weapon. Let the first layer of paint dry, then come back with your smallest brush to carefully touch up the edges. It’s a small detail, but taking the time to sharpen those lines with a steady hand can give your painting a really sharp, polished finish that makes the whole piece pop.
Finishing and Framing Your New Artwork
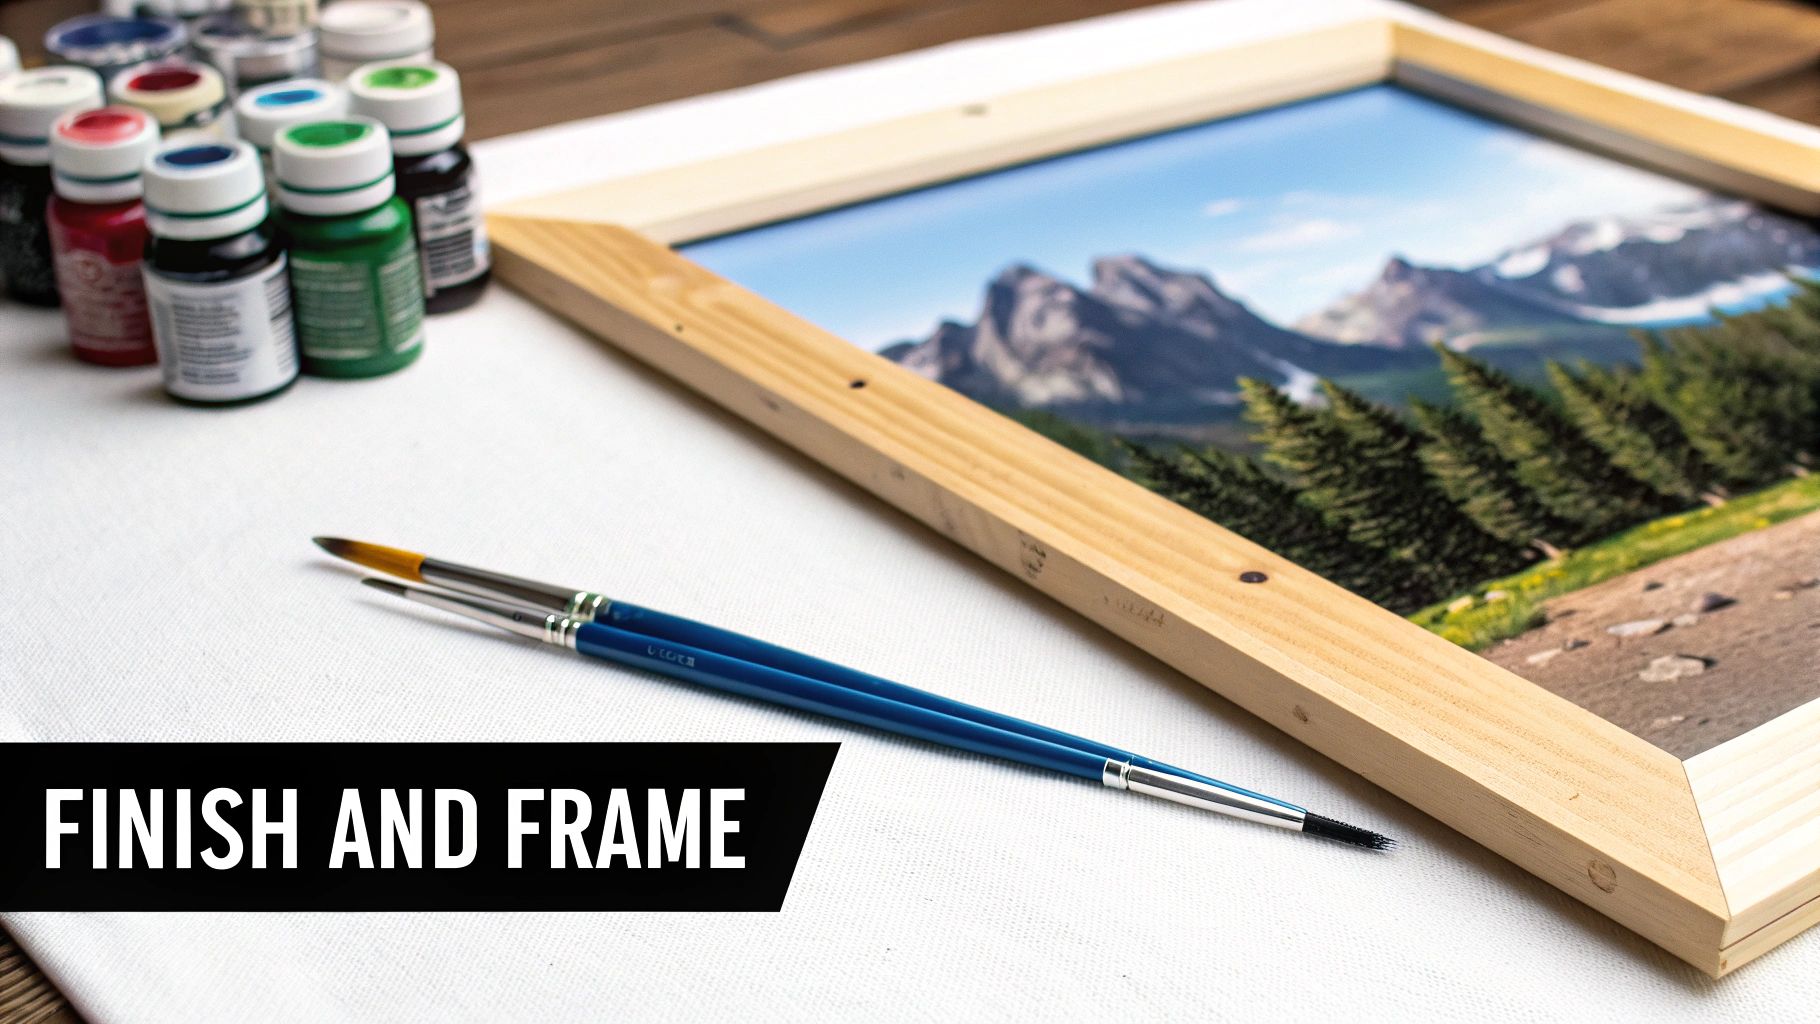
There's nothing quite like painting that last numbered section. It's a fantastic feeling. You’ve taken a blank, numbered canvas and brought a beautiful image to life, but don't stop there! A couple of final touches are all it takes to transform your project into a masterpiece that looks truly professional.
These finishing steps are what protect all your hard work and get your painting ready to be shown off. It’s not a complicated process, but it makes a huge difference in how your art looks and lasts over time.
Protect Your Painting with a Varnish Seal
Once your painting is completely dry, the first thing you'll want to do is apply a varnish or sealant. Think of it as a clear coat of armor for your art. It shields the acrylic paint from dust, moisture, and the fading that can happen from UV light.
But a good varnish does more than just protect; it actually makes the colors look better. It evens out the finish of the paint, which can make certain colors seem richer and deeper, giving the whole piece a cohesive, polished look. It’s a simple step that really unifies the painting.
Applying a sealant is the key to preserving your artwork's vibrancy. A good varnish ensures the colors you carefully painted stay just as bright and beautiful years from now as they do today.
You've got a few choices when it comes to the final look. Each type of varnish gives a different aesthetic, so you can pick the one that best matches your painting and your personal taste.
Types of Varnish Finishes:
- Gloss: This gives you a shiny, reflective surface that really makes colors pop. It’s a fantastic choice for vibrant, high-contrast images.
- Satin: A popular middle-ground option that offers a gentle sheen. It brings out the colors without the intense reflection you get from a gloss finish.
- Matte: This finish is completely non-reflective for a soft, flat look. It's perfect if you want to reduce glare and give your artwork a more contemporary feel.
For a detailed walkthrough, our guide offers some great advice on how to seal acrylic paint on canvas, covering everything you need to know.
Choosing the Perfect Frame for Your Art
After the varnish has dried, it’s time for the fun part: framing your masterpiece. A good frame does way more than just hang your art on the wall. It complements the painting itself and helps it fit in with your home's decor.
Think about the style of your painting. A modern, abstract piece might look fantastic in a simple black or metallic frame. A rustic landscape, on the other hand, might be better suited to a warm, natural wood frame. The goal is to find a frame that enhances the art, not one that competes with it.
If you need some pointers, this is a great guide on how to frame posters without a meltdown that can make the process a breeze.
If your paint by number kits came with a canvas already stretched over a wooden subframe, framing is super easy. You can find a standard-sized frame that the canvas will pop right into. Or, for a gallery-quality look, try a "floater" frame, which leaves a stylish gap between the canvas and the frame.
Did you get a rolled canvas? No problem. You'll just need to mount it on a backing board or have it stretched before it's ready for framing.
Paint by Number Kits as Thoughtful Gifts
Finding a gift that's personal, unique, and genuinely unforgettable isn't always easy. That's where paint by number kits come in. They're more than just another present; they offer an entire experience. Forget typical gifts—this is a thoughtful gesture that can be given in two equally wonderful ways.
The first way is to give the unpainted kit itself. Think of it as gifting someone a little box of creativity and calm. You're not just handing over an object; you're giving them a chance to unplug, focus, and find their inner artist. It’s a perfect invitation to a mindful activity for a friend who needs to de-stress or a family member itching for a new hobby.
From a Memory to a Masterpiece
The second approach is where things get really personal. You can complete a custom painting yourself and then give the finished artwork as a gift. This elevates the kit from a fun project into a heartfelt, handmade treasure. By starting with a cherished photo, you can create a piece of art that holds real emotional value.
Just imagine the look on their face when they unwrap one of these:
- For an Anniversary: Paint a favorite photo from your wedding day. It’s a beautiful way to capture that moment of joy and make it feel truly timeless.
- For the Holidays: Turn a beloved family portrait into a stunning painting they can hang on the wall and enjoy for years to come.
- For a Milestone Birthday: Find a nostalgic photo from their childhood and bring that sweet memory to life with your own hands.
You’re not just recreating a picture; you’re taking a journey with it. Every single brushstroke is filled with care and intention, which makes the final piece a powerful symbol of your connection.
Gifting a completed custom painting is one of the most personal presents you can give. It says, "I spent my time and care creating something beautiful, just for you, from a memory we both share."
Whether you choose to give the creative experience or the finished masterpiece, a custom paint by number kit turns your gift into a story. It’s a wonderful way to celebrate a shared past or inspire a new passion, making it a fantastic choice for just about any occasion. The real magic is in turning a personal memory into something tangible they can hold onto forever.
Frequently Asked Questions
It's totally normal to have a few questions when you're starting out with paint-by-numbers. We get it! To make sure you feel ready and excited to begin, we’ve put together answers to a couple of the most common things people ask.
Think of this as your quick-start guide for tackling those little "what if" moments, from paint pots running low to those stubborn numbers that don't want to hide.
What If I Run Out of a Certain Color?
That little moment of panic when you see a paint pot getting low is real, especially if it's a color you need for a big background area. Don't worry, though. A good kit plans for this. We always include about 30% more paint than you should need to finish your painting.
If you find yourself getting close to the bottom, try painting in slightly thinner layers to make it stretch. In a real pinch, you could even try mixing a similar color from other paints in your kit.
Our Promise: At Custom Paint By Numbers, we’ve got your back. If you run out of paint because of an issue with the kit, just reach out to our support team. We'll happily send you a new pot of that color, completely free.
How Can I Cover the Numbers Completely?
Have you noticed the printed numbers peeking through, especially with lighter colors like yellows and whites? That's a classic paint-by-number challenge, and the fix is super simple.
Just let that first layer of paint dry all the way. Once it's no longer tacky, go back and add a second, light coat right over the number. That extra layer almost always does the trick, giving you that smooth, professional look you're going for. It’s a great little painting skill to learn!
Ready to turn your favorite photo into a masterpiece you can hang on the wall? Our kits at Custom Paint By Numbers include everything you need to get started. Begin your creative adventure and order your custom kit today.


