

Welcome to the wonderfully relaxing world of paint by number on canvas. If you've ever wanted to create a beautiful piece of art without the pressure of a blank canvas, this is for you. It breaks down a seemingly complex image into simple, numbered sections, turning what can be an intimidating process into a fun, rewarding activity.
Your All-in-One Kit for Creating a Masterpiece
Think of a paint-by-number kit as your personal art studio in a box. It gives you the structure and all the tools you need, so you can just focus on the satisfying process of putting paint on canvas. It takes all the guesswork out of starting a painting, which makes it perfect for beginners or even seasoned artists looking for a chill pastime.
The idea isn't new, either. Paint-by-numbers exploded in the 1950s, with its creators selling over 2 million kits in the first year alone! It successfully turned art into a hobby for everyone and has grown into a billion-dollar industry today.
What's Inside the Box
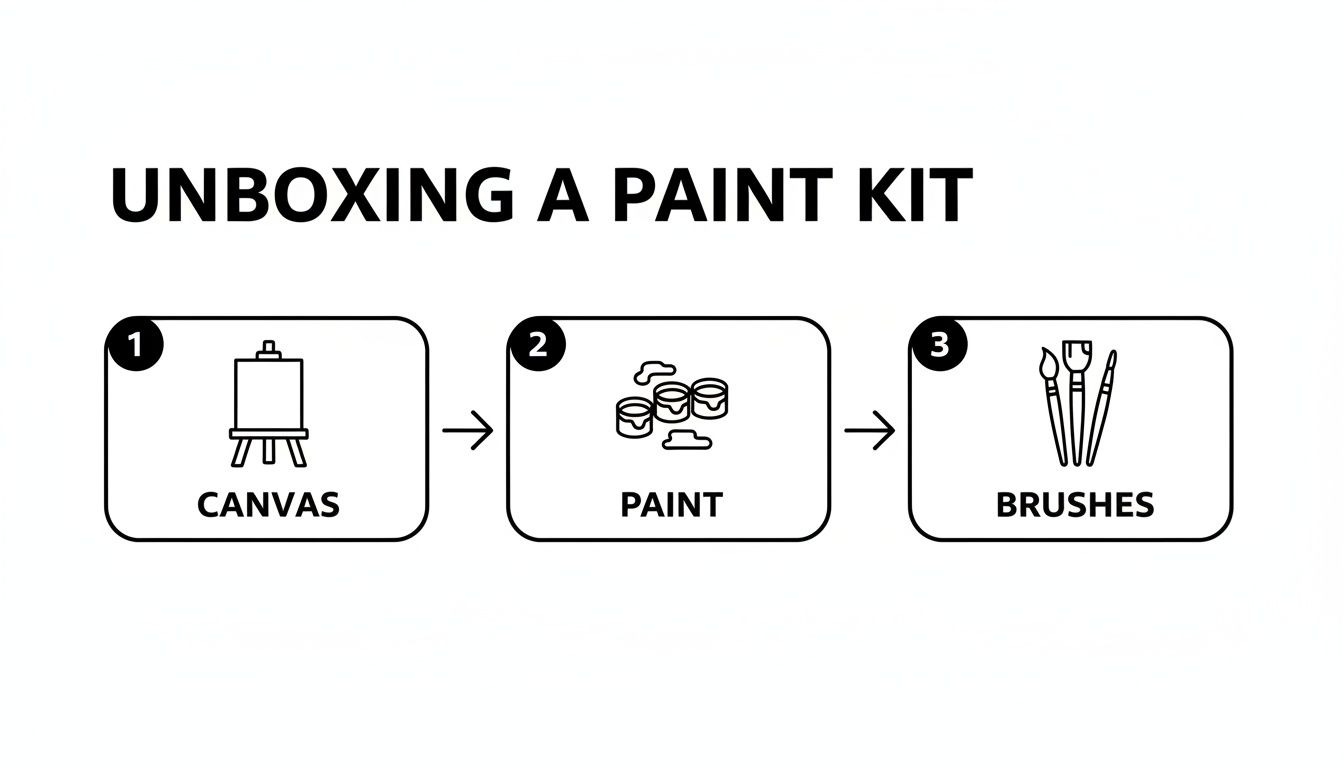
Most kits come with everything you need to get started right away. When you open it up, you'll find a few essential items.
- The Pre-Printed Linen Canvas: This is the core of your project. It’s a quality piece of fabric printed with numbered outlines that tell you exactly where each color goes.
- A Set of Numbered Acrylic Paints: You’ll get a collection of small paint pots, each with a number that matches a section on the canvas. These are almost always acrylics because they're easy to work with and dry quickly.
- A Variety of Brushes: You'll typically get at least three different-sized brushes—a fine-tipped one for tiny details, a medium one for most areas, and a wider one to fill in the larger spots.
Getting your space ready is just as important as the materials. Find a spot with good light and a flat surface. Grab a cup of water for rinsing your brushes and a paper towel or rag for dabbing off the excess. A little prep makes the whole experience so much smoother.
Once you get a feel for the process with a pre-made design, you might find your confidence growing. Many people discover this hobby opens the door to trying more advanced techniques or even signing up for formal art classes.
Pro Tip: Before you dip a single brush, snap a quick picture of the numbered canvas with your phone. If you accidentally paint over a number later, you'll have a digital reference you can zoom in on to see what color was supposed to go there.
The real magic of this hobby is its simple, structured creativity. It allows you to unwind, focus, and watch a beautiful image come to life, one number at a time. And if you’re feeling extra creative, you can even learn how to create your own paint by number canvas from a personal photo—a fantastic way to turn a favorite memory into a unique piece of art.
Getting Your Canvas Ready for a Flawless Finish
It’s tempting to tear open your new kit and dive right into painting. I get it! But taking just a few minutes to prep your canvas is the secret to getting that polished, professional look you’re after. A little bit of setup work now makes a huge difference in how smoothly the paint goes on and how amazing your final piece looks.
Most kits come with the essentials: a canvas, a set of numbered paints, and a few brushes. This is your core creative toolkit.
While every part is important, the canvas is the foundation where your masterpiece will come to life. Let’s make sure it’s perfect.
Smooth Out That Rolled Canvas
Did your paint by number on canvas arrive rolled up in a tube? If so, you've probably noticed a few creases. Don't worry, they’re easy to fix.
Just lay the canvas face down on a thick towel or your ironing board. Set your iron to a low-to-medium heat—high heat is a big no-no, as it can damage the linen. Gently press the back of the canvas, keeping the iron moving so you don't scorch any one spot. The warmth will help the canvas fibers relax, smoothing out those stubborn folds in minutes.
A flat canvas isn't just about aesthetics; it stops paint from pooling in the creases and gives you much better control over your brushstrokes. This small step has a massive payoff during the entire painting process.
Before you start, a quick check of your canvas can save you headaches later. Here's a simple list of things to do.
Canvas Preparation Checklist
| Preparation Step | Why It's Important | Pro Tip |
|---|---|---|
| Ironing (Required for Rolled Canvas) | Removes wrinkles and creases, ensuring a smooth, flat painting surface. | Place a thin cloth between the iron and the canvas (on the back side) for extra protection. |
| Applying Gesso (Optional) | Seals the canvas fibers, preventing paint from soaking in and making colors appear more vibrant. | Use clear gesso so you can still see the numbers and lines. One thin coat is all you need. |
| Securing to a Surface (Required) | Prevents the canvas from sliding around, allowing for a steady hand and more precise painting. | Painter's tape is your best friend here. It holds strong but peels off without damaging the canvas. |
Taking these steps ensures your canvas is in prime condition, making the entire painting experience smoother and more enjoyable.
The Gesso Advantage for Better Paint Flow
Ever feel like your paint is just sinking into the canvas, forcing you to apply coat after coat? There's an optional but game-changing trick for that: a thin layer of clear gesso. Gesso is a primer that artists use to create a slight barrier between the paint and the canvas fabric.
Applying gesso does two great things:
- It smooths out the canvas texture, so your brush glides across the surface like a dream.
- It makes your colors truly pop. Because the paint sits on top instead of soaking in, the pigments look brighter and more true-to-shade.
You can grab a jar of clear acrylic gesso at any art supply store. The most important thing is to let it dry completely before you start painting.
Secure Your Workspace
Nothing is more frustrating than a canvas that keeps wiggling around while you're trying to focus on tiny details. Securing your canvas is a must. If you have an easel, you’re all set—just clip it on. This is great for your posture and makes you feel like a pro.
No easel? No problem. A flat table and some painter's tape work just as well. Tape the edges of the canvas down to a piece of cardboard or right onto your table. This keeps it from shifting and lets you paint with a much steadier hand.
The type of canvas in your kit often depends on what’s popular. Stretched canvases, which are ready to go right out of the box, make up about 60% of the global canvas market because they’re so convenient. Just as important as your canvas are your brushes. To get the most out of them, check out our guide to paint by number brushes and see how each one can help you achieve different effects.
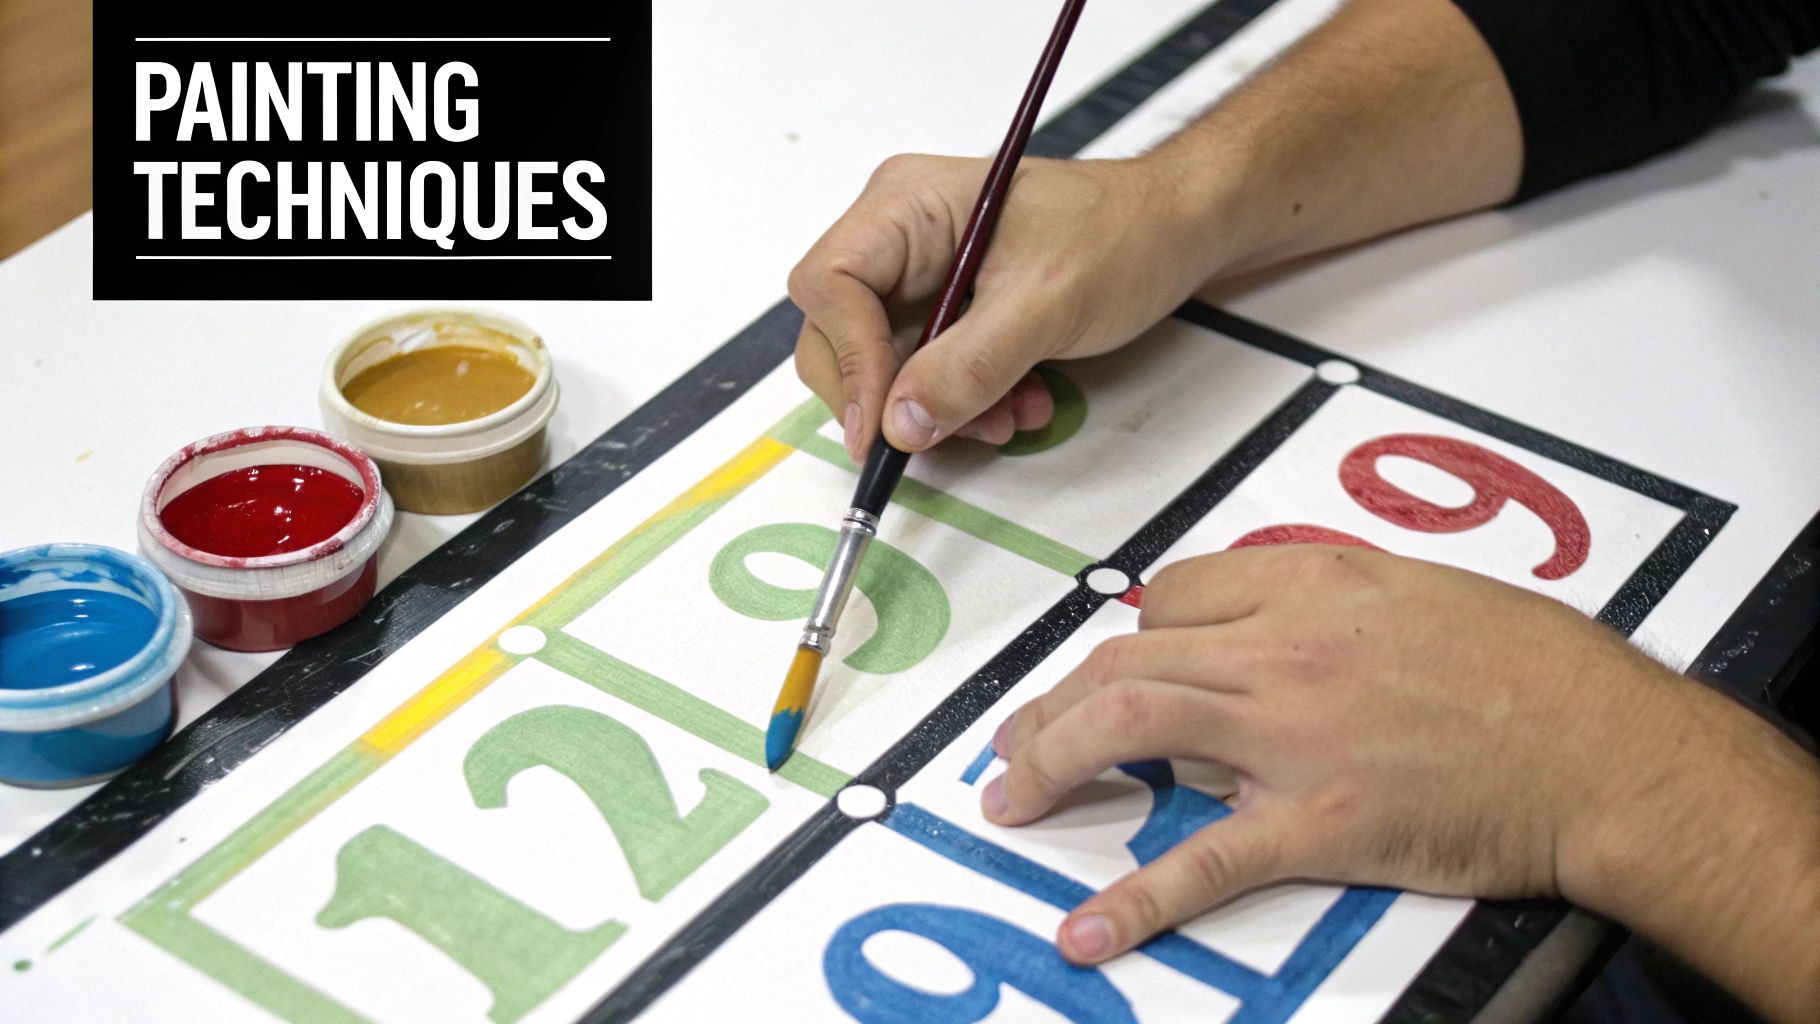
Proven Techniques for Painting by Numbers
Alright, your canvas is ready, your paints are lined up—now for the fun part. This is where the magic happens, turning that numbered outline into something you'll be proud to hang on your wall. It might look a little intimidating at first, but with a few simple strategies, you'll be painting like a pro in no time.
The key to a clean, professional-looking finish is having a game plan. A methodical approach is your best friend here, helping you avoid smudges and making the whole process feel much more relaxed.
Work From Top to Bottom
This is one of the most practical tips I can give you. Always start painting at the top of the canvas and work your way down. If you're right-handed, begin in the top-left corner. This simple habit keeps your hand from dragging across wet paint as you move across the canvas.
Left-handed? Just flip it. Start in the top-right corner. It’s a small adjustment that makes a huge difference in preventing those frustrating smears.
Deciding Your Color Order
There’s no single "correct" way to choose which color to start with, but a couple of methods work really well for both beginners and seasoned painters.
-
Paint One Number at a Time: Pick a color and fill in every single section with that corresponding number. This is great for getting into a flow and ensuring all your colors look consistent. Just be sure to close the paint pot tightly when you’re done so it doesn't dry out.
-
Go from Dark to Light: I personally like this method. Starting with the darkest colors first is very forgiving. Dark paints are generally more opaque, so they easily cover up any stray lines. If you accidentally get a dark color in a light-colored section, it’s much easier to paint over it with the lighter shade later.
The dark-to-light method also gives your painting a natural sense of depth right from the start. The dark areas ground the image, making the lighter colors really pop. It’s a classic trick that artists have used for centuries.
Ultimately, give both approaches a try and see which one feels right for you. It's all about finding a rhythm that you enjoy.
Mastering Your Brushes and Paint
Your kit likely came with a few different brushes, and they're not just for show. Using the right tool for the job makes everything smoother and your final piece look far more polished.
Use the finest, pointiest brush for those tiny, intricate spots that require a steady hand. The medium-sized brush will be your workhorse for most of the painting. Then, pull out the big, flat brush to cover those large, open areas quickly and evenly.
The consistency of your paint matters, too. The acrylics in your kit should be smooth and creamy—think craft glue. If you open a pot and find the paint has thickened up, don't worry. It’s an easy fix.
- Add just one single drop of water to the pot.
- Stir it in thoroughly with a toothpick.
- Check the consistency. Still too thick? Add one more drop.
The trick is to go slow. Adding too much water at once will make the paint thin and see-through. This little tip can save a paint pot and keep your application flawless.
It's no surprise this hobby has taken off. It's shifted from a simple craft to a genuine form of relaxation for adults. A recent market analysis of painting kits shows that sales have soared, with themes like landscapes and florals consistently topping the charts. It seems we're all looking for a way to connect with calm, natural imagery.
By combining a smart painting order with good brush and paint management, you’re setting yourself up for a great result. Every number you fill in is a small win, building your confidence and bringing you one step closer to a finished work of art.
Navigating Common Painting Hiccups
Even seasoned artists run into little issues, so don't sweat it if you hit a snag with your paint by number on canvas. It's all part of the process! Think of these moments less as mistakes and more as a chance to learn a few classic artist tricks.
Knowing how to handle these common bumps in the road keeps the whole experience fun and relaxing, which is the entire point. Most problems have a surprisingly simple fix.
Fixing Slips, Smudges, and Wrong Colors
It’s almost a guarantee: at some point, you’ll paint outside the lines or grab the wrong color pot in a moment of creative focus. The great thing about acrylic paint, though, is how forgiving it is.
So, what do you do if you've colored outside the lines?
- If the slip is in an area you haven't painted yet: Just leave it. Let the paint dry, and when you get to that section later, its correct color will cover the mistake right up. No one will ever know.
- If you smudge into a finished section: Let the wrong color dry completely first. Then, simply go back with the correct color and gently paint over the smudge. It might take a second thin coat, but it's an easy and effective fix.
But what if you paint an entire section with the wrong color? Again, don't panic. Let it dry, then paint over it with the right one. A darker color will easily hide a lighter mistake in one coat. If you need to cover a dark color with a light one, it may take two or three layers. The key here is patience—always let each coat dry completely before adding the next.
How to Revive Dried or Goopy Paint
Ever opened a paint pot to find it’s thick, clumpy, or a bit dried out? It happens, especially if the lid wasn't sealed perfectly. Don't toss it! You can usually bring it right back to life.
A little warm water is all you need to restore that smooth, creamy consistency.
- Start by adding just one or two drops of warm water into the pot.
- Grab a toothpick and stir it in thoroughly, scraping the sides and bottom to mix everything together.
- Check the consistency. Still too thick? Add one more drop and stir again.
The trick is to go slow. Adding too much water at once will make the paint thin and watery, which means it won't cover the numbers on the canvas properly. It’s always better to add water drop by drop until it’s just right.
When Numbers Peek Through Light Colors
One of the most common frustrations is seeing those black lines and numbers show through lighter paint colors like yellows, whites, and pastels. It can really take away from that clean, finished look you’re going for.
Luckily, there are two great ways to handle this.
The most direct approach is to simply add another coat of paint. Let the first layer dry completely, then go over it with a second or even a third coat. Building up the layers will eventually make the paint opaque enough to hide what's underneath.
For a more surefire method, try this little pro tip before you start painting those light-colored areas:
- Find a white-out correction pen or a white gel pen.
- Carefully trace over the black numbers and lines inside the section you're about to paint.
- Let the white ink or fluid dry completely.
Now, when you paint over it with your yellow or pastel, the white base acts as a primer, blocking the dark lines from showing through. You'll get a flawless, vibrant finish, often in just a single coat. This small prep step makes a massive difference in the final result.
Finishing and Displaying Your Artwork
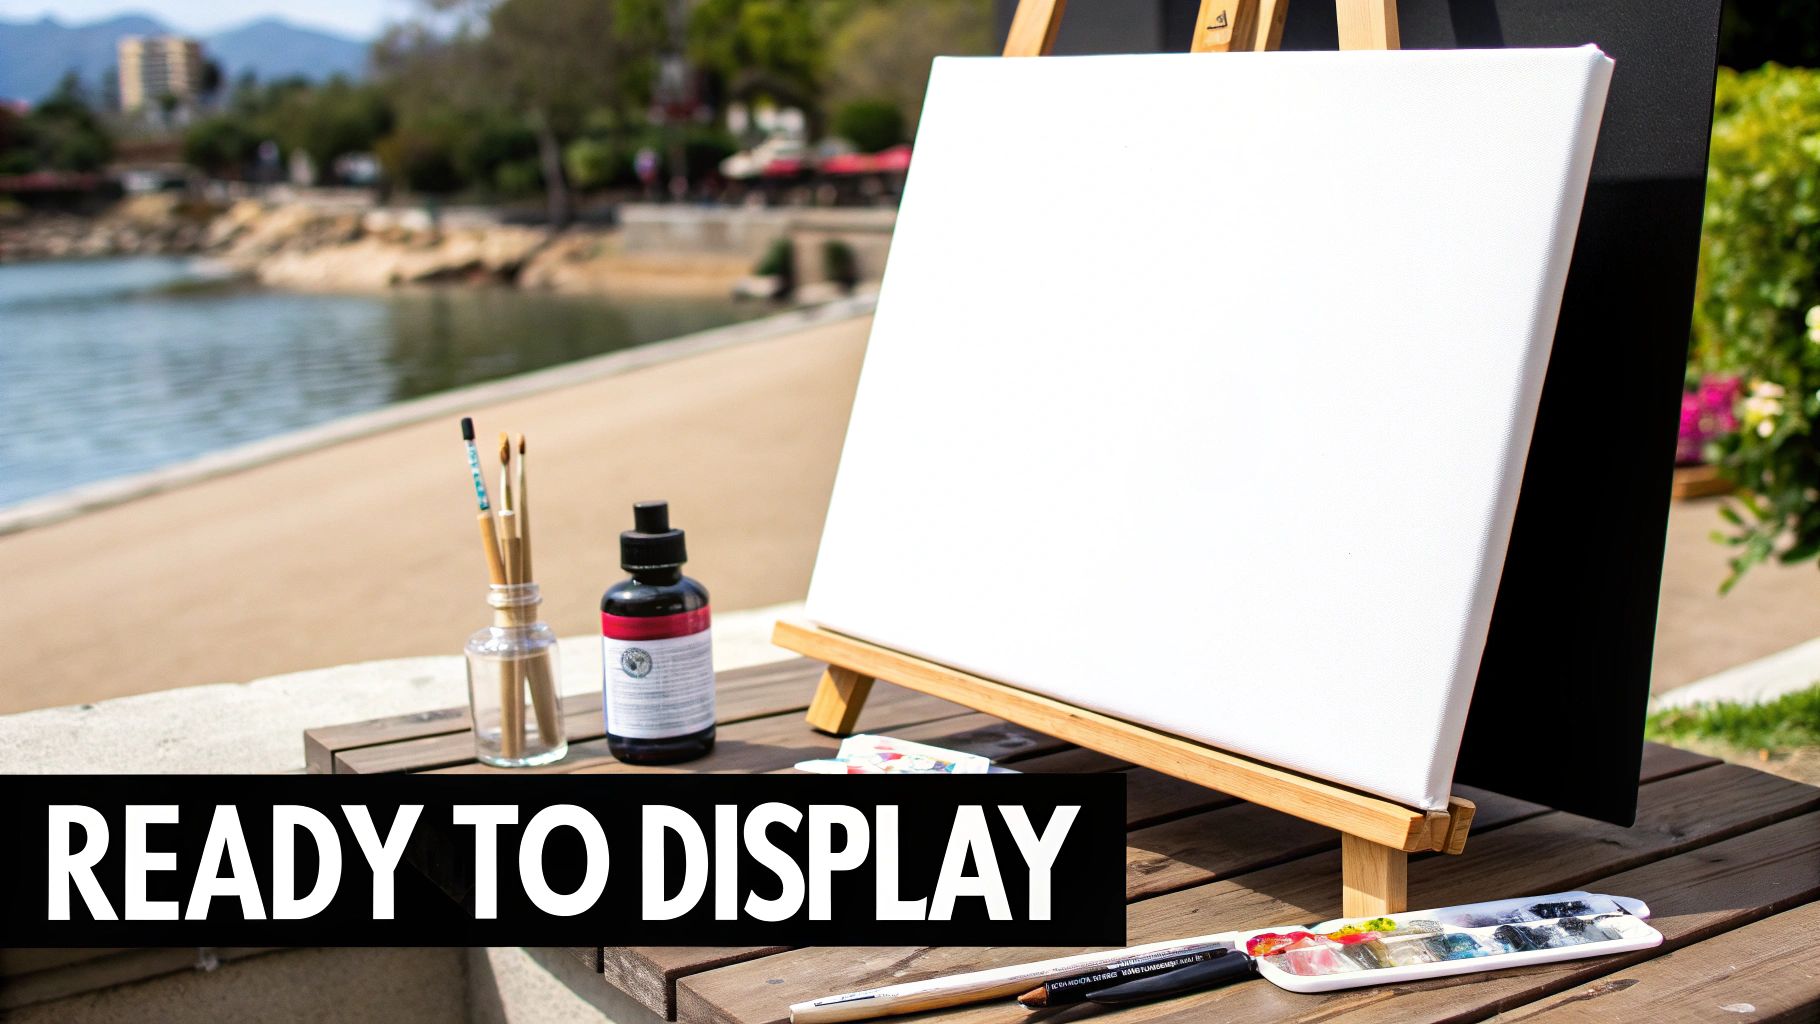
You’ve painted the last number, cleaned your brushes, and taken a step back to soak it all in. That feeling of accomplishment is what this hobby is all about. But before you pick out the perfect spot on your wall, a couple of final touches can protect your art and give it that polished, finished look.
This is where your paint by number on canvas project truly transforms from a relaxing pastime into a piece of decor you'll be proud of for years.
Protect Your Work with a Varnish Seal
Think of varnish as a clear coat of armor for your painting. While acrylic paint is pretty tough, it's not invincible. Over time, dust can settle into the surface, and direct sunlight can cause those beautiful colors to fade. A simple coat of varnish seals everything in, making your painting resistant to dust, UV rays, and even a bit of moisture.
Varnish also does wonders for the painting's appearance by evening out the finish. You'll notice some acrylics dry shinier than others; varnish unifies the whole piece. You’ve got a few choices, each with its own vibe.
- Gloss Varnish: This gives your painting a shiny, reflective finish that makes colors look incredibly deep and saturated. It’s a fantastic choice for really vibrant, high-contrast images.
- Matte Varnish: If you want a modern, non-reflective look, matte is the way to go. It cuts down on glare, which is perfect if you plan to hang your art in a room with lots of natural light.
- Satin Varnish: This is the best of both worlds. It offers a subtle, low-luster sheen that isn't as reflective as gloss but isn't totally flat like matte. It’s a classic choice that works for just about any painting.
To apply it, grab a wide, soft brush and sweep a thin, even coat across the entire canvas. Let it dry completely in a dust-free spot for at least a few hours.
Varnish Finish Comparison
Deciding on a varnish really comes down to personal taste. The right finish can subtly enhance the mood of your artwork. This table breaks down what to expect from each type.
| Varnish Type | Visual Effect | Best For | Level of Protection |
|---|---|---|---|
| Gloss | High-shine, reflective | Making bold colors pop; high-contrast art | Excellent |
| Satin | Soft, low-lustre sheen | A versatile, classic finish for any painting | Excellent |
| Matte | Non-reflective, flat | Reducing glare; creating a modern look | Excellent |
Ultimately, there's no wrong choice here. All three provide excellent protection for your hard work, so go with the look you love the most.
Applying varnish isn't just a protective step; it unifies the entire piece. Some acrylic colors dry with a slightly different sheen than others. A final coat of varnish gives the whole surface a consistent, intentional finish.
Framing and Displaying Your Canvas
With your artwork protected, it's time to get it ready for its big debut. How you frame it will depend on whether your canvas came pre-stretched on a wooden frame or rolled up in the box.
If your canvas is already stretched, you're good to go! You can hang it as-is for a clean, minimalist look. Another great option is a "floater frame," which creates a small gap around the canvas for a sophisticated, gallery-style effect.
If your canvas came rolled, you'll need to stretch it first. Many kits come with an optional DIY stretcher bar frame that’s pretty easy to assemble. You just connect the wooden bars and then carefully staple the canvas to the back, pulling it taut as you work your way around. For a more detailed walkthrough, our guide on https://paint-by-number.com/blogs/learn-about-paint-by-numbers/how-to-frame-canvas-paintings has you covered.
Once your art is ready to hang, think about the right spot. Pay attention to the room’s color palette and lighting. For some great general advice, check out these tips on choosing and displaying artwork effectively. Finding a place where your new masterpiece truly shines is the final, rewarding step.
Common Questions & Quick Fixes for Painting by Number
As you get settled in with your new paint by number kit, you're bound to have a few questions. It happens to everyone! Think of this as your personal FAQ, full of practical answers to the most common head-scratchers we hear from fellow painters.
Getting these little details sorted out early on makes the whole process smoother and way more fun. Let's tackle some of those common "what if" scenarios so you can get back to painting.
Do I Really Need to Clean My Brushes Between Colors?
Absolutely, yes. This is one of those non-negotiable habits that makes a world of difference. To keep your colors looking crisp and true, you have to give your brush a good cleaning every single time you switch paints.
Even a tiny fleck of black paint can turn a bright yellow into a muddy mess. The goal is a clean, vibrant finish, and that starts with a clean brush. Just keep a cup of water and a paper towel handy. A quick swish, a gentle pat dry, and you're ready for the next color.
Think of your paint pots like a pristine artist's palette. Keeping your brushes clean ensures that each color remains exactly as it was intended, preserving the integrity and brightness of your final artwork.
It’s a tiny step that takes seconds but has a huge impact on how professional your finished piece looks.
What if I Run Out of a Certain Color?
That little moment of panic when you see a paint pot running low is totally normal, especially if it's a color you need for a large area. Before you worry, take a quick look at your technique. Often, the culprit is applying the paint too thickly. You just need enough to cover the number and lines, not a thick, cake-like layer.
If you’ve been painting with a light hand and still come up short, you’ve got a couple of solid options:
- Play chemist and mix a match: See if you can create a similar shade by blending other colors from your kit. Need a light blue? A little bit of white mixed into a darker blue might be the perfect solution.
- Head to the craft store: Most art supply stores sell small, individual pots of acrylic paint for just a couple of dollars. The best way to get a perfect match is to paint a small swatch on a piece of paper and bring it with you.
How Long Does This Paint Actually Take to Dry?
One of the great things about acrylic paint is that it dries fast. For a typical thin coat on your canvas, it should feel dry to the touch in about 15 to 20 minutes. This is great because it means you don't have to wait around forever to move on to the next section.
Now, if you've laid the paint on a bit thicker, you'll need to be more patient—it could take an hour or more to fully cure. Keep in mind that things like humidity can also play a role. A good rule of thumb is to always let a section dry completely before painting an adjacent spot to avoid any accidental smudges.
Help! The Numbers Are Showing Through the Light Colors.
This is probably the single most common frustration in the paint by number world. Those dark, printed numbers can be surprisingly stubborn, especially under light colors like white, yellow, or pastels. But don't worry, there's an easy fix.
The most straightforward solution is just to add another coat. Let the first layer dry completely, then go back over the area. For some really light shades, you might even need a third thin layer to get that perfect, opaque coverage.
Want an artist's trick that saves you time and paint? Try this little bit of prep work:
- Before you even dip your brush in that light-colored paint, grab a white-out correction pen.
- Carefully go over the black number and lines in that section with the pen.
- Let the white ink dry for a minute.
This creates a blank slate, completely blocking the dark ink. Now when you paint over it, one coat is usually all you need for a bright, solid color.
Ready to turn your favorite photo into a masterpiece? At Custom Paint By Numbers, we make it easy to create a personalized kit from any image you love. Start your artistic journey today and paint your memories. Explore our custom kits.


