

Diving into a paint by numbers horses project is a fantastic way to blend your artistic side with a love for these incredible animals. It's a hobby that offers the calming, almost meditative, joy of painting while capturing the powerful beauty of horses. The best part? It's perfect for absolute beginners and still deeply satisfying for seasoned crafters.
Your First Steps into Equine Painting
Welcome to the wonderful world of paint by numbers! This guide is your companion from the moment you unbox your kit to the proud finale of hanging a finished masterpiece on your wall. Together, we'll turn a simple numbered canvas into a stunning portrait of a wild stallion or a tender scene of a mare and foal.
You're in good company—the appeal of this craft is truly global. The paint by numbers market was valued at around $1.2 billion in 2023, and you might be surprised to learn that equine-themed kits made up a huge 18% of all sales. That's over $216 million generated from horse art alone, which just goes to show how many people are picking up a brush and discovering this passion. If you're curious about other subjects, you can learn more about painting by numbers animals and see the incredible variety out there.
Choosing the Right Kit for Your Skill Level
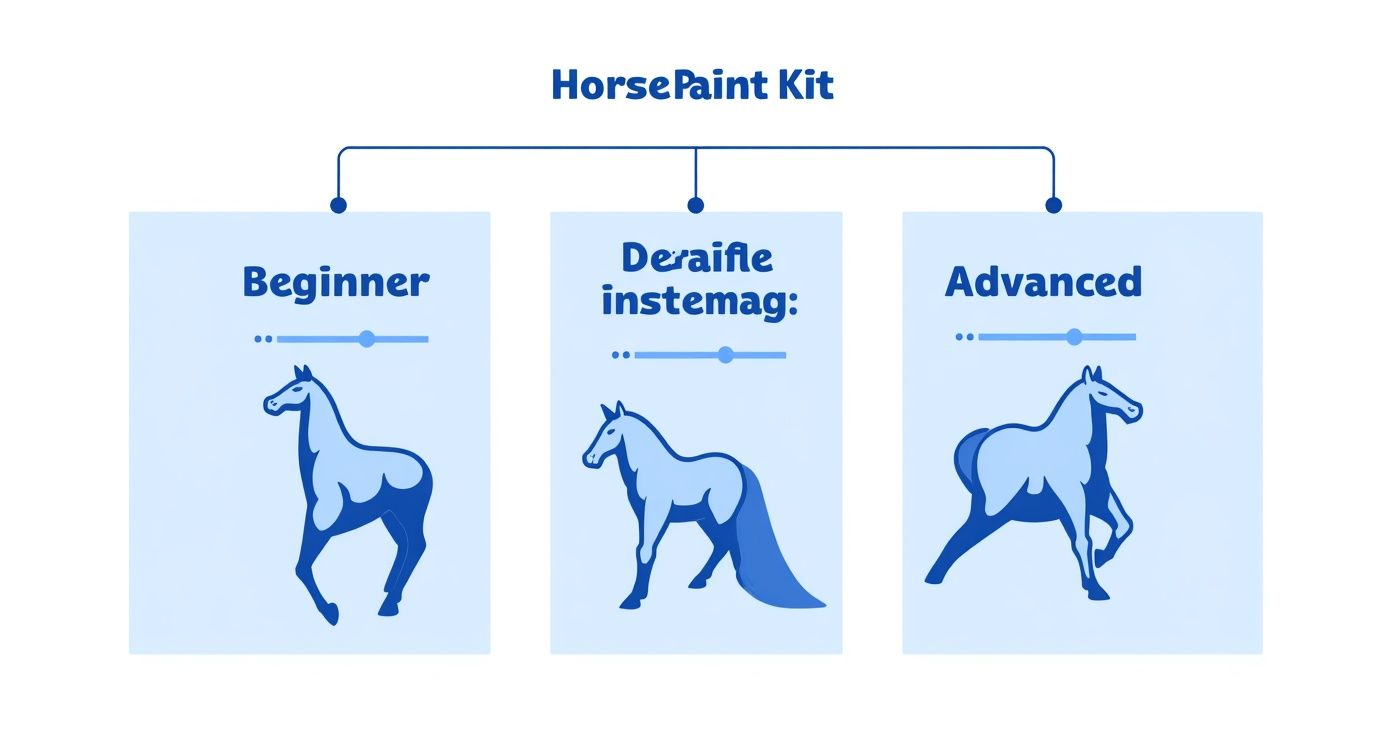
Honestly, picking the right project is the most critical first step. You want a challenge that's fun, not frustrating. Kits are designed with different skill levels in mind, so there's something for everyone.
- Beginner Kits: These are your best starting point. They have simpler designs with larger areas to paint and a more limited color palette, which helps you get the hang of the process without feeling overwhelmed.
- Intermediate Kits: Ready for a bit more? These kits introduce finer details, more colors, and opportunities to practice shading and creating texture.
- Advanced Kits: For those who want a real challenge, advanced kits feature tiny, intricate sections and complex color blending. The goal here is often a photorealistic finish that will leave people stunned.
Think of it as a journey. You start where you're comfortable and work your way up as your confidence grows.
To make it even clearer, here’s a quick breakdown to help you decide.
Choosing Your Ideal Horse Paint by Numbers Kit
This table compares the different kit types to help you find the perfect match for your skill level and what you hope to achieve with your painting.
| Kit Feature | Beginner Recommendation | Intermediate Recommendation | Advanced Recommendation |
|---|---|---|---|
| Complexity of Design | Simple, open designs with large numbered sections. | Moderately detailed with a mix of large and small areas. | Highly intricate with many tiny, complex sections. |
| Number of Colors | Typically 18-24 colors. | Usually 24-36 colors, allowing for more nuance. | Often 36+ colors, requiring precise blending. |
| Time Commitment | A few evenings or a weekend. | Several painting sessions over a week or two. | A longer-term project that may take weeks to complete. |
| Best For... | First-time painters or those seeking a relaxing, stress-free activity. | Painters with some experience looking to develop their skills. | Experienced artists seeking a detailed, immersive challenge. |
Ultimately, the goal is to find a project that excites you without feeling like a chore. That's how your skills will grow naturally.
For those who get hooked on hands-on creativity, you might find yourself exploring other artistic avenues. For instance, learning to use a pottery wheel for DIY art craft can be another incredibly rewarding way to create something beautiful with your own two hands.
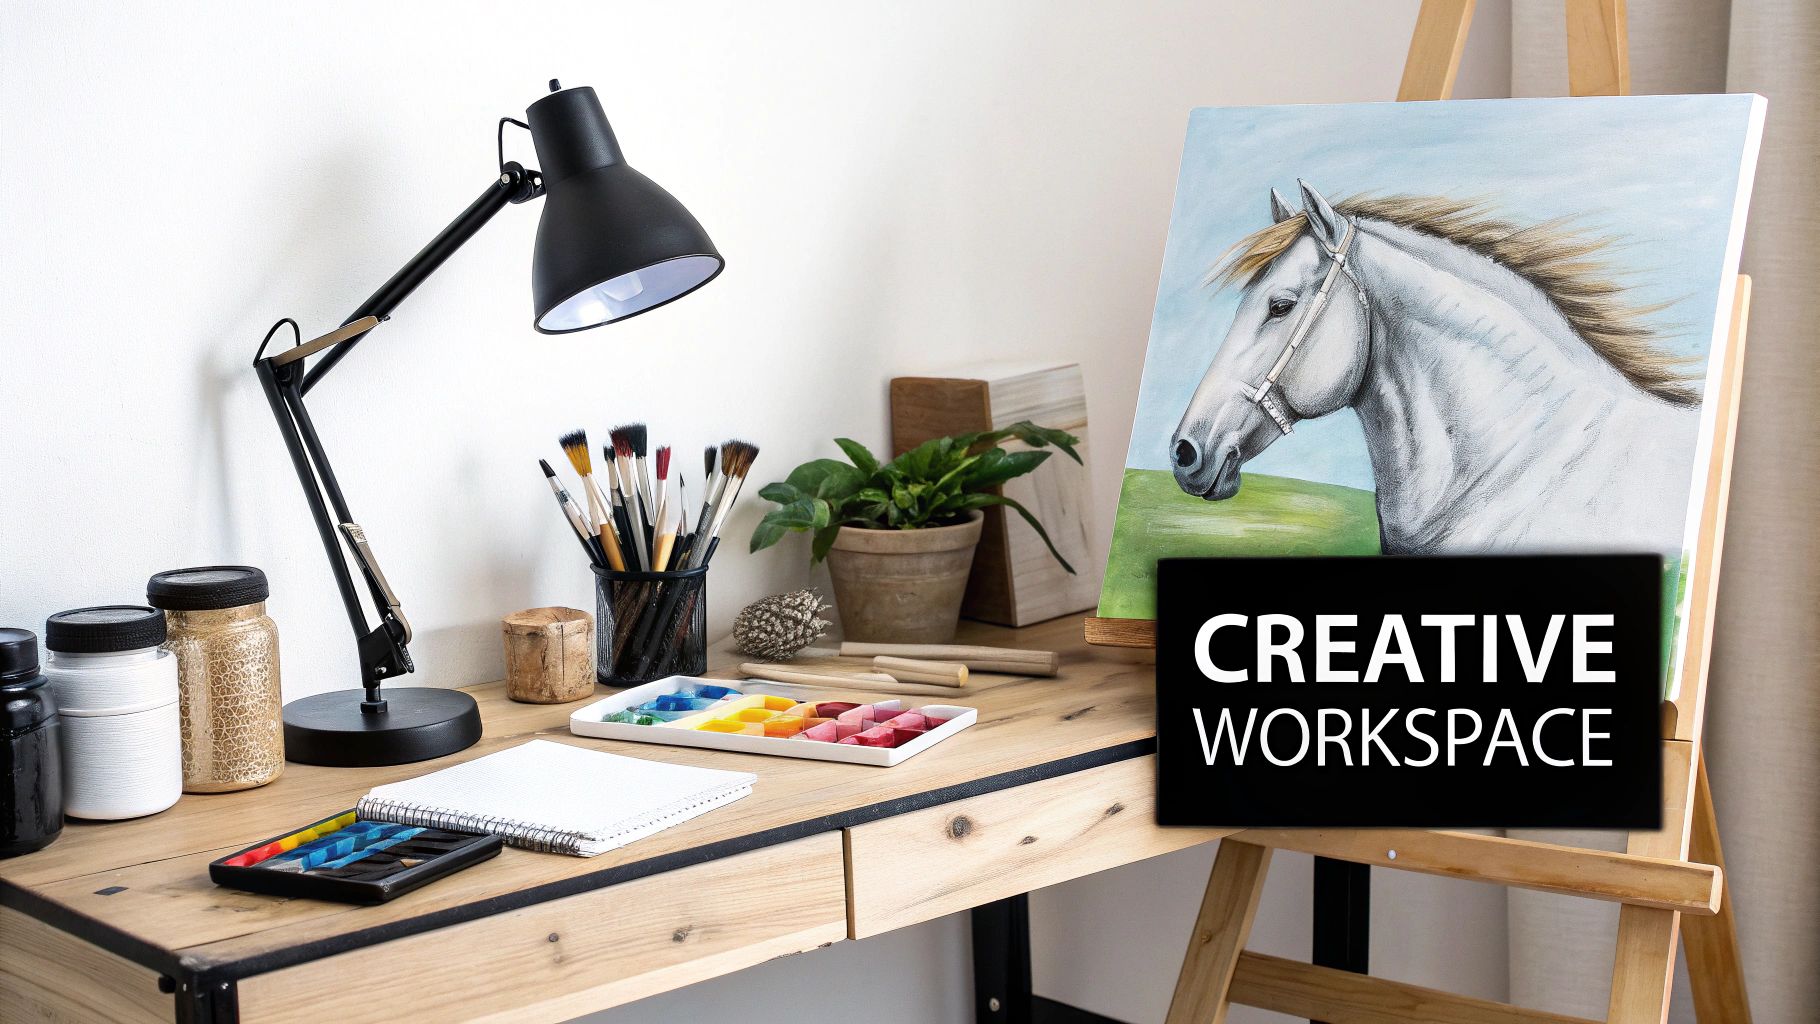
Setting Up Your Creative Workspace
A great painting session starts long before you ever dip a brush in paint. The real secret to a relaxing and enjoyable time with your paint by numbers horses kit is creating a space that’s organized, comfortable, and well-lit. Think of it as setting up your own little artist’s sanctuary, a place where you can get lost in the process without any frustrating interruptions.
First things first, let's talk about the canvas. Most kits come with the canvas rolled up for shipping, which often leaves creases. Before you do anything else, gently unroll it and lay it flat under a few heavy books for about 24 hours. This simple step makes a world of difference, giving you a much smoother surface for your brush to glide over.
Next, find a spot with great light. Nothing beats natural daylight, but if you’re painting in the evening, a good desk lamp that mimics daylight will do the trick. Bad lighting is more than just an eye-strain issue; it can trick you into using the wrong colors. That perfect brown you chose for the horse’s coat might look totally off in the morning sun.
Organizing Your Art Supplies
Once you've picked your spot, it's time to arrange your tools. A cluttered desk can lead to a cluttered mind, so a little organization goes a surprisingly long way. This is all about setting yourself up for a smooth workflow where everything you need is right at your fingertips.
Here are a few things I always have ready before I start:
- Two Jars of Water: One for the initial, dirty rinse and a second for a final, clean rinse. This is my go-to trick for keeping colors pure and preventing them from getting muddy.
- Paper Towels: Absolutely essential. Keep a roll handy for blotting excess water from your brushes and wiping up the inevitable little spill.
- Magnifying Glass: Some kits have incredibly tiny, detailed sections. A simple magnifying glass or even a pair of reading glasses can be a real lifesaver.
You don't need a professional studio. The real goal is to create an efficient, stress-free zone that lets you focus on the fun part. A small, dedicated corner is often all it takes to make the whole experience feel special.
If you want to take your setup to the next level, check out some clever art supply storage ideas to keep things tidy. Even something as simple as a small cart or a few desktop drawers can make a huge impact on keeping your paints and brushes in order.
Preparing Your Paints and Brushes
Before you pop open that first paint pot, take a minute to lay them all out in numerical order. This small act of prep saves you from frantically searching for a color mid-stroke and helps you stay in the creative zone. Give your brushes a quick check, too—gently fan out the bristles to make sure they're in good shape and ready to go.
Sometimes, I find the acrylic paints in these kits can be a little on the thick side. If that happens, keep a small dropper with water nearby. Adding just one tiny drop and stirring it with a toothpick can really improve the paint's consistency, making it much easier to apply. Just be careful not to add too much, or the paint will become thin and see-through.
With your station all set up, you’re ready to bring that beautiful horse to life.
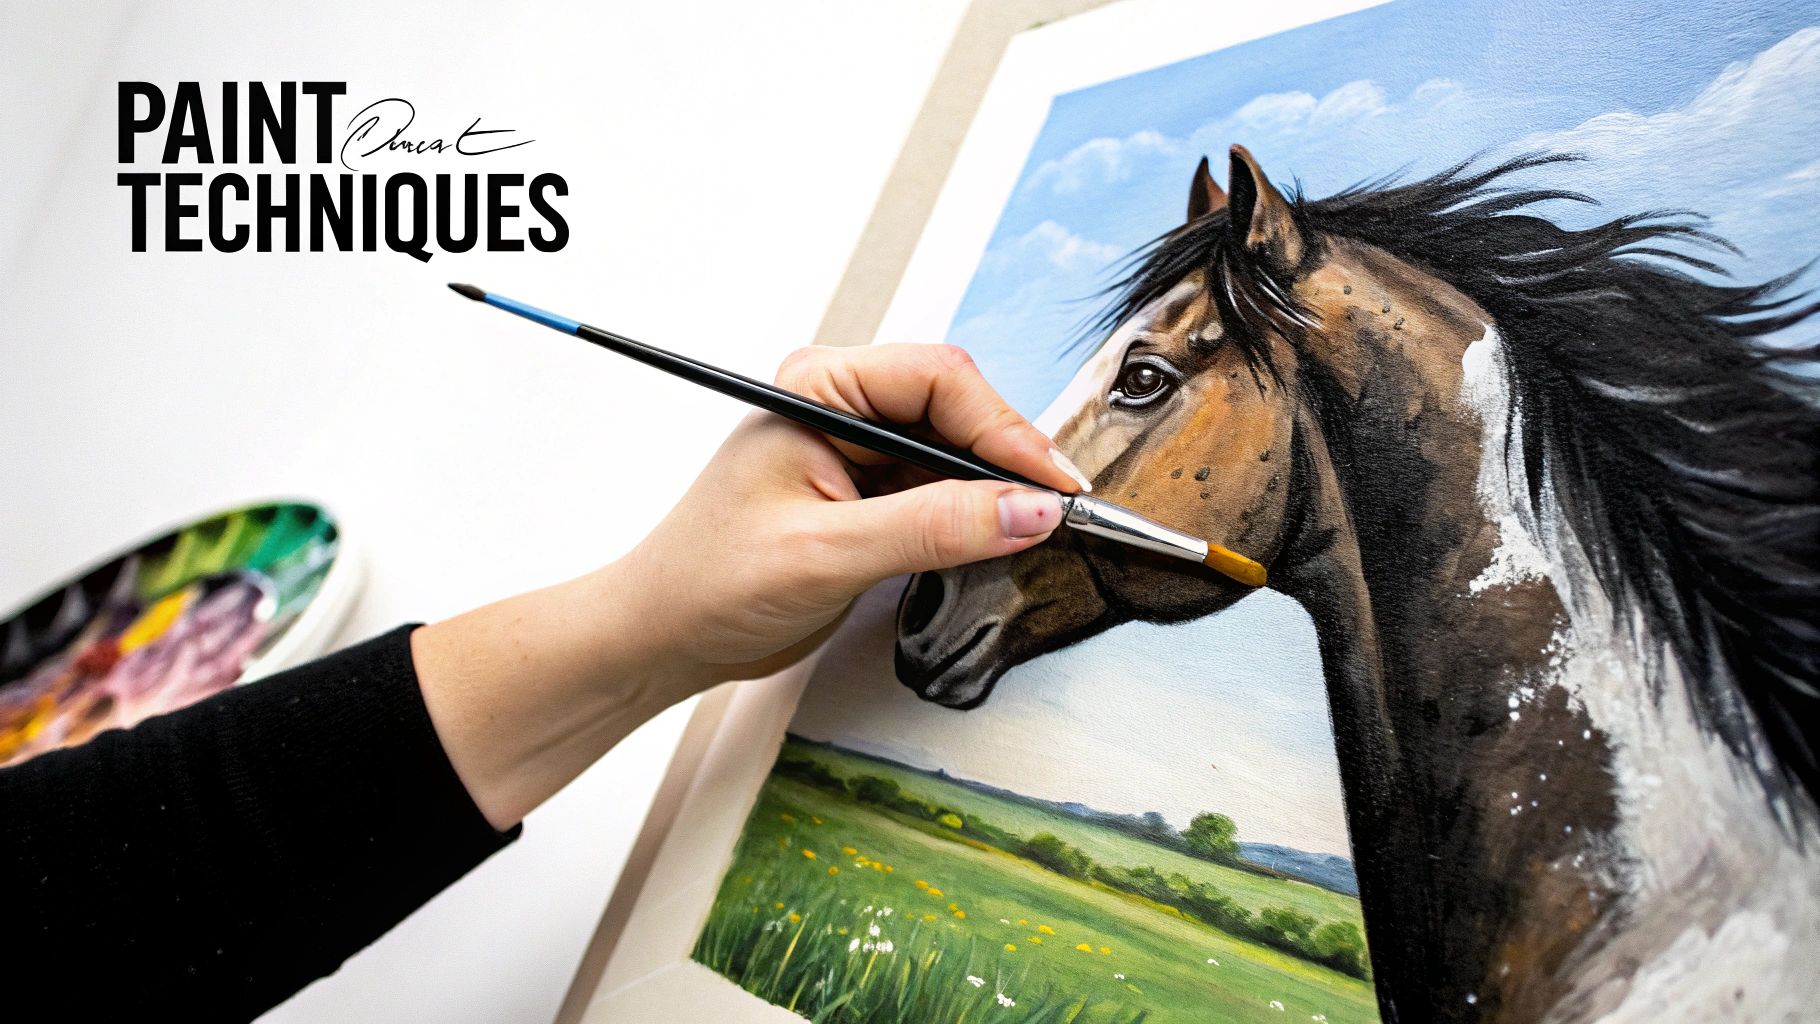
Bringing Your Horse to Life with Paint
Alright, you've got your space set up and you're ready to go. This is the fun part—where you get to transform that numbered canvas into a living, breathing work of art. We're going to move beyond just filling in the lines and use a few simple tricks to give your paint by numbers horse some real depth, texture, and personality. The idea is to lose that segmented, "paint-by-number" look and end up with something that feels fluid and professional.
Adding your own artistic touch isn't a new concept; people have been doing it for decades. The whole paint-by-number craze really took off in the 1950s, thanks to an artist named Dan Robbins. It's amazing to think that by 1954, over 12 million of these kits had been sold. And guess what? Horse themes were one of the most popular subjects right from the very beginning. There's just something about them that captures our imagination. You can learn more about the history of horse-themed paint by numbers on paintby.ai if you're curious.
Get to Know Your Brushes
Your kit probably came with a handful of brushes, and each one is designed for a different job. Think of them as your toolkit for creating all the different textures you see on a horse, from a sleek, shiny coat to a rough, flowing mane.
-
The Big Flat Brush: This is your go-to for covering large areas quickly. Use it for the horse's flank or a wide-open field in the background. I find that long, even strokes that follow the curve of the horse's body give a really nice, smooth finish.
-
The Medium Round Brush: This one is perfect for those medium-sized spots that still need some control, like defining the powerful muscles in the neck or legs. It gives you a great balance of coverage and precision.
-
The Fine Detail Brush: Here's where the magic happens. This tiny brush is for all the details that make your painting pop—individual hairs in the mane, that little glint of light in the eye, or the delicate edges of the nostrils. Use short, light, feathery strokes for the best effect.
Blending for a Seamless Finish
Blending is what will truly elevate your painting. It's the secret to softening those hard edges between colors and creating smooth, natural transitions for shadows and highlights. The key is to work while the paint is still a little wet.
A fantastic method for this is wet-on-wet blending. Simply paint one section, and then, without cleaning your brush, dip it into the next color and gently brush it into the edge of the first one. Just work back and forth with light strokes until the line blurs and you have a nice, soft gradient.
My Favorite Tip: Don't be afraid to play chemist. If two colors next to each other seem too jarringly different, put a tiny dab of each on a palette (a plastic lid or a piece of foil works fine) and mix them. This creates a custom "in-between" color that you can use to perfectly bridge the gap.
A Few Extra Tricks for Realism
Once you feel comfortable with the basics, here are a couple of my favorite techniques for adding that extra layer of realism. They're simple but make a huge difference.
-
Dry Brushing for Coarse Textures: To get that authentic, coarse texture of a horse's mane or tail, give dry brushing a try. Dip just the very tip of a dry, stiff brush into your paint, then wipe almost all of it off on a paper towel. Now, lightly drag the brush over your canvas. It will leave behind a broken, textured layer of paint that looks just like wiry hair.
-
Layering Washes for Depth: Layering is a game-changer for creating subtle muscle definition. Just thin down a darker color with a drop or two of water until it's translucent, like a watercolor "wash." Once a lighter base coat is completely dry, gently paint this wash over the areas where you want to add shadow, like under the jawline or along the belly. It builds up depth beautifully without creating harsh, unnatural lines.
Bringing Your Horse Painting to Life with Details
Once you've got the basic colors blocked in, the real magic begins. This is my favorite part—where you take a simple numbered canvas and start adding the fine details that make your horse feel like it could walk right off the page. The soul of any animal portrait, especially a paint by numbers horse, is really in these final touches.
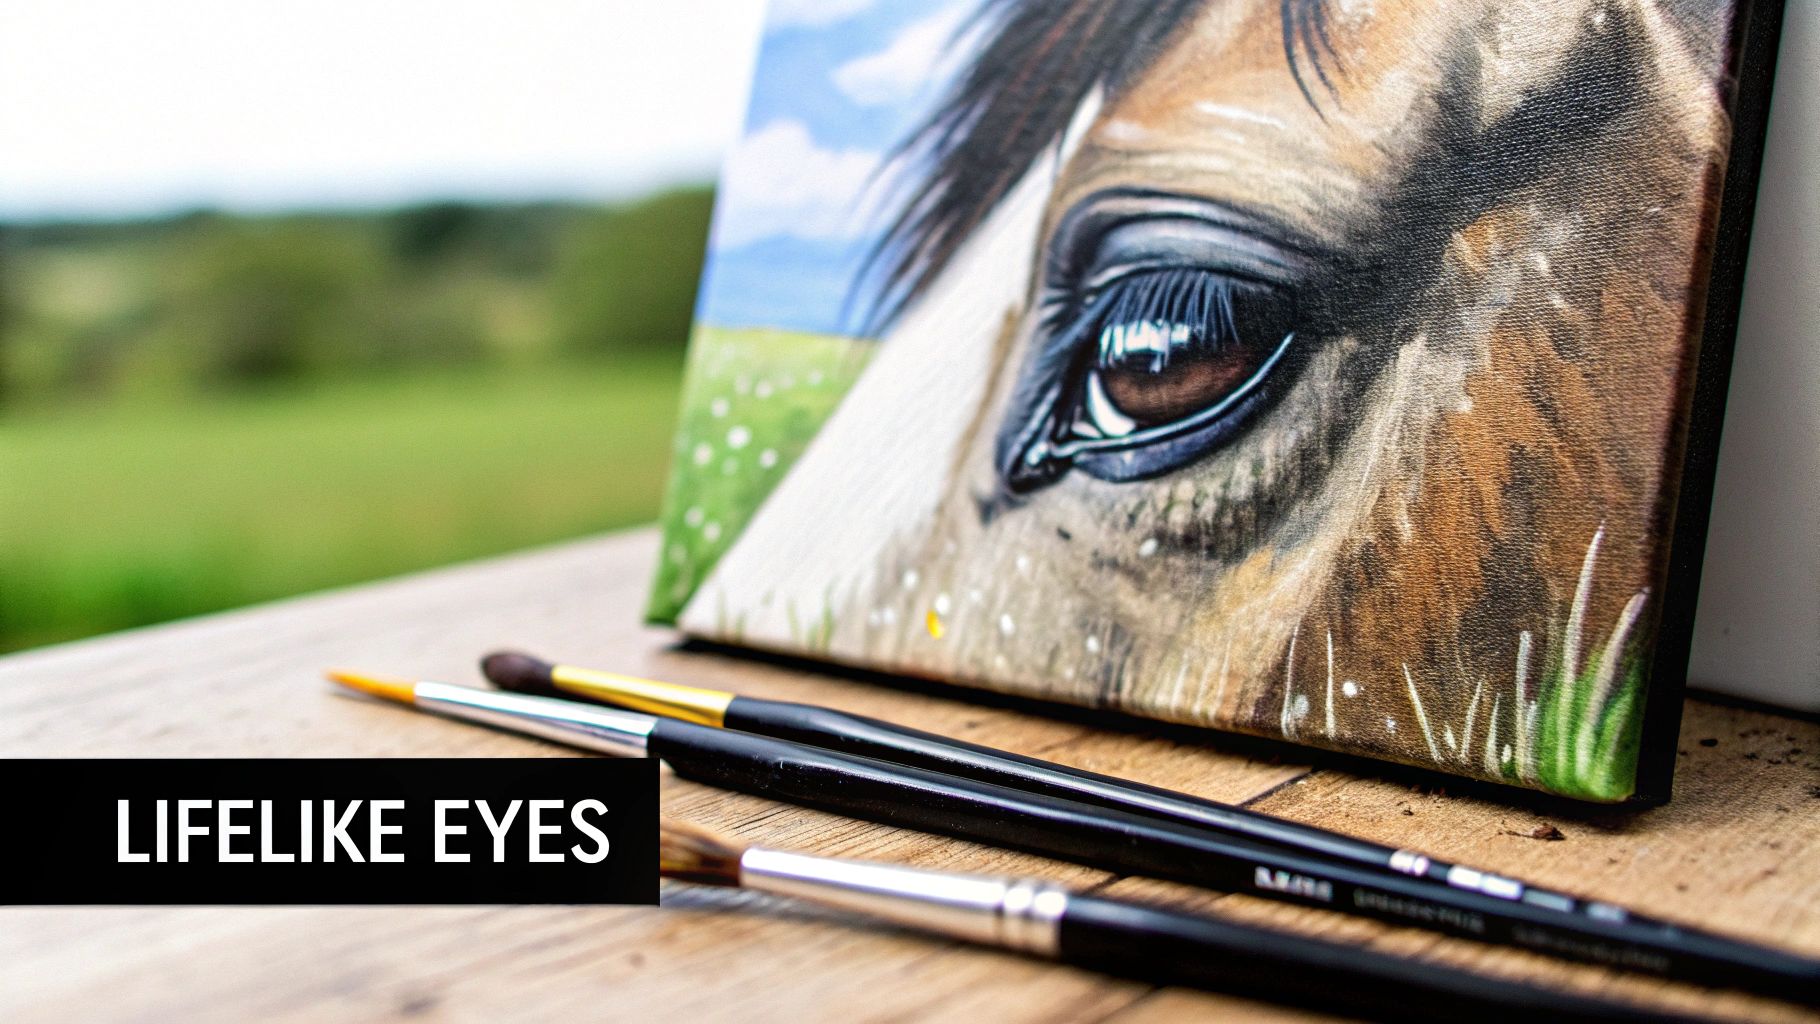
I always recommend starting with the eyes. They’re the focal point of the whole piece, and getting them right can instantly elevate your artwork from good to great. Even though the numbers guide you, there's plenty of room to add your own artistic flair to make them expressive and deep.
Painting Expressive Eyes and Muzzles
The single most important detail for realistic eyes is the catchlight—that tiny spec of white that shows light reflecting off the surface. Grab your smallest detail brush, get a tiny dab of your brightest white paint, and place a small dot in the upper part of the pupil. It's amazing how this one little touch brings an immediate spark of life to your painting.
Once that’s done, you can use that same fine brush to add other subtle definitions that build realism.
- Define the Nostrils: Take a shade slightly darker than the muzzle and gently trace the inner curve of the nostrils to give them shape.
- Outline the Ears: A super-thin, dark line along the inside edge of the ears creates a convincing sense of shadow and depth.
- Highlight the Muzzle: A few light strokes of a brighter color along the bridge of the nose or around the mouth suggest where the light is hitting.
Having the right tools for this kind of delicate work makes a huge difference. If the brushes that came with your kit are giving you a hard time, it might be a good idea to look into some better ones. We have a whole guide on how to choose the right paint by number brushes that can help you with fine detail work.
A little tip from my own experience: I've noticed many kits don't actually number every single tiny detail you see on the box art. Don't be afraid to study the reference photo and add your own freehand touches, like stray wisps of hair or extra highlights. This is your moment to make it truly your own.
Creating a Dynamic Background
Don't forget the background! It’s more than just filler; it sets the entire mood and makes your horse the star of the show. Instead of just painting flat blocks of color, you can use a couple of simple tricks to add some texture and interest.
Want to create the feeling of a soft, out-of-focus field? Try a dry brushing technique. After you've painted the base green, dip a dry brush into a lighter green or yellow, wipe most of the paint off on a paper towel, and then lightly flick the bristles over the canvas. This gives you the impression of distant grass without needing to paint every blade.
For a dramatic sky, try blending your blues and whites together while the paint is still wet on the canvas. This will create soft, cloudy textures that add atmosphere and a sense of movement to your paint by numbers horse scene. It's these final touches that truly make a painting stand out.
Varnish, Frame, and Display Your Masterpiece
There's nothing quite like that feeling of painting the very last numbered section. It's a real rush of accomplishment! But don't just hang your paint by numbers horse on the wall just yet. A few final touches will not only protect your work but also give it that polished, gallery-ready look.
The single most important step is adding a layer of varnish. Think of it as a clear coat of armor for your art. It shields the acrylic paint from everyday dust and grime and, crucially, protects it from the fading effects of UV light. This keeps those beautiful colors looking as vibrant as the day you painted them. Varnish also has the nice side effect of evening out the final sheen, tying the whole piece together.
Choose Your Perfect Finish
Varnish isn't one-size-fits-all. It comes in a few different finishes, and your choice will subtly influence the final vibe of your painting. It really just boils down to your personal taste.
- Gloss Varnish: This one gives you a shiny, highly reflective surface. It really makes the colors pop and look deeper and more saturated. If you want your horse painting to make a bold statement, gloss is a fantastic choice.
- Matte Varnish: For a totally non-reflective, modern look, go with matte. It creates a soft, velvety finish that completely eliminates glare, which is perfect if you plan to hang your art in a brightly lit room.
- Satin Varnish: Can't decide? Satin is the perfect middle ground. It provides a lovely, gentle luster—not too shiny, not too flat. It subtly enhances the colors without the high shine of a gloss finish, making it an incredibly popular and versatile option.
A little pro tip: When you're ready to apply the varnish, use a wide, soft brush. Apply a thin coat with long, even strokes, all going in the same direction. Once it's completely dry, add a second coat, but this time brush in the opposite direction (perpendicular to the first coat). This ensures flawless, even coverage.
For a more detailed guide, we've got a great post that walks you through how to seal acrylic paint on canvas. Getting this step right is truly the key to making your artwork last.
Framing and Gifting Your Work of Art
Once your painting is varnished and ready, it's time for the frame. You don't have to break the bank here! A simple floating frame can look incredibly sophisticated. It leaves a small gap between the canvas and the frame, which really makes the artwork stand out. You can also find plenty of affordable, standard-sized frames at local craft stores.
And if you painted your paint by numbers horse as a gift? The presentation makes all the difference. Try wrapping the framed piece in simple brown craft paper and tying it with some rustic twine for a personal, handmade feel. Adding a small, handwritten note about why you chose that specific horse for them can turn a beautiful painting into a truly meaningful and unforgettable keepsake.
Troubleshooting Your Horse Paint-By-Numbers Project
As you get started, you'll probably run into a few little hiccups. It happens to everyone, from total beginners to seasoned painters. Let's walk through some of the most common questions and how to handle them so you can keep the process fun and frustration-free.
First up: the dreaded dried-out paint pot. Don't worry, it's usually fixable! If a color is just a bit thick and goopy, a single drop of warm water stirred in with a toothpick can work wonders. You'll have that smooth, creamy consistency back in no time.
What if the paint is hard as a rock? You can try to revive it with a few drops of acrylic flow improver, but sometimes it's a lost cause. If that's the case, just take the pot to a craft store. You'll almost certainly find a near-perfect acrylic paint match right off the shelf.
What If I Paint Outside the Lines?
Going outside the lines is practically a rite of passage. The absolute worst thing you can do is try to wipe away wet paint—it just creates a smeared, muddy mess.
Instead, let the mistake dry completely. Once it's dry, grab the correct color and simply paint over it. Lighter colors might need two or three thin coats to cover a darker mistake, but a little patience is all it takes. This trick works like a charm.
Can I Blend Colors for a More Realistic Look?
Yes, and you absolutely should! Blending is the secret to taking your painting from a series of colored shapes to a truly lifelike piece of art. It’s what softens the edges and gives your horse that realistic, three-dimensional feel.
The real joy of painting is in the process itself. It’s a calming, almost meditative experience. If a blend isn’t perfectly seamless or a color is slightly off, that’s okay. It’s what makes the final piece uniquely yours.
The easiest way to blend is to work on two neighboring sections while both paint colors are still wet. Use a clean, slightly damp brush to gently blur the line where they meet. Just feather back and forth until you get a soft transition.
For an even more advanced look, you can mix colors on a small palette to create custom in-between shades. This extra step is fantastic for adding subtle depth and highlights to the horse’s muscles and coat.
Ready to turn a photo of a special horse into a work of art? At Custom Paint By Numbers, you can upload your own pictures to create a one-of-a-kind kit. Start your custom paint-by-numbers project today and bring your memories to life on canvas.


