Before you can even think about framing an unstretched canvas, you have to give it a solid foundation. The goal is to attach it to a rigid backing, which prevents the artwork from sagging or wrinkling over time.
Think of this process as giving your painting the support it needs to look its best for years to come. Done right, it also preserves the unique texture of the canvas and lets you show off those raw, painted edges if you like that contemporary look.
Why Bother Mounting It First?
Mounting an unstretched canvas isn't just an extra step; it's the professional standard. It’s what prevents those dreaded bubbles or wrinkles from forming down the road.
This method also opens up a world of framing possibilities, from sleek float frames to more traditional gallery styles. Whether you're working with a small 8x10 sketch from your travels or a massive 24x36 statement piece, the principles are the same.
"A few minutes spent securing your canvas correctly now will save you hours of headaches and adjustments later."
Choosing Your Backing and Getting Started
First things first, you need a clean, dry surface to work on. Precision is key here, so take the time to carefully measure both your canvas and the backing board.
Your best bet for backing is an archival foam core or mat board. These materials are specifically designed to be acid-free, which is crucial for preventing moisture and acid from damaging the paint and canvas over time.
Look for a board that’s at least 4-ply thick. Anything less might not provide the stability a canvas needs, especially for larger pieces.
The Best Way to Attach the Canvas
When it comes to attaching the canvas, less is more. I recommend using an archival adhesive, applied sparingly in a light grid pattern across the board.
Once the adhesive is down, gently lay your canvas on top.
- Start from the center and press outward using a soft cloth or a small roller.
- Your main goal here is to smooth out any potential air pockets before the glue has a chance to set.
A quick word of caution: steer clear of standard double-sided tapes. They might seem like an easy fix, but they tend to degrade over the years and can leave behind ugly stains that are impossible to remove.
To help you decide on the best approach for your specific piece, here’s a quick comparison.
Framing Unstretched vs Stretched Canvas At a Glance
| Aspect | Framing Unstretched Canvas | Framing Stretched Canvas |
|---|---|---|
| Preparation | Requires mounting to a rigid backing first. | Ready to frame immediately. |
| Frame Style | Versatile; works well with float, shadow box, or standard frames. | Best for float frames or traditional frames that cover the staples. |
| Look & Feel | Often has a modern, raw edge look. Can be flush-mounted. | Classic gallery look with defined, sharp corners. |
| Cost | Can be slightly more affordable (no stretcher bars needed). | Cost includes stretching, which can be an added expense. |
| DIY Friendliness | Mounting requires precision and the right materials. | Stretching requires tools and skill to get it taut and square. |
Ultimately, both methods can produce a beautiful result; it just depends on the final look you're after and how much prep work you're willing to do.
Final Assembly
With your canvas securely mounted, the rest is pretty straightforward. Carefully fit the mounted piece into your frame of choice.
Use frame points or clips to hold it securely in place. To hang it, I always recommend using two D-rings and picture wire—it provides much more stability and ensures the frame stays level on the wall. As a final touch, add some small felt pads to the bottom corners of the frame to protect your walls.
And that’s it! Stand back and admire the piece you just professionally framed right at home.
Gathering Your Essential Tools and Materials
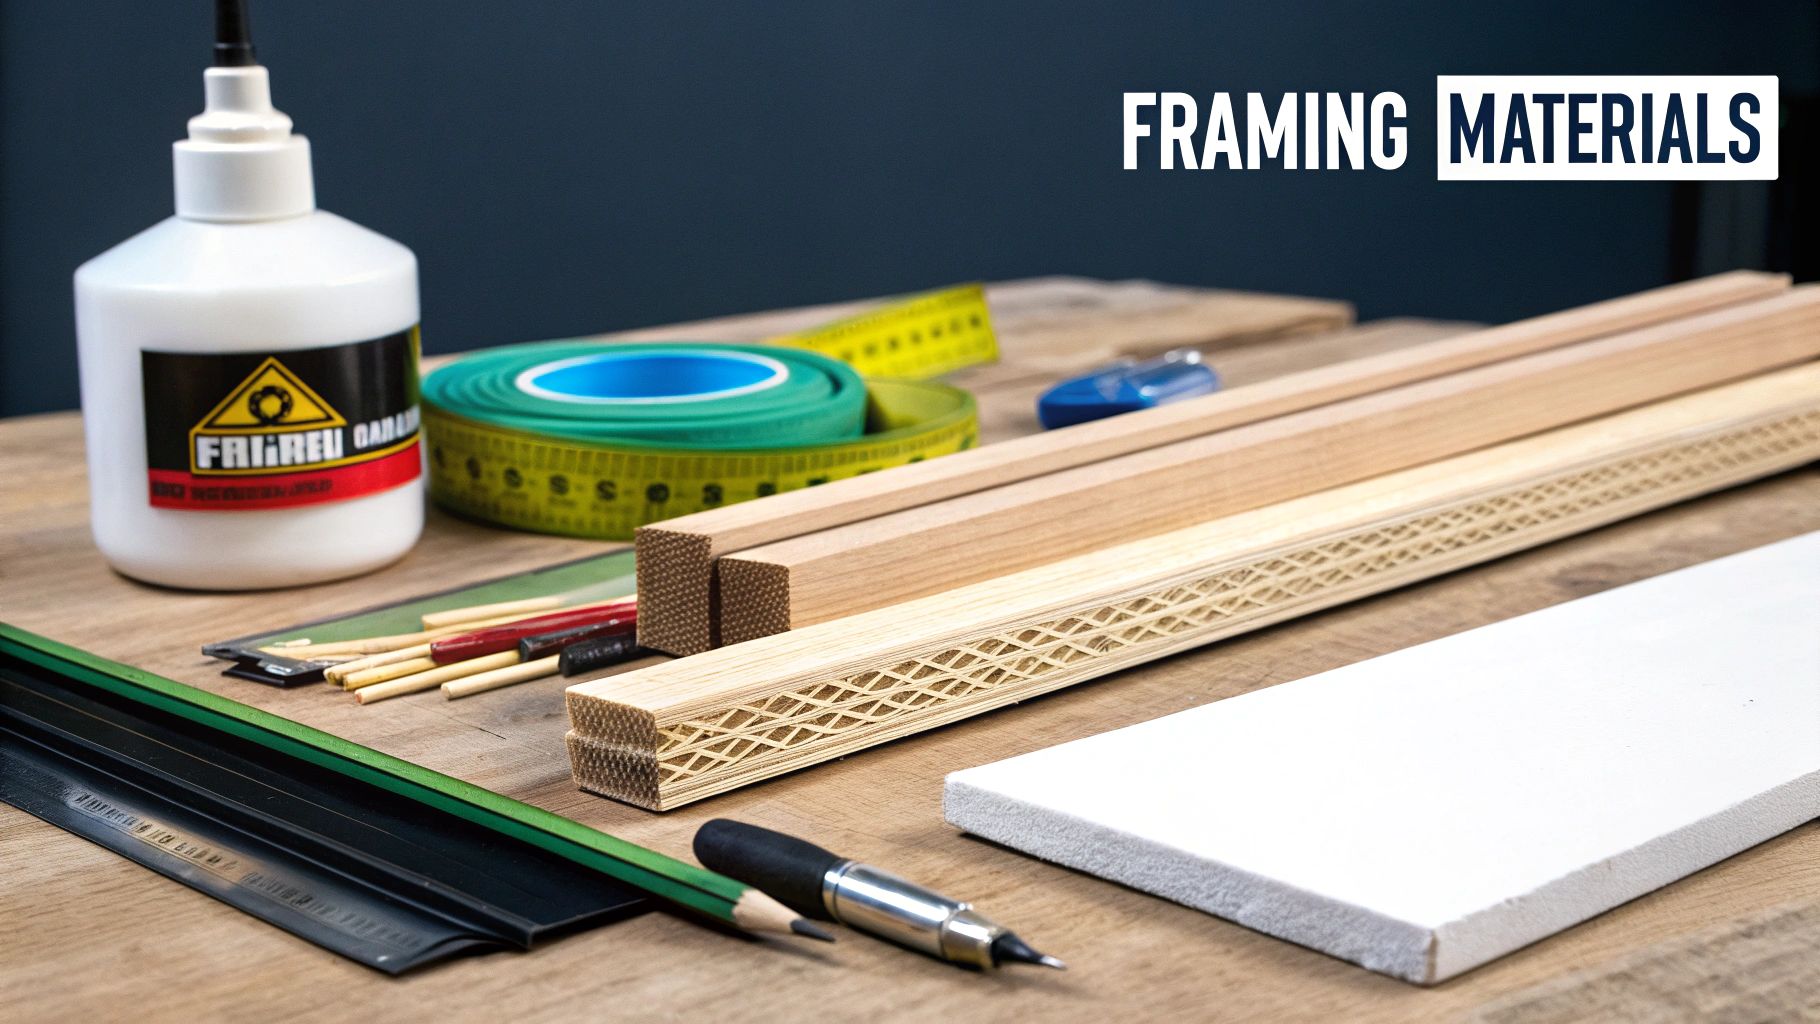
Before you dive in, let’s get your workspace set up. Framing an unstretched canvas isn't complicated, but having the right tools on hand makes all the difference between a frustrating mess and a piece you’re proud to hang. A little prep work now will save you a lot of headaches later.
First up is your foundation: the mounting board. You'll want an acid-free foam core or a sturdy mat board. It might be tempting to grab a standard foam core to save a few bucks, but those contain acids that will slowly yellow and damage your artwork over time. Think of an archival-quality board as a long-term investment in your art.
To get those perfectly straight, clean cuts, you'll need a sharp utility knife and a metal ruler. Don't even think about using scissors! A self-healing cutting mat is also a great idea to protect your tabletop and keep your blade from dulling too quickly.
Choosing Your Frame and Adhesives
Now for the fun part—the frame. The frame you choose really sets the tone for the entire piece. You can go with a simple, ready-made frame or opt for a more professional-looking float frame, which creates that cool gallery-style gap around the canvas.
With so many people getting into art, the framing market has exploded. It was valued at USD 2.1 billion in 2023 and is on track to hit USD 3.5 billion by 2032. That means more choices for you!
Once you have your frame, you need a way to attach the canvas to the mounting board. This is where your choice of adhesive is crucial. Here’s what I recommend:
- Archival PVA Glue or Spray Adhesive: The key here is the "acid-free" label. This ensures the glue won’t eat away at the canvas fibers down the road.
- Brayer or Roller: A small, soft rubber roller is your best friend for getting a smooth, bubble-free finish without smudging the paint.
- Artist’s Tape: This is great for temporarily taping down a corner to keep things from shifting while you work.
If you take away one thing, let it be this: always use acid-free materials. Your board and your adhesive are your best defense against the slow, silent damage that can ruin a piece of art over the years.
With these supplies laid out, you're ready to get started. If you're building out your creative toolkit, you might also want to check out our guide on essential art supplies for beginners.
Getting Your Canvas Ready to Mount
Alright, you've got your tools, and now we're at the most important part of the whole process. This is where your rolled-up artwork becomes a flat, stable piece ready for a frame. The first hurdle is usually the canvas itself—it's probably been rolled up for a while and wants to stay that way.
Start by gently unrolling your painting on a clean, flat surface with the painted side facing up. To get it to relax and flatten out, you can place a few heavy (and clean!) books on the corners for a day or two. Whatever you do, never use an iron directly on the paint. The heat can permanently damage acrylics or oils. A little patience here goes a long way.
Cutting the Mounting Board Just Right
With a flat canvas, it's time to prep its new home: the mounting board. Getting your measurements perfect is absolutely key if you want a professional-looking result.
First, measure the exact dimensions of the painted area. Then, decide if you want the frame to sit right against the artwork or if you want to leave a bit of a border.
For instance, if your painting is 16x20 inches and you want it to fill the frame, you’ll cut your acid-free foam core to those exact dimensions. Use a sharp utility knife and a good metal ruler for a straight edge. A dull blade will just chew up the board, so if you feel it dragging, swap it out. Make a few light passes with the knife instead of trying to muscle through it in one go—you'll get a much cleaner cut.
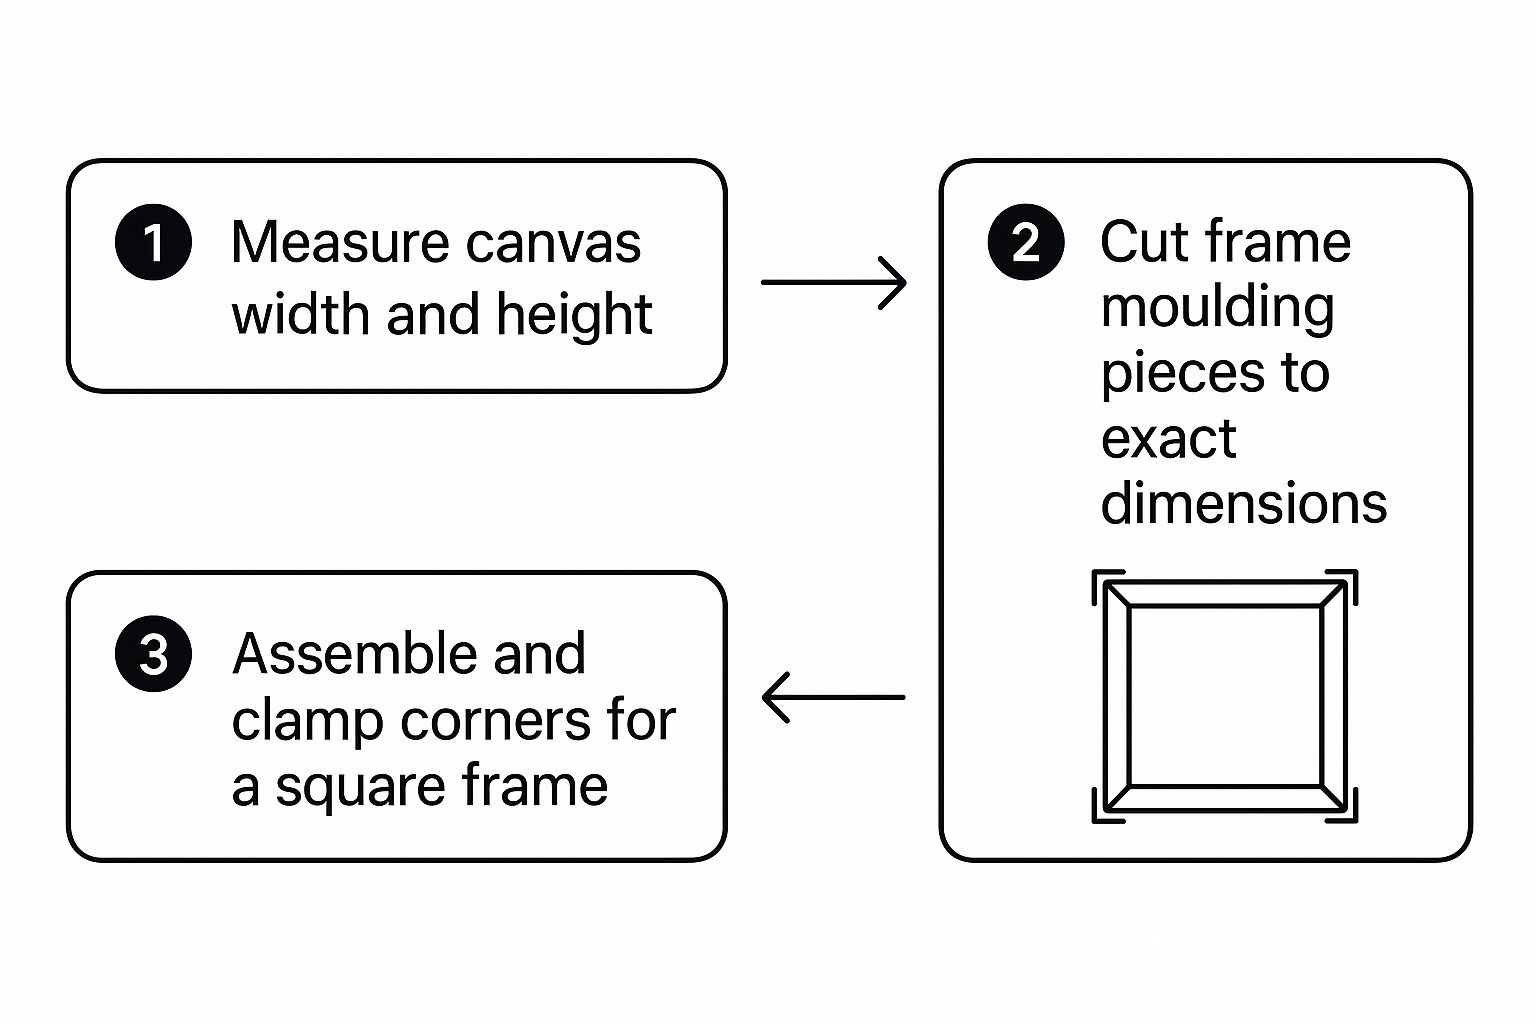
As you can see, precise measurements are the bedrock of the entire project. Don't rush it.
Attaching the Canvas Without a Single Wrinkle
Here we go—time to attach the canvas to the board. The goal is a perfectly smooth surface with no bubbles or wrinkles in sight.
If you’ve opted for a spray adhesive, make sure you're in a well-ventilated space. Apply a light, even coat to the board, not the back of your canvas.
Using archival PVA glue? Spread a thin layer with a small roller or brush. Carefully line up one edge of the canvas with the board and lay it down. From there, use a soft cloth or a printmaker's brayer to slowly smooth the rest of the canvas onto the board. I always work from the center out to the edges to push out any trapped air.
Don’t rush this part. Applying even pressure is the secret to preventing wrinkles that can permanently mar the artwork. A slow, steady hand is your best friend here.
If you're not keen on a permanent solution like glue, stretching the canvas is another great option. If that sounds more up your alley, you can learn all about how to stretch a painted canvas in our other guide.
For this method, though, once the canvas is mounted, just let the adhesive cure completely. Check the manufacturer's instructions for timing, and then you'll be ready for the final steps.
Finding and Putting Together the Perfect Frame
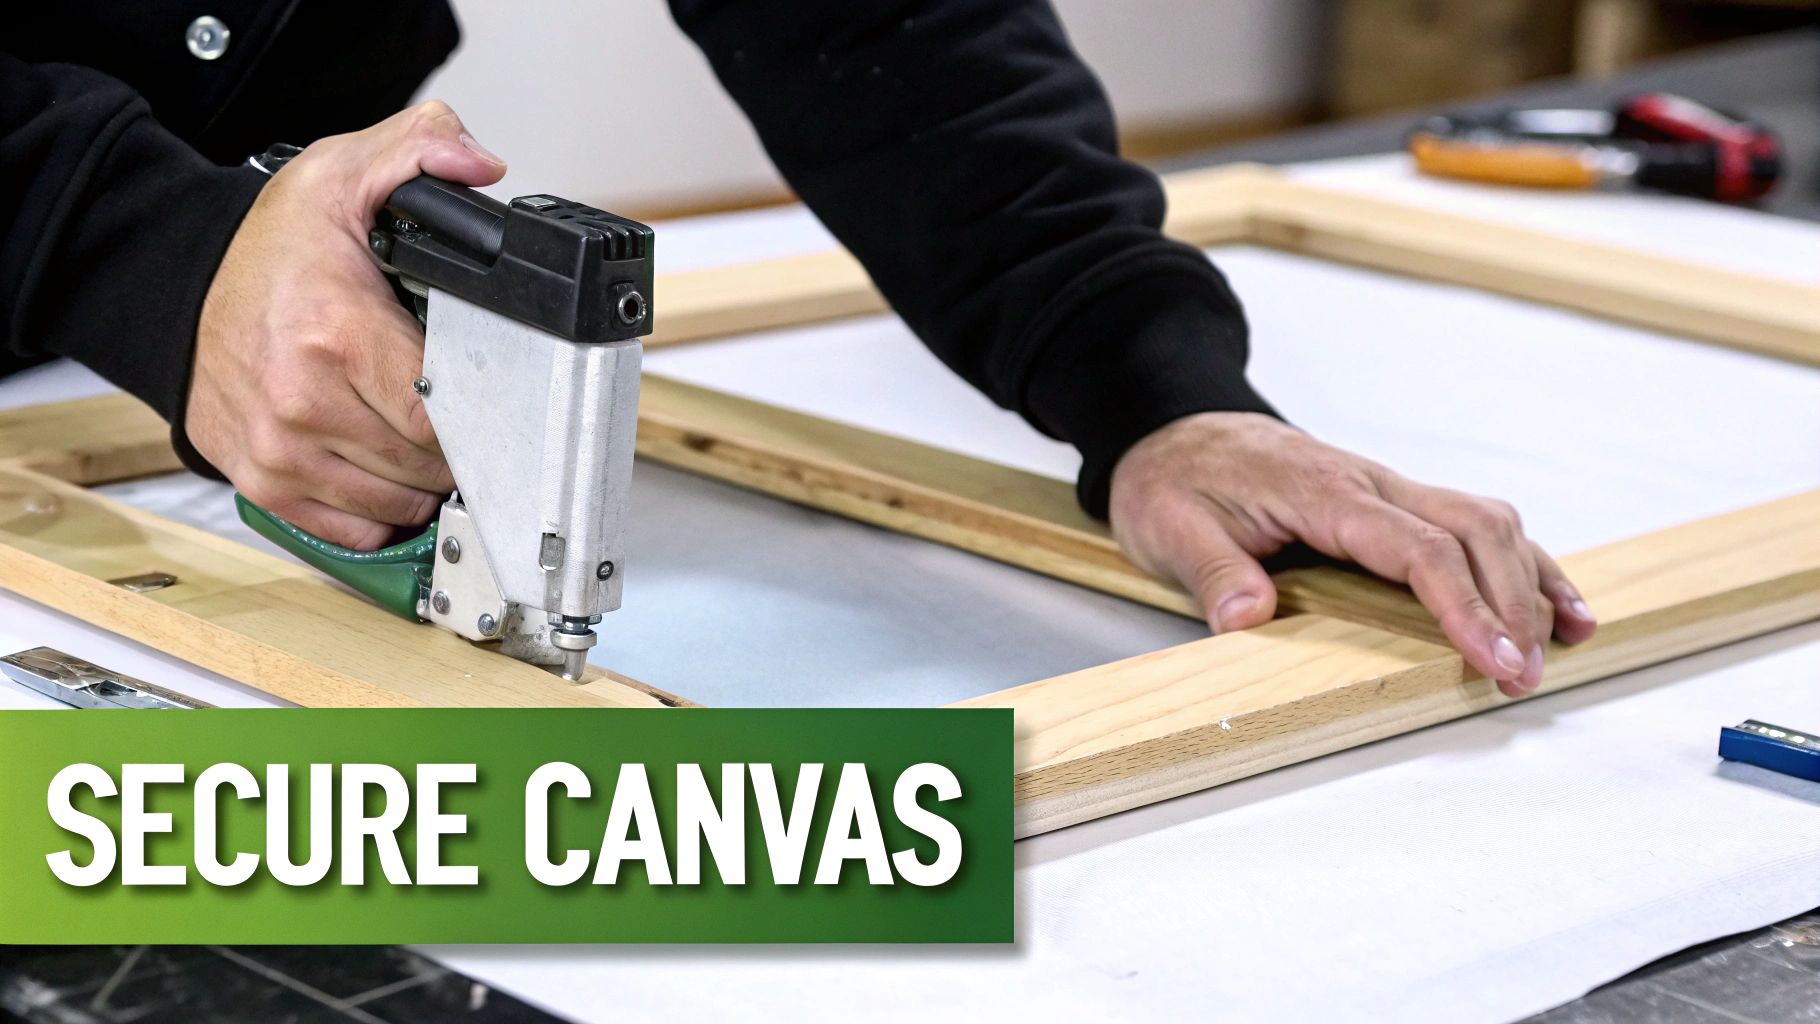
Now that your canvas is mounted, it's time for the fun part: picking a frame that really makes it sing. Think of the frame as the final brushstroke—it’s not just a border, but an integral part of the art. The material you choose can completely shift the vibe of the painting.
A warm wooden frame, for instance, can give your piece a classic, traditional feel. On the other hand, a sleek metal frame will lend it a more modern, even industrial, edge. It's no surprise that the global picture frame market reached USD 9.33 billion in 2023, with wood leading the pack for its timeless look. You can dive deeper into framing trends over at Zion Market Research.
Why Float Frames Are a Go-To Choice
For mounted canvas art, you can't go wrong with a float frame. This style is a personal favorite for a reason. It creates a subtle gap between the art and the frame, making your canvas appear to float inside it.
A float frame gives you that clean, gallery-quality look. It showcases the texture and sides of your canvas without covering up a single bit of the painting itself. It truly lets the art breathe.
This is especially great for canvases where you've painted the edges and want that detail to remain visible.
Locking Your Canvas in Place
Once you've settled on the perfect frame, you need to secure your mounted canvas inside. Gently place your art face-down into the recess on the back of the frame, which is called the rabbet.
To keep everything snug, you'll need some specific hardware. Your best bets are:
- Offset Clips: These little Z-shaped clips are a lifesaver. You screw one end into the frame, and the other end presses down on your mounting board. They come in different depths, so make sure you get the right size for your board's thickness.
- Framer's Points: These are small metal tabs that you insert into the wood of the frame using a point driver tool. They sit flush against the backer board, preventing any wiggling.
Whatever you use, install the hardware at several points around the frame's perimeter. This distributes the pressure evenly and keeps your artwork secure. And just like that, you’re ready to hang your masterpiece.
Adding the Final Touches for a Professional Display
Your canvas is mounted, and you're in the home stretch. But don't rush these last few steps—they're what separate a DIY project from a truly professional-looking piece of art.
To Glaze or Not to Glaze?
First, think about whether you want to add a layer of glass or acrylic over your painting. This is called glazing. While acrylic paintings are pretty durable on their own, glazing offers an extra shield against dust and fading from UV light.
Acrylic is lightweight and won't shatter, which is a big plus. Glass, on the other hand, often has better clarity but can create glare. It's a trade-off, so consider where you'll be hanging the piece.
Sealing and Securing Your Artwork
Next up, grab a piece of kraft paper for a dust cover. This might seem like a small detail, but it's crucial for keeping dust, debris, and even pesky insects from getting behind your canvas and causing damage over time.
Simply cut the paper so it's just a little smaller than the back of your frame. Run some double-sided tape along the back edges of the frame, then press the paper down firmly for a neat, sealed finish.
Now it's time to install the hanging hardware. You can't go wrong with D-rings and picture wire—it's the classic, secure method galleries use.
- Measure about one-third of the way down from the top of the frame on each side.
- Screw your D-rings into place at these marks.
- String the picture wire between the rings. Pull it taut, but leave a little slack. The highest point of the wire should sit an inch or two below the top edge of the frame when you hang it.
This final stage is just as important as the mounting. A professional finish not only looks better but also contributes to the longevity of your artwork. For more tips on preservation, check out our guide on how to preserve acrylic paintings.
There’s a reason this matters. The canvas frames market is booming, expected to jump from US$4.8 billion in 2025 to US$7.0 billion by 2032. Taking these finishing steps ensures your piece looks every bit as good as the professionally framed art driving this trend. You can find more details about this market growth on Persistence Market Research.
Still Have Questions About Framing Unstretched Canvas?

Diving into framing your own art for the first time can feel a little intimidating. That's perfectly normal. Let's walk through some of the questions I hear most often from people learning how to frame a canvas painting that isn't on a stretcher bar. A little bit of knowledge upfront can make the whole project go a lot more smoothly.
People often ask about the glue. "Can't I just use regular craft glue?" The short answer is no, and the long answer is a firm no. Your standard household or craft glues are full of acids. Over time, that acid will leach into your artwork and the backing board, turning them yellow and brittle. It causes permanent damage you can't undo. Always, always use archival, acid-free adhesive.
Another common point of confusion is the frame style. A traditional frame with a lip can work, but it will cover up the outer edges of your painting. If you love the look of the raw, painted edges of the canvas, then a float frame is definitely the way to go. It creates a beautiful shadow gap that lets the entire piece shine.
Can I Accidentally Ruin My Painting?
It’s a fair question and a common fear, but don't worry—damaging your art is easy to avoid with a bit of patience. Most problems come from two things: using the wrong materials or rushing the job.
First, always work on a clean, soft surface, like a blanket or a piece of felt, to protect the painted side from scratches. When you’re smoothing the canvas onto the mounting board, don’t just use your hands. The oils on your skin can transfer to the paint. Instead, grab a soft, clean cloth or a rubber brayer to gently apply even pressure. Take your time, especially if the canvas is old and fragile.
The biggest mistake I see isn't a slip of the craft knife. It's using non-archival materials that cause silent, slow-motion damage over the years. Your top priority should always be acid-free boards and glues. That's how you protect your art for a lifetime.
A Few More Quick Answers
To help you feel confident before you start, here are a few other common questions I get asked all the time:
- What if I see air bubbles after I lay the canvas down? Don't panic! If the glue is still wet, you can carefully peel back the nearest corner and use a brayer to gently smooth the canvas back down. Work from the center of the bubble out toward the edge to push the trapped air out.
- Should I varnish the painting before I frame it? Absolutely. A good coat of archival varnish is your first line of defense. It protects the paint from dust and harmful UV rays, which is a great step to take before it even goes near a frame.
- Can I just put the loose canvas in a frame without mounting it? I really don't recommend it. Without a rigid support, the unstretched canvas will eventually sag, ripple, and wrinkle inside the frame. It just won't look good, and it's not great for the artwork either.
Ready to turn a treasured photo into a true work of art? At Custom Paint By Numbers, we help you create a personalized paint-by-number kit that’s all your own. You'll get everything you need—a custom-printed canvas, all the right paints, and quality brushes—shipped straight to you. Start creating your custom artwork today!