

The brushes that come with your paint-by-numbers kit are your secret weapons. Seriously. They're what stand between you and a finished masterpiece you can be proud of. Getting to know your brushes right from the get-go can save you a ton of frustration—we're talking no more smudged lines or patchy color. It's the difference between a tricky painting session and a genuinely relaxing one.
So, Why Do These Little Brushes Matter So Much?
Think of the brushes in your kit as a small but mighty crew, where each member has a specific job. They might look basic, but they're the direct link between the paint, your hand, and the canvas. The quality and shape of each brush have a huge impact on your control, how precise you can be, and the final look of your painting.
You’ll usually find a super-fine brush for those teeny-tiny details and a bigger, flatter one for filling in the large color blocks. Just knowing which brush to grab for which area is half the battle. This simple bit of knowledge gives you the confidence to tackle any part of the canvas, from the delicate edge of a flower petal to a wide, sweeping sky.
The Foundation of a Great Painting
You've heard it a million times: the right tool makes any job easier. Painting is no different. A brush with a comfortable handle means your hand won't cramp up after an hour, and bristles that hold paint well will give you smooth, even coverage every time. Clean lines and consistent color? That all starts with the brush.
The real secret to a professional-looking paint-by-numbers piece isn't just about staying in the lines. It's about using the right brush to do it cleanly and efficiently. A good brush feels like an extension of your hand, not something you have to fight with.
It's clear people value good tools. The painting brushes market pulled in around US$3.1 billion in revenue back in 2023, which tells you just how important these things are to artists and hobbyists alike. The very innovations that drive that market—like better synthetic bristles and comfy, ergonomic handles—are what make your paint-by-numbers experience so much better. If you're curious, you can dive deeper into the painting tools market trends to see how much quality really matters.
Understanding Your Brushes
When you first open up your paint-by-numbers kit, you'll find a small set of brushes. It might not look like much, but this little collection is all you need to create something beautiful. The trick is knowing what each brush is for. Think of them as your specialized tools, each one designed for a specific job on the canvas.
Most kits come with three essential brushes. Once you get a feel for them, you’ll find the process becomes less about just filling in shapes and more about creating a piece of art with control and confidence.
The Essential Trio
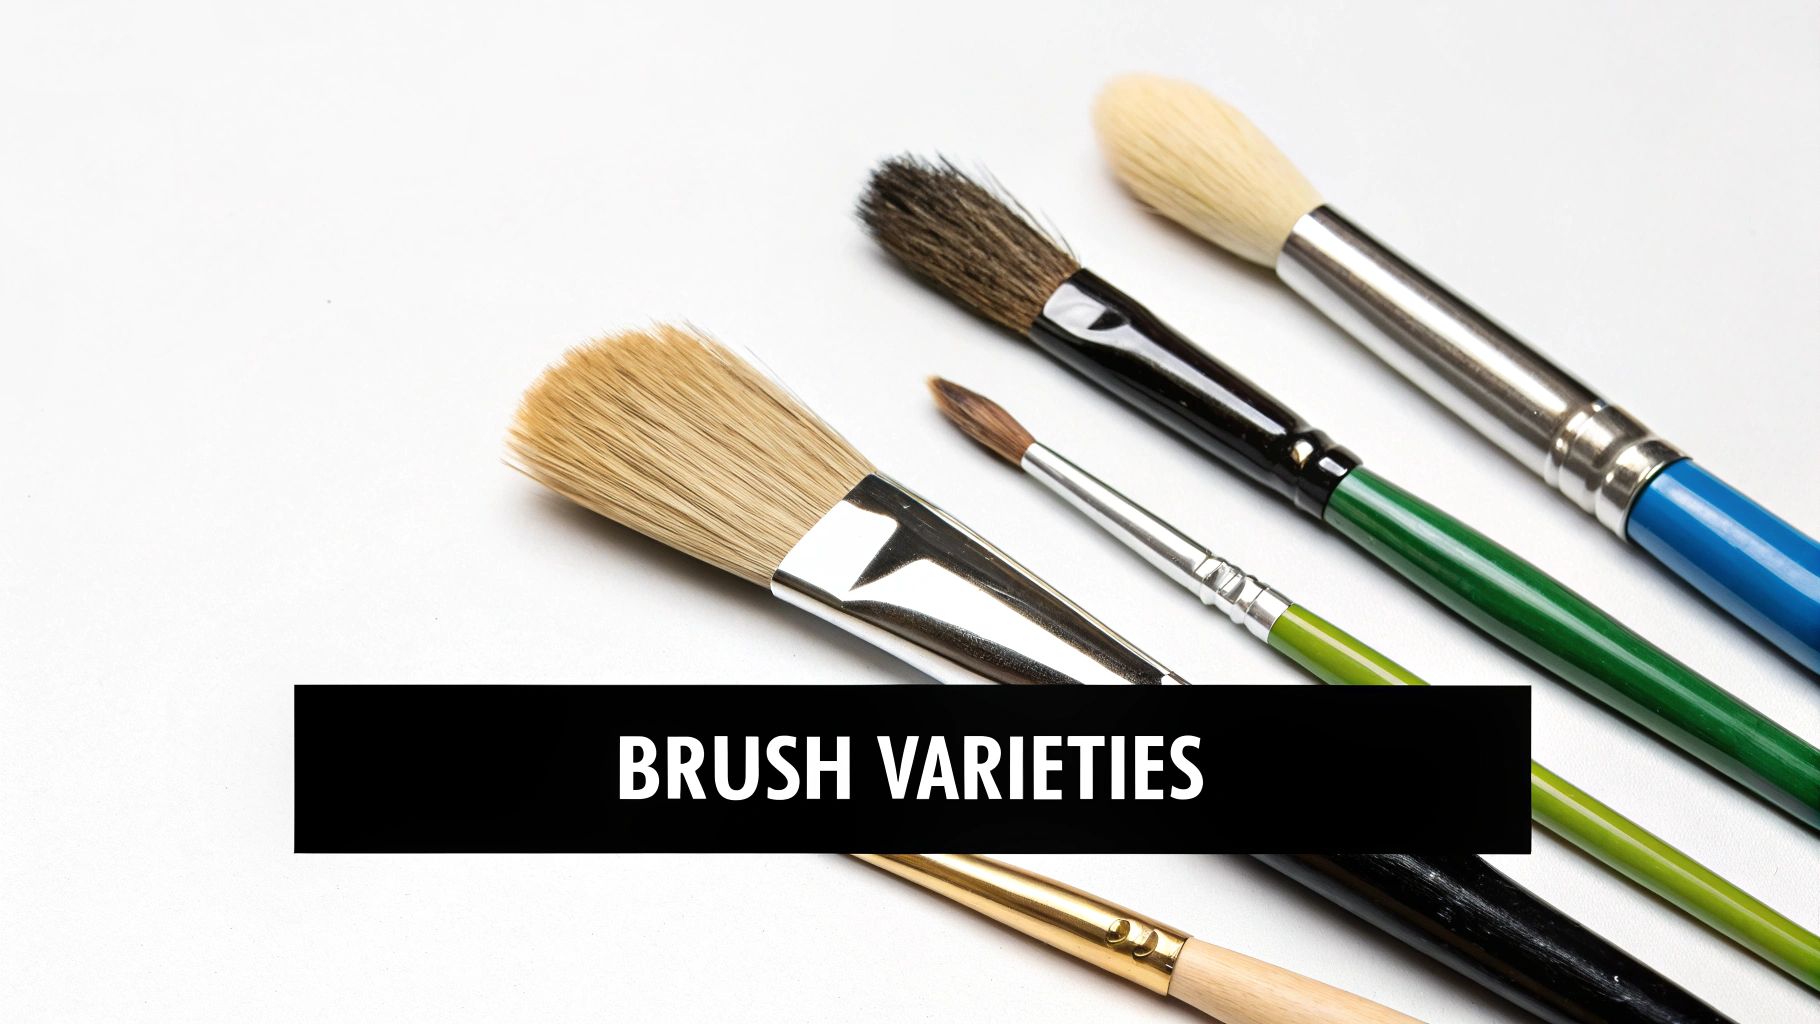
Your standard kit will almost always include a fine detail brush, a round brush, and a small flat brush. Let's break down what each one does best.
-
The Fine Detail Brush: This is your precision instrument. With its tiny, sharp tip, it’s built for tackling those incredibly small, numbered sections. You'll want to grab this one for getting clean, crisp lines—think of the delicate whiskers on a cat or the tiny windows on a distant building.
-
The Round Brush: I like to call this one the workhorse of the set. It's incredibly versatile. The pointed tip is great for smaller details, but the fuller body of the bristles can fill in medium-sized areas with ease. You could use the very tip for a bird's eye and then use the side of the brush to paint the broader feathers.
-
The Small Flat Brush: Got a big patch of sky or a wide-open field to paint? This is the brush for the job. Its flat shape holds a good amount of paint and lets you cover those larger sections smoothly and quickly, giving you nice, even coverage without a ton of effort.
The secret isn't a huge collection of brushes; it's mastering the few you have. With just a little practice, you can get a surprising variety of strokes out of a single round brush by simply changing your pressure and the angle you hold it.
These three brushes are a fantastic starting point. As you paint more, you might get curious about other tools that could help you achieve different effects. If you're ready to explore further, take a look at our complete guide on beginner acrylic painting supplies to see what else is out there.
Mastering Your Brush Strokes
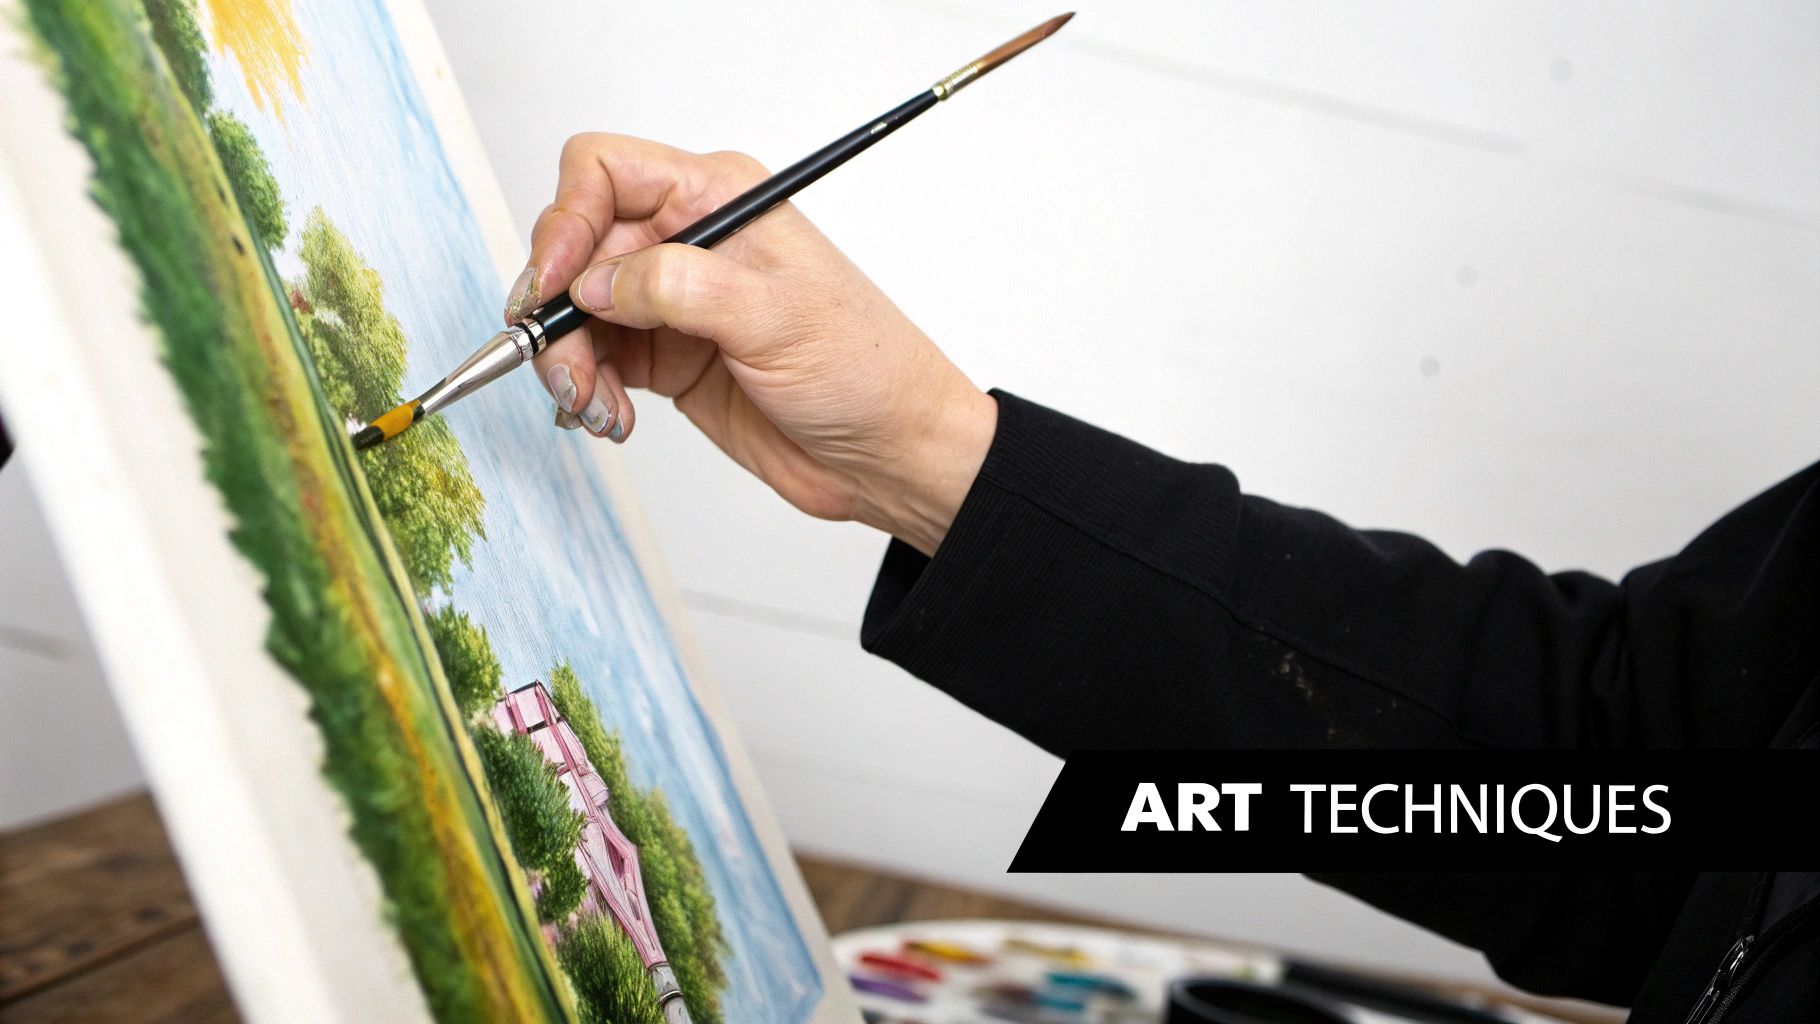
Alright, now that you're familiar with the different brushes in your kit, it's time for the fun part: bringing your canvas to life. Painting well is about more than just staying inside the lines. It’s about how you handle the brush and control the paint to create smooth fields of color, interesting textures, and those all-important sharp details.
Your technique—how you load the brush, the angle you hold it, and the pressure you apply—is what separates a good painting from a great one.
Let's start with the absolute basics: loading your brush. You only want to dip the very tip of the bristles into the paint, maybe about one-third of the way down. This little habit gives you way more control and, just as importantly, stops paint from getting into the metal part (the ferrule), which can ruin your brushes over time. A brush loaded this way will give you a beautiful, consistent stroke every time.
This infographic is a fantastic cheat sheet for figuring out which brush to grab for the job at hand.
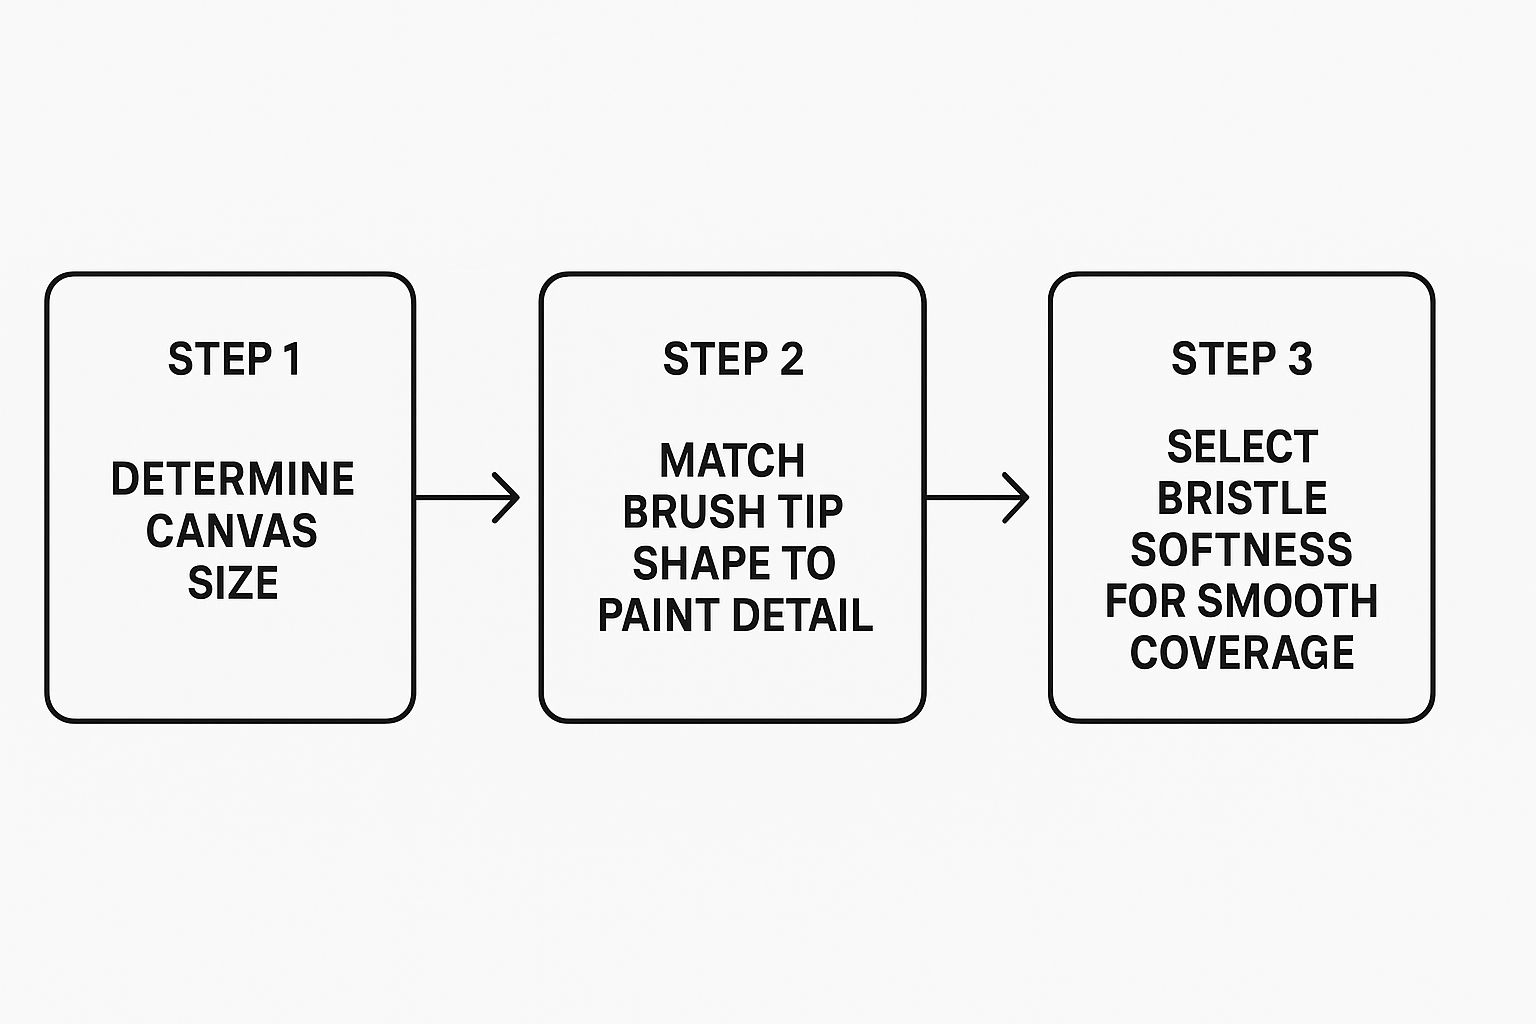
As you can see, it's a simple process of matching the brush shape and bristle type to the area you're about to tackle.
Creating Texture and Special Effects
Your brushes are capable of so much more than just filling in shapes. With a couple of simple tricks, you can add incredible texture. Two of my favorites are scumbling and stippling.
- Scumbling: This is your go-to for soft, cloudy, or misty looks. Grab a dry, flat brush, get a tiny bit of paint on it, and gently scrub the canvas in a circular motion. You'll let the texture of the canvas peek through, creating a lovely, hazy effect.
- Stippling: Need to paint some convincing foliage or a sandy beach? Try stippling. Using the very tip of a fine or round brush, just tap it onto the canvas to make little dots. The closer you place the dots, the darker and more solid that area will look.
Here's the secret for both techniques: use almost no paint. You can always add more, but you can't easily take it away. Start with a light touch and build up the texture slowly. The results will look much more natural.
Nailing Smooth Blends and Crisp Lines
Ever wonder how to get that perfect sunset gradient? The trick is a "wet-on-wet" technique. First, paint one color. While it’s still wet, paint the next color right up against it. Now, take a clean, slightly damp brush and gently sweep it back and forth right where the two colors meet. They'll blend together beautifully.
For those crisp, clean lines you need for buildings or other sharp objects, the key is not to overload your detail brush. A tiny dab of paint on the tip is all you need. To keep from getting shaky, I like to brace my painting hand with my other hand for support. Then, pull the brush toward yourself in one smooth, confident stroke.
If you're eager to learn more, our guide on acrylic painting techniques for beginners is packed with extra tips.
Keeping Your Brushes in Top Condition
Your brushes are your most important tools, and getting great results really comes down to how well you take care of them. A little bit of proper care not only helps your brushes last forever but also makes sure every stroke you put on the canvas is as clean and crisp as you want it to be.
If there's one golden rule to remember, it's this: never let acrylic paint dry on the bristles. Once it hardens, acrylic paint is basically plastic. It becomes water-resistant and is a nightmare to get off without destroying the delicate fibers of your brush. It's the fastest way I've seen to ruin a perfectly good brush.
The Right Way to Clean and Reshape
Cleaning your brushes doesn't have to be a chore; it's a quick habit that pays off big time. Just rinsing them right after you use a color prevents all that gunk from building up, which is what leads to stiff, useless bristles.
Here's my simple, go-to routine:
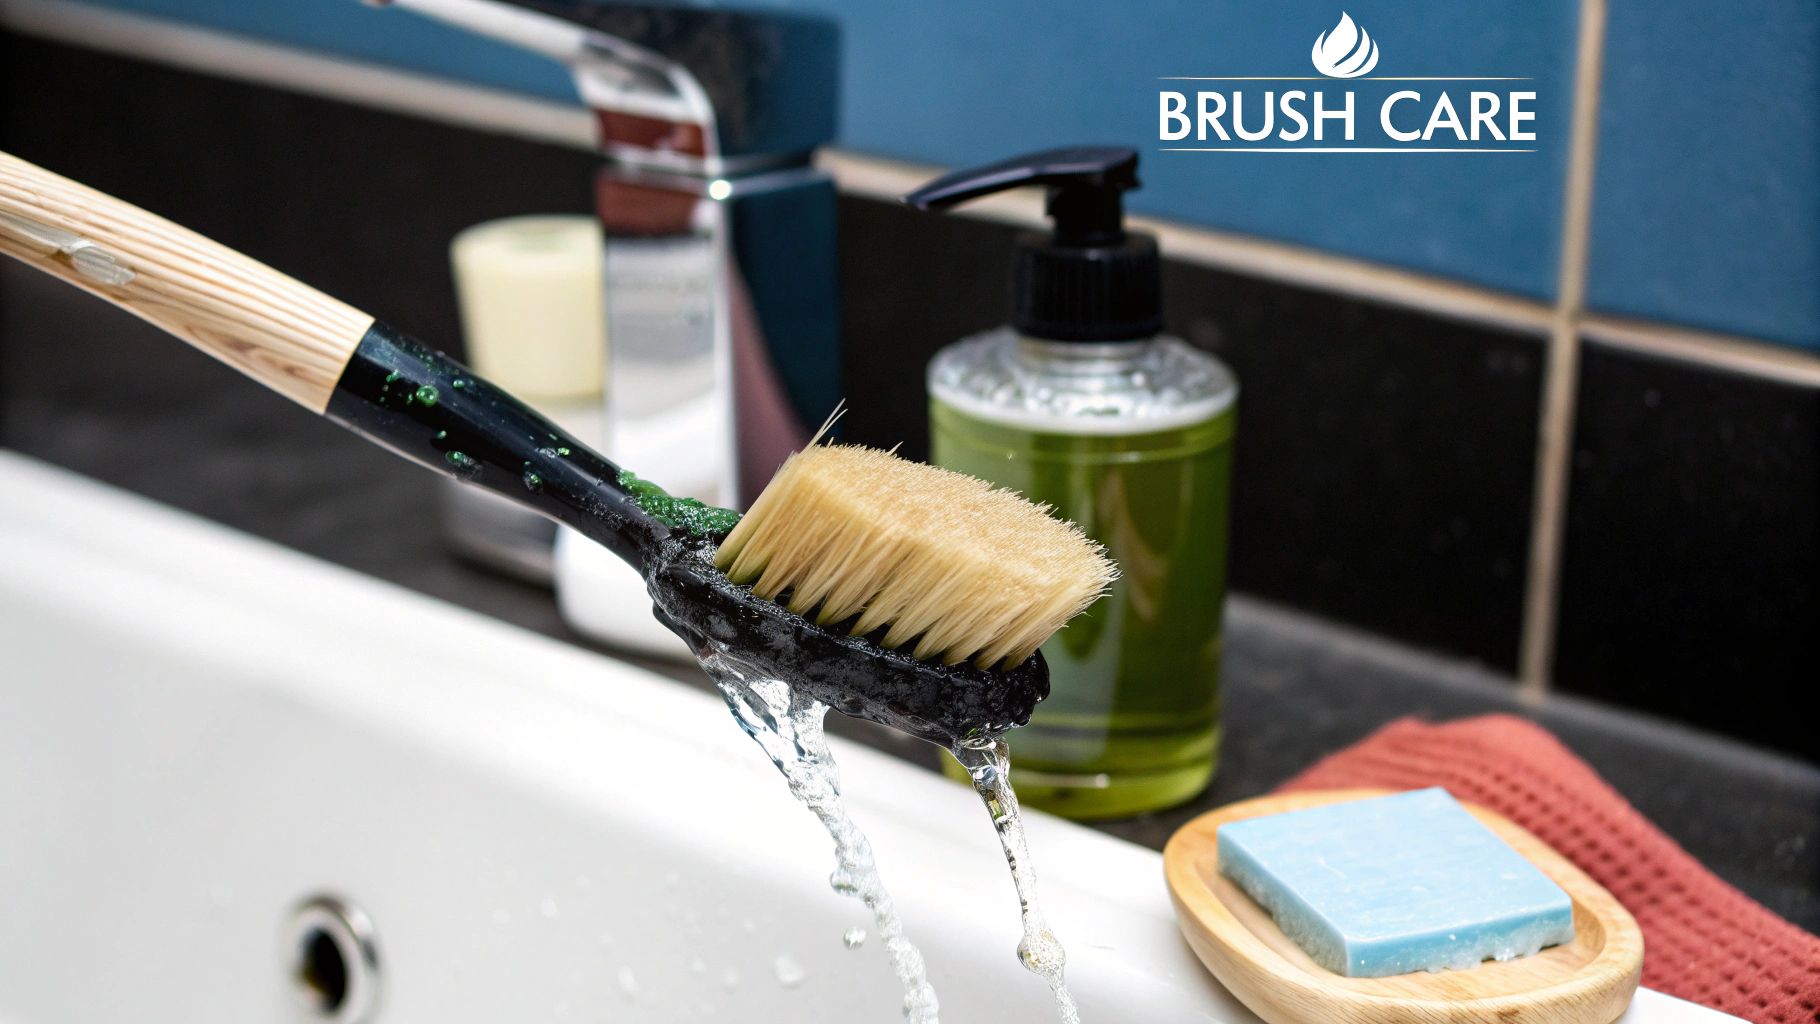
- Rinse Right Away: The second you’re done with a color, give the brush a gentle swirl in a cup of lukewarm water. The goal is just to get the bulk of the paint off. Try not to mash the tip into the bottom of the cup.
- A Little Soap Goes a Long Way: Put a tiny drop of mild soap (dish soap is perfect) in the palm of your hand. Gently work the damp bristles into the soap until you see a nice lather.
- Rinse Well: Run the brush under cool water, always keeping the bristles pointing down. This is key because it stops water from getting into the metal part (the ferrule), which can dissolve the glue and make the bristles fall out.
- Reshape and Dry: Gently blot the excess water with a paper towel and use your fingers to coax the bristles back into their original shape. Then, just lay your brushes flat to dry.
A huge mistake I see all the time is people leaving their brushes sitting tip-down in a water jar. It seems like the right thing to do, but it bends the bristles out of shape for good. A bent tip makes trying to paint those tiny, detailed spots a truly frustrating experience.
Taking care of your tools is a big deal. The paint brush set market was valued at about US$2.1 billion in 2023, and it's clear people are looking for quality tools that last. When you maintain your brushes, you’re not just saving a few bucks; you're making a smarter, more sustainable choice.
For an even deeper dive into the process, check out our guide on how to properly clean your paint brushes.
When to Upgrade Your Brushes
The brushes that come with your paint-by-numbers kit are great for getting your feet wet. They're designed to get you started on your first project, but as you get more comfortable and your skills improve, you'll eventually hit a ceiling with them.
You’ll know it’s time for an upgrade when your brushes start working against you. It's a frustrating feeling.
Maybe your tiny detail brush has frayed, making those crisp, clean lines impossible to achieve. Or perhaps the bristles have lost their shape completely, turning a once-fine point into a splayed-out mess. The classic sign? When you find stray bristles stuck in your wet paint. That’s a sure signal that your starter brushes have served their purpose.
What to Look for in an Upgrade
When you decide it’s time to invest in a new set, there are really two things that matter most: the bristles and the handles.
-
Better Bristles: Keep an eye out for brushes made with synthetic materials like Taklon. Unlike the basic nylon in most kits, these bristles are way more durable. They hold their shape longer, are a breeze to clean, and give you a much smoother paint flow. That sharp point for tiny details? It actually stays sharp.
-
Ergonomic Handles: Don't underestimate the handle! A comfortable, well-balanced grip can be a game-changer, especially during those long, relaxing painting sessions. A good ergonomic design means less hand fatigue and more control over your strokes.
Upgrading isn't about splurging on the most expensive set you can find. It’s about finding tools that feel like a natural extension of your hand. A quality set of brushes will let you finally put all those techniques you've learned into practice with precision and ease.
A Few Common Questions About PBN Brushes
Let's dive into some of the questions I hear all the time from fellow paint-by-numbers enthusiasts. A few quick answers can often solve those little frustrating issues and get you back to the fun part—painting.
"My brush is splitting! Can I save it?"
We’ve all been there. You look down, and your once-perfect brush tip is splayed out like a tiny broom. Frustrating, right? But don't toss it just yet!
Most of the time, you can bring a splitting brush back to life. After a good cleaning with gentle soap and water, use your fingertips to carefully coax the bristles back into a sharp point. Then, lay it flat or hang it with the bristles down to dry completely.
If it's being particularly stubborn, a little brush soap or conditioner can be a game-changer. But, if the bristles are kinked and permanently bent (usually from sitting in the water jar too long), it’s probably time to retire that one and grab a new brush.
A quick pro-tip on drying: always lay your brushes flat after reshaping them. This keeps water from sneaking into the ferrule (the metal part), which can loosen the glue and ruin the handle over time. It also helps the bristles lock into that perfect shape as they dry.
"How many brushes do I actually need?"
Most kits get you started with three solid options: a fine detail brush, a medium round one, and a small flat brush. For your first few paintings, this trio is all you'll need.
However, as you get more comfortable, you'll see how having a couple of extras can really speed up your workflow. I recommend grabbing a few extra fine-point brushes (sizes 000 to 1) and another medium round brush (size 2-4).
Why? It lets you switch between light and dark colors without having to stop and wash your brush every single time. It sounds like a small thing, but it saves a ton of time and keeps you in the creative zone.
"Can I just use my watercolor brushes for the acrylics?"
Technically, you can, but I really wouldn't. Watercolor brushes are made with super soft bristles designed to hold a lot of water and apply thin washes of color.
Acrylic paint, on the other hand, is much thicker and heavier. It's tough on those delicate watercolor bristles and will wear them out in no time.
Your best bet is to stick with the brushes designed for acrylics, like the synthetic nylon or Taklon ones in your kit. They're stiffer, giving you more control over the paint, and they’re built to handle the demands of acrylics. Using the right paint by numbers brushes will not only make painting easier but also ensure they last for many projects to come.
Ready to turn a cherished photo into your next painting project? At Custom Paint By Numbers, we'll set you up with everything you need—a premium canvas, vibrant paints, and the perfect set of brushes. Create your custom kit today and bring your vision to life


