

Think about your favorite photo. It could be from a wedding, a hilarious shot of your pet, or that perfect sunset from your last vacation. Now, imagine that moment transformed into a beautiful canvas painting hanging on your wall.
So, how do you make it happen? You've basically got two great options. You can either order a ready-to-hang canvas print for a quick and polished look, or you can roll up your sleeves and create your own masterpiece with a custom paint-by-number kit. Both are fantastic ways to turn a picture into a canvas painting.
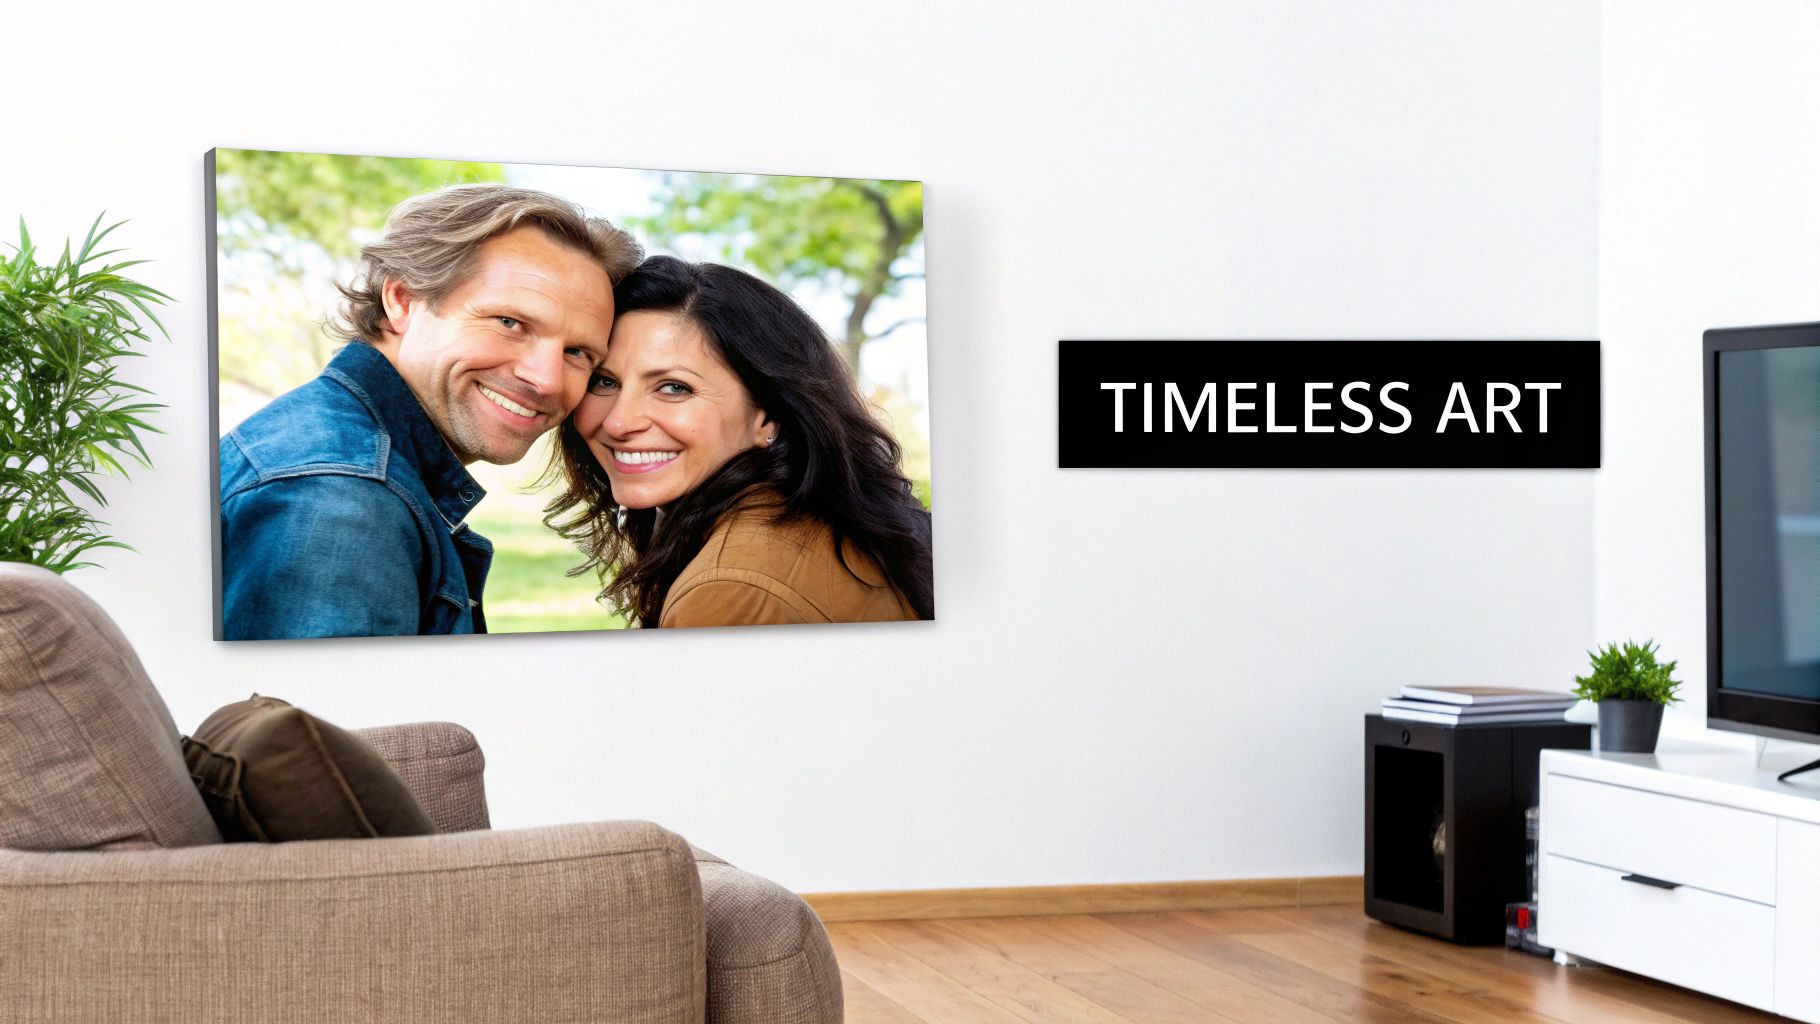
From Digital File to Timeless Art
This guide is all about taking a memory from your camera roll and turning it into something you can actually touch and feel. And you don't need to be a seasoned artist to do it! We'll walk through the whole process, from picking the perfect picture to putting the finishing touches on your new artwork. Let's get started on this fun, creative journey.
Why Bother Turning a Photo into a Canvas Painting?
This is about more than just filling an empty space on your wall. When you turn a photo into a canvas painting, you're giving that fleeting moment a sense of permanence and real personal meaning.
- Truly Personal Decor: Forget generic, store-bought art. This is your chance to fill your home with decor that actually reflects your life, your stories, and your personality.
- Gifts That Actually Mean Something: A custom canvas is one of the most thoughtful gifts you can give for an anniversary, birthday, or holiday. It shows you put real care and effort into it.
- A Fun Creative Escape: If you go the paint-by-number route, it's an incredibly relaxing and mindful activity. Plus, you end up with a beautiful piece of art that you made.
This isn't just a niche hobby anymore. The global art paint market, valued at USD 3.09 billion in 2026, is expected to climb to USD 5.31 billion by 2035. That's a lot of people discovering the joy of creating their own personalized art!
Before you commit to a canvas, it can be fun to play around with digital tools to see what's possible. You can even transform pictures into drawings with AI to get a feel for how your photo might look with an artistic filter. For more ideas, check out our guide on how to https://paint-by-number.com/blogs/learn-about-paint-by-numbers/turn-photos-into-wall-art.
Choosing and Preparing the Perfect Picture
The secret to a stunning canvas painting doesn't start with the paint or the printer—it starts with the photo you choose. This is easily the most critical part of the whole process. Get this right, and you're well on your way to creating something you'll be proud to hang on your wall.
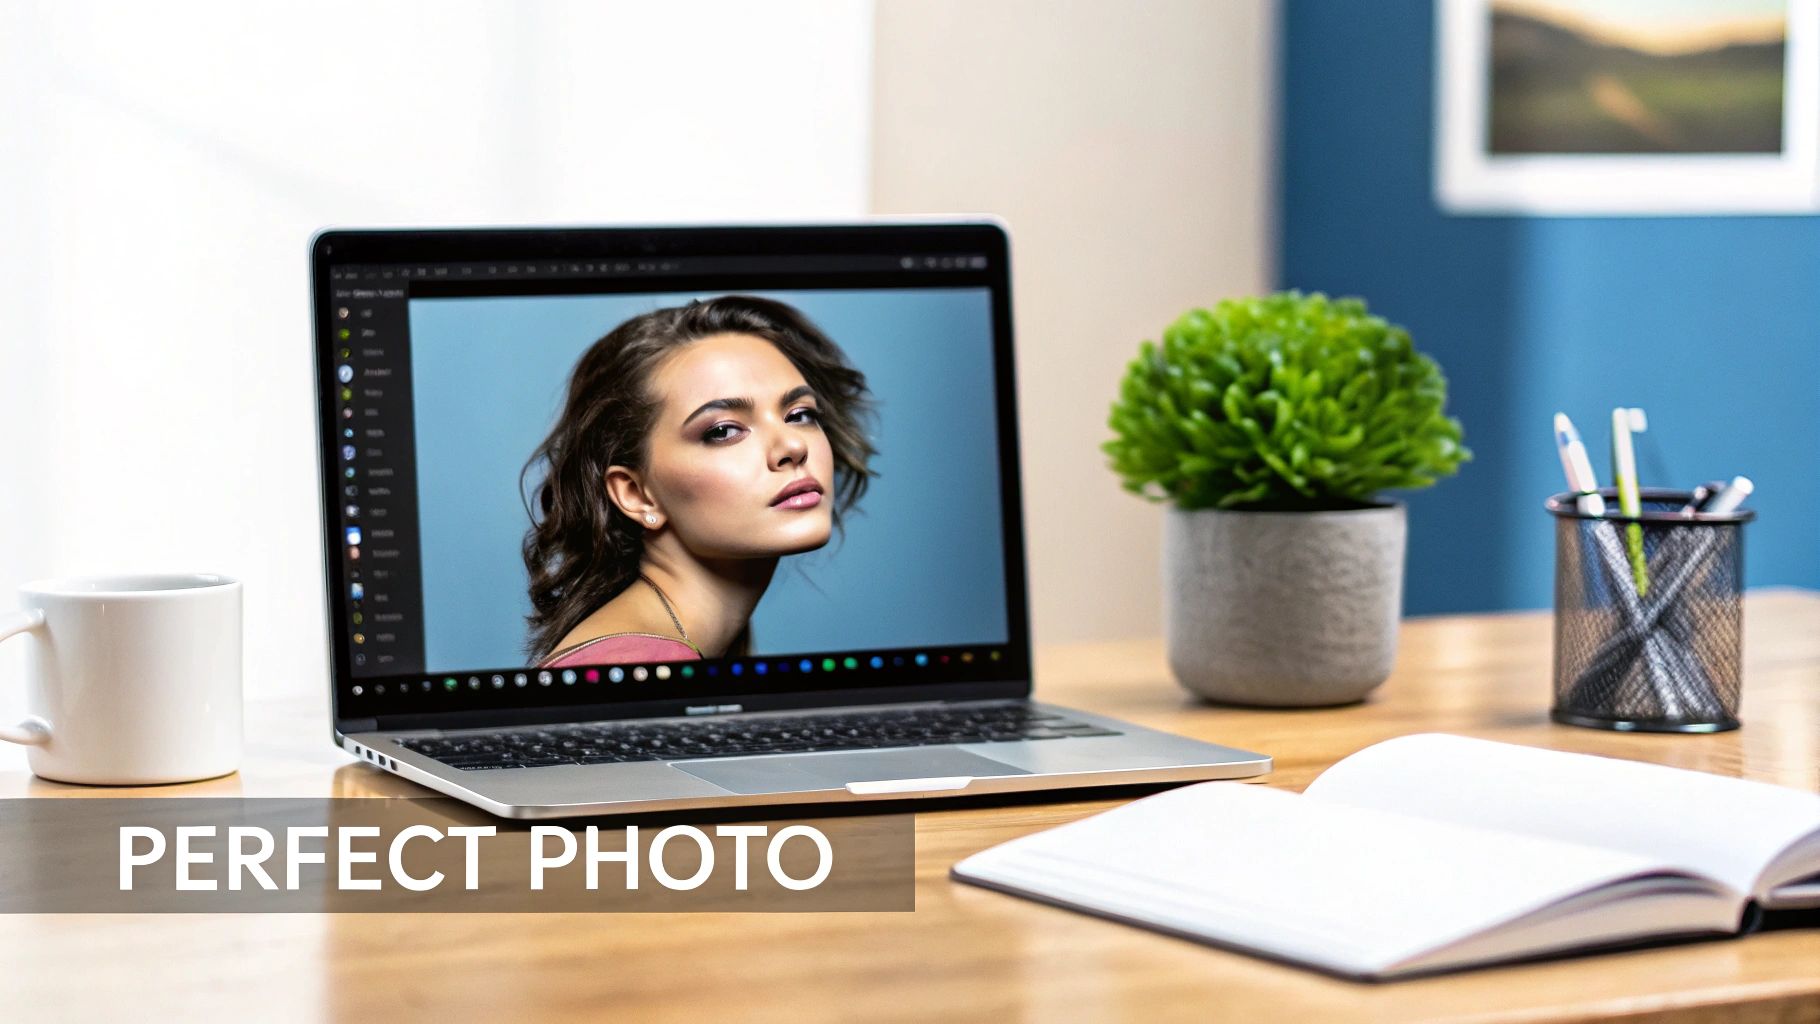
Think of your photo as the foundation. A blurry, dark, or low-quality image just won't cut it. It lacks the raw data needed to translate into a detailed, vibrant painting. You need a photo with high resolution, good lighting, and clear contrast to get a result that pops.
Technical Photo Requirements
Before you fall in love with a particular photo, do a quick "zoom test." Pull it up on your computer and zoom in on the main subject. If it immediately turns into a blocky, pixelated mess, it's probably too low-resolution for a canvas.
Images saved from social media are often the biggest culprits here; they get compressed and lose a ton of detail. Always try to find the original file from your camera or phone.
Here’s a quick checklist for what to look for:
- Resolution: You need at least 150 DPI (dots per inch) for a good-quality print. For a standard 16x20 inch canvas, that means your photo needs to be at least 2400x3000 pixels. Bigger is always better.
- Lighting: Natural, balanced light is your best friend. Photos with harsh shadows hiding a person's face or bright spots that blow out all the detail won't translate well. Pictures taken on a slightly overcast day often have that perfect, soft light you're looking for.
- Focus: Your main subject has to be sharp. A little background blur can look great and very artistic, but the key elements—like a person’s eyes or the details of a flower—must be crystal clear.
Remember, the goal is to provide the best possible source material. When selecting your cherished photo, consider how its quality translates to your canvas. For high-fidelity reference prints, finding the right equipment, such as the best photo printer, can make a world of difference in seeing the true potential of your image.
Simple Edits for a Stronger Composition
You don’t need to be a Photoshop pro to make your photo canvas-ready. Your phone’s built-in editor or a free online tool can do wonders with a few simple tweaks.
Cropping is your most powerful tool. Is there a distracting lamppost or a random stranger in the background? Just crop them out. Tightening the frame around your subject instantly makes the composition stronger. Imagine turning a wide landscape into a focused shot of a single, dramatic tree—it’s a completely different feeling.
A few minor adjustments to brightness and contrast can also make a huge difference, making colors pop and bringing a flat-looking photo to life. Play around with these settings. These small prep steps are what set the stage for a truly successful and beautiful canvas.
So, How Do You Want to Create Your Canvas?
You’ve got your photo prepped and ready to go. Now for the fun part: deciding how you're going to transform that digital file into a physical piece of art. This really comes down to what you're hoping to get out of the experience.
Are you after a stunning, professional-quality piece of decor that's ready to hang in minutes? Or are you itching for a creative project—a chance to get hands-on and make something truly one-of-a-kind?
Let's look at your two main options: ordering a direct canvas print or diving into a custom paint-by-number kit.
The Two Paths to a Perfect Canvas
A direct-to-canvas print is the fast track. You upload your photo, and a professional service prints it directly onto high-quality canvas, stretches it over a frame, and ships it to your door. Simple. This is perfect if you want a flawless, photo-realistic result without lifting a brush. Think big, dramatic landscapes or a cherished wedding portrait where every detail needs to shine.
Then there's the custom paint-by-number kit. This is a completely different journey. Your photo is converted into a numbered outline on a canvas, and you get a set of corresponding paints to bring it to life yourself. It’s less about instant gratification and all about the relaxing, satisfying process of painting your memory, one brushstroke at a time. It's your own personal masterpiece in the making.
Canvas Print vs. Custom Paint-By-Number Kit
To make the choice easier, let's put them side-by-side. Think about what's most important to you—the final look, the effort involved, or the creative experience itself. This table breaks it all down.
| Feature | Direct Canvas Print | Custom Paint-By-Number Kit |
|---|---|---|
| Process | Upload your photo, pick a size and style, and place your order. The pros handle the rest. | Upload your photo, choose a kit, and receive a complete set to paint the canvas yourself. |
| Effort Level | Minimal. The ordering process is quick and straightforward. | High engagement. Requires your time and patience to complete the painting. |
| Final Look | A crisp, photo-realistic reproduction of your original image. | A unique, hand-painted piece with a charming, artistic texture. |
| Best For | Quickly creating professional-looking wall art, gifts, and preserving high-detail photos. | A relaxing hobby, a meaningful DIY project, or a truly personalized and handmade gift. |
Ultimately, both options give you a beautiful way to display a personal photo. One is a perfect copy, and the other is a heartfelt interpretation—it just depends on the story you want your art to tell.
It's no surprise that personalized art is booming. In a recent survey, 51% of art industry experts predicted growth, with another 42% expecting stability. This confidence is what's driving the demand for custom options that let anyone turn their personal moments into art. As you can read in this piece about the art market's confident future on observer.com, this trend is especially popular for creating unique, thoughtful gifts.
Don't Forget the Finishing Touches: Canvas Style
Once you've decided on the how, you need to think about the what. The physical style of the canvas itself plays a huge role in the final presentation.
- Gallery-Wrapped: This is a clean, modern look. The canvas is stretched around the wooden frame so that your image continues along the edges. The result is a frameless piece that almost seems to float on the wall.
- Framed Canvas: For a more classic and polished finish, the canvas is mounted inside a traditional picture frame. This is a great way to tie the artwork into your existing decor and give it a more substantial presence.
A gallery wrap gives you a contemporary, minimalist feel that makes the art the hero. A frame, on the other hand, adds a touch of formality and can make the piece feel more traditional and complete.
In the end, it's all about your vision. Do you want to be the artist, or do you want to unbox a finished masterpiece? Either way, you're about to create something beautiful and deeply personal from a photo you love.
Ordering Your Custom Paint-By-Number Kit
Alright, you've decided to go the paint-by-number route—fantastic choice! This is where the real fun begins. Ordering your kit is the moment your photo starts its transformation from a digital file into a piece of art you'll create with your own hands.
Let's walk through the decisions you'll make, so you can put together the perfect kit with total confidence.
The very first thing you'll do is upload your photo. This is the star of the show, the image you've already tweaked and perfected. The platform's software will scan this picture to generate the numbered canvas, so a clean, high-quality file is your best friend for getting a sharp, accurate final product.
Choosing the Right Canvas Size
Once your photo is in the system, it's time to pick a canvas size. This is a bigger deal than just figuring out where it will hang on your wall; the size you choose directly affects how much detail will be in your painting.
Think of it this way: a larger canvas has more space for smaller, more intricate numbered sections. It’s like the difference between a high-definition TV and an old standard-definition one.
- Small Canvases (like 8x12 inches): These are perfect for simpler subjects—a close-up portrait, a single pet, or a photo without a ton of background noise. They're a quicker project but will naturally simplify the finer details.
- Large Canvases (like 24x32 inches): If you've got a detailed landscape, a family photo, or an image with subtle textures you want to preserve, go big. More canvas means more detail.
A bigger canvas doesn't just make a bigger painting. It creates a more immersive and detailed experience for you as the artist.
Selecting Your Paint Palette
Next up is the paint. You'll typically get to choose how many colors you want in your kit, often with options like 24, 36, or 48 colors. This decision dictates the color richness and realism of your final piece.
So, how do you choose? Just look at your original photo.
A picture of a fiery sunset, with all its subtle shifts between orange, pink, and purple, will look incredible with a 48-color palette. More colors mean smoother transitions and a more lifelike result.
On the other hand, a simple black-and-white photo or a graphic-style portrait with big, bold color blocks might look amazing with just 24 colors. Sometimes, fewer colors can create a cool, stylized, almost poster-like effect. As a rule of thumb, though, more colors equal more realism.
Your custom kit is a true partnership between your photo and the tools you're given. Nailing the right canvas size and color count is how you steer the final outcome, making sure the kit truly honors your memory.
Finally, you’ll give everything one last look, add any extras you might want (like a DIY wooden frame for later), and place your order. From there, your unique kit is assembled with your custom canvas, numbered paints, and brushes. If you're curious about the specifics, you can learn all about what goes into custom paint-by-numbers kits and how they help you turn a picture into a canvas painting.
Now, the hardest part: waiting for your next creative adventure to land on your doorstep.
Bringing Your Painting to Life, One Brushstroke at a Time
That feeling when your custom paint-by-number kit finally arrives is just pure excitement. You’ve got your personalized canvas and a set of paints ready to go—now for the best part. This is where you actually get to turn a picture into a canvas painting with your own hands.
Most kits will include a simple DIY wooden frame. I always recommend putting this together first. It gives you a solid, sturdy base to work on. The trick is to stretch your canvas over the frame until it's nice and taut, almost like a drum. A tight canvas is so much easier to paint on and prevents any annoying sagging later on, giving you that professional finish.
Tips for a Flawless Finish
With your canvas prepped and ready, it's painting time. Honestly, you can start wherever you feel comfortable, but I've picked up a few tricks over the years that make the process smoother and the results even better.
Think about working from the top down. It’s a simple strategy, but it saves you from accidentally smudging wet paint with your hand as you move across the canvas. It’s a small thing that helps keep your lines clean and your colors from getting muddy.
Another pro-level technique is to tackle the lightest colors first. Lighter acrylic paints are often less opaque than darker ones, so if you happen to make a mistake, painting over a light color with a dark one is a breeze. Trying to do it the other way around? Not so much. This gives you a nice safety net while you get into the groove.
This simple diagram shows just how easy it is to get started.
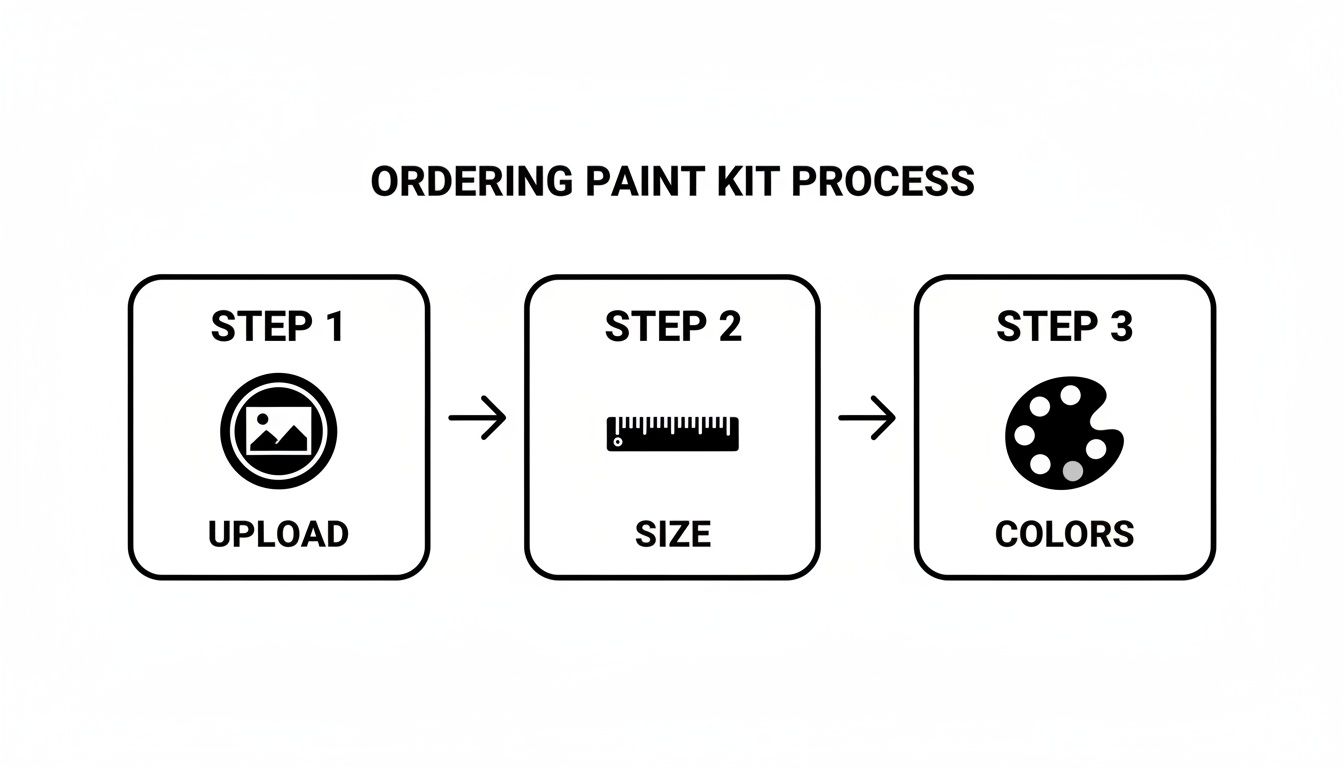
From uploading your photo to choosing your colors, the process is designed to be completely straightforward.
Try Blending for a More Artistic Look
The numbered sections are your guide, but don't be afraid to add your own artistic touch. One of my favorite ways to do this is by blending the edges between colors. Instead of creating sharp, distinct lines, you can gently feather the wet paint from one section into the next. It creates a much softer, more painterly effect that really elevates the final piece.
Pro Tip: While two adjacent colors are still wet, take a clean, slightly damp brush and gently blur the line where they meet. This technique is called scumbling, and it’s perfect for adding depth and realism to things like skies, water, or even skin tones.
This one little step can completely transform your project, moving it from a segmented picture to a cohesive, fluid painting.
If you’re looking for more hands-on advice, you can find a ton of great paint-by-number tips and tricks to help you along the way. With a bit of patience and these simple techniques, you'll see your favorite photo reappear as a beautiful, hand-painted work of art.
Finishing and Displaying Your Custom Artwork
Once that last brushstroke is dry, you’ve officially created your painting! But hold on before you grab a hammer and nail. A few simple finishing touches can protect your work and really make it pop. The process to turn a picture into a canvas painting isn't truly done until it's ready for its big debut.
I always recommend applying a simple acrylic varnish. Think of this clear coat as insurance for your art—it protects the surface from dust, grime, and the fading that comes from UV light. A quick layer of varnish ensures the colors stay as vibrant as the day you painted them, keeping your piece looking fresh for years to come.
Making Your Art the Centerpiece
With your masterpiece protected, it's time to find the perfect spot. Don't just settle for any empty wall space; think about how you can make your canvas a true focal point. A great trick is to hang it above a major piece of furniture, like your sofa or the headboard of your bed, to anchor the entire room.
Lighting makes a huge difference, too. Natural light is beautiful, but try to avoid harsh, direct sun, which can cause colors to fade over time. For the evenings, a small, dedicated picture light can work wonders, highlighting the textures and details and giving your painting that professional, gallery-quality look.
Your custom canvas isn't just a picture; it's a personal story. Try integrating it into a gallery wall with other meaningful items—family photos, small prints, or even a framed memento—to create a display that is uniquely you and tells a cohesive story about your life.
Right now, home decor is all about going big. As people have opened up their living spaces, there's a real demand for larger, more immersive art to fill those blank walls. This has made turning personal photos into large-scale canvas paintings more popular than ever.
We're also seeing a shift away from bland neutrals toward rich, moody color palettes with jewel tones like ink blue and forest green. An oversized custom canvas fits this aesthetic perfectly. You can see more examples of these home decor trends on youtube.com.
Ultimately, displaying your canvas is about celebrating your own creativity and the memory behind the image. Give it the place of honor it deserves.
Got Questions? We've Got Answers
When you're ready to turn a favorite photo into a painting, a few common questions always seem to come up. Let's get them answered so you can start your project with confidence.
What Kind of Photo Should I Use?
Honestly, the best photos are the ones that are sharp and clear. Think high-resolution pictures with good, even lighting where you can easily see the main subject.
Close-ups of faces, beloved pets, or even a striking landscape with bold shapes tend to work brilliantly. On the other hand, try to steer clear of anything blurry, too dark, or overly busy. A cluttered background with tons of tiny, fussy details can get lost in the translation to a paint-by-numbers canvas.
But What if I Can't Even Draw a Stick Figure?
That’s the best part—you don't need to! A paint-by-numbers kit is the ultimate creative equalizer. It's designed for absolute beginners and seasoned artists alike.
The canvas arrives with the outlines and numbers already printed for you. Your only job is to match the numbered paint pot to the corresponding area on the canvas. It’s a wonderfully simple, almost meditative process.
How Long Is This Going to Take?
From the moment you click "order," it typically takes about 2 to 4 weeks for your custom kit to be produced and land on your doorstep.
As for the actual painting? That's completely up to you. A smaller canvas might be a fun project over a weekend. A larger, more intricate piece could be something you relax with over several weeks. It all depends on the complexity and your own comfortable pace.
Ready to see your own photo transformed into a work of art? Custom Paint By Numbers makes it incredibly simple to get started. Create your custom kit today!


