When you want to take a painting from being just a picture to something that feels alive, texture is your best friend. It’s about more than just what you see; it's about what you feel. You can build up physical layers of paint with techniques like impasto, or you can use clever brushwork like scumbling to trick the eye into seeing depth.
Learning how to create texture in paintings adds a tangible, emotional quality that truly elevates your art.
Why Texture Transforms Your Paintings
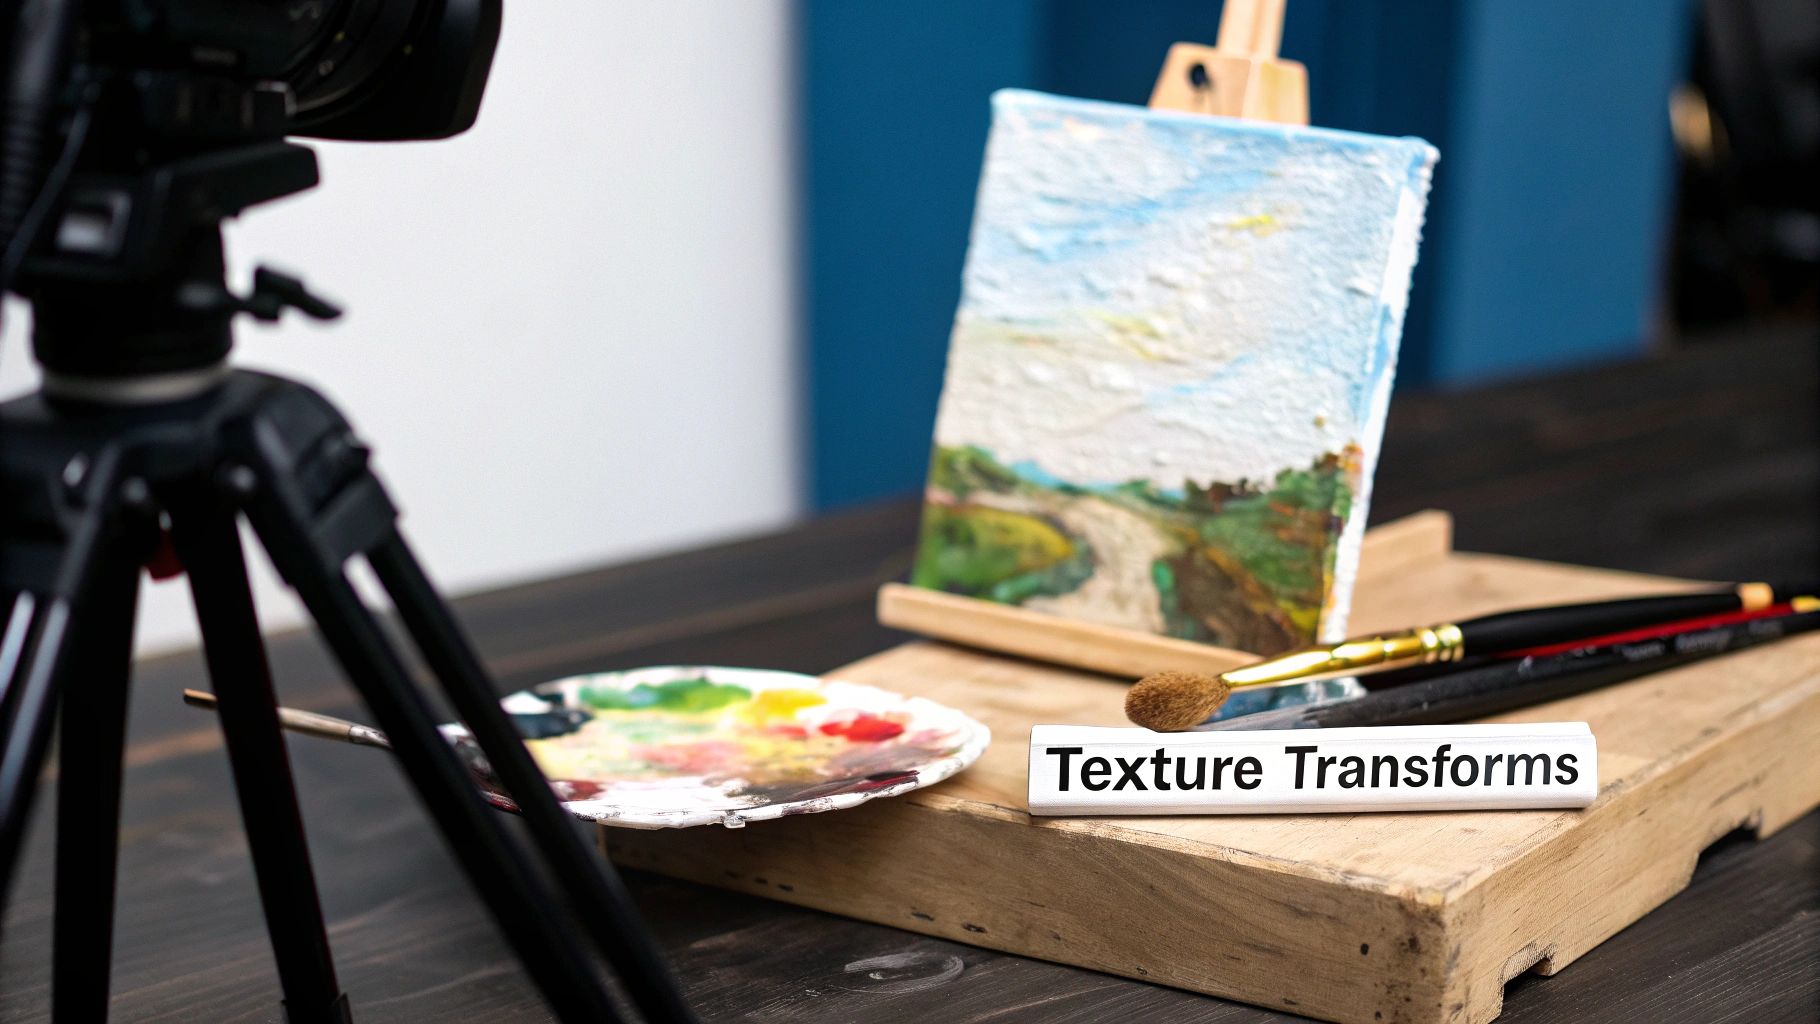
Texture is the secret ingredient that breathes life into a painting. It’s what makes a flat, two-dimensional surface feel dynamic and engaging. It’s the difference between a picture of a tree and a painting where you can almost feel the rough, gnarled bark.
By adding texture, you’re inviting the viewer to do more than just look at your work. You’re inviting them to experience it on a deeper, almost tactile level.
This isn't a new idea, of course. The use of texture has evolved right alongside artistic styles and materials. One fascinating study that analyzed nearly 140,000 paintings found that visual texture in art saw a huge jump after 1850, which lines up perfectly with modern movements like Impressionism.
Guiding the Viewer's Eye
One of the most powerful things texture can do is direct attention. A thick, sculptural passage of paint will naturally draw the eye, making it an incredible tool for creating a focal point.
Think about a seascape where the crashing waves are rendered in thick, white impasto, but the sky is painted smoothly. Your gaze is immediately pulled to the dramatic action of the water.
On the other hand, subtle textures can create a sense of calm or distance. Soft, scumbled clouds might appear to recede into the background, giving the painting a greater sense of atmospheric depth. This control over visual weight is a key skill for any artist to develop.
If you really want to understand the impact of texture, nothing beats a hands-on painting experience where you can see and feel these principles in action.
An Overview of What You Will Learn
Throughout this guide, we'll dive into the practical methods you can use to achieve these effects. We're going to move from theory to application, giving you the confidence to start experimenting with different techniques. Each one offers a unique way to tell your visual story.
Texture is more than just a surface treatment; it's a language. It communicates emotion, from the chaotic energy of a thickly painted abstract to the serene calm of a smoothly blended portrait.
Before we get into the nitty-gritty, here is a quick overview of the core techniques we’ll be covering. This table should help you get a feel for their primary tools and the visual impact they create.
Overview of Texture Creation Techniques
| Technique | Primary Tool | Best For | Visual Effect |
|---|---|---|---|
| Impasto | Palette Knife / Stiff Brush | Creating bold, sculptural forms like mountains, waves, or thick petals. | Thick, physical layers that catch light and cast shadows. |
| Palette Knife | Palette Knife | Building sharp edges, flat color planes, and rugged surfaces. | Sculptural marks, from smooth scrapes to rough peaks. |
| Dry Brush | Stiff, Dry Brush | Suggesting weathered wood, stone, or wispy clouds. | A broken, scratchy effect that reveals the canvas tooth. |
| Scumbling | Soft Brush | Creating mist, soft light, or delicate atmospheric effects. | A hazy, semi-opaque layer that softens underlying colors. |
With this foundation, you'll be ready to choose the right approach for the mood and subject of your next piece. Let's get started.
Choosing the Right Surface for Texture
Before you even think about mixing colors, the surface you choose to paint on is already influencing the final look and feel of your work. It's not just a passive background—it's an active partner in how your paint behaves, how your layers build, and how texture emerges. Getting a handle on this relationship is a huge part of mastering texture.
Think about it this way: a canvas with a really rough, heavy weave is a natural fit for techniques like dry brushing. The raised threads will grab just enough pigment from a stiff, barely-loaded brush, creating that weathered, scratchy look you see in paintings of old barns or rocky cliffs. The canvas is literally doing half the work for you.
On the other hand, if you work on a super-smooth surface like a gessoed wood panel, you get a totally different playground. It’s perfect for seamless blending and razor-sharp details. Any thick, sculptural marks you make will pop dramatically because the surface itself isn’t adding any texture of its own.
The Role of Canvas Weave and Tooth
When artists talk about the "tooth" of a canvas, they’re referring to the grain or texture of the fabric. A canvas with a lot of tooth feels rough and has a very visible weave, which is what gives it that classic painterly quality.
Depending on your goal, that tooth can be your best friend or your biggest enemy. A rough surface will naturally break up your brushstrokes, which can be fantastic for adding a tactile quality to the piece but a real headache if you're trying to paint a tiny, perfect detail.
So, how do you choose? It really boils down to what you want to achieve:
- Rough Canvas (Heavy Tooth): This is your go-to for expressive, loose paintings. The surface grabs onto the paint, making it perfect for visible brushwork and a more rugged, textural feel.
- Smooth Canvas (Fine Tooth): If you're doing portraits, realism, or any kind of detailed work, a smoother canvas is the way to go. It lets you create those subtle blends without the canvas texture getting in the way.
Preparing Your Own Textured Surfaces with Gesso
Why limit yourself to what you can buy off the shelf? You can create your own custom-textured surfaces with a little bit of gesso. This acrylic primer is fantastic not just for preparing your canvas, but for building a textured foundation before you even lay down a single spot of color.
Instead of just slapping on a smooth, even coat, try playing around. You're not just priming the canvas; you're essentially sculpting the landscape of your painting.
Pro Tip: Try to think of your gesso layer as the first layer of your painting. A textured ground can suggest a stormy sea or a rocky field before you've even picked up a color. It gives you an immediate sense of direction.
Grab some different tools and see what happens when you apply gesso with them:
- A Stiff Brush: Try applying the gesso in thick, sweeping strokes. When it dries, you’ll have a grain that could mimic wood or flowing water.
- A Palette Knife: You can spread and scrape gesso across the surface to build up ridges and peaks, creating a varied landscape to paint on.
- A Foam Roller: This will give you a more uniform, stippled texture. It creates a great, grippy surface that holds onto subsequent layers of paint beautifully.
When you prepare your surface like this, you're embedding texture right into the DNA of your painting. If you're just starting to build out your art supplies, experimenting with different primers and supports is a fantastic next step. You can check out our guide on beginner acrylic painting supplies to see what tools can help you get started.
Building Sculptural Layers with Impasto and Palette Knives
If you want to create texture in your paintings that you can literally feel, impasto and palette knife work are your best friends. These methods are all about building up the paint, pushing your artwork from a flat surface into a sculptural, three-dimensional world. It’s a very direct, physical way to inject energy and drama into a piece.
Impasto is a classic technique where you apply paint so thickly that the brush or palette knife strokes are physically raised from the canvas. This approach really took off in the late 19th century with artists like Vincent van Gogh, who used it to fill his work with incredible emotional intensity. The thickness can range from a few millimeters to over a centimeter, creating a surface that plays with light in a truly dynamic way.
But before you start piling on the paint, you need to make sure your canvas can handle it.
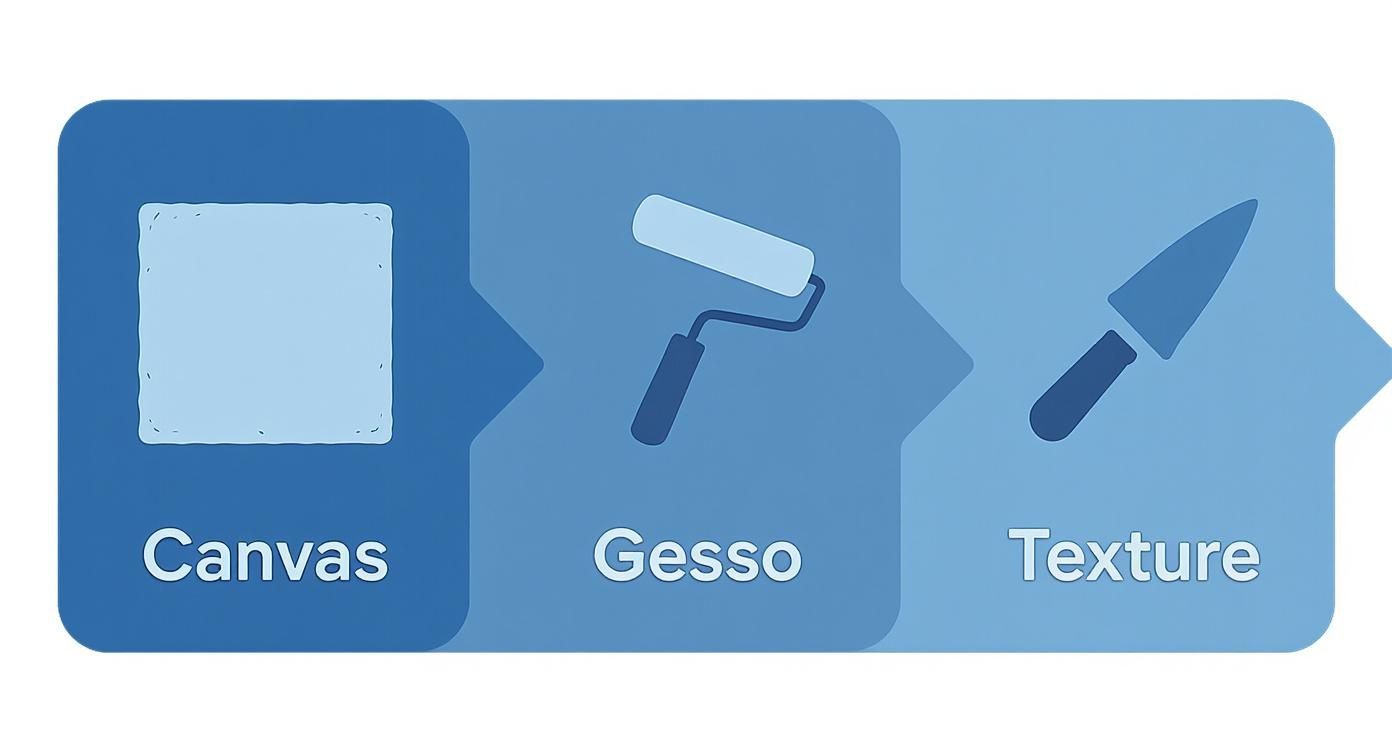
Starting with a properly gessoed canvas gives your textured layers a solid foundation to grip, which helps prevent problems down the road.
Mastering the Art of Impasto
The secret to great impasto is using the right kind of paint. You need something with plenty of body that will hold its shape. Thin, fluid paints will just level out and you'll lose all those beautiful peaks and ridges you worked so hard to create.
For acrylics, look for tubes labeled "heavy body" or "super heavy body." They have a thick, buttery consistency that’s perfect for sculptural work straight from the tube. Oils naturally have a good consistency for this, but their slow drying time means patience is key.
A common mistake is just globbing on huge amounts of expensive paint to build volume. A much smarter (and more affordable) approach is to use a texture medium. These are designed to bulk up your paint without compromising its integrity.
To get the most out of your paint, it's helpful to understand what different additives can do. They each have unique properties that affect everything from drying time to the final finish.
Comparing Texture Mediums and Additives
Here’s a quick breakdown of common mediums you can mix with your acrylic or oil paints to build texture.
| Medium Type | Paint Compatibility | Drying Time | Finish (Gloss/Matte) | Primary Use Case |
|---|---|---|---|---|
| Heavy Gel Medium | Acrylic | Moderate to Slow | Gloss, Semi-Gloss, Matte | Bulking up paint, increasing transparency, creating thick, non-cracking layers |
| Modeling Paste | Acrylic | Slow | Matte, Opaque | Building extreme, lightweight texture; can be carved or sanded when dry |
| Pumice Gel | Acrylic | Moderate | Matte, Gritty | Creating a rough, sand-like or concrete-like surface texture |
| Glass Bead Gel | Acrylic | Moderate | Gloss, Bumpy | Adding a unique, bubbly, or reflective texture that catches the light |
| Alkyd Impasto Medium | Oil | Fast | Varies (often satin) | Thickening oil paint while speeding up the drying time to prevent wrinkling |
As you can see, choosing the right medium really depends on the final look you're trying to achieve. Don't be afraid to experiment with a few different kinds on a scrap canvas to see what you like best.
Wielding the Palette Knife for Dynamic Marks
A palette knife isn't just for mixing paint on your palette—it's an incredible tool for creating a huge range of textures. Unlike a brush, a knife makes direct, confident marks that can't be easily replicated. This directness is what gives palette knife paintings their characteristic energy.
Learning to control a palette knife is all about understanding how its different parts work. The flat bottom is great for applying smooth, even patches of color, almost like icing a cake. The thin edge can create sharp, crisp lines, perfect for defining buildings or the hard edge of a rock. You can even use the tip for smaller details or to scratch back into wet paint, a technique known as sgraffito.
Think of your palette knife like a small trowel. You can press and lift thick paint to build the rugged texture of a cliff face. Or, you can drag it smoothly across the canvas to suggest the still, reflective surface of a lake.
Let's imagine you're painting tree bark. You could start by mixing a dark base color with a heavy gel medium. Use the flat side of your knife to apply this mixture in a rough, vertical shape. Then, load just the edge of your knife with a lighter color—like a grey or light brown—and drag it gently over the dark base. The knife will only deposit paint on the raised areas, instantly creating the illusion of weathered bark. It's a fantastic trick that combines both physical and visual texture.
If you’re looking for more ways to handle your materials, exploring different canvas painting techniques can give you a broader toolkit to pull from.
Avoiding Cracking and Other Common Pitfalls
One of the biggest headaches when working with thick paint, especially acrylics, is cracking. This happens when the surface of the paint dries much faster than what's underneath, causing it to shrink and split apart.
Here’s how to stop that from happening:
- Build in Layers: Instead of slapping on one massive layer, build it up with several moderately thick layers. Let each one get tacky or partially dry before adding the next.
- Use the Right Medium: As we covered, impasto and heavy gel mediums are specifically formulated to dry evenly and stay flexible. This dramatically reduces the risk of cracks.
- Work on a Rigid Support: A heavily textured painting is a heavy painting. A standard stretched canvas can sag under the weight, which puts stress on the dried paint. For really thick work, I'd recommend using a wood panel or a canvas board for a more stable foundation.
Creating the Illusion of Texture with Brushwork
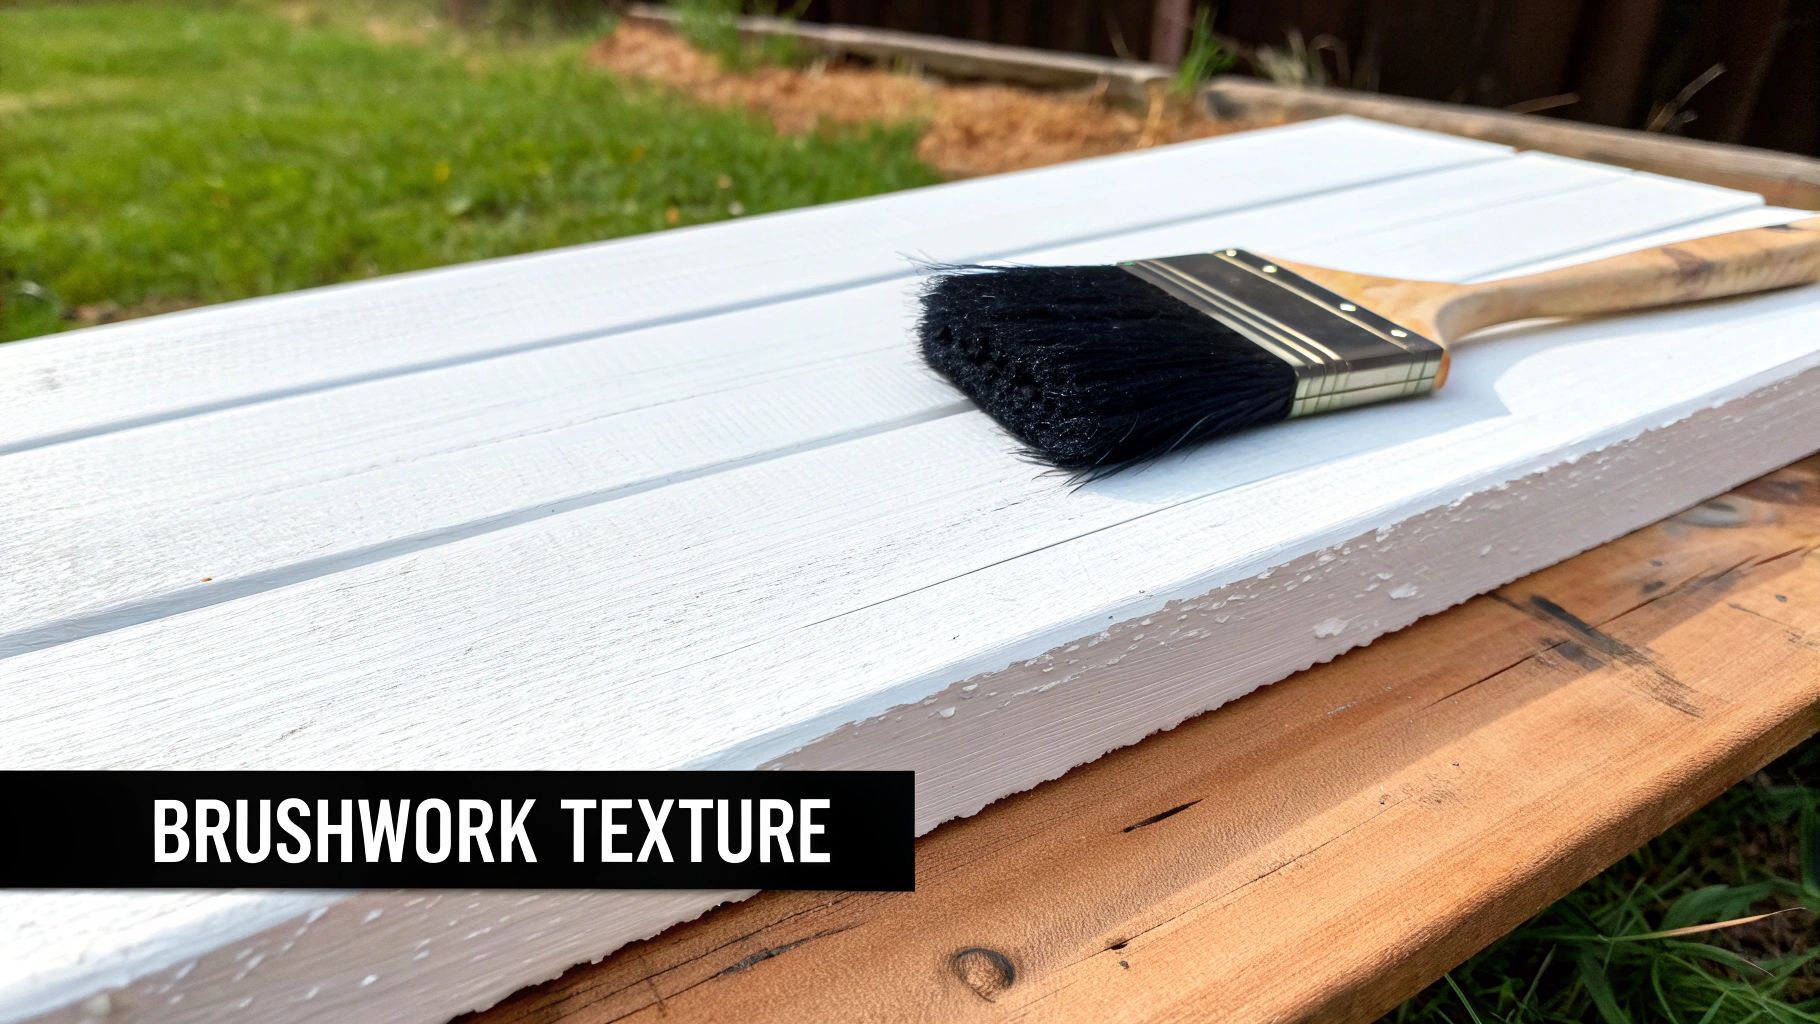
Sometimes, the most compelling textures in a painting aren't physical at all. While a thick, sculptural layer of impasto certainly makes a statement, you can also create a powerful sense of texture through pure illusion. This is where your brushwork truly shines, becoming a tool for tricking the eye into seeing everything from weathered stone to soft mist on a completely flat surface.
These techniques are all about control and subtlety. By mastering a few key brush methods, you can add incredible depth and realism to your art without piling on the paint. It’s a different way to approach texture, focusing on visual suggestion rather than something you can actually feel.
The Gentle Art of Scumbling
Scumbling is a wonderfully atmospheric technique I love for creating soft, hazy effects. The basic idea is to apply a very thin, broken layer of a light-colored, opaque paint over a darker layer that's already dry. What you get is a delicate, almost smoky appearance that softens edges and beautifully captures the feeling of light and air.
Imagine you're painting a misty morning landscape. Your background hills are a dark, cool blue and are completely dry. To bring in that fog settling in the valley, you'd grab a light grey or white, maybe thin it just a touch, and use a soft, dry brush in gentle, swirling motions. The key is to let that dark underlayer peek through in places, which creates that beautiful, nuanced effect.
The magic of scumbling lies in its imperfection. It’s the broken, uneven application of paint that sells the illusion. A perfectly smooth layer would just be a flat glaze.
This technique is also fantastic for rendering the soft bloom of light on skin in a portrait or the dusty quality of an old object. The trick is to use almost no pressure and just let the brush dance on the surface. A light touch is everything.
Achieving a Weathered Look with Dry Brushing
If scumbling is all about softness, dry brushing is its complete opposite—it’s rough, scratchy, and absolutely full of character. This technique is exactly what it sounds like: you use a stiff-bristled brush with a minimal amount of thick paint, lightly dragging it across the surface. The brush only hits the high points of the canvas weave or the paint below, creating a broken, textured mark.
Dry brushing is my go-to method for any kind of weathered or coarse surface. Think about rendering the splintery texture of an old wooden fence post.
- First, lay down your dark brown base color and let it dry completely.
- Next, load a stiff, flat brush with a tiny bit of a lighter grey or tan.
- Wipe most of the paint off on a paper towel. You want the brush to feel almost dry.
- Finally, lightly drag that brush over your dark base. The paint will catch on the canvas tooth, creating streaks that look exactly like aged wood grain.
This method works wonders for suggesting stone, brick, fabric, or even wispy clouds against a solid blue sky. The less paint on your brush, the more control you have. The right tools make a huge difference here; if you're curious, you can learn more about which tools to use by exploring different brushes for paint by numbers and other art projects.
Building Form with Stippling and Hatching
Often seen in drawing, stippling and hatching are also incredibly effective painting techniques for building up visual texture and form. Both methods involve making a series of small, distinct marks that the eye blends together, creating a sense of shading, depth, and surface quality.
Stippling is the meticulous process of building an image with countless tiny dots.
- To create darker areas, you place the dots very close together.
- For lighter areas, you simply space them farther apart.
When painting, you can use the very tip of a small, round brush to apply these dots of color. It’s an excellent way to render the pebbly texture of sand, the rough skin of a lemon, or a porous rock. It’s a slow, almost meditative process, but the results can be stunningly realistic.
Hatching and Cross-Hatching use simple lines to achieve similar effects.
| Technique | Description | Best for Creating |
|---|---|---|
| Hatching | A series of parallel lines going in the same direction. The closer the lines, the darker the value. | Textures like flowing hair, grass, or wood grain. |
| Cross-Hatching | A second set of lines is layered over the first, usually at an opposing angle, to build up darker values faster. | Rougher textures like burlap, woven fabric, or tree bark. |
These mark-making techniques force the viewer's eye to do some of the work, blending the individual strokes into a rich visual texture. Whether you're using delicate dots or energetic lines, you're guiding the viewer through the form of your subject, one intentional mark at a time.
Using Mixed Media for Unique Textural Effects
While paint and brushes are our go-to tools, some of the most stunning textures I've ever created came from looking beyond the art supply store. Think of mixed media as your official permission to play and get a little weird by bringing unexpected materials right into your artwork. It’s how you create surfaces that are not just interesting to look at, but have a real physical presence.
This approach really blurs the lines of what a painting can be, turning it into something more sculptural and tactile. By bringing in materials from the world around us, we can build up textures that are simply impossible to get with paint alone.
Adding Aggregates for Gritty Surfaces
One of the most straightforward ways to get instant texture is by mixing aggregates directly into your paint or mediums. This is a brilliant way to add a raw, earthy feel to a piece, and I find it works wonders for natural landscapes, weathered cityscapes, or purely abstract work.
You can use things like fine sand, sawdust, or even dried coffee grounds. When you stir these into an acrylic medium—something like a heavy gel or modeling paste works best—they get suspended and can be spread right onto the canvas. The trick is using a thick enough medium to really grab onto the particles and lock them in place so they don't flake off later.
For instance, if you're painting a beach scene, try mixing a little fine craft sand into your modeling paste. Spread it on with a palette knife, and you'll get a gritty, realistic surface that catches the light beautifully. That’s how you build a feeling of authenticity right into the painting.
Safety First: When you're working with fine powders like sand or sawdust, always make sure you're in a well-ventilated space. It's also a good idea to wear a simple dust mask to avoid breathing in any of those tiny particles.
Weaving in Collage and Found Objects
Collage is another fantastic mixed-media technique that adds both physical texture and layers of meaning. By attaching things like textured paper, fabric scraps, string, or corrugated cardboard, you can build a fascinating surface before you even pick up a brush.
You can stick these elements directly onto your canvas using a strong adhesive like PVA glue or an acrylic matte medium. Once they’re totally dry and secure, you can paint right over them, letting that underlying texture poke through. A piece of burlap, for example, can become the perfect foundation for a rustic still life, with its coarse weave showing through the layers of paint.
Here are a few ideas to get you started with collage:
- Textured Papers: Crumpled tissue paper or handmade paper can create wonderfully delicate, crinkly surfaces. If you paint over them with a thin wash of color, the paint will settle into the crevices and really make the texture pop.
- Fabric and Fibers: Try gluing down bits of cheesecloth, lace, or even just some yarn. These materials add a soft, organic feel and can be used to suggest anything from wispy clouds to the texture of clothing.
- Natural Elements: Small, flat objects like dried leaves or pressed flowers can be embedded into a thick layer of clear gel medium. This essentially preserves them right inside the artwork itself.
Sealing and Integrating Your Materials
The final—and most important—step in any mixed-media piece is making sure everything is sealed and permanent. The last thing you want is for your carefully chosen textures to start falling off the canvas down the road.
After you’ve added all your materials and they are completely dry, I always recommend applying a sealing layer. A coat of clear acrylic medium (you can choose a matte or gloss finish) brushed over the entire surface will lock everything down. This also helps create a more uniform surface for painting, so your brush doesn't snag on all the different textures. It’s the final touch that ensures your experimental masterpiece will last.
Common Questions About Painting Texture
Diving into the world of texture can bring up a lot of questions. It's totally normal. You're working with new tools, new materials, and sometimes the paint just doesn't do what you expect it to. Let's tackle some of the most common hurdles artists run into so you can get back to creating with confidence.
How Do I Keep My Thick Impasto Paint From Cracking?
Ah, the dreaded cracking. This is a big one, especially with acrylics. You lay down a beautiful, thick peak of paint, and when you come back, it's full of tiny fissures. This happens because the surface of the paint dries and shrinks way faster than the blob underneath, causing it to split.
The best fix is to build your texture in stages. Instead of piling on one massive layer, apply your paint in several moderately thick layers. Let each one get tacky or at least partially dry before you add the next. A more foolproof method is to mix a dedicated impasto medium or heavy gel into your paint. These products are specifically designed to bulk up your paint and dry uniformly, staying flexible and crack-free even when applied heavily.
If you're an oil painter, the trick is to use a flexible alkyd medium and make sure your canvas is properly primed and stretched tight to handle the weight.
Can I Add Texture to a Painting That's Already Finished?
Absolutely! It's never too late to add a little more dimension. The approach just changes depending on what kind of paint you used.
If you have a fully cured acrylic painting, you've got tons of options. You can go right over the top with clear textural gels or molding pastes. This lets you build up physical texture without obscuring the colors you've already laid down. Once that new texture is dry, you can even float some transparent glazes over it to really make it pop.
For oil paintings, the golden rule is always "fat over lean." This just means that any new layer must have more oil in it than the layer below it. So, adding a thick, oily impasto mark over a dry, "leaner" area is perfectly fine. You could also use a technique like scumbling—using an almost-dry brush to lightly scrub on some color—to add a bit of visual texture without creating a thick paint film.
What Are the Best Tools for Texture Besides a Palette Knife?
Palette knives are the classic choice, but don't stop there. Your studio—and even your kitchen—is full of incredible texture-making tools just waiting to be discovered.
- Sponges: I love using natural sea sponges for creating organic, mottled effects that look like foliage or weathered stone.
- Color Shapers: These are like paintbrushes with silicone tips. They're amazing for carving into wet paint or sculpting it with real precision.
- Old Credit Cards: An expired gift card is perfect for scraping paint across the canvas, creating sharp edges and clean lines.
- Household Items: Get creative! Try pressing crumpled plastic wrap, bubble wrap, or a piece of corrugated cardboard into wet paint. When you lift it, you'll be left with a unique, imprinted pattern.
My best advice? Just experiment. Some of the most interesting textures I've ever created came from using tools I never expected to work. Grab a scrap canvas and see what kinds of marks you can make.
Is It Possible to Create Texture in Watercolor?
While you can't get that thick, buttery impasto feel with watercolor, it has its own magical ways of creating texture.
A classic technique is to sprinkle a bit of salt onto a wet wash. As the paint dries, the salt crystals soak up the water and pigment around them, leaving behind a delicate, starburst-like pattern. You can also try dropping a little rubbing alcohol onto a wet area; it will push the pigment away and create fascinating blooms and rings.
Another great method is "lifting," where you use a damp brush or a bit of sponge to pull color off a dry area to create highlights and softer textures. But honestly, the biggest factor is your paper. A good cold-press watercolor paper has a beautiful, bumpy surface (or "tooth") that will naturally give your washes and dry-brush strokes a wonderful sense of texture.
Ready to turn your favorite memories into a textured masterpiece? At Custom Paint By Numbers, you can transform any photo into a high-quality, easy-to-follow art project. Create your personalized kit and start your artistic journey today at https://paint-by-number.com.