Knowing the right way to clean your paint brushes is pretty straightforward. For water-based paints, stick with soap and water. For oil-based paints, you'll need a solvent first, then soap and water. Getting this routine down is the secret to keeping your brushes from turning into stiff, unusable sticks.
Why Bother With a Proper Brush Cleaning Routine?
Ever come back to a project, excited to get started, only to find your favorite brush is rock-solid with dried paint? We’ve all been there. It’s a frustrating moment that a little bit of care can completely prevent. Thinking of brush cleaning as an investment in your art, not just a chore, ensures every stroke you make is as crisp and clean as the last.
This goes way beyond a quick rinse under the faucet. A good cleaning process protects the bristles, helps them hold their shape, and stops paint from creeping up into the ferrule—that metal band holding everything together. Once paint hardens in there, it’s game over for that brush. Skip this step, and you’re left with frayed, stiff bristles that will only give you streaky, frustrating results.
The Real Cost of a Dirty Brush
Let's be honest, throwing out ruined tools is wasteful and gets expensive fast. The global paint brush market was valued at a staggering $1.53 billion in 2021, which gives you an idea of how many brushes are out there. When you take care of your brushes, they can last for years, which is great for your wallet and the environment. You can read more about the paint brush market and its growth here.
Protecting your tools is especially critical when you're just building your kit. If you're starting out, you want to make that initial investment count. For some great recommendations on where to begin, check out our guide to https://paint-by-number.com/blogs/learn-about-paint-by-numbers/art-supplies-for-beginners.
When it comes down to it, spending a few minutes cleaning your brushes the right way after you paint is what separates a tool that lasts a lifetime from one that’s headed for the trash after a single use.
Gathering Your Brush Cleaning Toolkit
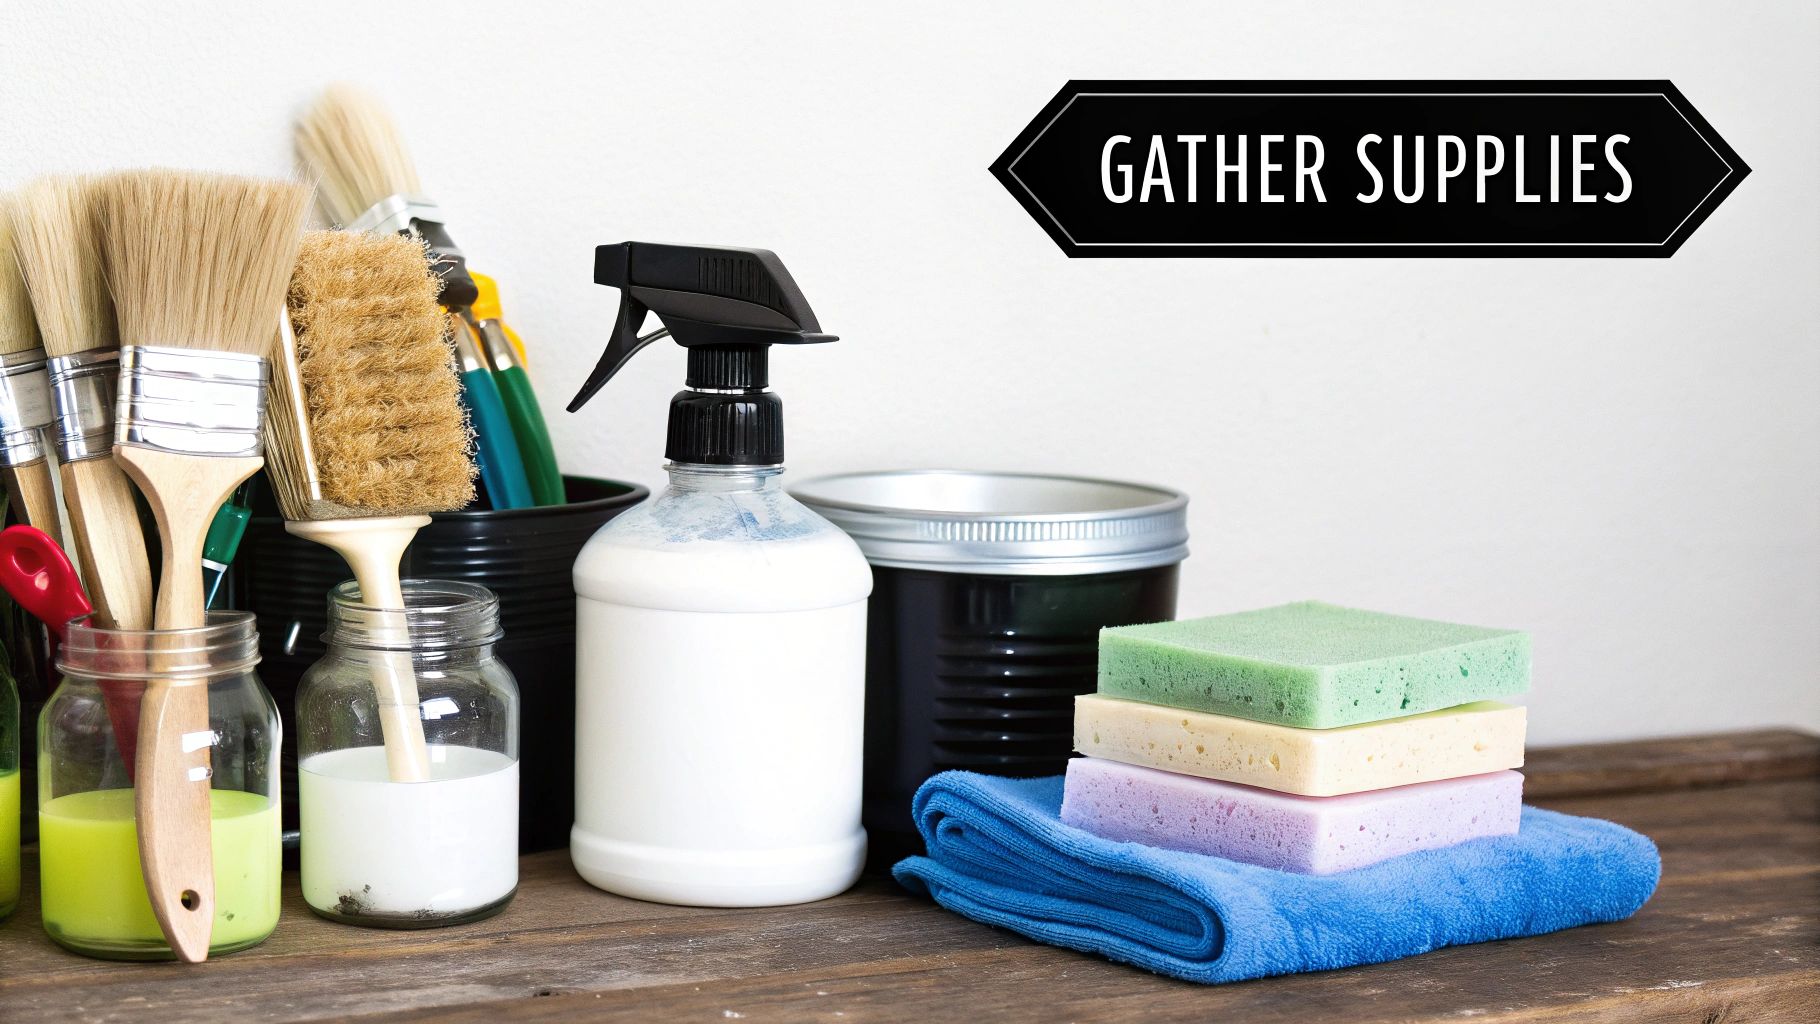
Before you even think about cleaning your brushes, you need to get your tools in order. Trust me, trying to clean up on the fly is a great way to ruin a perfectly good brush and make a huge mess. What you'll need really comes down to the kind of paint you've been working with.
For Water-Based Paints
If you're using water-based paints like acrylics or latex, you can breathe a sigh of relief. The cleanup process is much simpler because these paints are hydrophilic—a fancy way of saying they break down with water. If you’re just starting to explore different acrylic painting techniques for beginners, setting up a little cleaning station from the get-go is a habit that will pay off.
Here’s your basic setup for acrylics and latex:
- Mild Soap or Brush Soap: A dedicated brush soap is your best bet. It’s formulated to be gentle on bristles and often has built-in conditioners.
- Containers or Jars: Grab at least two. One will be for the first, murky rinse, and the second will hold clean water for the final wash.
- Brush Comb: This little tool is a lifesaver. It gets right down to the base of the bristles near the metal ferrule, working out any stubborn, hidden paint.
- Clean Rags or Paper Towels: You'll need these for blotting your brushes dry and gently reshaping the tips.
For Oil-Based Paints
Oil paints are a different beast entirely. Since oil and water famously don't mix, you'll need a solvent to cut through the paint before you can even think about washing.
A lot of artists make the mistake of stopping after the solvent rinse. That oily residue left behind is what makes bristles stiff and brittle over time. The final wash with soap and water is non-negotiable!
Your toolkit for oil paint cleanup should include:
- Solvent: Turpentine or mineral spirits are the classic choices. I personally prefer odorless mineral spirits to save my nose from the harsh fumes.
- Three Containers: This isn't overkill, it's essential for a thorough clean. The first jar gets the gunk out, the second is for a cleaner rinse, and the third is for the final solvent pass.
- All the water-based tools: Yep, you still need everything from the list above—soap, water, a brush comb, and rags—to finish the job properly after the solvent does its work.
Getting a handle on these basics will help you care for any brush in your collection. The principles are similar even for specialized tools, though it's always smart to learn the specifics of how to clean boar bristle brushes or other natural-hair types.
Here’s a look at how to properly clean brushes after using water-based paints like acrylics or latex.
Water-Based vs Oil-Based Paint Cleanup Quick Guide
Cleaning up is a bit different depending on the paint you’ve used. Water-based paints are generally simpler, while oil-based ones require a bit more muscle and specific solvents. Here's a quick side-by-side to keep things straight.
| Cleanup Step | Water-Based Paint (Acrylic, Latex) | Oil-Based Paint (Oils, Enamels) |
|---|---|---|
| Primary Solvent | Warm water and mild soap | Mineral spirits, turpentine, or specific brush cleaner |
| Initial Removal | Scrape excess paint on can rim; squeeze with a rag. | Scrape off excess; work solvent through bristles with a rag. |
| Washing Process | Wash in soapy water, then rinse thoroughly in clean water. | Suspend in solvent, then wash with soap and water. |
| Common Mistake | Leaving brushes to soak bristles-down in water. | Pouring used solvents down the drain. |
Getting this right from the start not only saves your brushes but also makes your next painting session that much smoother.
First, Get the Gunk Out
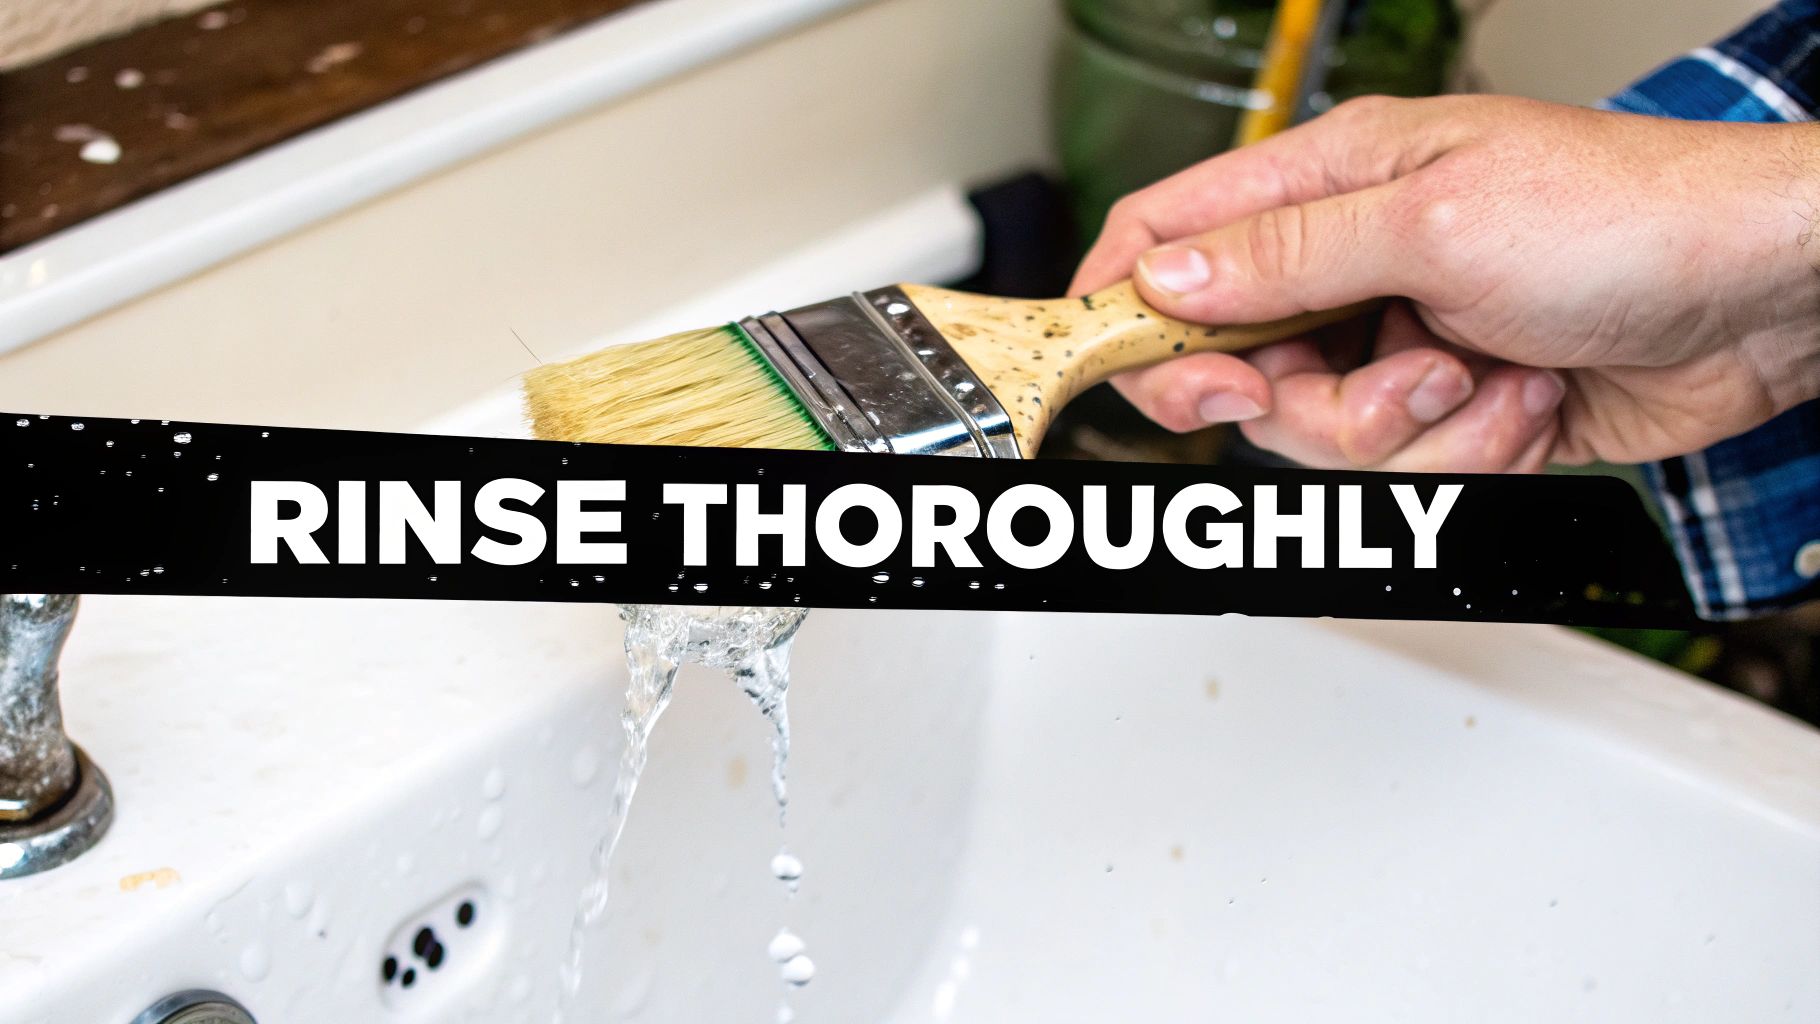
When you're done with acrylics or latex, the temptation is just to stick the brush under the faucet. Don't do it! Rinsing first is a recipe for a caked-up brush, especially deep inside near the metal ferrule where paint loves to hide and dry like concrete.
Before water ever touches those bristles, get rid of as much paint as you can. Scrape the brush gently along the inside edge of the paint can. Then, grab an old rag or a paper towel and softly squeeze the bristles, working your way from the ferrule down to the tip. You'll be amazed how much paint comes out, and this simple step makes the actual washing process so much easier.
Use the Two-Bucket Wash Method
This is where the real cleaning happens. Grab two containers—old yogurt tubs or jars are perfect. Fill the first with warm water and a little bit of mild dish soap or a dedicated brush soap.
Dunk the brush in and really work the bristles against the bottom and sides of the container. Get a nice lather going. You’ll see the water get cloudy right away as it pulls the paint out.
Once you’ve gotten most of the paint out, squeeze the soapy water from the bristles and move to your second container, which should just have clean, plain water. This is your rinse cycle. Swish the brush around in there until the water stays clear and you don't see any more color bleeding out.
A Painter's Golden Rule: Never, ever leave your brushes sitting bristles-down in a jar of water to "soak." It's the fastest way to bend them out of shape and let water creep up into the ferrule, where it'll rot the handle and dissolve the glue.
The Finishing Touches for a Flawless Brush
Even with a thorough wash, you might still have stubborn little flecks of paint clinging on for dear life. A painter's brush comb is your best friend here. Gently comb through the bristles, starting near the ferrule and working your way out. This little tool is a lifesaver for dislodging those last bits of dried paint without breaking the bristles.
Give it one last, quick rinse under some cool running water. Squeeze out every last drop of moisture you can, then use your fingers to gently shape the bristles back into a nice, crisp point or edge. A brush that's cared for properly will last for years. In fact, with the household cleaning brush market projected to hit $6.5 billion by 2025, it's clear people value tools that last—you can see more about household cleaning brush market trends here. Taking a minute for this final step means your brush will be perfectly shaped and ready to go for your next project.
Mastering the Art of Cleaning Oil-Based Paint Brushes
Cleaning oil-based paints is a whole different ballgame. Unlike water-based paints, oil and water just don't play nice, so you'll need a solvent like mineral spirits or turpentine to cut through the sticky mess. I've seen too many good brushes ruined because someone tried to skip this part or didn't do it right.
The secret I've relied on for years is the "three-container" system. It’s a trick of the trade that not only gets your brushes pristine but also helps you conserve solvent. This saves money and is a bit kinder to the environment.
The Three-Container Solvent System
Grab three separate containers—I find glass jars with lids work best. Go ahead and label them 1, 2, and 3. It might seem a little extra, but it keeps things straight when you're in the flow. The whole idea is to move your brush from the dirtiest solvent to the cleanest, one step at a time.
Here’s how you put it into practice:
-
Container 1: The Heavy Lift: Pour your solvent into the first jar. After scraping as much excess paint off your brush as you can, dunk it into this first bath. Really work it in there—swish it, press the bristles against the bottom and sides, and get that thick gunk out. This jar is going to look nasty pretty quick, and that’s a good sign.
-
Container 2: The Second Pass: Pull the brush out of the first jar, squeezing the dirty solvent out against the rim. Now, move it over to the second container. The solvent in here is much cleaner and will tackle the finer, more stubborn paint particles you can’t easily see. Give it another good swish and press.
-
Container 3: The Final Polish: By this point, your brush should be looking almost new. This last container is for a final, quick rinse in the cleanest solvent. This step ensures any lingering oily film is gone before you move on to the most important part of the whole process.
A little pro tip: once you’re done, seal up the jars. Let them sit for a day or two, and you’ll see the paint solids sink to the bottom. You can then carefully pour the clear solvent off the top into a fresh container and reuse it. It makes your supplies last so much longer.
Don't Skip the Final Wash
I can't stress this enough: stopping after the solvent rinse is a huge mistake. Solvents leave behind an oily residue that will turn your bristles dry and brittle over time, causing them to snap. The non-negotiable final step is a proper wash with soap and warm water.
Lather the bristles up with a mild soap or a dedicated brush conditioner. Make sure you work the soap deep into the base of the bristles, right up to the ferrule. Rinse it all out under cool water until the water runs completely clear and there are no suds left. This final wash gets rid of the solvent and leaves the bristles in great shape.
This infographic shows the best way to dry your brushes to keep them performing well for years to come.
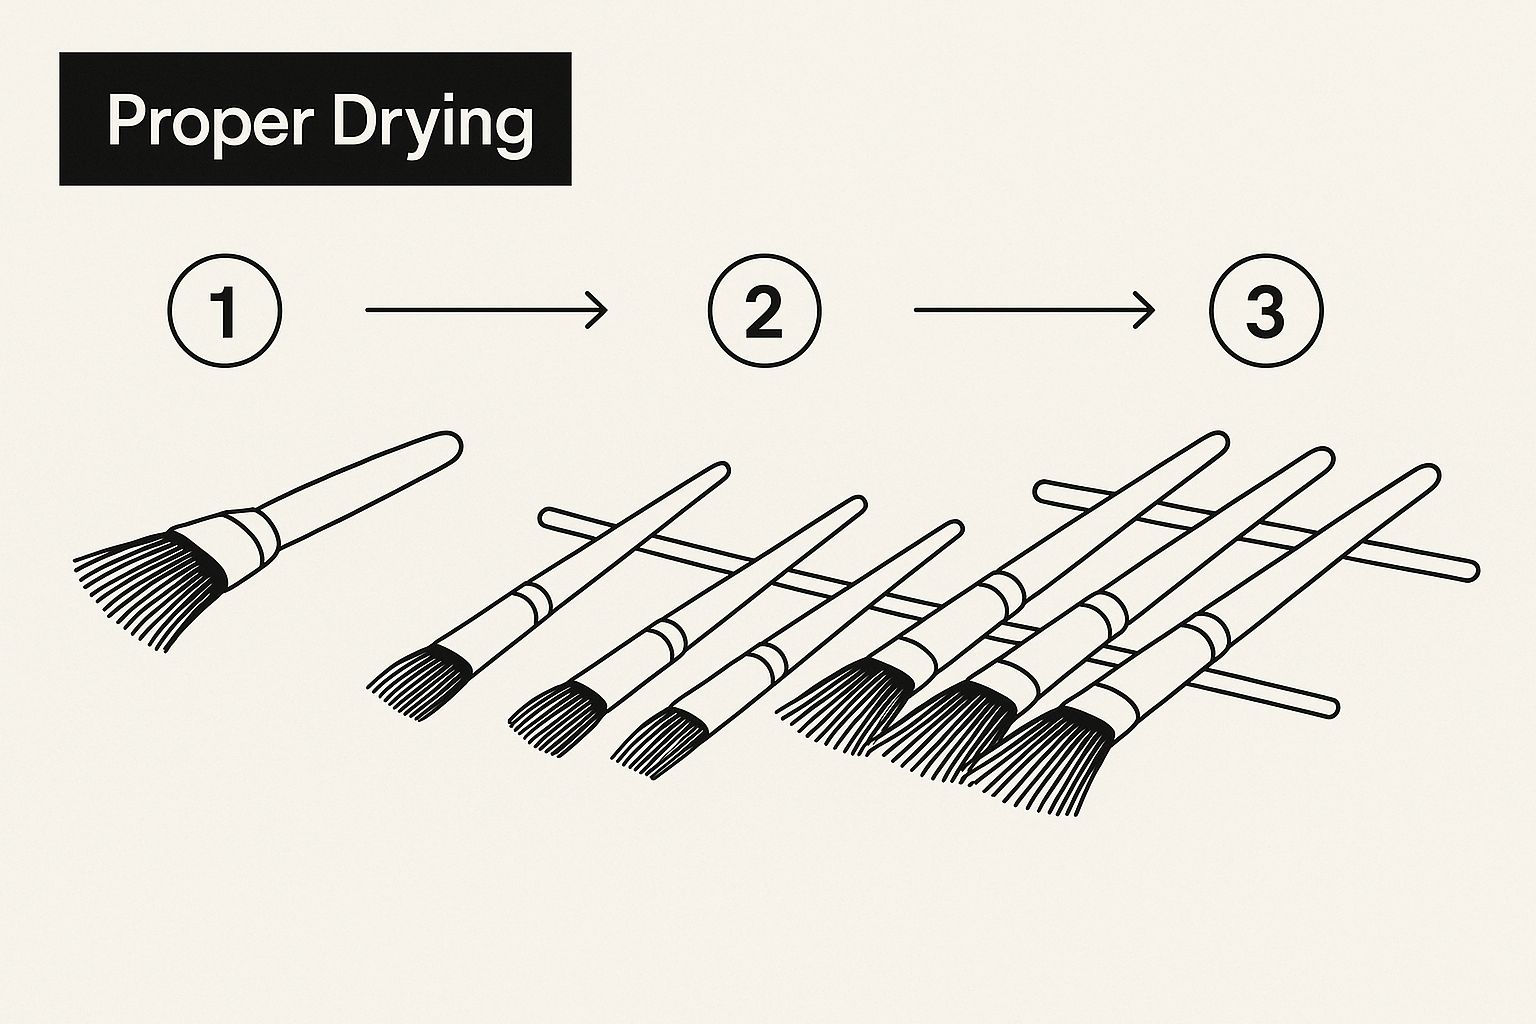
As you can see, laying brushes flat or hanging them with the bristles down is key. It stops water from seeping into the ferrule, which can rot the handle and dissolve the glue holding everything together.
Reshaping and Storing Your Brushes for the Long Haul
Getting the paint out is only half the battle. How you treat your brushes after they're clean is what really determines how long they'll last. I’ve seen far too many good brushes ruined by being left to dry in a splayed-out, useless mess.
After the final rinse, gently press out the extra water with a paper towel or a soft cloth. Don't wring them out! Then, use your thumb and forefinger to coax the bristles back into their original shape—a nice sharp point for a round brush or a clean, crisp edge for a flat one. This simple step is crucial for making sure they're ready for detailed work next time you pick them up.
If you’re working with natural hair brushes, a little trick is to work a tiny bit of hair conditioner through the bristles, then give them one last quick rinse. It keeps them from getting brittle, just like it does with hair.
The Right Way to Dry and Store
Now, for the most common mistake I see: storing brushes upright in a jar to dry. It seems logical, but it's a brush killer. Water runs down into the metal ferrule, weakening the glue that holds the bristles and causing the wooden handle to swell and the paint to crack.
The best method is to either lay them flat on a towel or, even better, hang them bristles-down. This lets gravity do the work, pulling any remaining moisture away from the ferrule and handle.
Taking care of your tools isn't just a suggestion; it’s a critical part of the painting process. In the woodcare paint brush market, for instance, improper cleaning and storage can cut a brush's lifespan by as much as 30%. That's a real hit to your wallet and the quality of your work. You can read more about the importance of brush maintenance in the woodcare sector.
These few extra moments of care protect your investment and ensure your tools are always ready for your next project. It's just as important as preserving your acrylic paintings after they're complete.
Got Questions About Brush Cleaning? We've Got Answers
Even when you follow all the right steps, things can go sideways. Maybe you accidentally left a brush full of paint out overnight, or you're just not sure what to do with that murky jar of used turpentine. Let's tackle some of the most common snags artists run into.
Can You Save a Hardened Brush?
So, you've found a brush that's rock-solid with dried paint. Don't throw it in the bin just yet! There's a good chance you can bring it back to life.
For acrylic or latex paint that's turned into plastic, try soaking the bristles in denatured alcohol or a commercial brush restorer. A few hours should be enough to soften things up. Once it's pliable, use a brush comb to gently work the gunk out.
Dried oil paint is a tougher beast. You might need something stronger, like lacquer thinner, but be warned—this is a last-ditch effort because it can be really harsh on the bristles. If you go this route, always follow up with a thorough soap and water wash and a good conditioning session to restore some life to the brush.
The single best habit you can build for the life of your brushes is cleaning them right after you finish painting. Every time. When paint dries deep inside the ferrule, it's a real nightmare to get out.
Handling Solvents Safely
Ever wondered if you can just dump used mineral spirits down the sink? The answer is a hard no. Solvents are hazardous waste and pouring them down the drain is a huge environmental no-no.
Here’s the right way to handle it:
- Pour your used solvent into a glass jar with a tight-fitting lid and label it clearly.
- Let it sit for a day or two. You'll see the paint solids sink to the bottom, leaving clearer solvent on top.
- Carefully decant the clean solvent into another container to reuse. This saves you money and cuts down on waste.
The sludge left at the bottom needs to be disposed of properly. Let it dry out completely until it's a solid cake, then check your local guidelines for hazardous waste disposal. It’s an extra step, but it’s a crucial part of being a responsible artist.
Ready to turn your favorite photos into a work of art? At Custom Paint By Numbers, we provide everything you need to create a personalized masterpiece, including high-quality brushes and paints. Transform your memories into a relaxing, creative project today at https://paint-by-number.com.