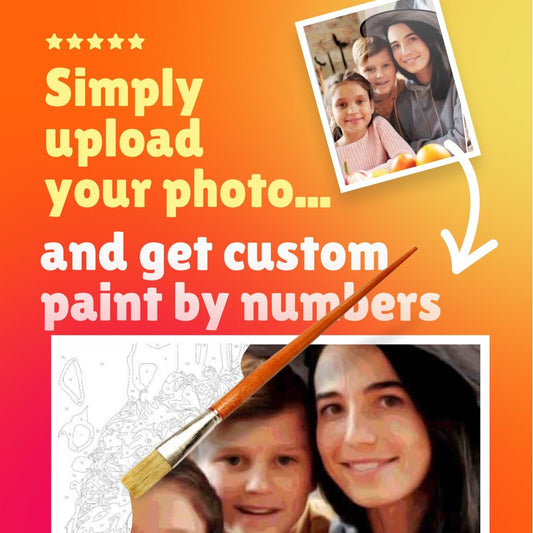
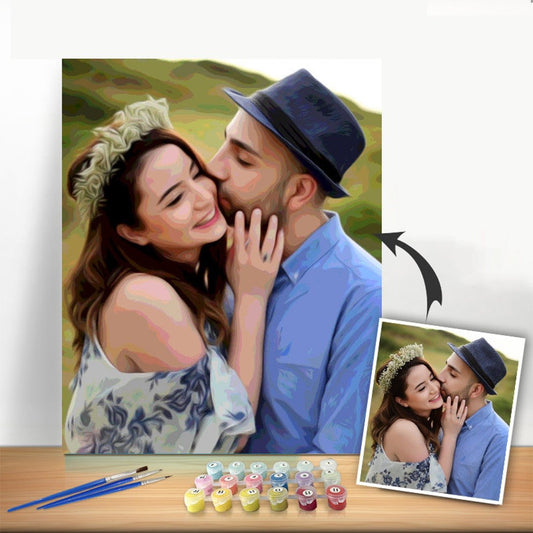
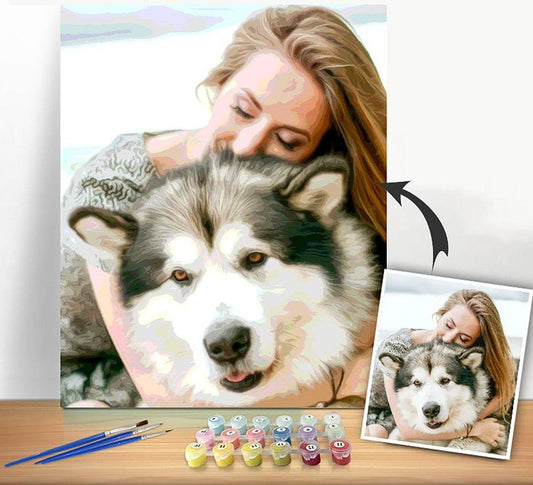
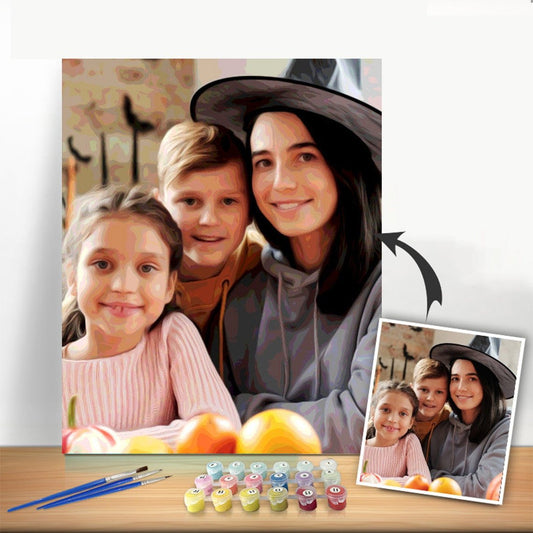
There's something truly special about turning a treasured photo into a real, hand-painted piece of art. With a custom paint-by-number kit, you can take a digital memory and bring it to life on canvas. It’s a creative project that’s accessible to everyone, no matter your artistic background.
Bring Your Cherished Memories to Life on Canvas
Imagine taking a favorite photo—that perfect shot from a family vacation, a goofy picture of your pet, or a candid moment from your wedding—and recreating it with your own hands. This guide is all about making that happen. We'll skip the complicated art school jargon and get straight to the practical tips you need to create a custom photo painting you’ll be proud of.
This isn't about becoming a professional artist in a day. It's about the simple, relaxing joy of watching a memory reappear, one brushstroke at a time. The process itself is meditative and lets you connect with that special moment in a completely new way.
What You Will Learn in This Guide
We're going to cover everything from start to finish. Don't worry if you feel a little intimidated by the idea of painting; this method is designed to be foolproof. When you're done, you'll have a beautiful piece of art that’s full of personal meaning.
Here’s what we’ll walk through together:
- Choosing the Right Photo: We'll look at what makes a photo great for a painting and how to pick one that will give you the best results.
- Setting Up Your Workspace: A little organization goes a long way. Learn how to set up your space for a smooth and enjoyable painting session.
- Mastering Basic Techniques: I'll share some easy-to-follow tips for getting those clean lines and smooth colors that make your painting look polished.
- Adding Polished Finishing Touches: Discover the final steps to protect your artwork and get it ready to display for years to come.
The real magic is turning a simple snapshot into a conversation piece. You’re not just painting; you’re creating a unique work of art that tells a story—your story. It’s perfect for your own home or as a one-of-a-kind gift.
Whether you're looking for a relaxing new hobby, a heartfelt present, or just a cool way to decorate your space, you're in the right place. The journey of transforming a photo into a painting is a fun one, and anyone can do it. For a deeper dive into the first steps, check out our guide on how to turn a photo into a painting.
Ready to create something amazing? Let's get your supplies together and begin.
How to Choose the Perfect Photo for Your Painting
Let's be honest, the secret to a stunning custom photo painting isn't just about your brush skills—it starts with the photo. Picking the right image is probably the most critical step in the whole process. Think of it as the blueprint for your masterpiece; a great photo will set you up for success before you even pick up a brush.
The quality of your photo really matters. The software that designs your custom kit essentially "reads" the pixels in your image to map out the numbered areas. If you give it a blurry, low-resolution photo, it has less information to work with, which can lead to a painting that looks blocky and lacks detail.
This quick guide gives you a solid visual reference for what makes a photo perfect for a custom painting.

As you can see, it all boils down to a clear, well-lit subject in a high-quality photo. That's your foundation.
Prioritize High Resolution and Clear Focus
Your first mission is to find a photo that’s tack-sharp. A great way to test this is to zoom in on your subject. Do the details hold up? Can you still see the sparkle in a person's eyes or the individual whiskers on your cat? If things turn into a pixelated mess, that photo isn't the one.
Clarity is everything for a custom photo painting. A high-resolution image allows the kit designer to create clean, well-defined sections that are easy to paint and actually capture the little details you love.
For example, imagine a close-up portrait of your dog. A fantastic photo will show the texture of their fur, and that will translate into a painting with subtle, lifelike color shifts. A photo taken from across the room, on the other hand, will just blend those details into big, generic patches of color.
Seek Out Good Lighting and Strong Contrast
Lighting is what brings a two-dimensional photo to life. You want to find an image with beautiful, balanced light that highlights your subject without creating harsh shadows or blowing out the details. Photos taken outside on a slightly overcast day or indoors near a large window often have that perfect, soft glow.
Contrast is your other best friend. When your subject stands out clearly from the background, it creates a much more powerful painting. A black cat on a light-colored blanket? Perfect. That same cat on a dark brown sofa? Not so much. That clean separation makes your subject the undeniable star of the show.
Let's look at a couple of real-world examples:
- Great Choice: A close-up of a smiling child in a garden. The natural light flatters their features, and the background is softly blurred, keeping the focus right where it should be.
- Poor Choice: A group shot from a birthday party, taken at night with the flash on. The direct flash creates shiny spots and weird shadows, and the people in the back are too small and blurry to capture any real detail.
Keep the Background Simple
A busy background is the enemy of a good portrait painting. Clutter, distracting patterns, or other people in the background will compete for attention with your main subject. When you're creating a custom photo painting, the best backgrounds are either very simple or nicely out of focus.
Remember, you're not trying to create a perfect replica of a chaotic moment. You're creating art. A simple background lets the personality of your subject take center stage.
This is exactly why personalized art has become so popular. A recent Deloitte survey found that 45% of consumers are happy to pay more for a product that’s customized just for them. By taking the time to choose the right photo, you're curating a piece that’s truly unique and meaningful.
Setting Up Your Creative Workspace for Success
A little prep work can be the difference between a messy, frustrating painting session and a truly relaxing, creative escape. Before you even think about dipping a brush in paint, taking just a few minutes to get your area organized will make the whole process of creating your custom photo painting so much more enjoyable. Think of it as setting up your own little art studio.
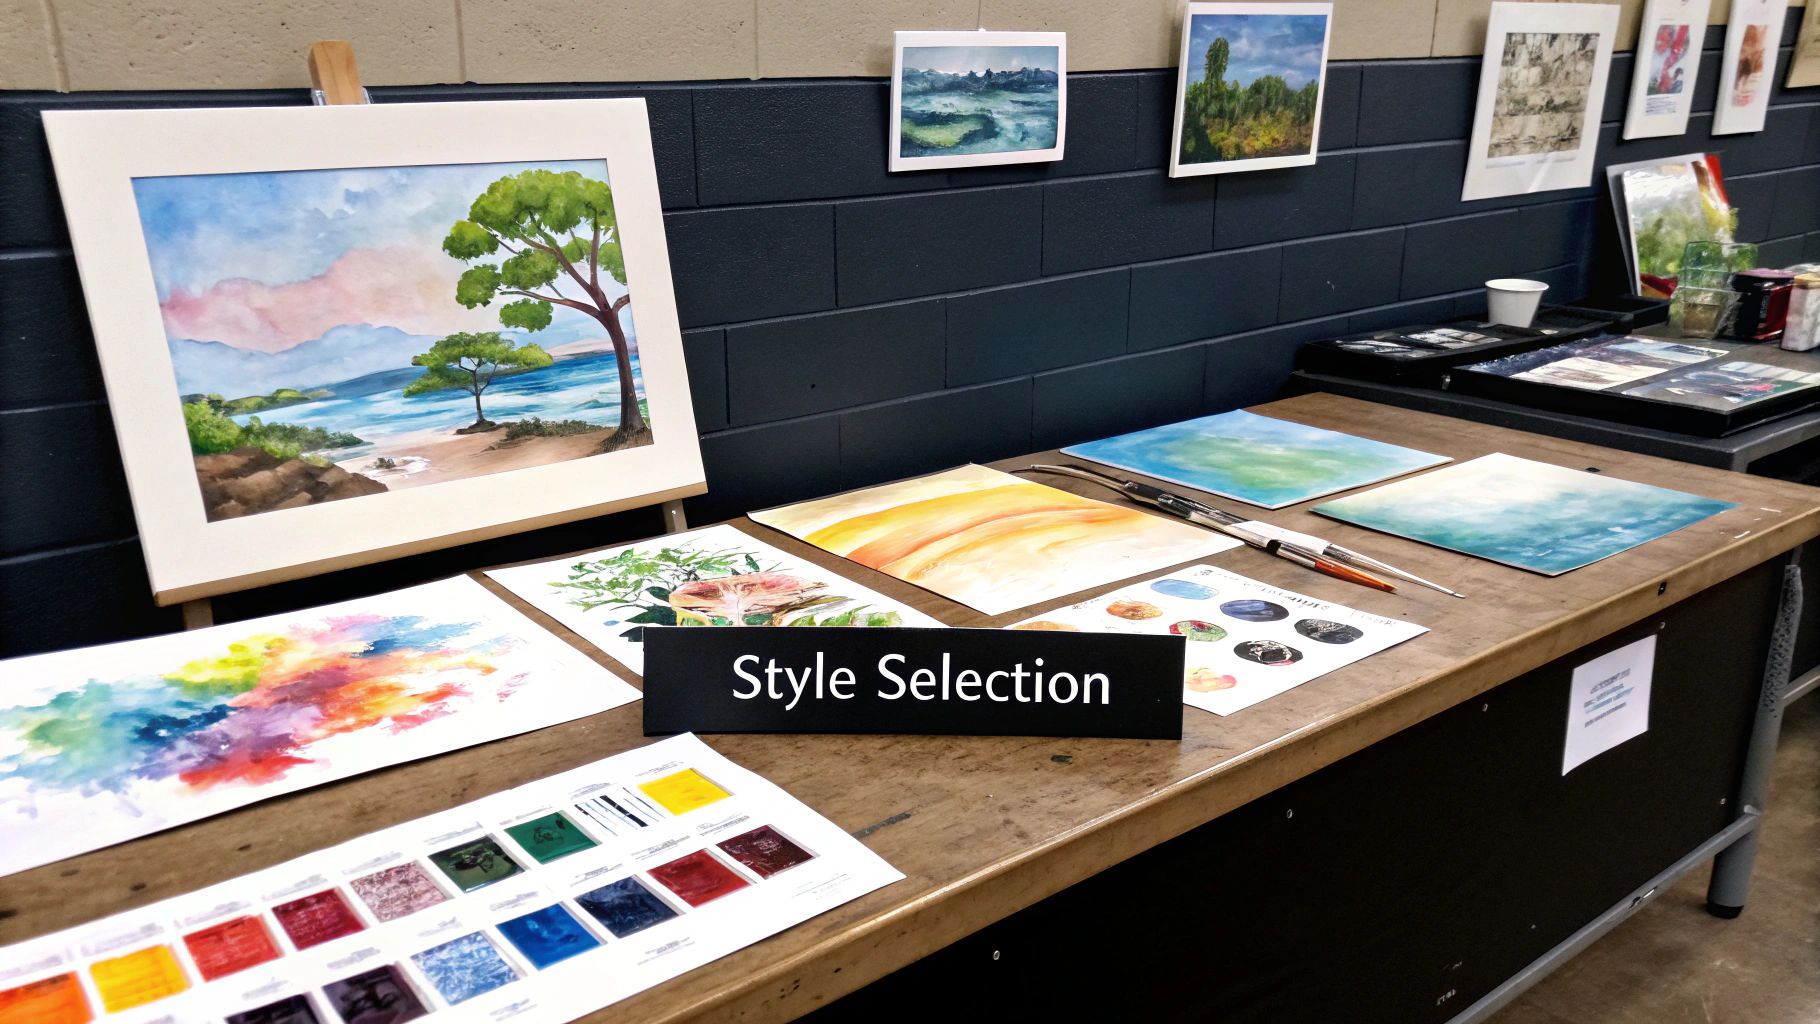
First things first, open up your kit and lay everything out. Get acquainted with what's inside. You'll have your pre-printed canvas, a set of numbered acrylic paint pots, and a few brushes in different sizes. Just seeing it all laid out and organized helps you feel in control and ready to start.
Gathering Your Essential Extras
Your kit comes with the basics, but a few everyday household items can elevate your painting experience from good to great. These are the little things that seasoned artists always have nearby to keep the creative flow going without annoying interruptions.
Grab these before you begin:
- A cup of water: A sturdy mug or an old jar is perfect for rinsing your brushes between colors.
- Paper towels or an old rag: You'll need something to gently blot your brushes on after rinsing. This is key to preventing water from dripping onto your canvas and thinning out the paint.
- Good lighting: This one is a must. You need to see those tiny numbers clearly! Set up near a window for natural daylight or grab a bright desk lamp. Your eyes will thank you.
Pro Tip: Get into the habit of closing your paint pots tightly whenever you're not using a color. Acrylic paint dries out surprisingly fast when exposed to air, and this simple trick will keep your paints fresh for the whole project.
A logical setup also makes a huge difference. Try arranging your paints in numerical order. It sounds simple, but it saves you from constantly hunting for the next color, letting you stay in the zone and just enjoy the process. It's no wonder so many people are picking up creative hobbies like this. In fact, the global art supplies market is projected to hit USD 15.96 billion by 2029, which just shows how many of us are finding joy in making art. You can find more details on this trend over at fortunebusinessinsights.com.
Now that your space is prepped and ready, it's time for the fun part—bringing your photo to life with color.
Mastering Your Painting Technique
Now that your creative space is all set up, it's time for the best part: bringing your photo to life on the canvas. This is where the magic really happens, turning all those little numbered sections into a beautiful, coherent image. Don't stress about making it perfect right away. The real joy is in the process and watching your custom painting slowly emerge.
A great way to get started, and a method many seasoned painters swear by, is to work from dark to light. Begin by filling in all the areas marked for your darkest colors. This creates a solid foundation for your painting and makes managing the boundaries between different shades much easier. Think of it this way: dark paint can easily cover a light-colored mistake, but trying to paint a light color over a dark smudge is a real headache.
Getting a Feel for the Brush
How you handle your brush is everything. It’s the key to staying within the lines and getting that smooth, even coverage that gives a painting a professional, polished look. Try holding the brush like a pen, but grip it a little further back from the bristles. This simple adjustment gives you more control for those tiny details without making your hand cramp up.
When you dip your brush, just get the very tip in the paint. You only need enough for it to flow nicely onto the canvas—too much, and you’ll end up with a thick, gloopy mess. A little bit of paint really does go a long way.
For the best results, keep these simple pointers in mind:
- One Color at a Time: Focus on completing all the sections for one number before moving to the next. This helps keep your colors pure and prevents you from accidentally dipping a dirty brush into the wrong paint pot.
- Keep Your Brush Damp: A slightly damp brush helps acrylic paint spread much more evenly. After rinsing, just give it a gentle blot on a paper towel so it’s not dripping wet.
- The Right Tool for the Job: Your kit probably came with a few different brush sizes for a reason! Use that super-fine tip for the tiny, intricate spots and save the broader brushes for filling in those bigger, open areas.
This kind of focused, hands-on activity isn't just about making art; it's an incredible way to unwind. In fact, getting creative is a proven stress-buster. A study from the Journal of the American Art Therapy Association found that just 45 minutes of creative activity can significantly reduce cortisol (the body's main stress hormone). You can read more about these therapeutic art findings on tandfonline.com.
Sometimes, things don't go exactly as planned. Here’s a quick guide to tackling some common hiccups you might run into.
Troubleshooting Common Painting Issues
| Problem | Cause | Simple Solution |
|---|---|---|
| Paint is too thick | The acrylic paint has started to dry out a bit in the pot. | Add one or two drops of water and stir gently with a toothpick until it reaches a smoother consistency. |
| Colors look streaky | Not enough paint on the brush, or the paint was applied too thinly. | Apply a second, slightly thicker coat after the first one has completely dried. |
| Painted outside the lines | A simple slip of the hand—it happens to everyone! | Wait for the mistake to dry completely. Then, carefully paint over it with the correct color for that section. |
| Wrong color in a section | Mixed up the paint pots or misread a number. | Let it dry fully. If the wrong color is dark, you may need a layer of white paint first before applying the correct, lighter color. |
Don't let these little challenges discourage you; every painter runs into them, and they are all easily fixable!
Creating Soft Transitions
If you want to take your custom photo painting to the next level, try a bit of soft blending. This technique works wonders in areas where two colors meet, like the subtle shadows on a face or the gradual shift of colors in a sky.
Instead of painting a hard, crisp line where two numbers touch, try this little trick. While the paint in one section is still a bit wet, take a clean, dry brush and gently feather the edge of the neighboring color into it. The key here is to be subtle. You’re not trying to mix the two colors together, just blur that boundary ever so slightly.
This simple technique helps soften the "pixelated" look some paint-by-number projects can have. It creates a more fluid, painterly finish that does a much better job of capturing the feel of your original photo.
It’s amazing how these small details can make such a huge difference in the final piece. If you’re eager to learn more tricks of the trade, we put together a whole article on acrylic painting techniques for beginners that you’ll find really helpful. With these tips in your back pocket, you’re ready to tackle that canvas with confidence.
Applying the Finishing Touches to Your Artwork
You've filled in the last numbered section—congratulations! Your custom photo painting is so close to being done. But don't put those brushes away just yet. These final details are what will really make your piece sing, transforming it from a fun project into a true work of art that you'll be proud to display.
Take a step back, literally. Look at your painting from across the room, then get right up close. Do you see any thin spots where the canvas peeks through? Are there any lines that could be a bit sharper? Now's your chance to do a few touch-ups and make it perfect.
Adding Depth and Protection
Here’s a little pro tip: don't hesitate to add a second coat of paint. This works wonders on the darkest colors or the most vibrant shades. An extra layer can make those areas pop, giving your painting a fantastic sense of depth and richness. It's a small step that delivers a big impact.
Next up is sealing your artwork with a varnish. Think of this as the essential final step to protect your painting from the elements—dust, sunlight, and the risk of fading over time. Applying a varnish is straightforward and gives your piece a beautiful, professional finish.
You'll generally choose between two types:
- Gloss Varnish: This option gives your painting a shiny, wet look. It makes colors feel deeper and more saturated.
- Matte Varnish: If you prefer a more modern, non-reflective finish, matte is the way to go. It offers the same great protection without any of the glare.
Applying a good quality varnish is like putting insurance on your art. It’s a simple, quick process that safeguards the hours you’ve spent creating your custom photo painting, ensuring it remains as beautiful as the day you finished it.
For a deep dive into this crucial step, our complete guide on how to preserve acrylic paintings has everything you need to know.
Framing Your Finished Piece
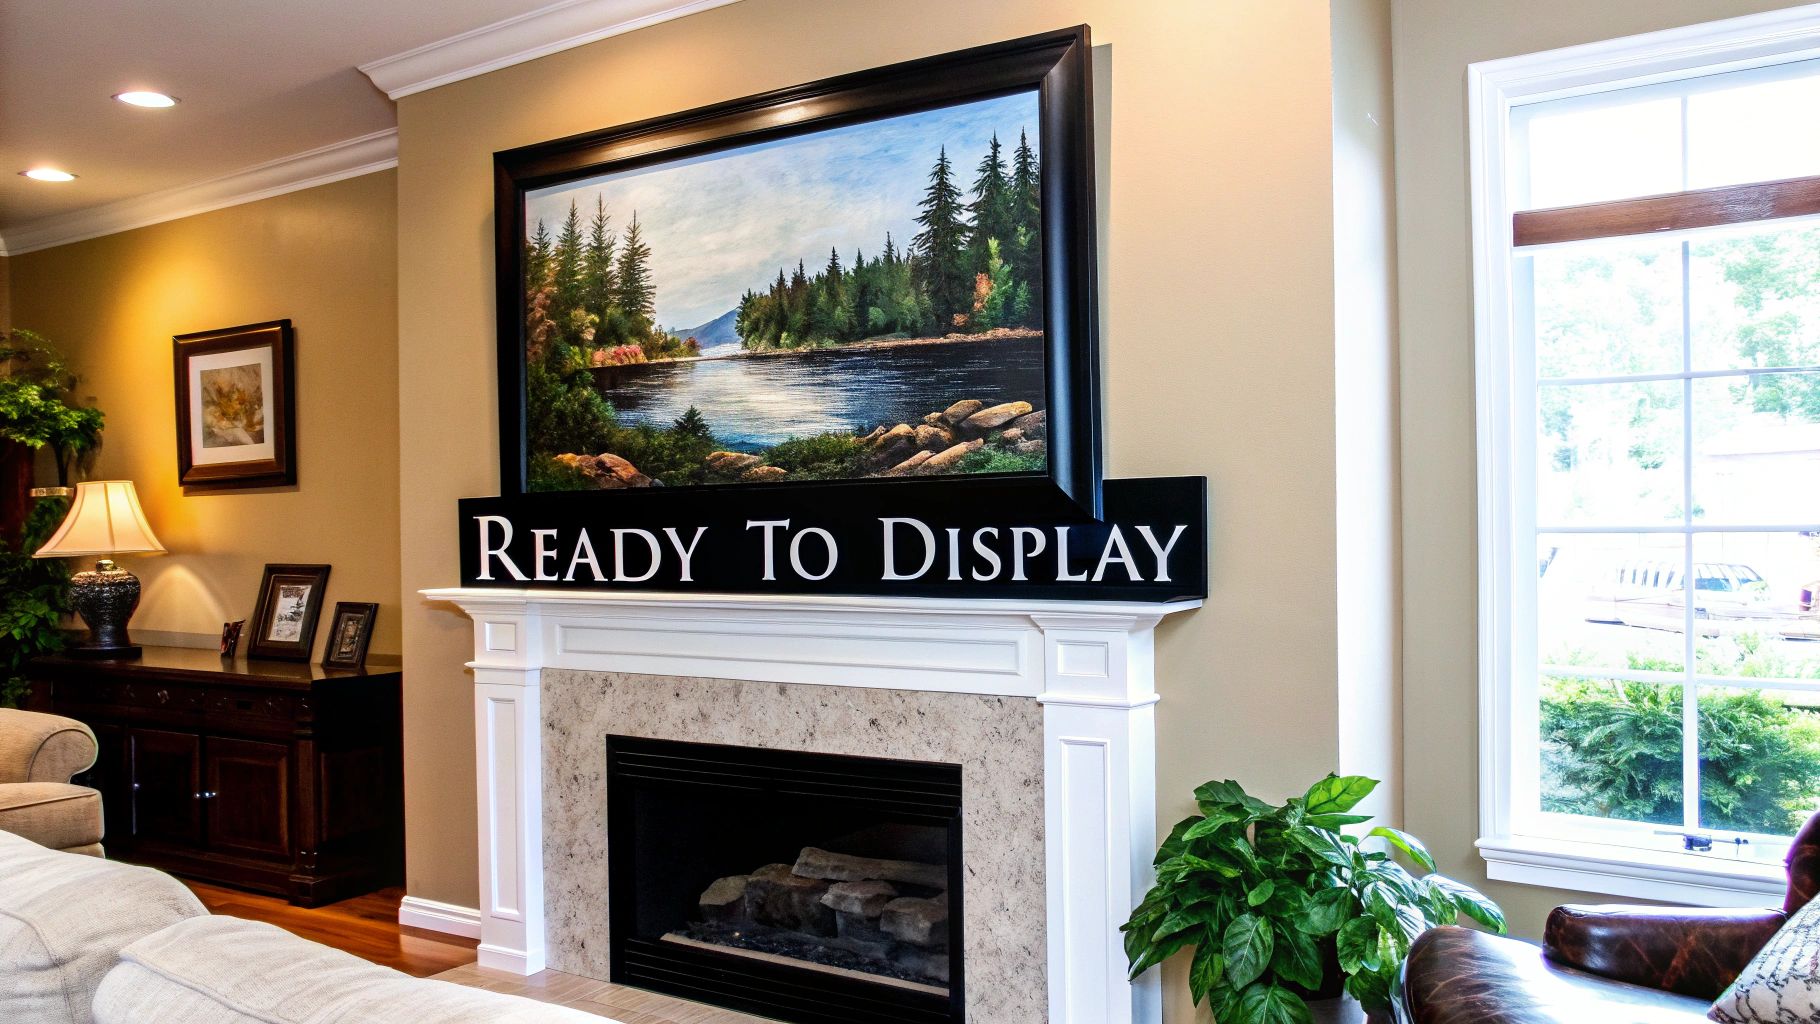
The last touch? A frame. A good frame does more than just hang your art—it completes it. The right one can tie your painting into the room's decor and give it a real presence on the wall. Mastering presentation and fine details is a key skill in many creative fields; you can see similar precision when you explore coffee art courses, for example.
You can grab a simple DIY framing kit or have it professionally framed. People clearly value showcasing their art and memories properly—the custom picture framing market in the U.S. is a $2.9 billion industry.
Whether you go for something simple or ornate, the frame is the perfect final punctuation mark on your beautiful new artwork.
Got Questions? Let's Troubleshoot Your Custom Painting
Even with the best instructions, you're bound to run into a few little questions along the way. That's just part of the creative process! Here are some quick answers to the things people ask most often, so you can keep your momentum going and paint with confidence.
It’s completely normal to wonder about the details, especially when you're pouring your heart into making your artwork perfect. Let's tackle some of those common "what if" moments.
What if I Run Out of a Certain Paint Color?
This is a classic worry, but don't panic! It’s usually an easy fix. If a paint pot is looking dangerously low, first ask yourself if you might be applying the paint a bit too thickly. A little bit of acrylic paint really does go a long way.
If you’re sure you just need more, you can often mix a very close match using the other colors in your kit. Need a slightly lighter blue? Add a tiny speck of white. It's a fantastic chance to play around with basic color theory.
Pro Tip: Always test your new custom mix on a scrap piece of paper first. Let it dry completely before you put it on the canvas. Acrylics tend to dry a little darker than they look when they're wet, so this step ensures you get a perfect match.
Can I Mix Colors to Create New Shades?
Absolutely! Your kit gives you every color you need to follow the numbers, but mixing is where you can add your own artistic flair to your custom photo painting. This is a great trick for creating softer, more natural-looking transitions between two different colored areas.
For instance, if you want to blend a light blue sky into a darker horizon without a hard line, try this:
- Paint both sections right up to the border, as indicated by the numbers.
- While the paint is still a bit wet, grab a clean, dry brush.
- Use the dry brush to gently "feather" the line where the two colors meet.
This simple blending technique can really elevate your painting, giving it a much more fluid and professional look.
How Long Does This Stuff Take to Dry?
One of the best things about acrylic paint is that it dries fast. A thin layer of paint will typically feel dry to the touch in about 15-20 minutes. If you've laid it on a bit thicker, give it up to an hour.
But "dry to the touch" isn't the same as "fully cured." For the paint to be 100% permanent and ready for the next step, it needs around 24 hours. I always recommend waiting at least a full day before you think about adding a varnish or putting your masterpiece in a frame. You don't want to risk any smudges.
Once your custom photo painting is all done and dry, you might be inspired to share it with the world. Seeing your art as a piece of user-generated content (UGC) can open up fun new possibilities. If you're curious, you can explore user-generated content creation courses to see how people showcase their creative work.
Ready to turn your favorite memory into a piece of art? Grab your Custom Paint By Numbers kit and start a creative journey you’ll never forget. Order your personalized kit now!